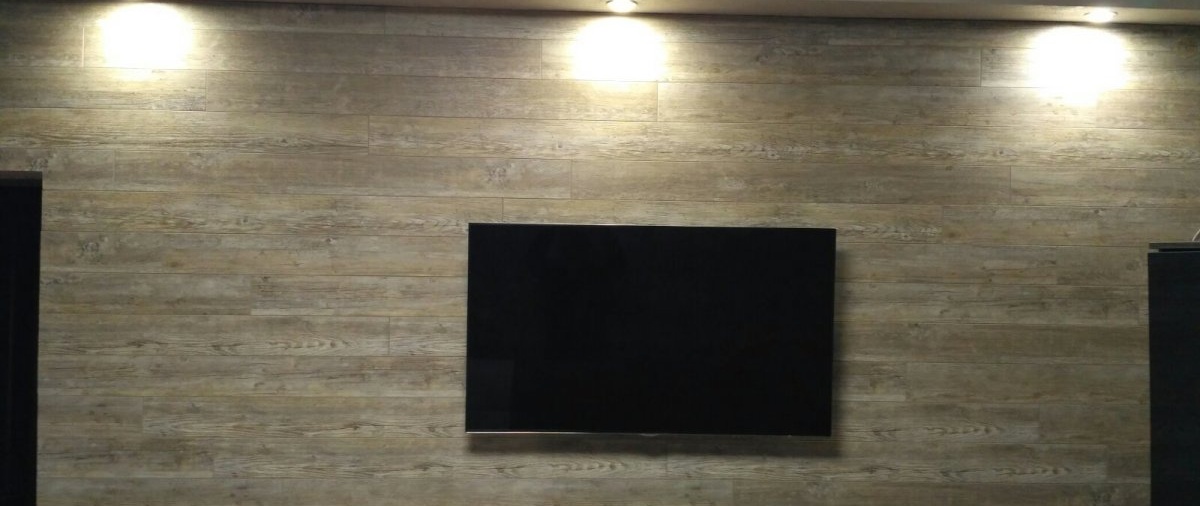
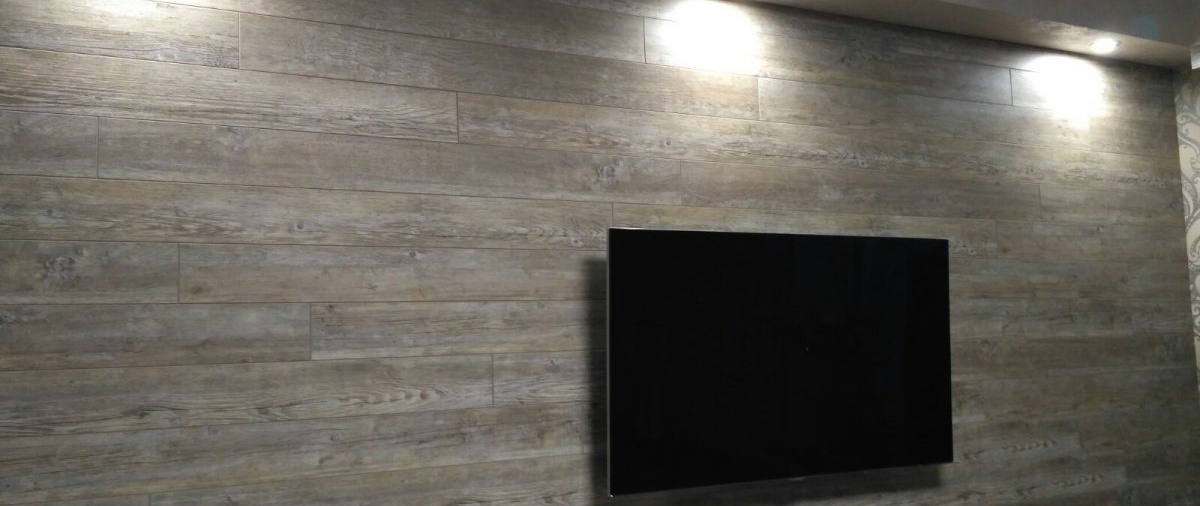
Laminate is a common material used for flooring. However, today designers have begun to often use this material in wall decoration. This is a universal solution that is practical and attractive, since today there are many colors of laminate flooring to resemble stone and wood. This gives you a lot of options for creating a special interior.
Most often, laminate is used for wall coverings in small rooms. Moreover, these can be not only hallways, but other rooms. In addition, this material has good sound insulation properties.

Features of installing laminate on the wall
- Although this material has high wear resistance, it is still of a high class. However, when finishing walls, you can use a thinner laminate.
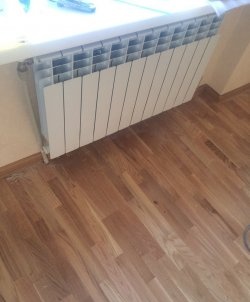
- It is not recommended to attach laminate to the wall near radiators.
- Laminate can only be attached to the wall on a flat surface. Irregularities will lead to unreliable fixation of the material, as well as additional gaps in the seams.
- The lamellas can be positioned not only horizontally, but also vertically. Some designers even use a mosaic method of setting lamellas.
Preparation
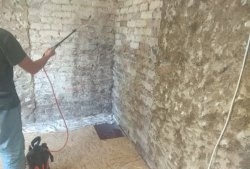
As with flooring, installing laminate flooring is easy and does not require any special skills. Initially, it is necessary to prepare the wall surface for installation. First of all, remove the old covering, such as wallpaper. In addition, even at the preparation stage, it is necessary to immediately carry out electrical installation work, and, if necessary, run a groove with a cable, as well as make holes for socket boxes.

Further, if the walls have large unevenness, then they need to be plastered. Some craftsmen use a frame method of fastening, fixing a wooden sheathing to the wall, to which the laminate is subsequently attached. However, this option will significantly reduce the space of the room, and it is also more expensive. Now we will look at the simplest and fastest installation method, which is done using glue.
After you have calculated the number of squares of laminate, add 10% to this volume, which will be spent on cutting and adjusting the material.
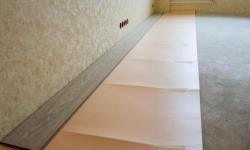
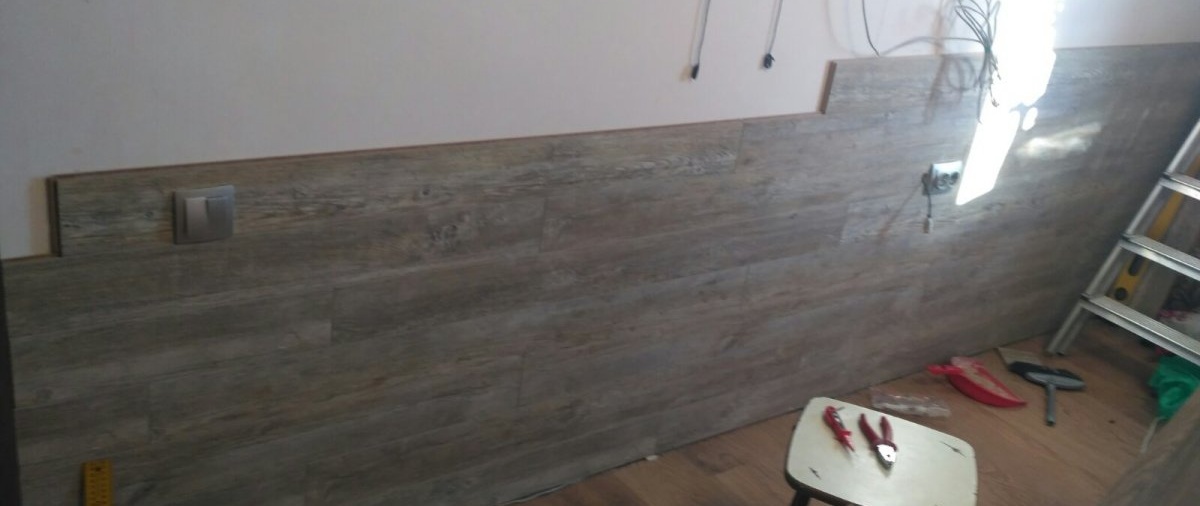
Let's move on to laying the laminate on the wall
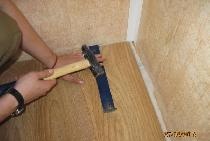
Before attaching the laminate boards, sort them in a way that expresses the desired pattern. The unevenness of the installation should not be noticeable. You will need a jigsaw to cut the laminate. In addition, to cut the boards evenly, you need to use a corner to mark the desired size so that there is a 90-degree angle in the cut part. In order for each laminate board to stand out with a seam, you can cut off the chamfer of the interlock joint along the entire perimeter. This can be done with a construction knife. It's best to cut the bevel before you attach the laminate row to the wall.


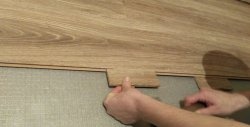
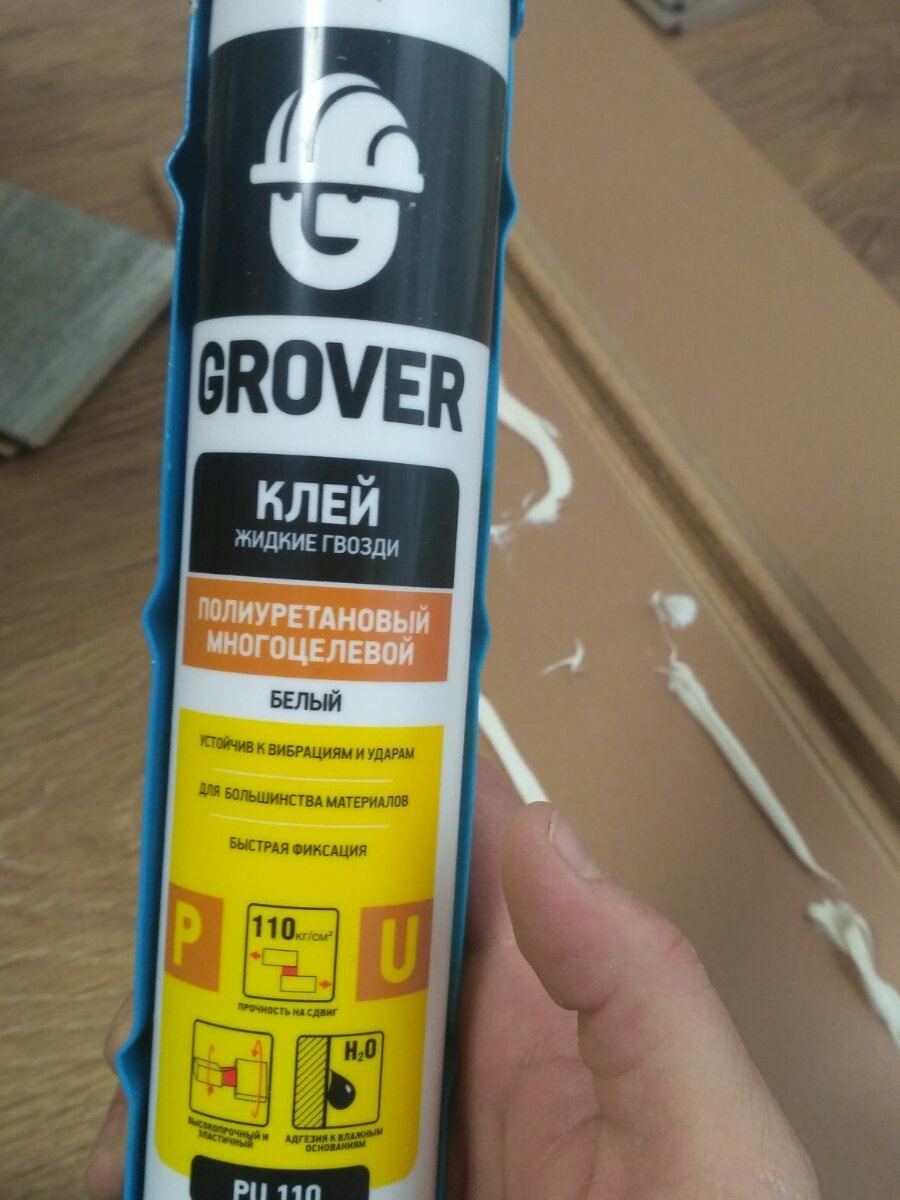
Liquid nails can be used as glue for fastening. Glue is applied to the back side in a snake pattern or with a slight indentation along the entire edge of the board.
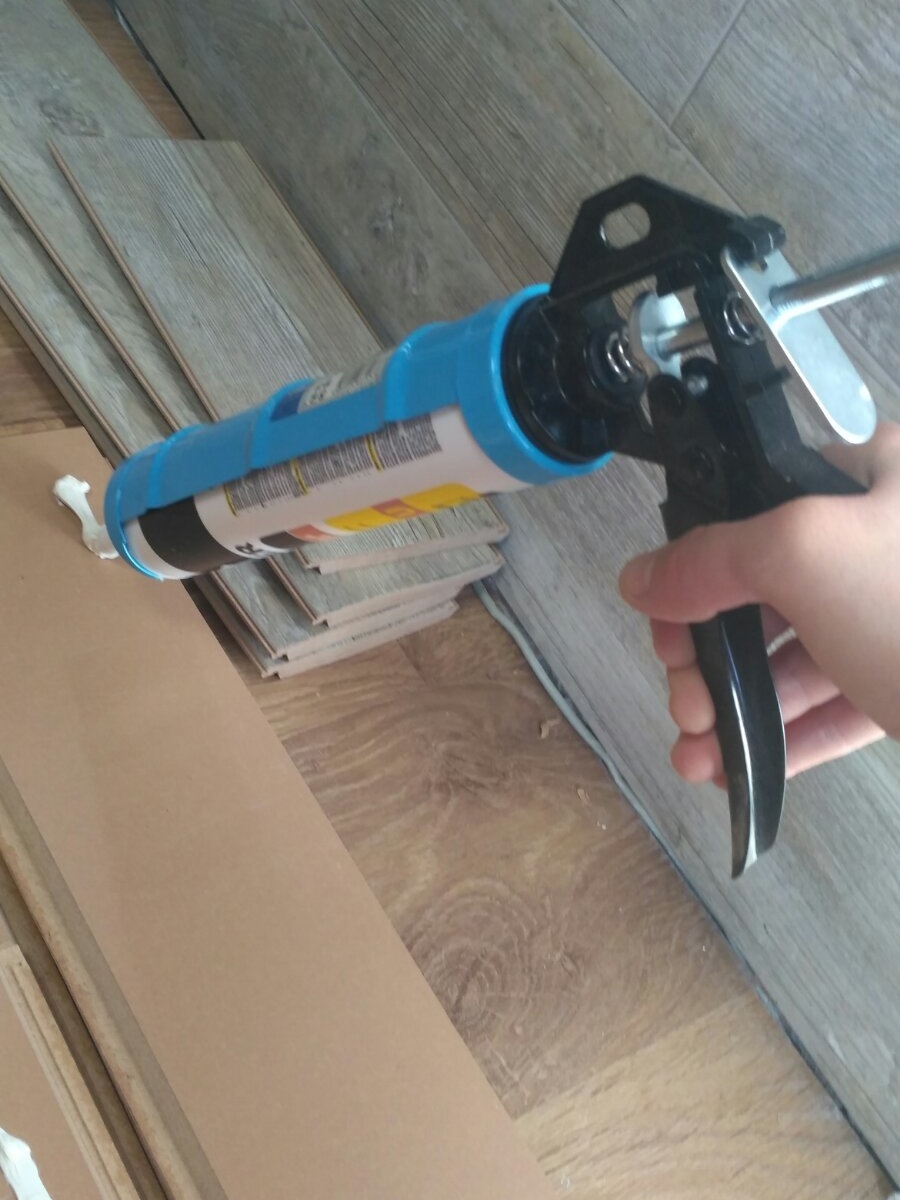

Next, the board is inserted into the groove of the previous strip and gently tapped by hand to secure it to the wall.


To make the connection stronger, you can press the laminate with your hands for several minutes until the glue hardens.
When making holes for the wires, you can use a drill with a drill of a suitable diameter. To make a hole for the socket box, it is best to use a wood crown. Most often, the entire top strip needs to be cut at the ceiling. It is not necessary to do this perfectly evenly, since this seam will be hidden behind the baguette.