Having suffered quite a bit with the walls and ceiling, we finally started the final stage of the renovation work: laying the flooring. However, first we had to determine what kind of coating we would actually lay? After browsing through various web resources and visiting several hardware stores, we found out that the most common flooring options are:
- linoleum;
- laminate;
- parquet;
- carpet;
- ceramic tile.
We immediately discarded the carpet. The kitchen, by definition, is not the place for such flooring. The parquet seemed too expensive. In addition, in our opinion, it, like the more affordable laminate, does not have a high degree of moisture resistance, which is important for a kitchen space.All that remained was to make a choice between linoleum and ceramic tiles. It didn't take much effort. We had experience using these types of floor coverings, so ceramic tiles did not tempt us. Without installing a heating system, a ceramic floor is quite cold. In addition, almost any accidentally dropped item on such a floor shatters into pieces. Guided by these circumstances, we finally and irrevocably decided to take linoleum. However, the question immediately arose: how to choose the one that is right for us from the many varieties of this floor covering? Having interrogated the sales consultants with passion, we found out that in order to choose the right linoleum, you need to pay attention to its characteristics, including:
- class of application;
- application area.
The first indicator allows you to judge the wear resistance of the floor covering. It is designated by the numbers 21, 22, 23, 31, 32, 33, 34, 41, 42, 43. Moreover, the higher the number, the stronger the linoleum.
The second indicator determines the type of linoleum depending on where it will be used. In this regard, a distinction is made between household, semi-commercial (office) and commercial linoleum. As a rule, household linoleum corresponds to application classes 21, 22 and 23. Semi-commercial – 31-34. Commercial – 41-43.
In our case, the determining factor was that the linoleum was planned as a kitchen flooring, so we decided to purchase household linoleum of class 23. The kitchen is a room that experiences maximum load, so purchasing flooring of a lower class of use would be impractical.
In addition to the listed indicators, we also paid attention to the structure of linoleum.It turned out that, at the buyer’s request, they can offer him linoleum on a foam basis (characterized by increased moisture resistance), on a fabric basis (retains heat well) or baseless (the least durable, but signs of wear on it are practically invisible). We chose linoleum with a fabric base made of felt.
When the purchase issue was resolved, the most important stage in our renovation work began - in fact, the process of laying the floor covering itself. As a family council, we decided not to resort to the help of third-party craftsmen, but to cope on our own, with our own hands.
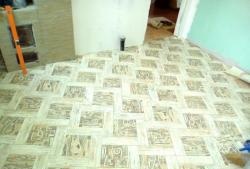
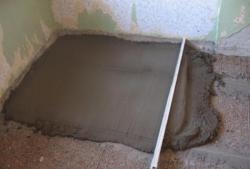
Before laying the linoleum, we let it sit at room temperature for two days. At the same time, we prepared the floor in the kitchen. Ours is concrete. We were lucky, having checked the floor surface with a building level, we found that it would not be necessary to level it using a concrete screed, but some rough spots would nevertheless have to be filled in. The width of the linoleum practically coincided with the width of the room, so we only needed to trim off the excess a little, with the condition, however, that there should be a gap of 5-10 millimeters between the walls and the linoleum (this is necessary to avoid deformation). Frankly, we made a mistake here: we arranged the “cutting circle” not in the kitchen, but in the hall, where it was more spacious. We used old linoleum as a template. However, this should not be done. The adjustment of the floor covering must still be carried out where it will be laid. The fact is that the “template” method we used failed - the gap between one of the walls and the linoleum turned out to be slightly larger than the desired 5-10 millimeters.
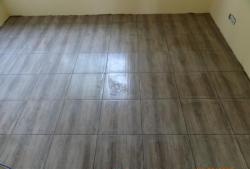
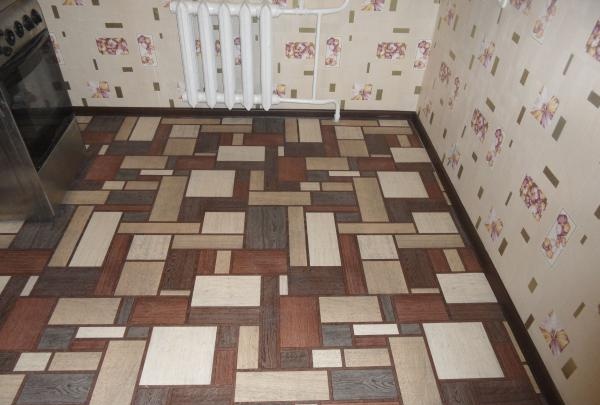
Since our kitchen area is small and we move it often furniture We didn’t plan on it; we didn’t glue linoleum over the entire surface: we “planted” it with liquid nails only in a few places where there was a risk of touching the edge. In particular, near the door threshold. The final touch to laying the flooring was the installation of the baseboards.
So, through trial and error, we dealt with our “natural disaster” in the kitchen. I hope my modest repair experience will be useful to someone.