You need to prepare:
- main fabric;
- lining fabric;
- flezilin;
- Single padding polyester, preferably on fabric;
- lightning
And sew like this:
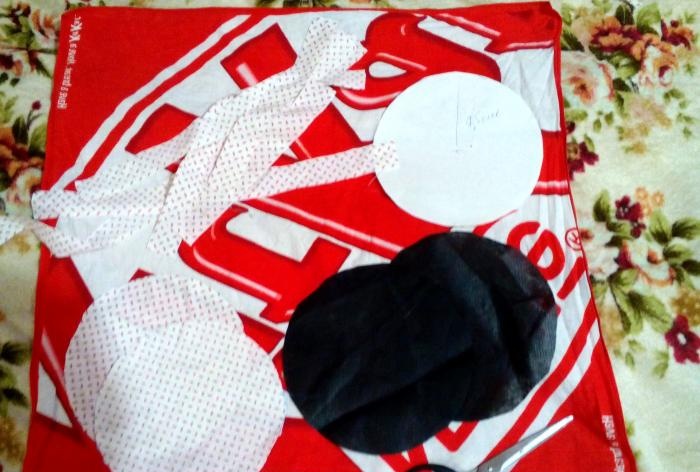
1. Prepare a pattern, which is most convenient to make using a compass or any round thing that fits your radius.
2. First cut circles from the lining fabric. If everything turned out well, make similar circles with the main fabric and non-woven fabric.
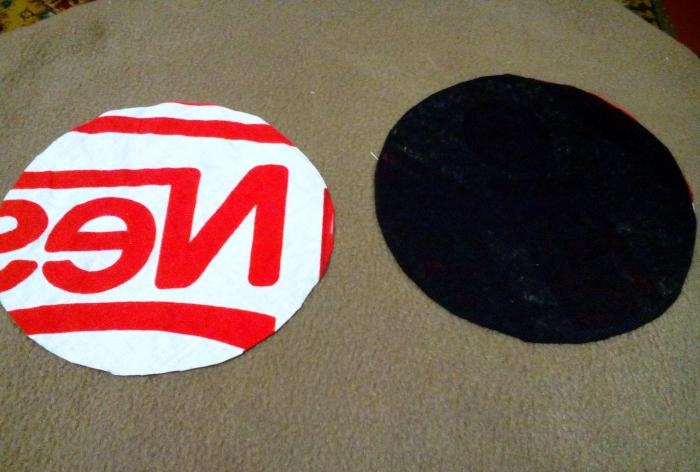
3. Place the fleece linen with the adhesive side on the wrong side of the main fabric and run a hot iron over it, connecting both fabrics, as in the photo.
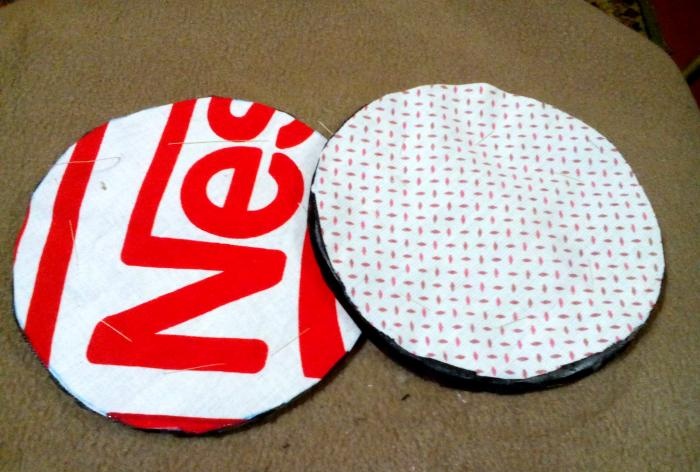
4. Assemble a “sandwich” from the base, sealant, and lining fabric. Bait in the center so that the fabrics do not mix during processing.
5. Cut strips from the lining fabric that will replace the bias tape. Place one strip along the edge of the circle from the wrong side, stitch as in the photo.
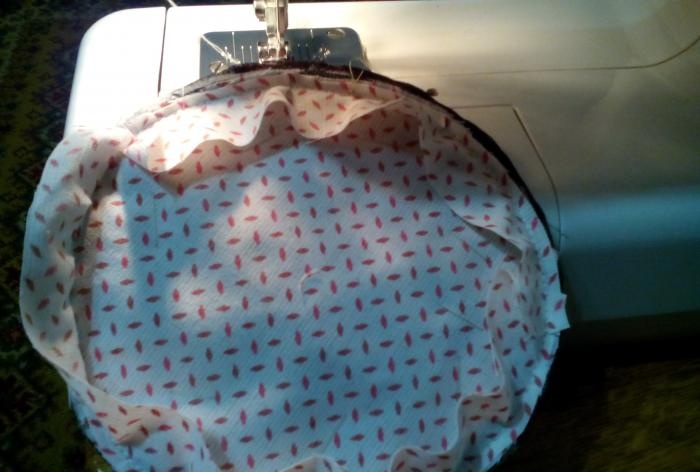
Fold along the front side and stitch so that you get into the line that went along the wrong side.
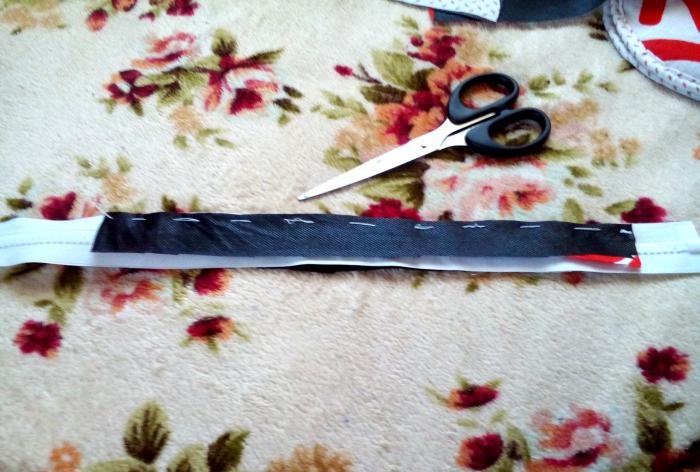
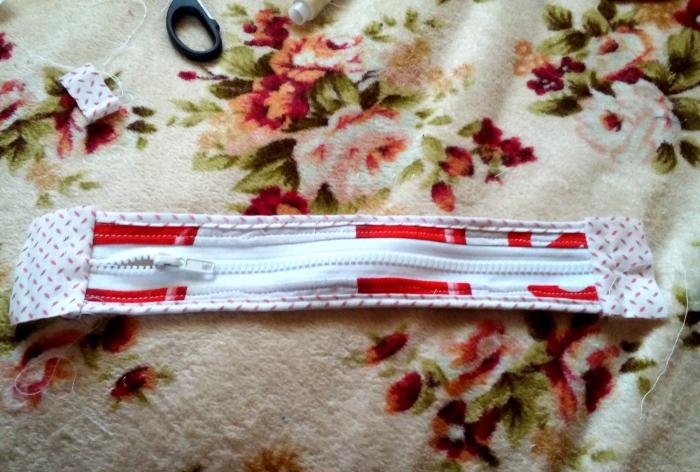
6.Start processing the zipper from the sides. For this purpose, a strip of main fabric treated with non-woven fabric. Place a strip of backing fabric on the front side of the zipper, as in the photo.
Sew and iron along the front side.
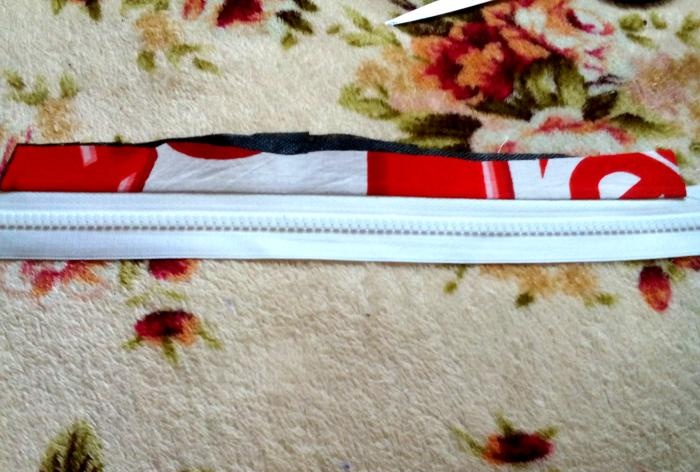
Immediately place a stitch along the front fabric, as close as possible to the zipper.
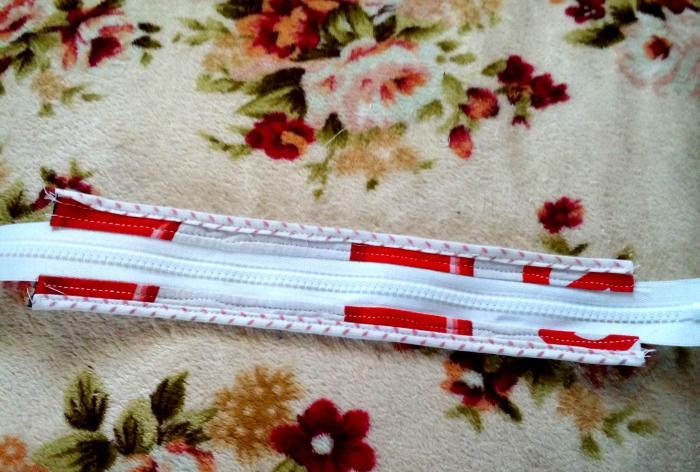
7. Finish the edges of the sewn strips with bias tape, as in the photo.
8. Cut the zipper, sew the folded piece of fabric in one layer. Sew.
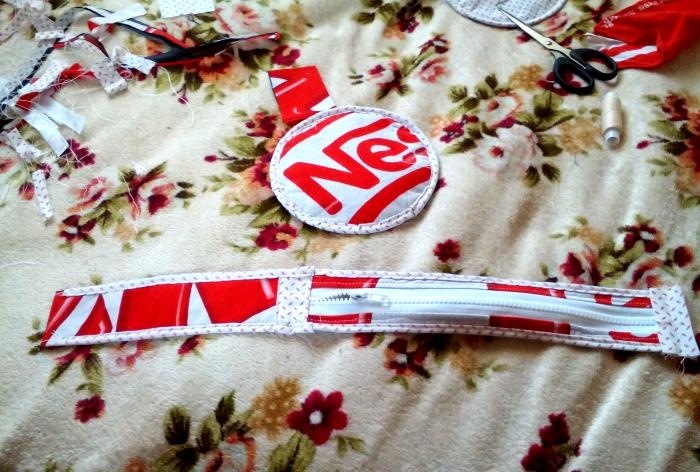
9. Cut a strip from the main fabric, connect it with a zipper, as shown in the photo.
Finish the edges with bias tape.
10. Check the length of the strip with the zipper in a circle and sew.
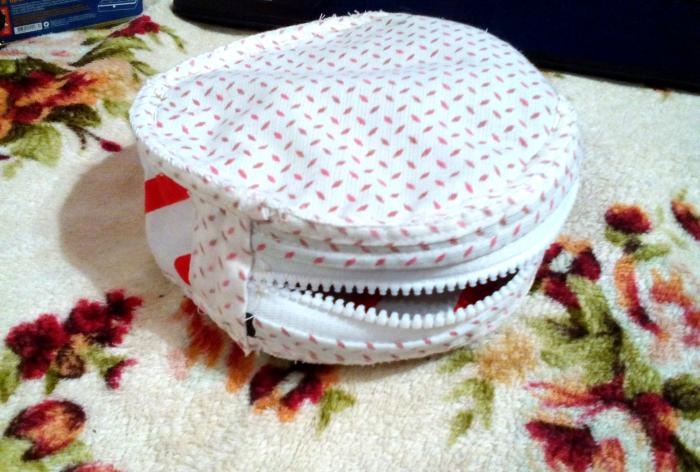
11. Sew the strip with circles along the wrong side by hand.

First with an overlock stitch, then with a reverse stitch. When sewing on the second circle, do not forget to open the zipper, so that later you can easily turn the bag inside out.
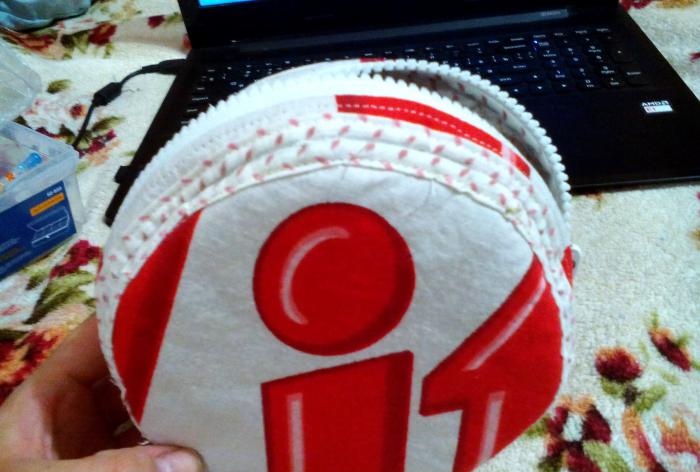
12. Sew a strip of fabric to the sides on both sides, into which pass a chain that replaces the handle. Ready.