For this you will need:
- raincoat fabric – 0.5 m;
- padding polyester with lining – 0.5 m;
- zipper – here 25 cm in the finished product.
Work order
Dimensions are shown without seam allowances!
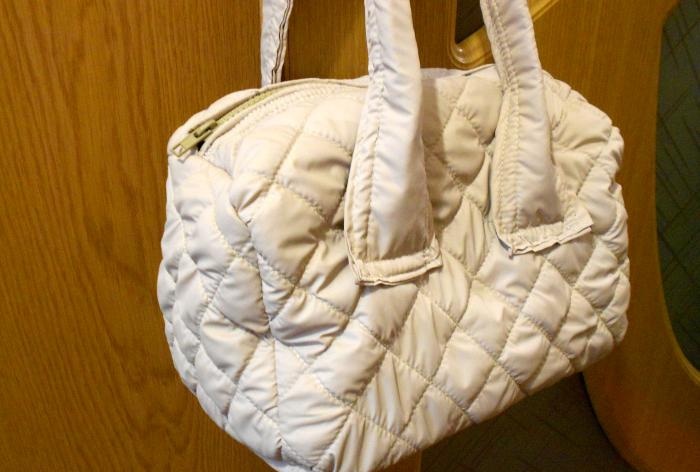
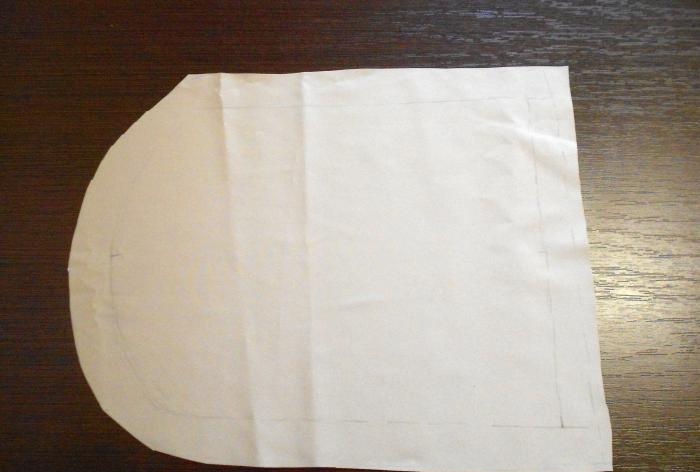
1. The bag will consist of four parts and sew-on handles. First we cut out the side part. Its width and height are, respectively, the dimensions of the bag. Here: 130x160 cm. At the same time, we round the upper edges, making a smooth transition from the side of the bag to the top. This move makes our bag look a little like a barrel.
2. The next detail is the bottom of the bag. Cut out a rectangle from raincoat fabric. Its width is equal to the width of the side part (130 cm). We choose Dina as desired (here 25 cm).
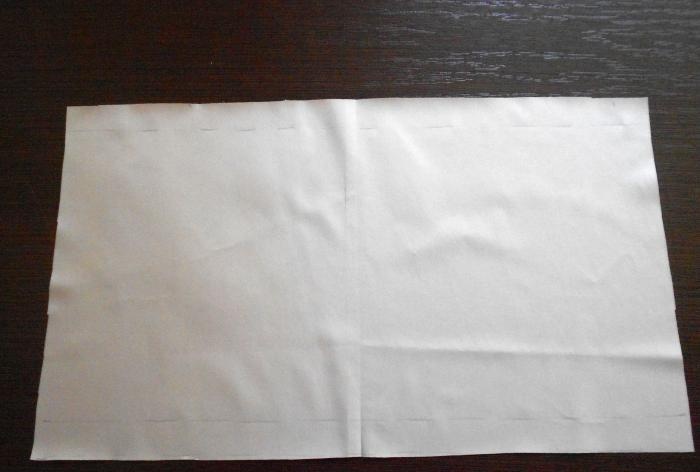
3.The side part is a rectangle made of raincoat fabric (2 pcs.). One side is 25 cm (equal to the length of the bottom). We measure the second side along the side part. Since it has rounded top edges, the easiest way to measure it is with a measuring tape. From the bottom corner of the part to the middle of the top side. Here it turned out to be 21 cm.
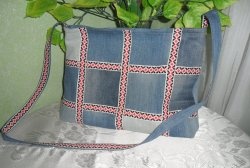
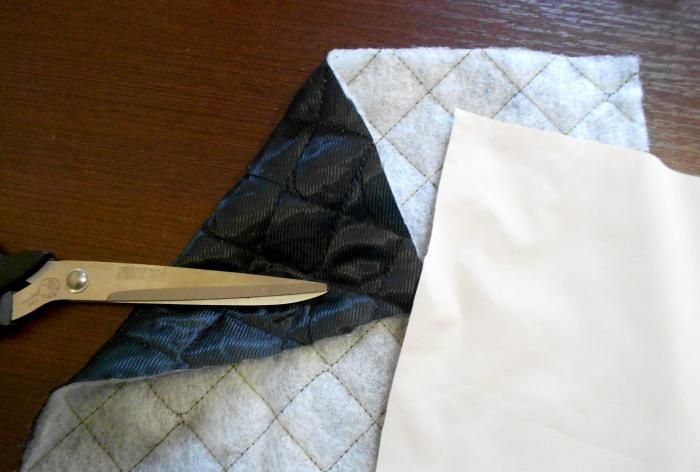
4. We cut out similar parts from padding polyester with a lining. We arrange them so that the pattern of fastening of the lining fabric is harmonious with respect to the overall design of the bag. The squares can be located randomly at an angle or strictly horizontally. You just have to remember that the appearance of the product will depend on this.
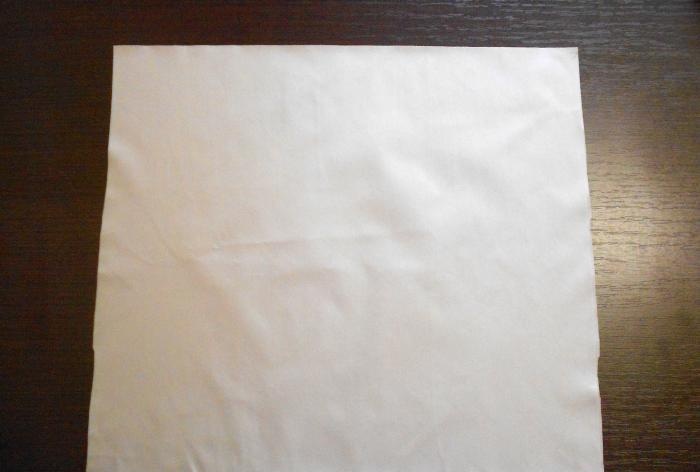
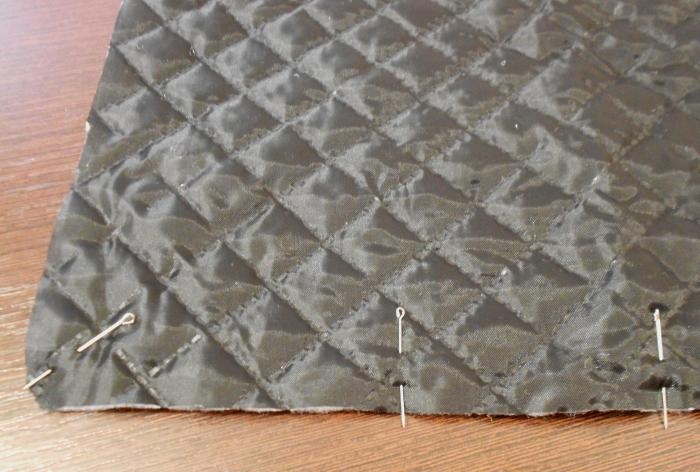
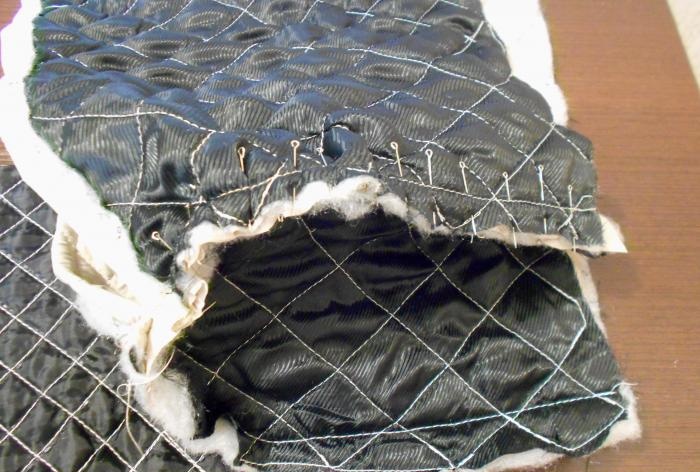
5. We pin the pieces of raincoat fabric and padding polyester together using tailor’s pins.
6. We sew them on a typewriter. To do this, we lay a line at the place where the padding polyester is attached to the lining fabric. These can be either stitches or glued lines.
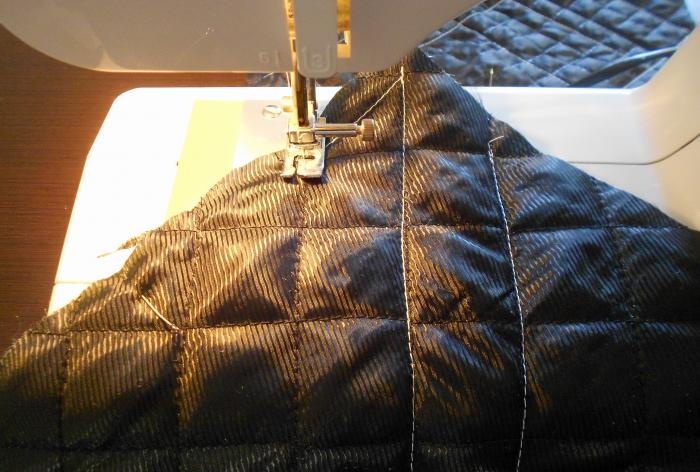
7. The main thing is to duplicate them all without missing a centimeter.
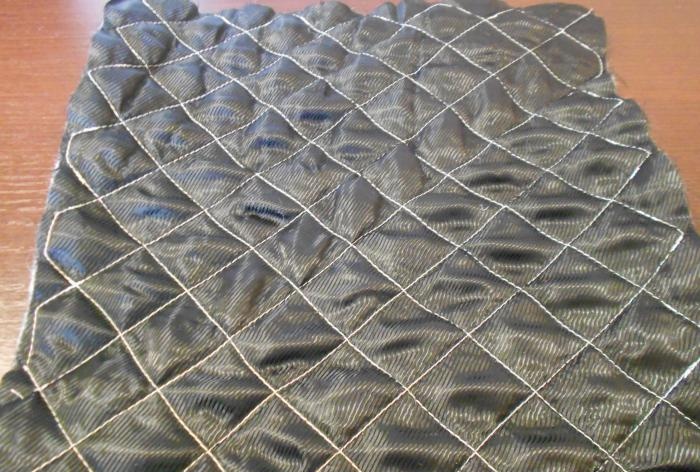
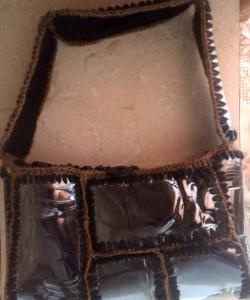
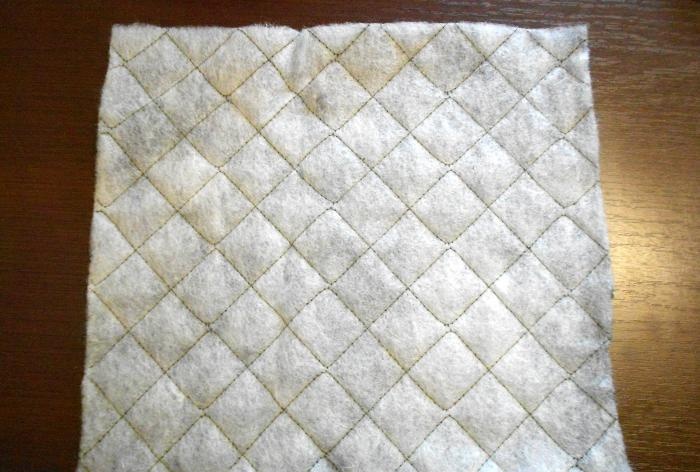
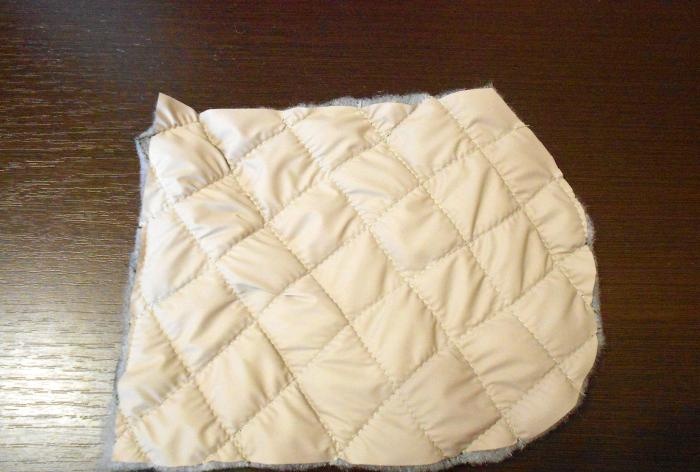
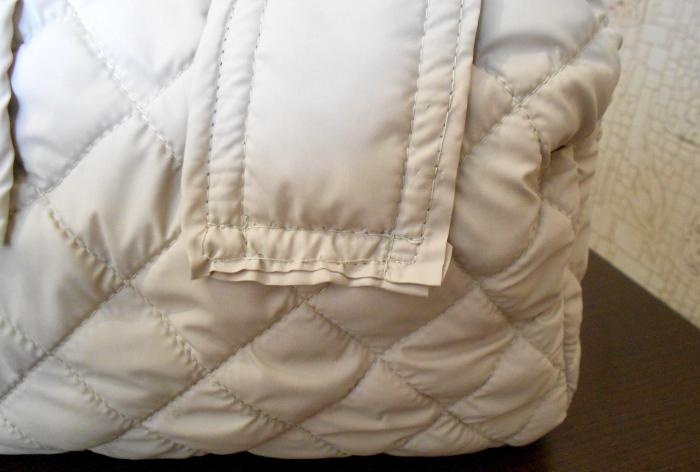
8. Thus, on the front side of the part we will get an even symmetrical pattern.
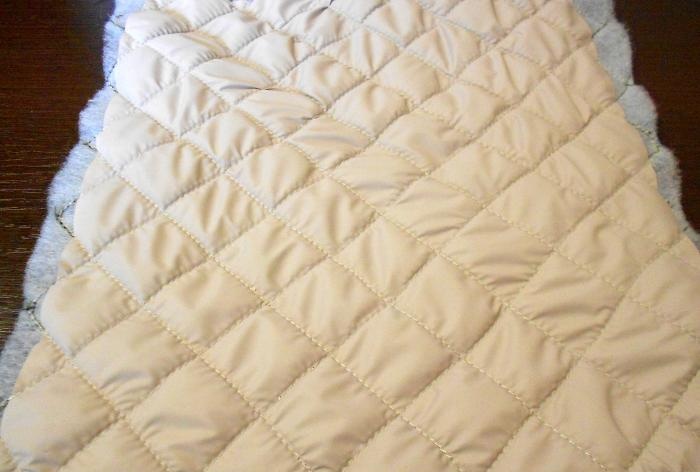
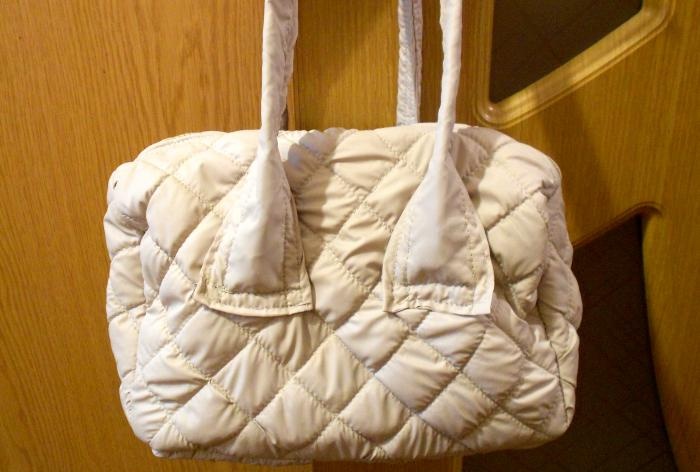
9. This is what the finished side piece will look like.
10. Packing your bag. First we pin the parts together with tailor's pins. We stitch it.
11. From raincoat fabric we cut out two strips for handles (here 12x60 cm). Made of padding polyester with lining – 6x60 cm (2 pcs.).
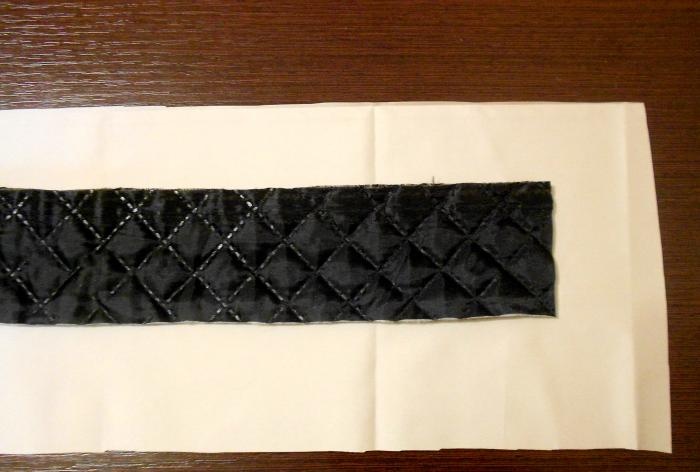
12. Wrap the padding polyester with raincoat fabric and chop it off.

13.Place a line. Maybe double.
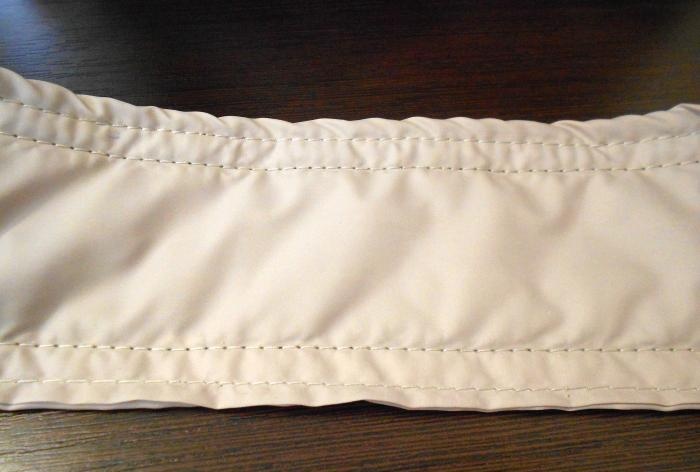
14. Sew the handles with a double seam.
15. Sew in a zipper.
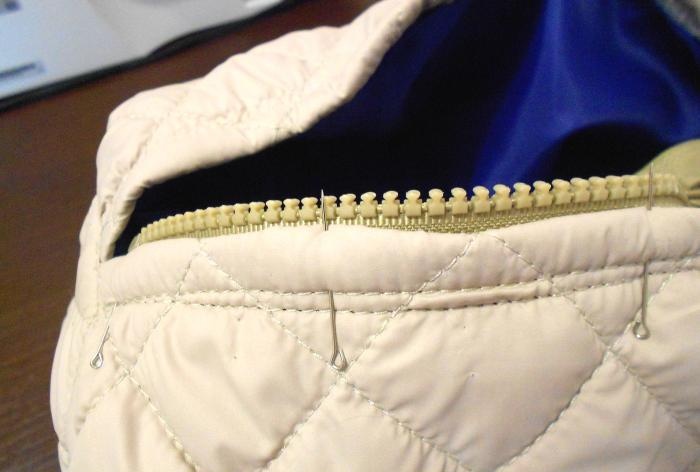
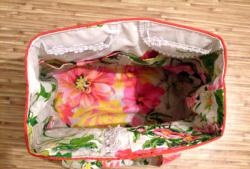
Using synthetic padding with a lining allows you to not have a lining in the bag. In this case, you just need to stitch the open sections of the fabric with bias tape. But if you wish, you can sew an additional lining.Sew several pockets to it and sew it into the bag along with a zipper.