And to make a twig we need to prepare the materials:
- - yellow plastic suede.
- - scissors.
- - wire.
- - ballpoint pen refill without paste.
- - acrylic paints.
- - lighter.
- - thin artistic brush.
- - sticky floral tape.
- - “Moment” glue.
- - foil.
- - paper tape.
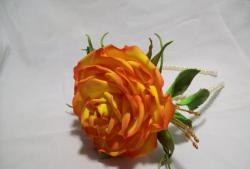
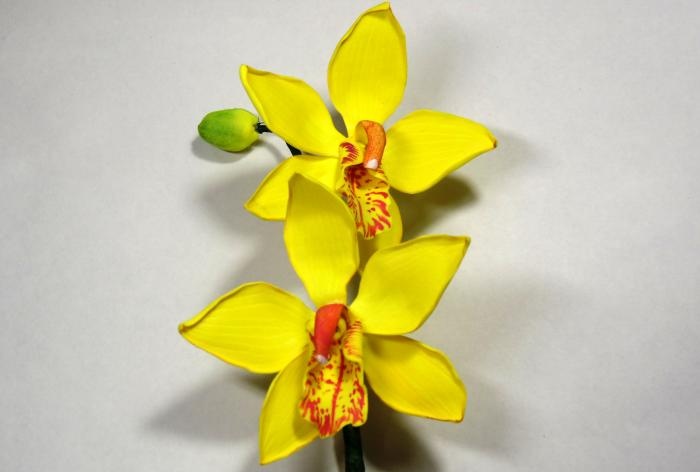
An orchid branch consists of one bud and two flowers. First of all, let's draw the shapes of the templates. The flower itself will consist of 5 petals. One central flat and two side ones with an inclination in two directions. The orchid has an interesting center with a tongue.
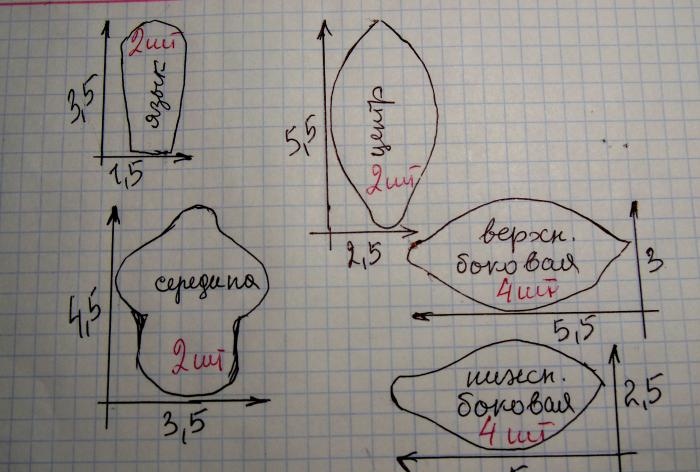
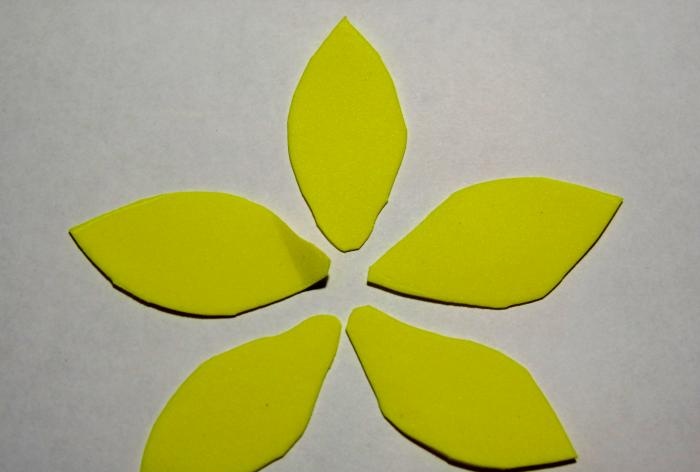
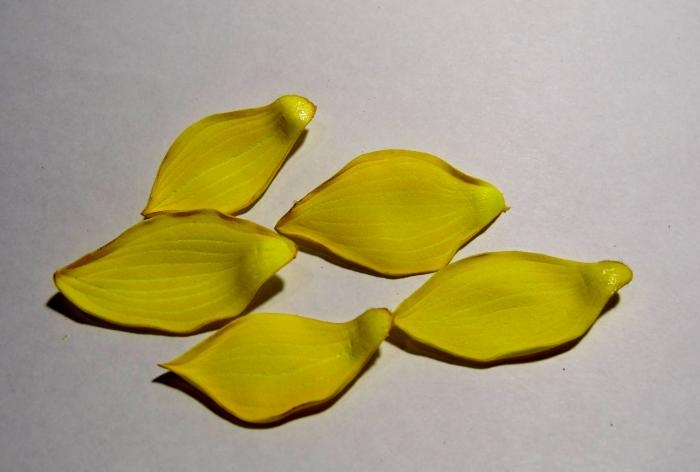
Using the prepared templates, we trace and cut out the necessary parts from the selected suede. Don't forget that there are two flowers on the branch.
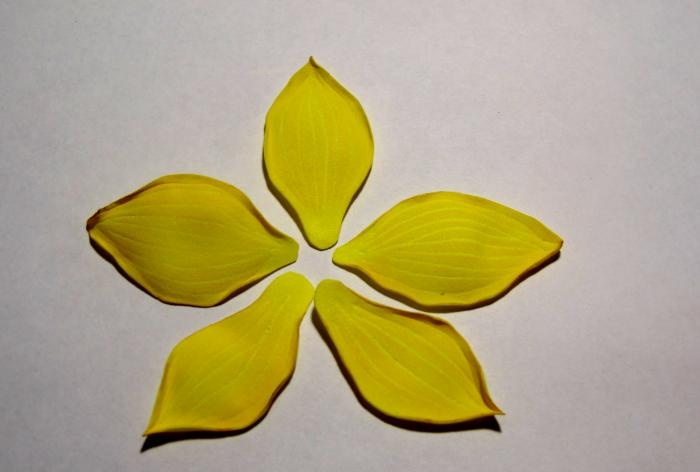
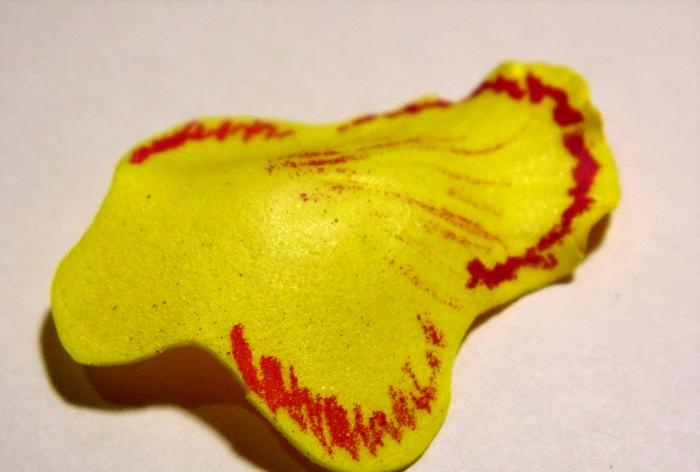
Then, in turn, each petal needs to be processed three times. First, use a rod to draw veins along the entire length of the petals. Next, take yellow paint and cover the front side a little, and the pressed stripes will be clearly visible. And for the third treatment, let's take a lighter.You should warm up the edges of the petals in small sections and immediately direct the bend of the edge onto the face of the petal with your hands.
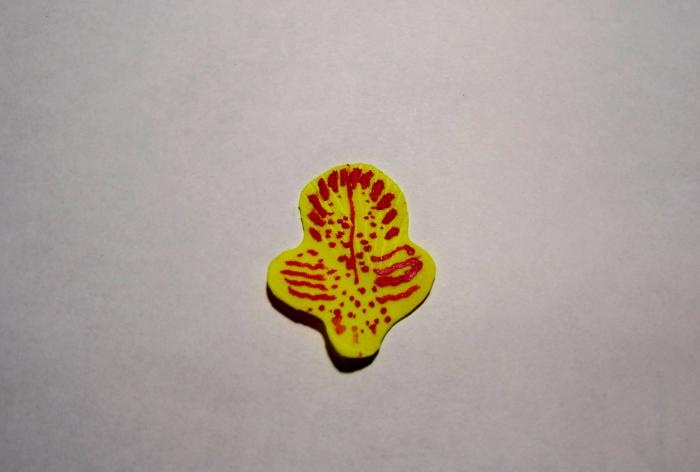
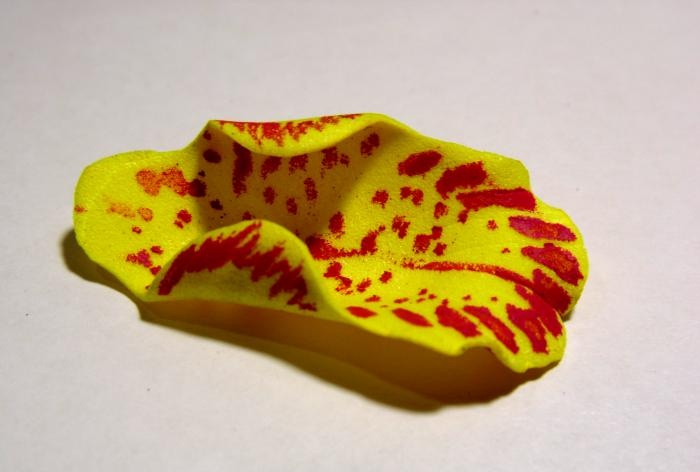
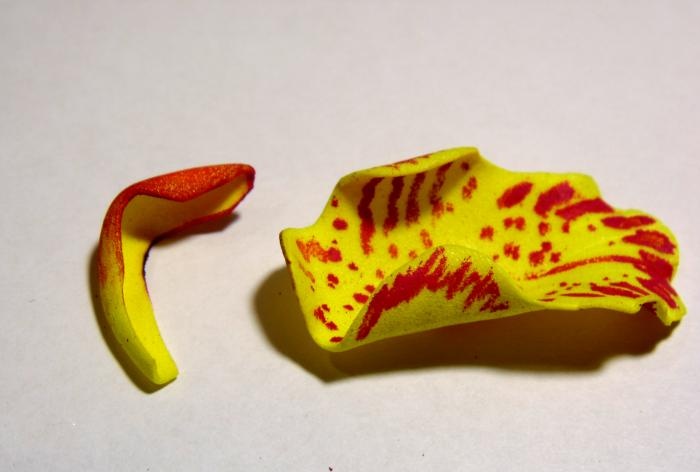
Now let's move on to the middle of the flower. Using the template, cut out the desired part from the selected suede. Prepare a thin brush and red acrylic. You can take a picture of the desired orchid. And try to try to repeat a similar drawing with paint. We paint on both sides of our blank with a brush.
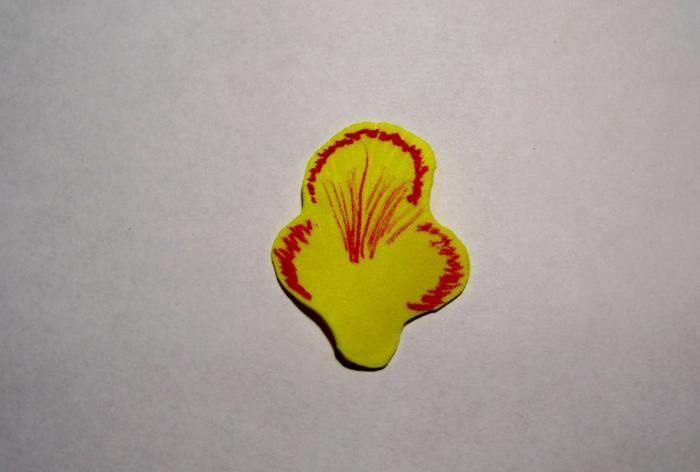
Next we move on to heat treatment of the same workpiece. Let's start with the central round part. Using a lighter, carefully heat the edge and make a small bend, repeating this several times.
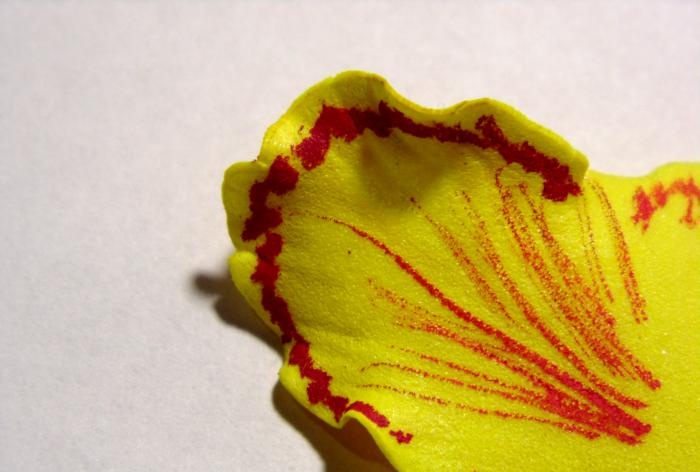
Then we heat the area in the middle of the workpiece from the wrong side and use our finger to make an indentation on the wrong side as well.
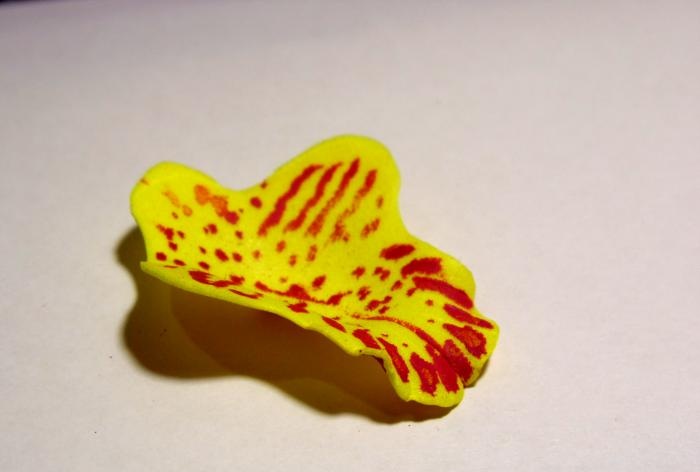
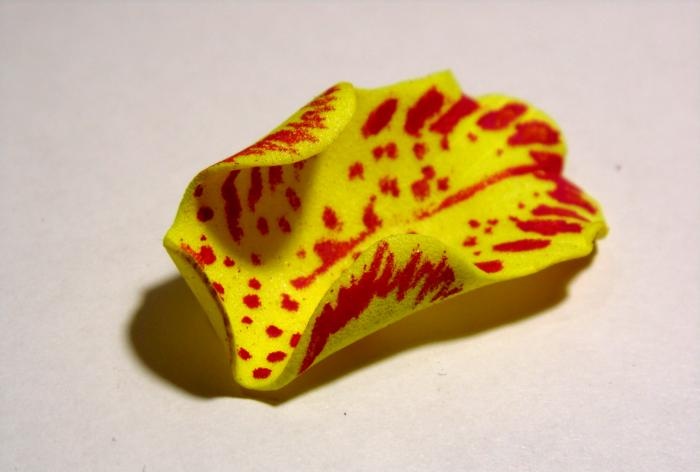
All that remains is to tilt the small side circles towards the center. We use a lighter, heat the parts and tilt them in the desired direction.
There was a small unfinished area left on this part. This is the place to which we will attach the tongue. It also needs to be tilted slightly towards the center of the part. The workpiece turned out to be of a complex shape.
Let's move on to the part that will serve as the tongue in the flower. First, paint the rounded side with a red tone, on one side.
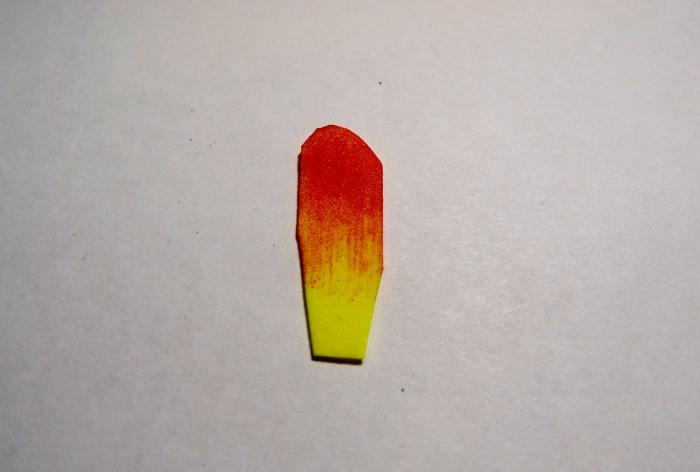
We direct the heat from the lighter from below and round this part and bend it into a semicircle.
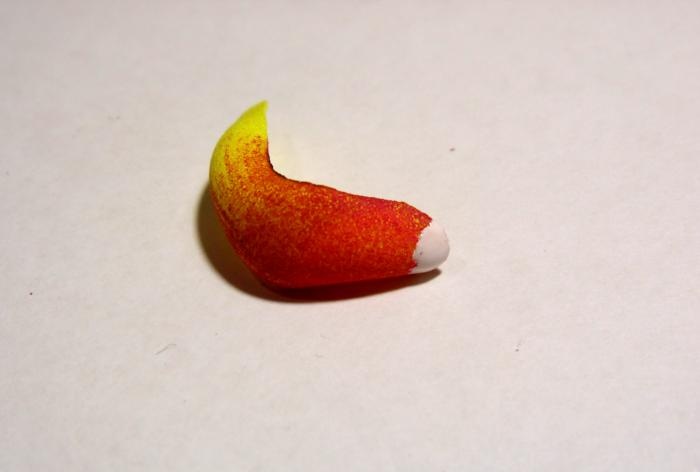
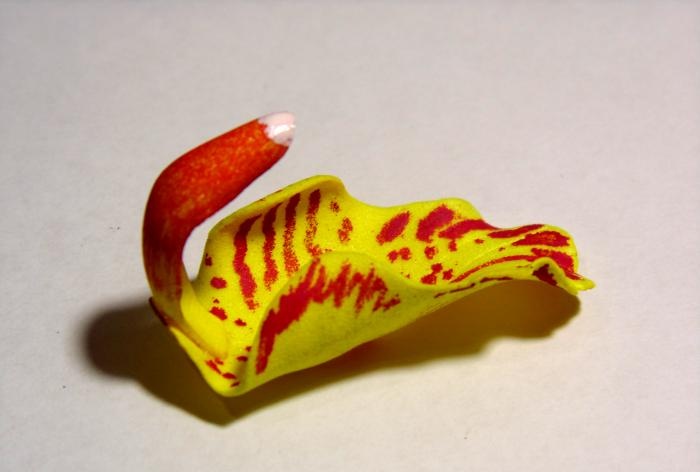
Two parts of the center of the flower are ready.
All that remains is to glue the bottom edge of the tongue to the prepared place.
Now we will make the stamen. We cut off a small strip of suede and take a wire 8 cm long. We wrap the wire itself with adhesive floral tape.

Glue the yellow strip to the edge in the shape of a barrel.

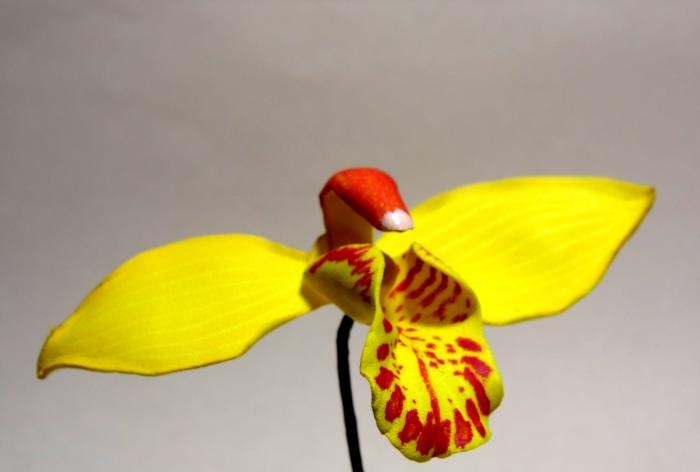
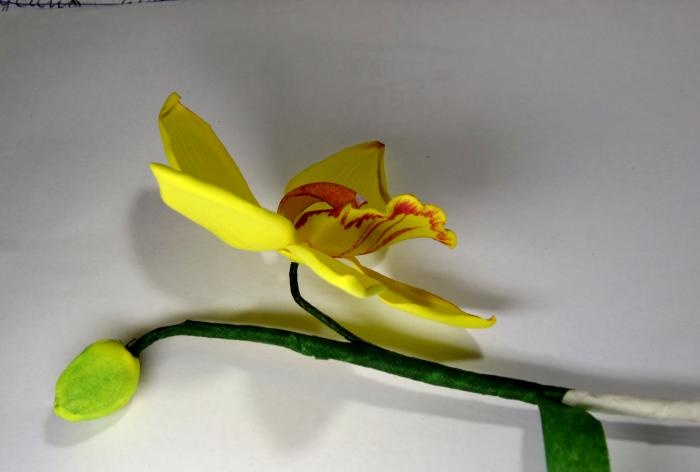
And so, all the details of the orchid are ready. Let's move on to assembling the flower. First we glue the stamen, pierce it with wire under the base of the tongue. We glue the stamen, and the wire itself will serve as the stem of the flower.
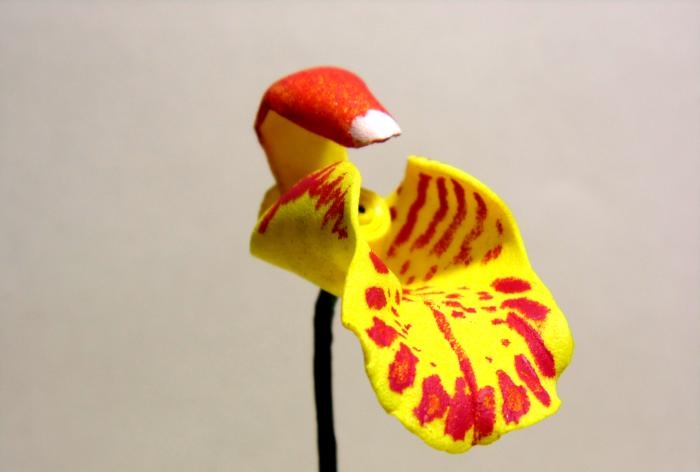
We warm the bottom of all the petals with a lighter and slightly tilt the edge downwards, away from the front side.
Next we attach the two upper side petals. We place them horizontally relative to our middle, on its wrong side, near the wire.
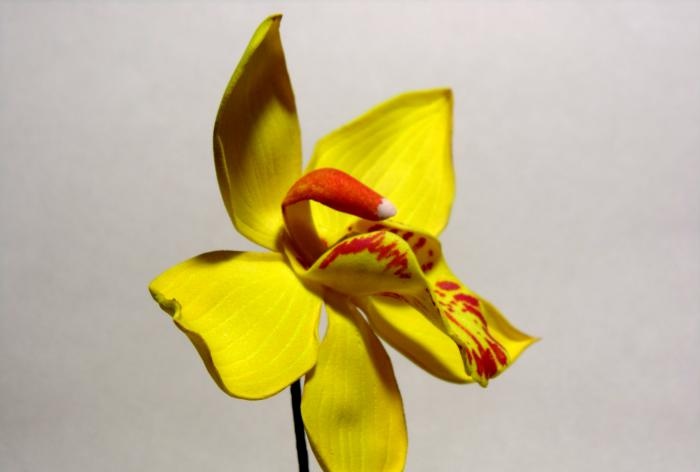
Next we glue the top petal and only then place the two lower side petals. We glue all the parts at the bent bottom edges and place them around the wire. All petals should not be pressed tightly together. But if you get an unsightly edge on the reverse side, then it is better to cover it with a small circle of suede.
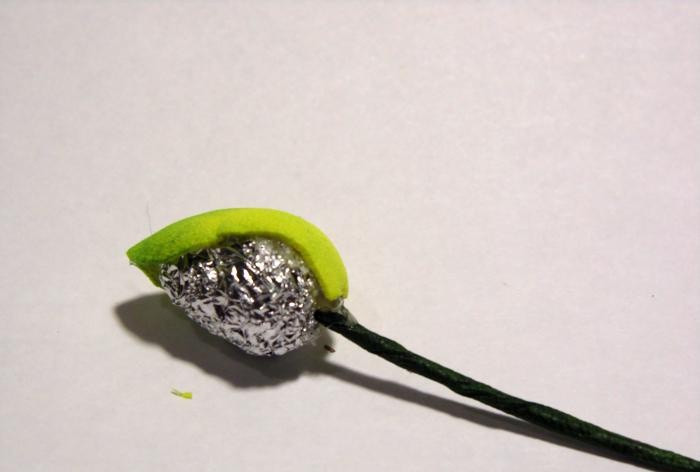
Don't forget that there will be two flowers on the branch. And we move on to making one bud. Cut a strip of yellow suede 1 cm wide and six cm long. Divide it into 3 parts and round two corners on one side. We get three long petal shapes. Then we tint the upper part of these blanks green. We wrap a small piece of wire with tape and attach a small ball of foil on top. The petals should be slightly higher than the foil part.
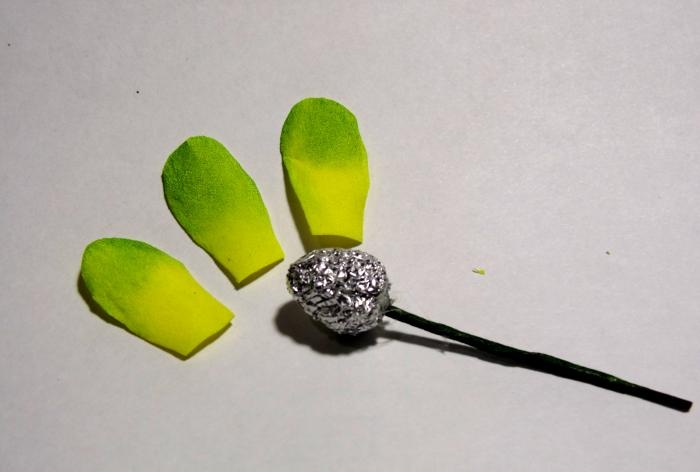
Then we simply glue all the petals in a circle onto the foil. The bud is ready.

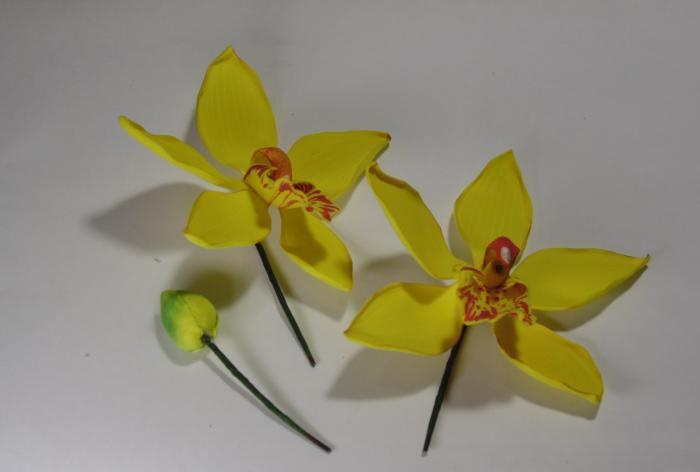
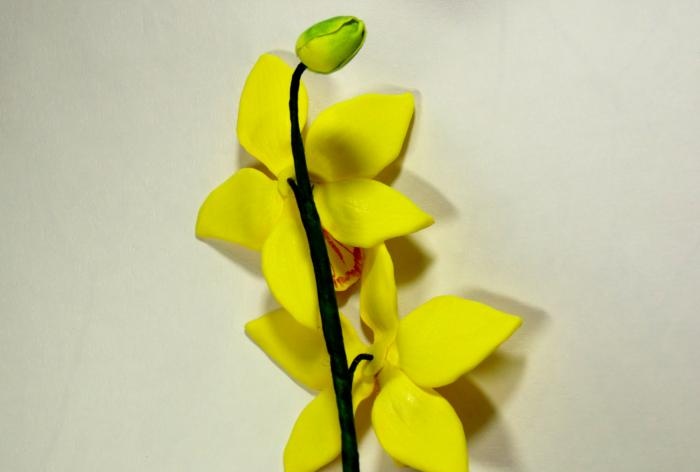
As a result, we have two flowers and a bud.
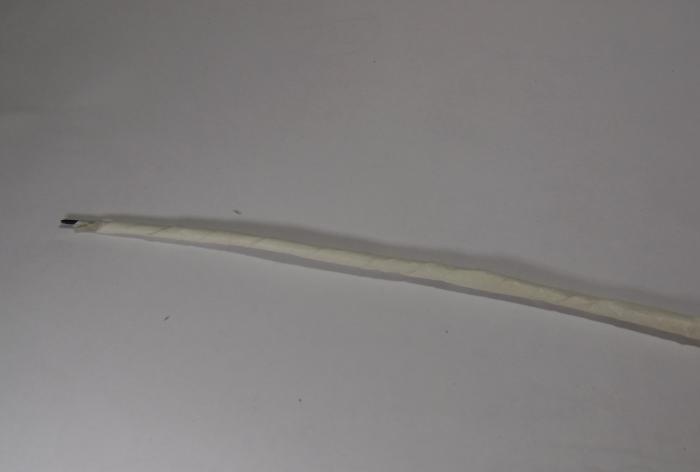
We now move on to assembling the branch. We make the base from two pieces of wire 25 cm long. We wrap two pieces at once with paper tape, we get the base for the branch.
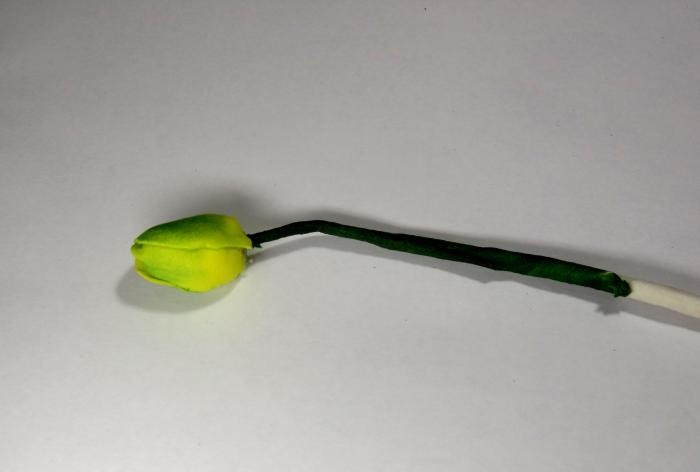
First we attach the bud to the branch. We place it slightly above the base and fasten everything together with green floral tape. We go to the base and wind it about three cm. We immediately make a small bend on the stem of the bud.
Next we apply the base of the flower and wrap it well, gradually lowering down.
We attach the second orchid and wrap the ribbon around the entire remaining branch.

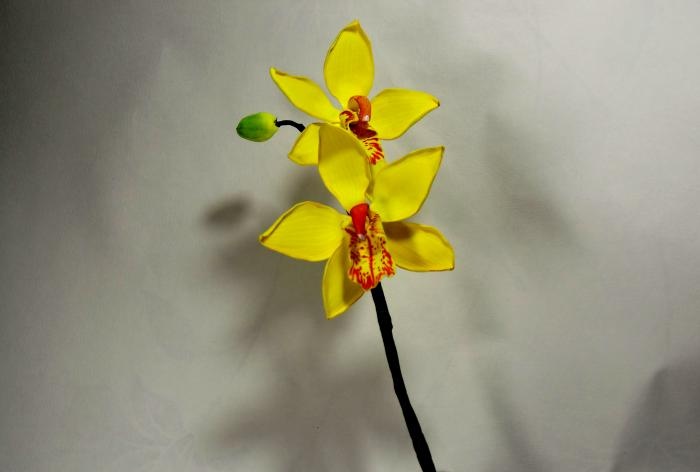
Flowers can be given the desired tilt and direction.Don't forget about the wrong side, which should also be neat.
The branch has been collected and can be used in interior compositions.
Good luck to all!