To make such a product you will need the following materials:
- weft clip 12 cm long.
- oil pastel.
- lighter.
- foamiran, white, green and slightly red, 1 mm thick.
- scissors.
- glue gun.
- corrugated paper.
- iron.
- two medium-sized beads.
- wire.
- household foil.
- double sided tape.
- floral tape for stems.
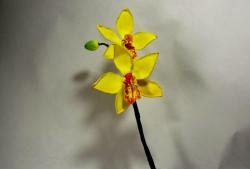
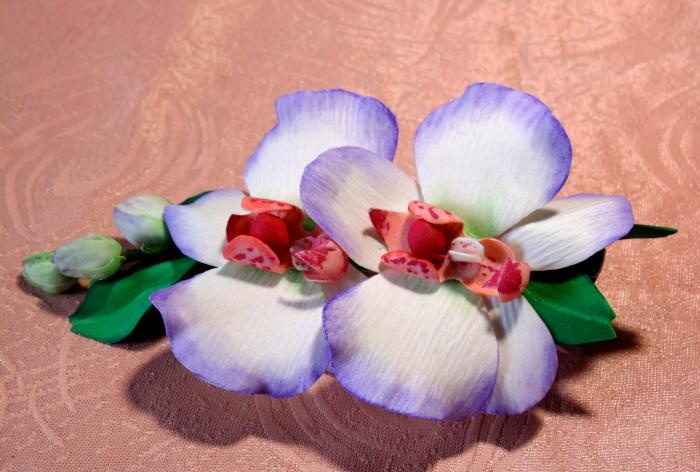
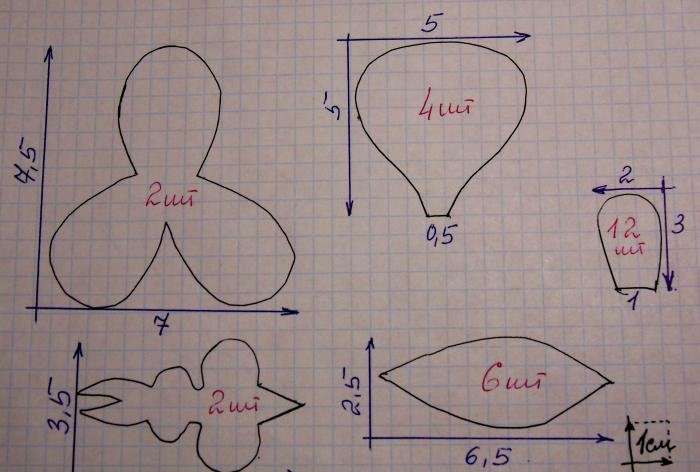
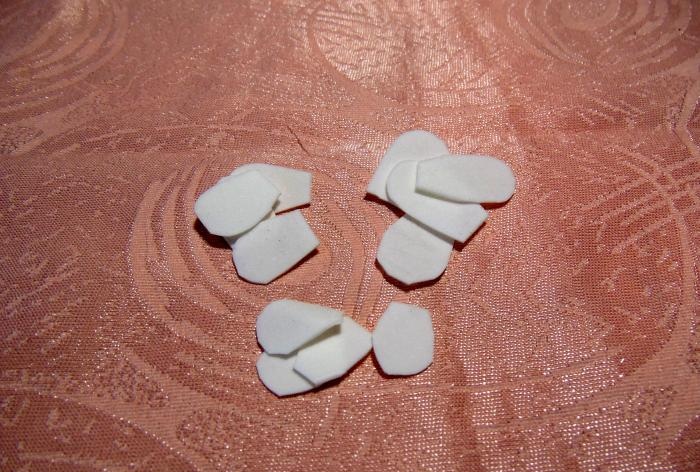
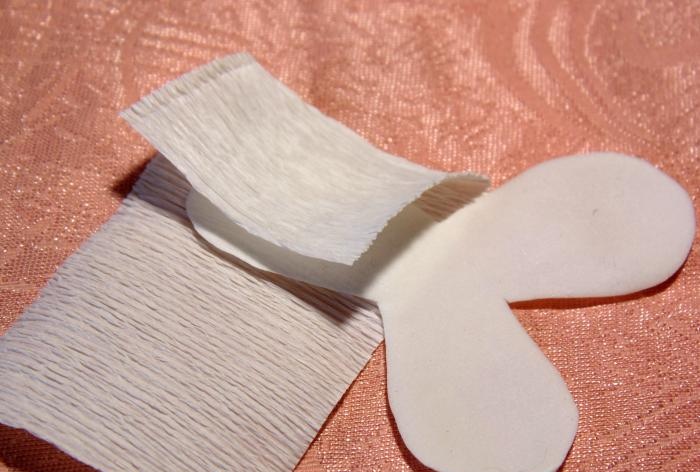
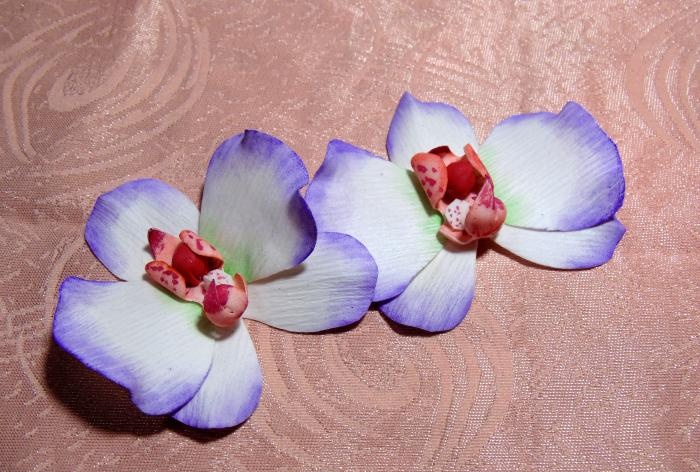
The composition will contain two orchid flowers, three buds and 6 leaves. Let's start with templates for the details. The large part looks like a trefoil; you also need round blanks on the leg. And for the middle of the flower we draw a detail that looks like an unusual bird. For the buds there will be a rectangle with a rounding on one side. The shape of the leaves is similar to a boat.
Using a toothpick, trace the templates over the prepared material the required number of times and cut them out. The leaves will be green, and all other parts will be white plastic suede.
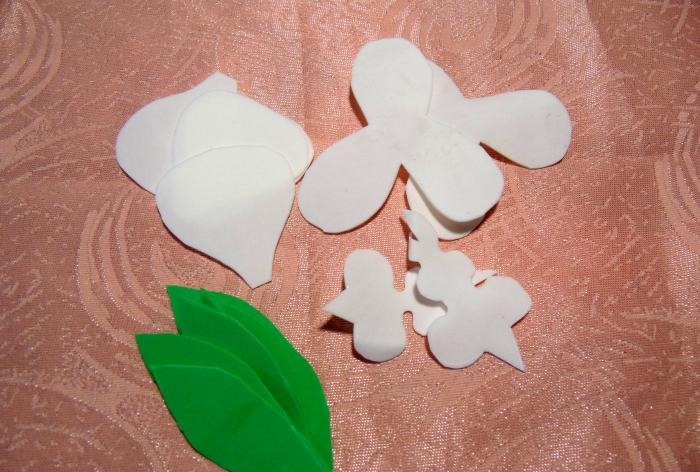
Don't forget about the details for the buds.
Let's start coloring with them. Let's take green and purple pastels. And one by one we will process the small petals on one side only.

The rounded edge will be purple and the bottom of the petal will be green. We pass the pastel over the workpiece and rub it with our fingers, making smooth transitions.
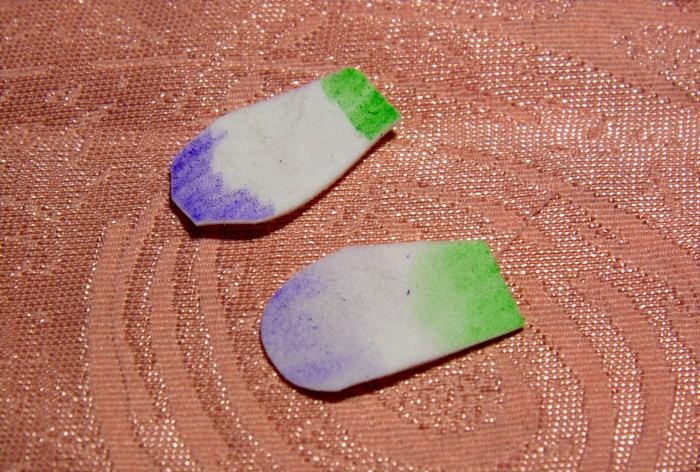
We process all 12 petals in this way. If you wish, you can make 4 blanks only in green.
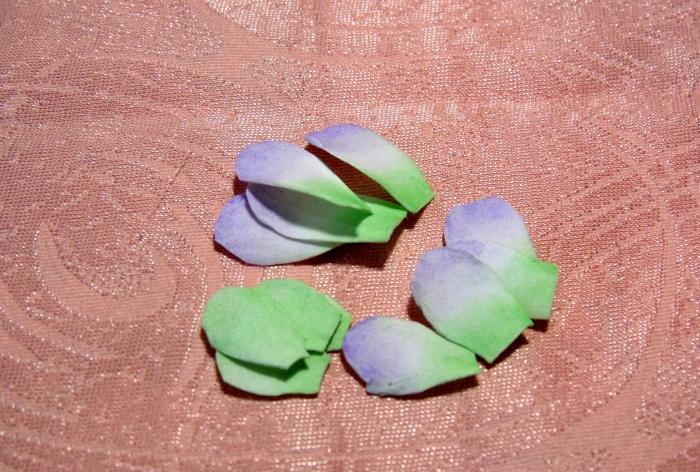
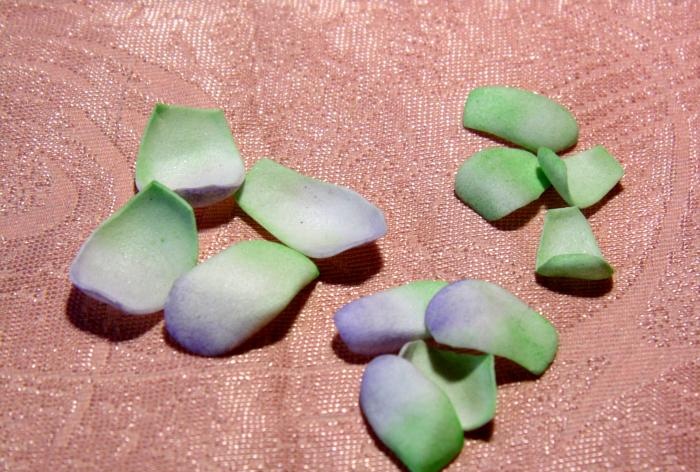
Then you need heat treatment with an iron. Place the untreated side on the hot surface of the iron. The part shrinks, remove it, straighten it.
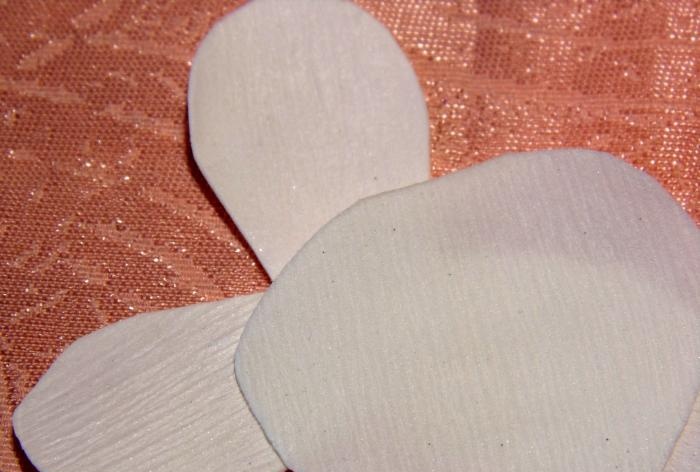
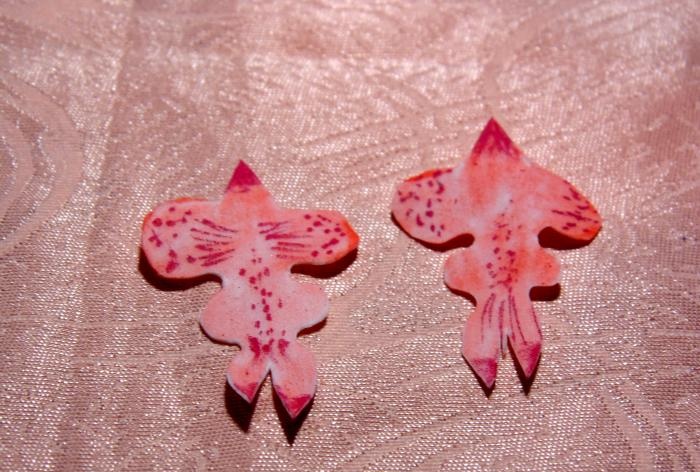
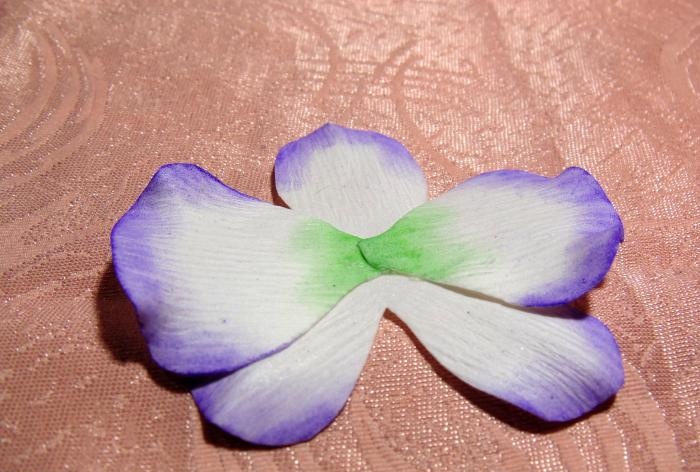
Let's move on to the petals of the orchid flowers themselves. Here we will first process it with an iron. You will also need a strip of corrugated paper. Let's take a part with three petals, which we will alternately place between two layers of paper. And put it with the paper on the iron, warming it up a little on both sides. Then we simply press the treated area with our hand on the table. There will be a good imprint of stripes on both sides.
In this way we decorate all the petals of the flower. We only monitor the correct direction of the lines on the paper.
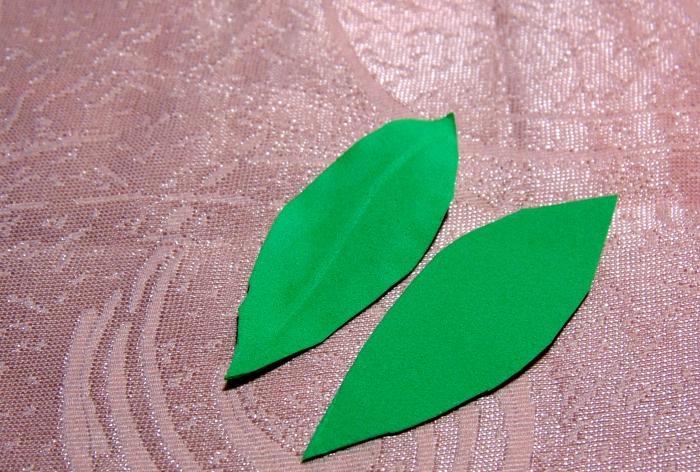
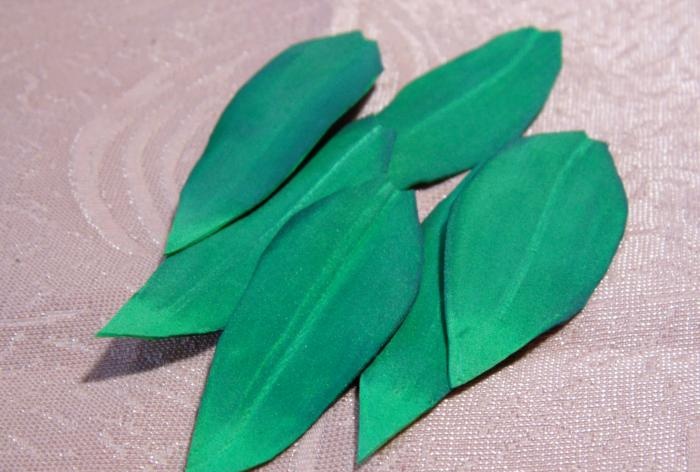
For green leaves there will be another treatment. First, use a toothpick to press out the main middle vein on each piece. Then we simply smooth out the edges of the leaves with our fingers, thinning the parts along the entire perimeter. The difference is immediately noticeable.
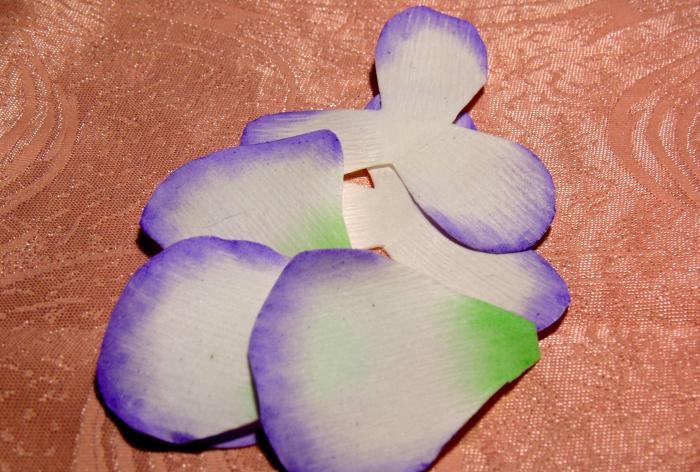
Meanwhile, the flower petals have cooled and are holding their new shape. Let's move on to coloring them. The edges of all parts will be finished in purple. And for round blanks, the leg should be made green. Don't forget to process the end of the petals.
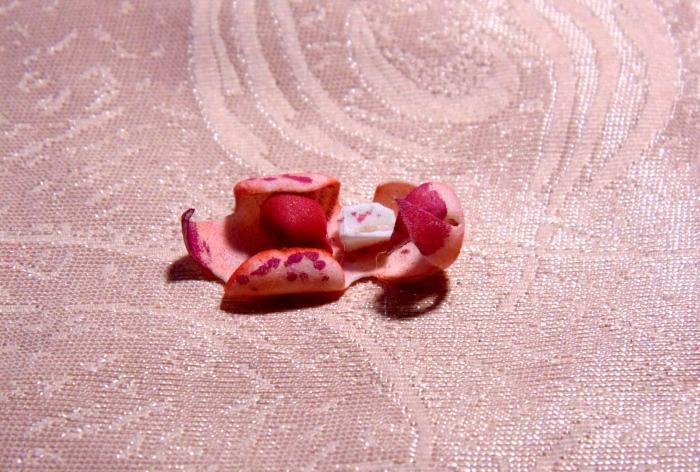
It's time for a funny-shaped detail. We will use red for decoration. We tint the entire detail. Additionally, we put a lot of small dots and stripes. Drawing on both sides.
Additionally, you need two small parts 1 cm long and 0.5 cm wide.Fold in half, cut off two corners and glue inside the fold, leaving 0.5 cm of edges free. We bend them to the sides and put red dots on these wings.
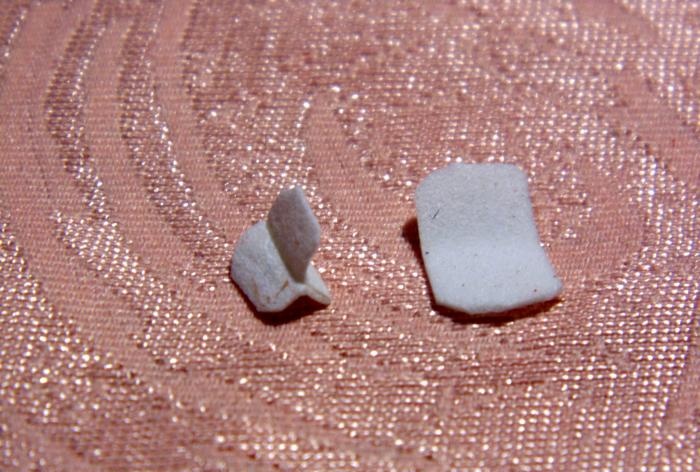
Now the bead should be covered with red suede. We drip hot glue into the square, place a bead, and while the suede is warm, twist it well. We cut off excess material.
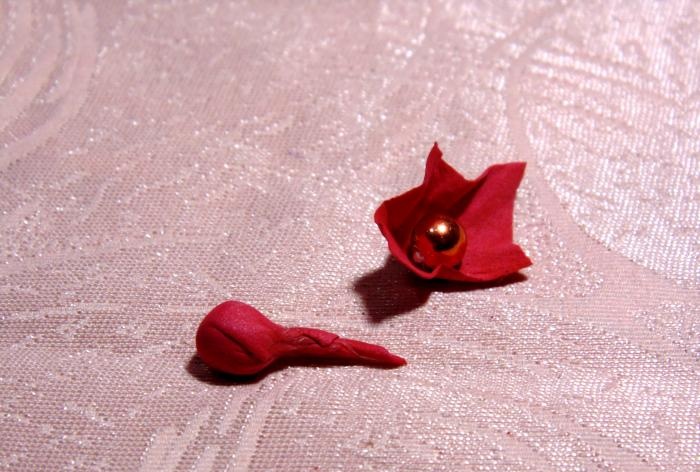
Let's return to preparing the middle of the flower. Next, we heat the large wings with the heat of a lighter and they themselves bend inward.
The remaining half with the tail should also be bent towards the middle of the workpiece. Then we glue the processed bead between the large wings, and attach the small white part between the smaller roundings.
Let's move on to assembling the flowers. It's very simple. Place the trefoil with one petal pointing straight up. Next, we glue two round petals to the middle of the first part, with the legs in the center, and direct the blanks themselves to the sides.

Then, to add life to the flower, use the heat of a lighter to make small waves on the edges of the petals.
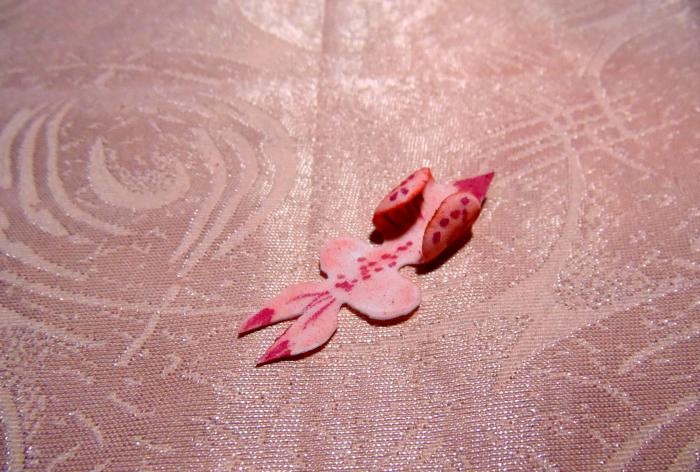
And finally, we glue a red piece with dots into the middle of the orchid. Place the bead facing up. The flowers are ready.
Now we will form the buds. We cut the wire 10 cm and two pieces of 5 cm. Roll balls of foil, measuring the size according to the length of the petals of the bud. We fix the wire with glue in the middle of the foil base.
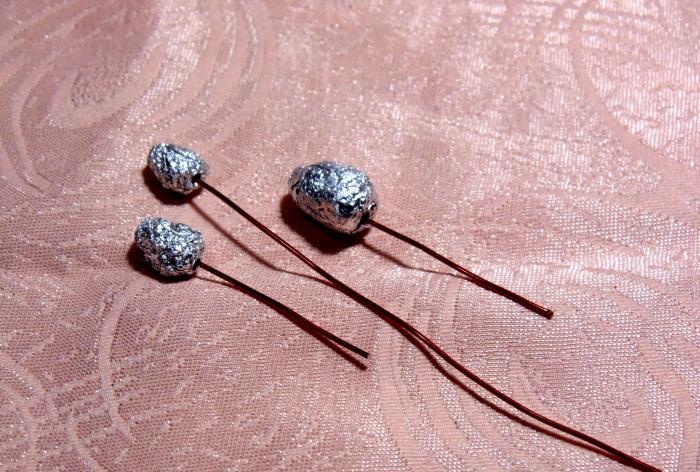
For each bud we use 4 petals, with them we cover the entire foil base well, on all sides. We take into account that the green color will be located at the bottom of the bud.
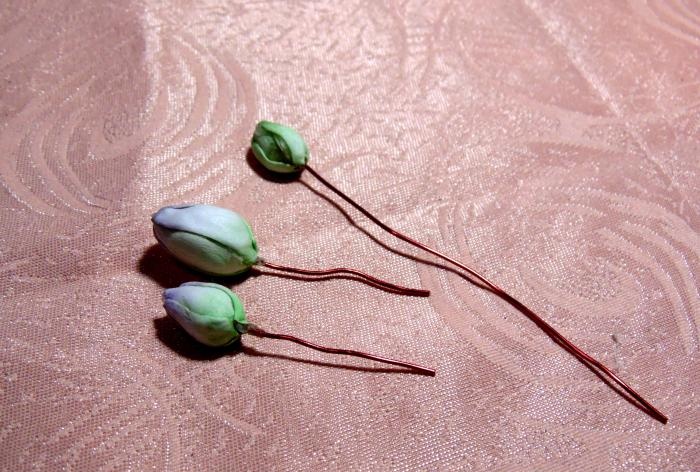
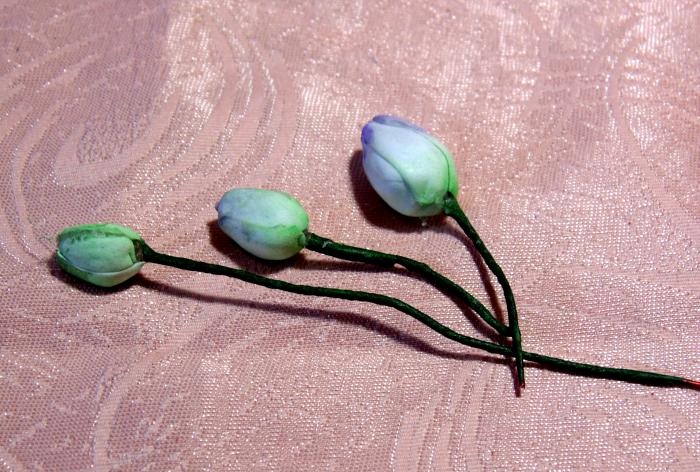
Finally, we wrap the wire with a special adhesive tape. The buds are ready.
There are leaves left. Let's take a green pastel in a darker tone than the blanks. Paint one side.
And we’ll attach just two leaves to a 7 cm long wire. We will also treat the stems with tape.

All the details are ready and let's begin preparing the basis for the entire composition. Let's take double-sided tape and attach one side to an iron clip where we will place the flowers. Trim off excess material on the sharp edge.
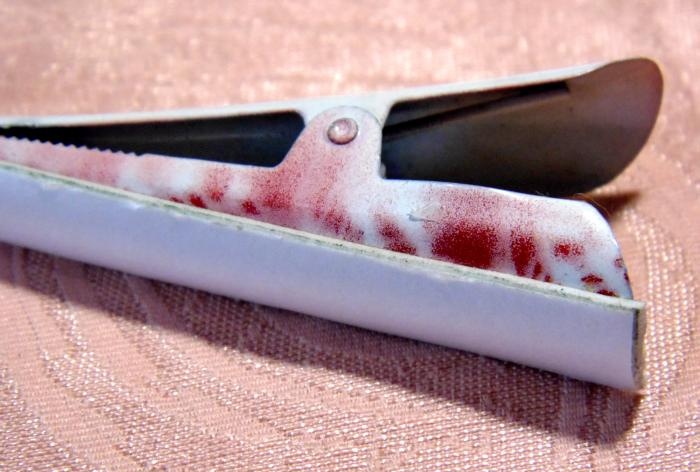
Then remove the paper from the second side of the tape and press the green strip of suede onto it. This treatment will securely hold the entire decoration on the clamp.

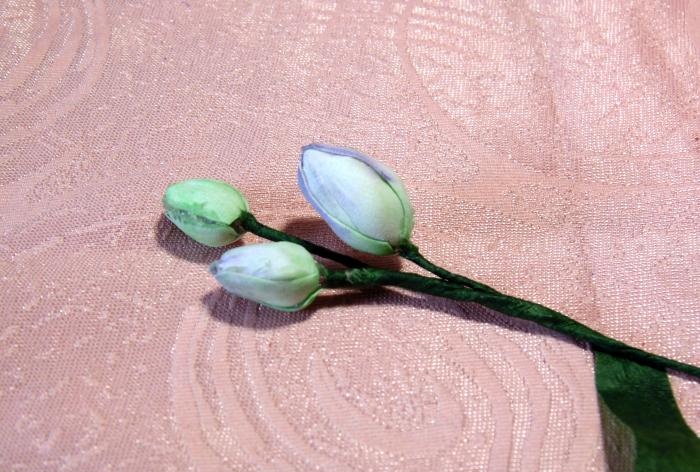
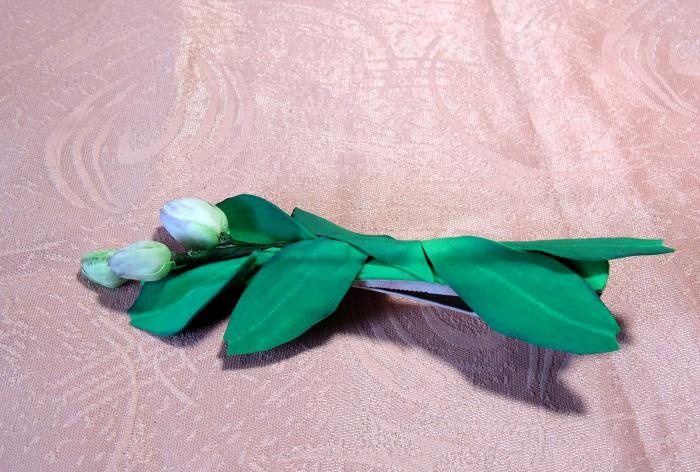
And let's start assembling. Let's start by connecting the buds. The first will be the part on the long stem; below it we attach the second bud with adhesive tape. And we press the third workpiece even lower than the first.
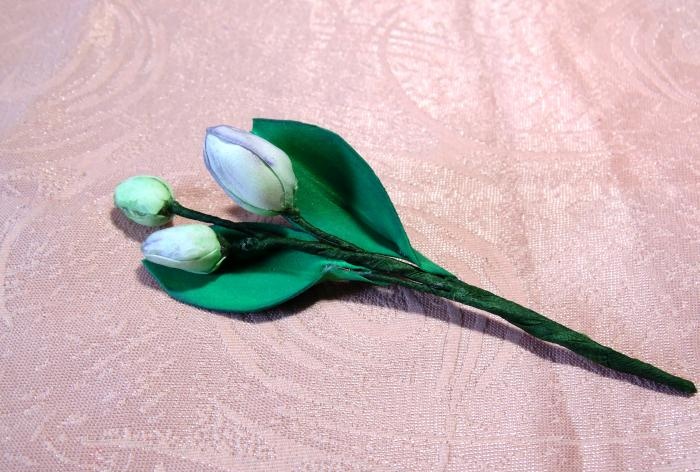
Then we place two leaves on the stems, we get a bouquet of buds.
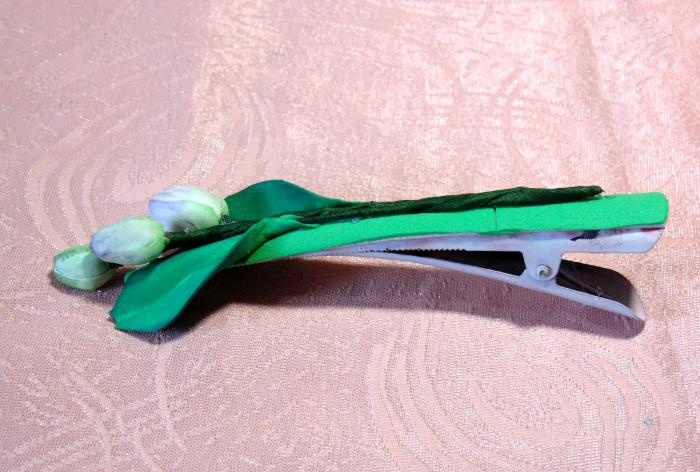
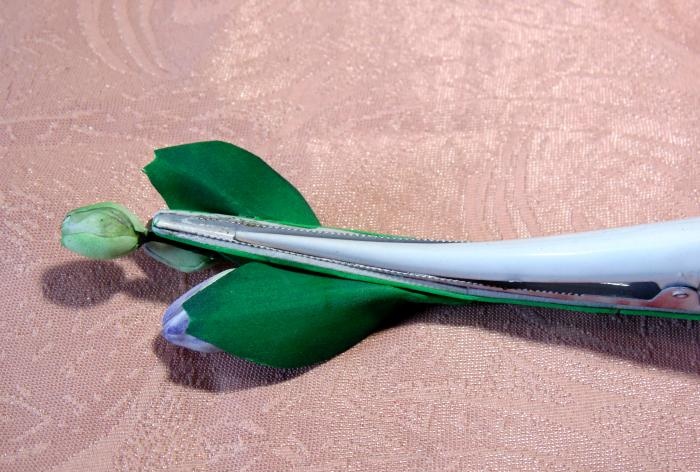
Now you need to glue it well onto the prepared base. The first bud will be on the sharp edge of the clamp, and the stems should not be longer than the entire iron base.
Next, we attach the remaining 4 sheets after the buds to the free space, placing two in one direction and the other. We are preparing a place for flowers.
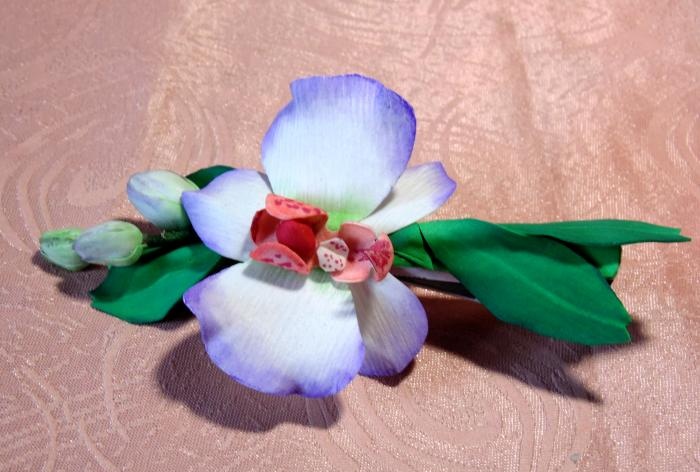
We glue one near the buds.
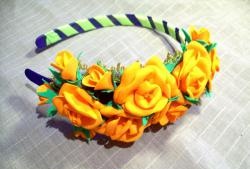
And we place the second orchid not very close to the first flower. We leave room for fingers on the wide edge of the clip to make it easy to use when attaching it to your hair.
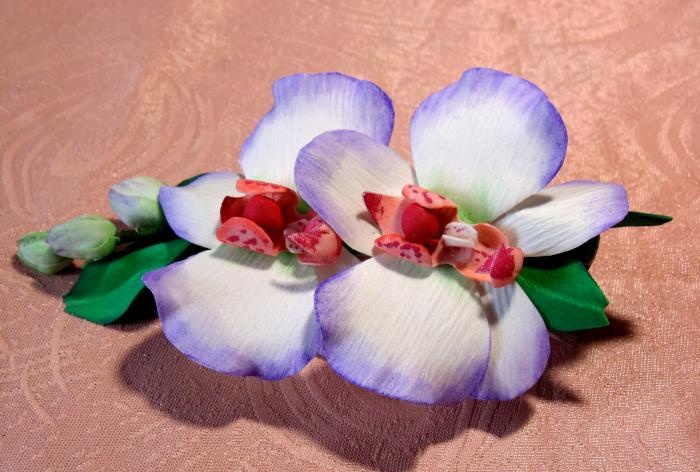
Don't forget about the wrong side, on which everything should also be neat. The decoration is ready.
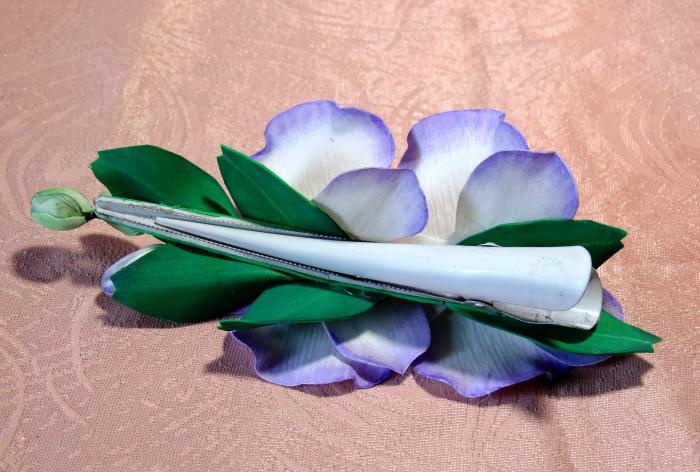
Good luck to all!