In our work we will use:
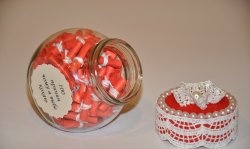
- a small plastic container with a screw-on lid.
- paper tape.
- scissors.
- pink fabric for the box.
- a little shiny film.
- red braid.
- “Moment” glue.
- iron.
- shiny plastic suede in red and green colors.
- plastic sheet imprint.
- toothpick.
- ear stick.
- stamens for flowers.
- glue gun.
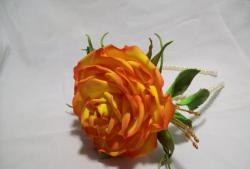
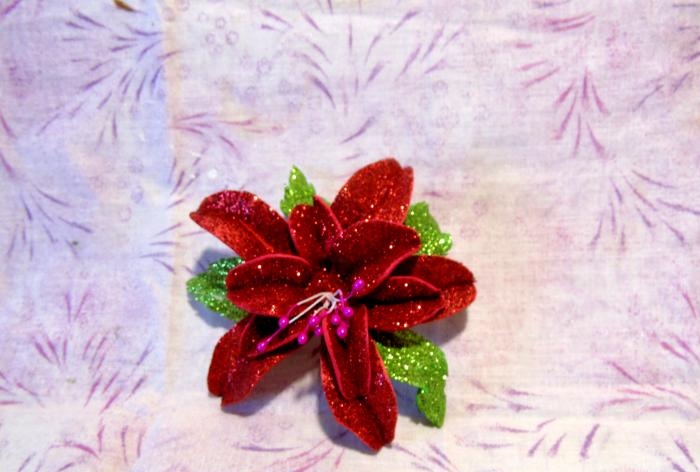
First, let's start with making the flower. We make templates. From a circle with a diameter of 7 cm, draw three petals with a common middle in the center. We also need individual petals 5.5 cm high. Additionally, we outline leaves with sharp corners.

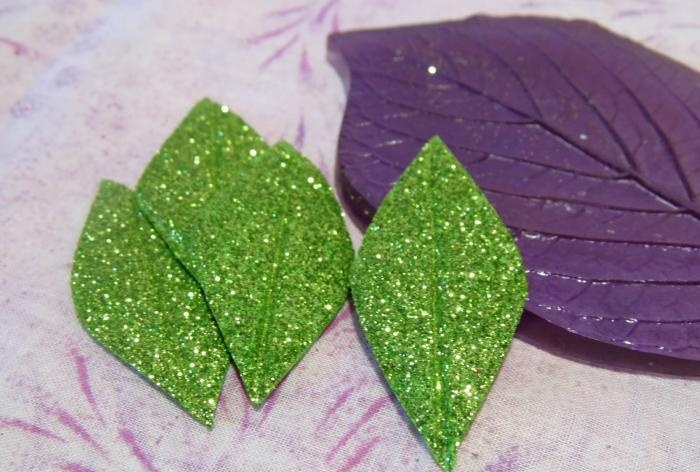
And let's start cutting out parts using suede templates. Three triple red petal circles, individual 5 petals and 4 green leaves.
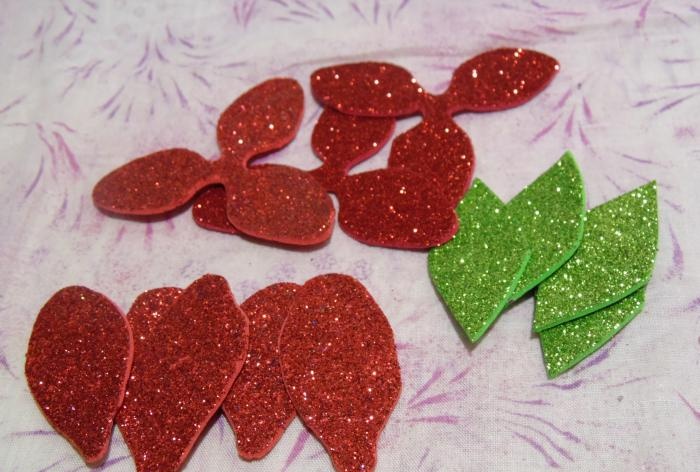
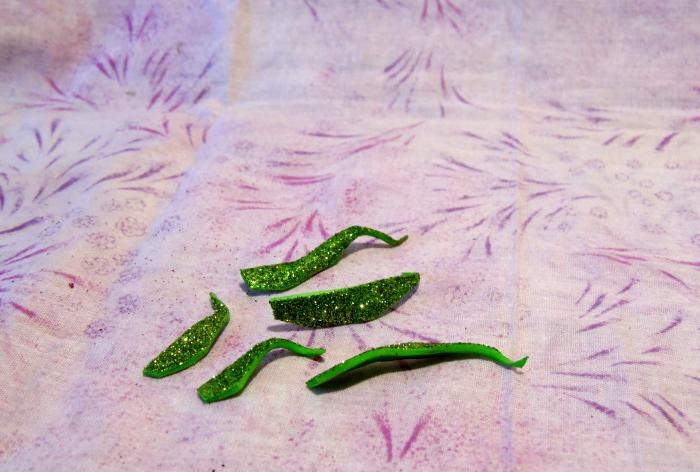
And green trimmings will still be needed to decorate the bud.
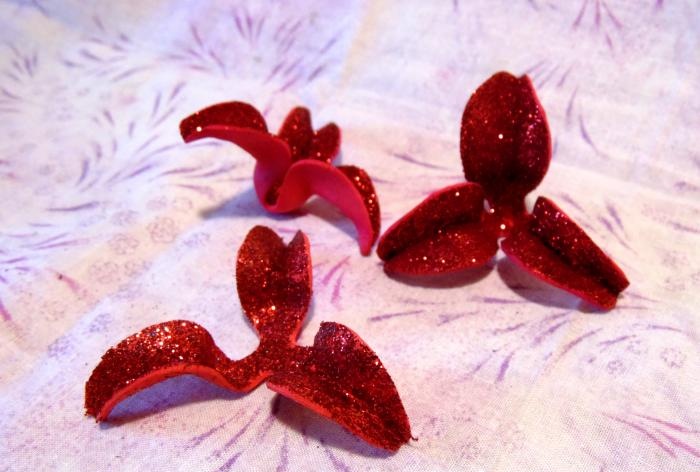
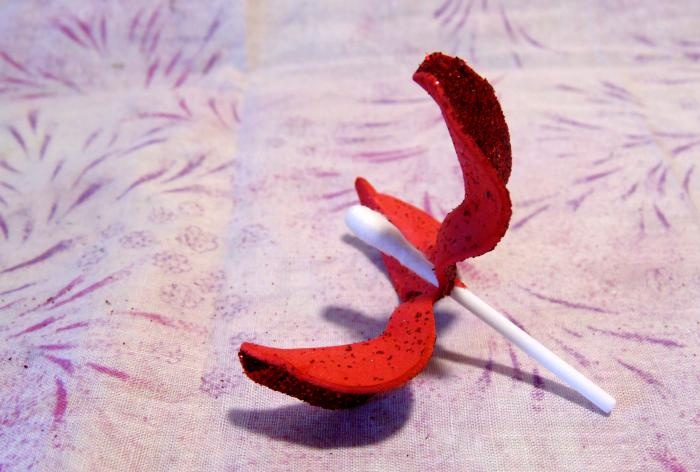
Suede changes its shape when exposed to heat, so we will use an iron. Let's start with individual petals. Apply to the hot surface with the wrong side without glitter. As soon as the workpiece begins to shrink from the heat, we remove it and use clubs to give it a new shape.We press the lower edge of the petal on the front side with our thumb, and on the back side with the other hand we bend the part in half and run our fingers up to the edge of the petal, stretching it a little.
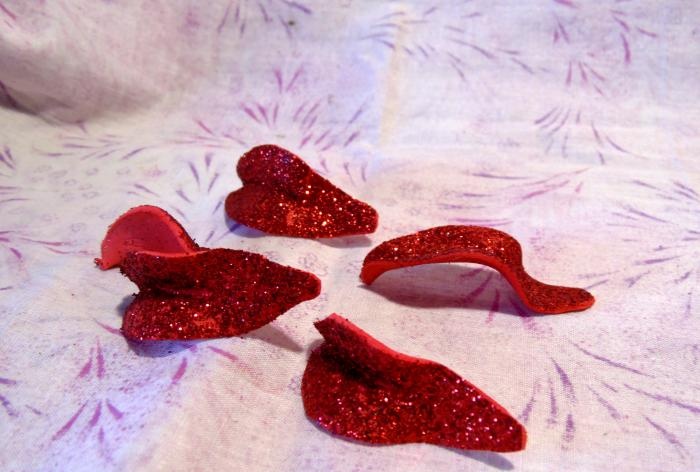
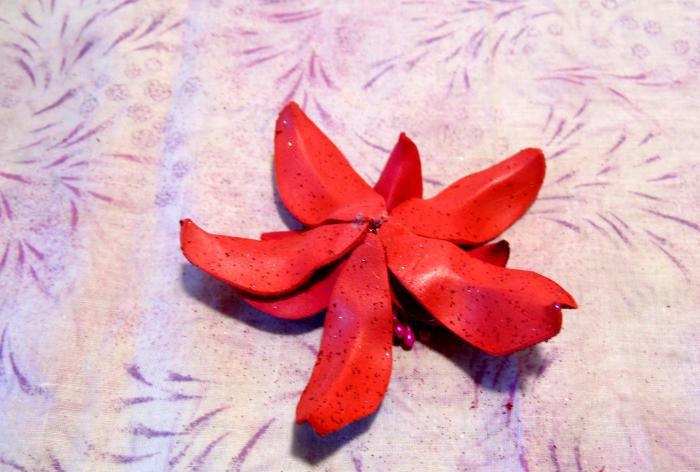
We make the same shape on the three petal circles. The middle remains untouched.
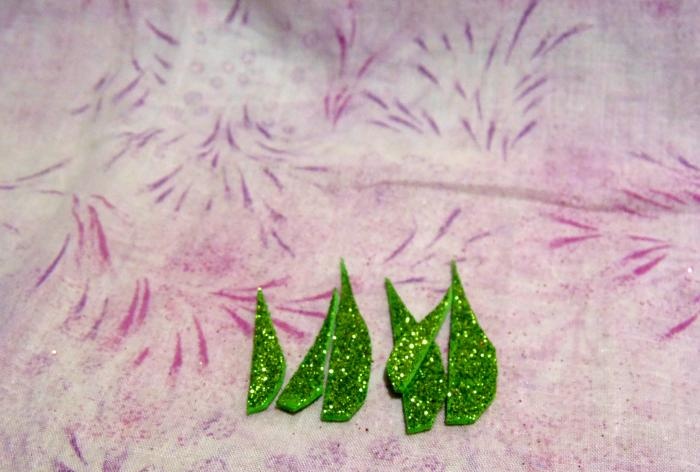
Let's move on to the green leaves, there are 4 of them. You need to make veins. You can carefully draw on the front side with a toothpick. It will also look beautiful after processing on a plastic sheet print. In this case, we place the suede blank with its front side on the plastic, and place a white sheet of paper on top. Use an iron to iron the piece through the paper. The print looks interesting.
Next you should add small notches along the edges with scissors on the leaves. And we apply the sheet to the iron sideways while standing, and then make additional bends with our fingers.
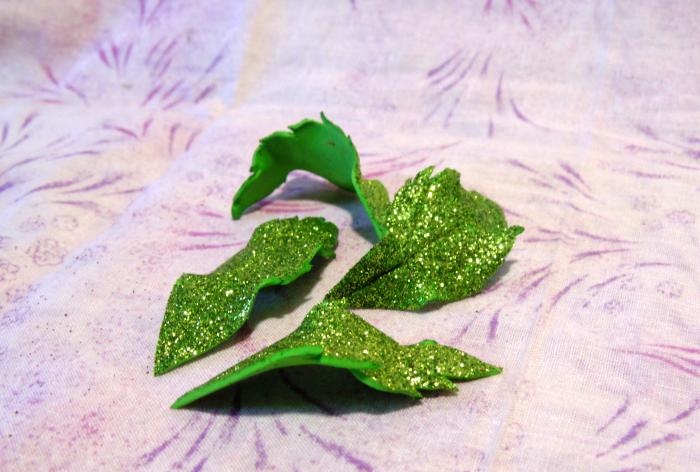
We will also make small folds on the green remains.
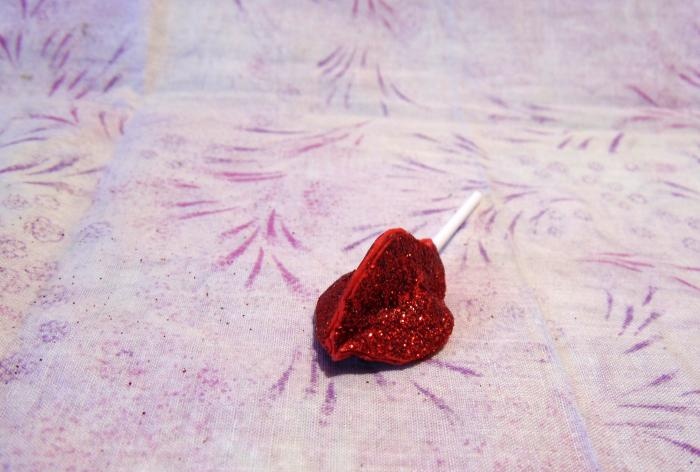
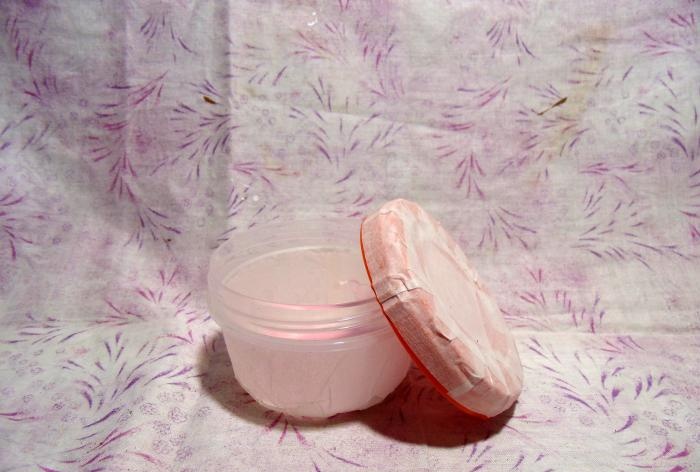
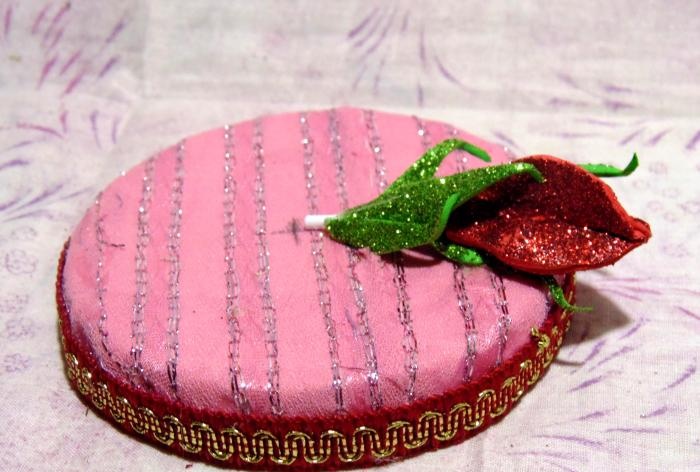
Now let's move on to making the bud. On the cotton shelf, cut off the edge on one side. We pierce this end of the stick from the wrong side in the center of the red petal circle. And stretch it to the beginning of the cotton wool.
With “Moment” glue we lubricate the cotton wool and the tops of the petals from the inside. We press the bottom and top, and then glue the sides together and you get a closed box.
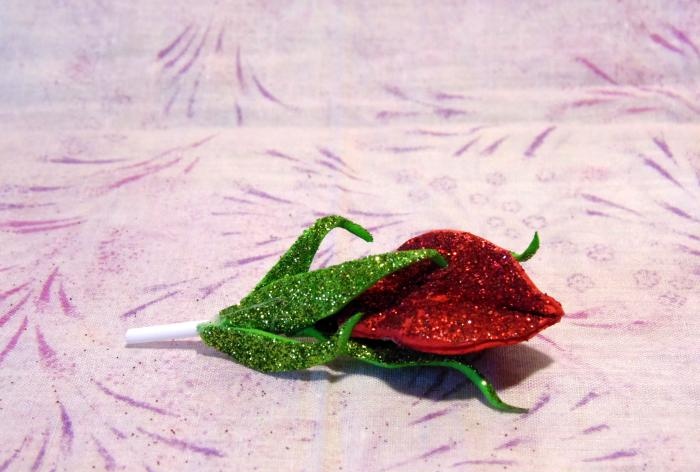
Only then do we attach the green thin parts to the free edge of the stick. With this we cover the stem itself and decorate the bud.
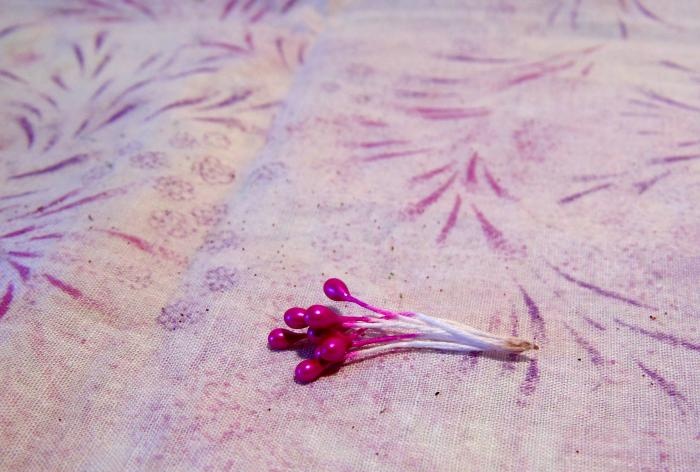
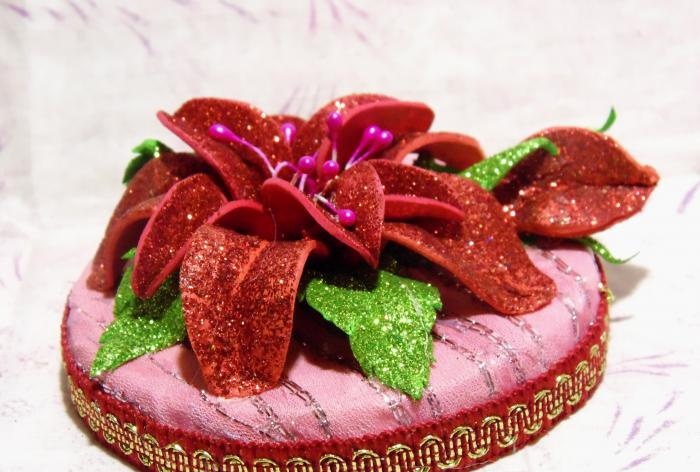
Next we move on to assembling the flower. First, take the finished stamens, bend them in half and fasten the edge.
Then we make a small hole in the center of the second petal circle and insert a bunch of stamens into it. We attach all the details of the flower to a glue gun.
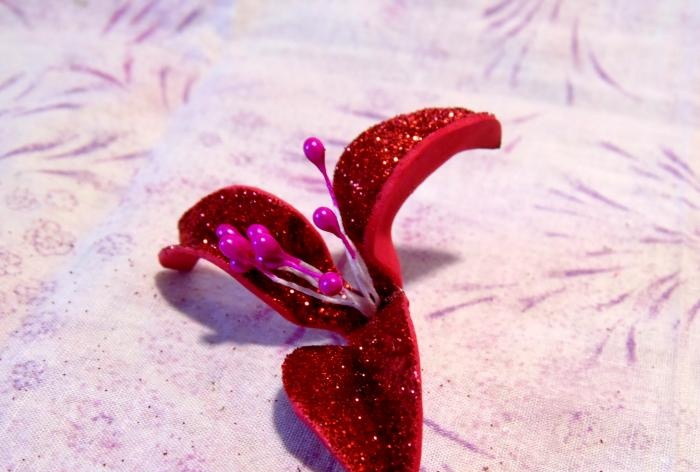
Next, we glue the petals with stamens into the middle of three more petals.We try to arrange the petals in a checkerboard pattern relative to the first row.
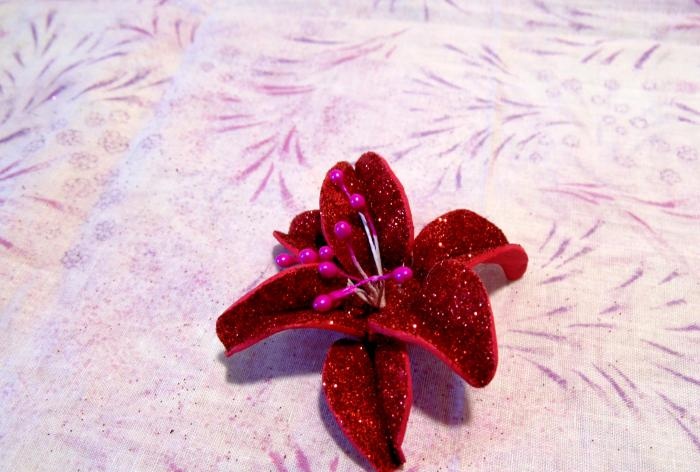
Now we still have 5 more separate petals, which we attach in a circle on the wrong side of the flower.
We get a flower with voluminous petals.
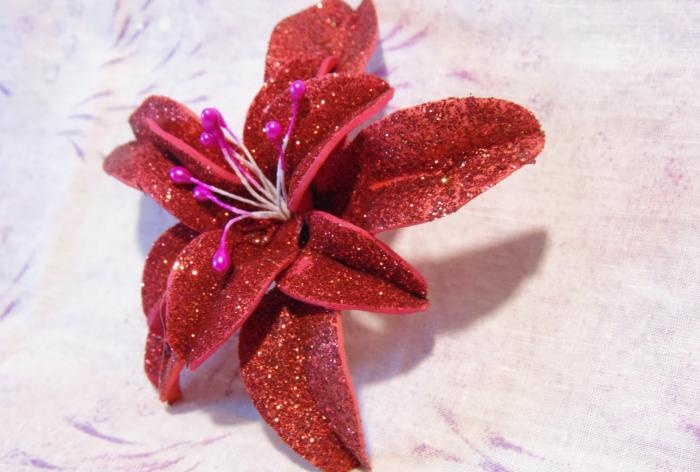
And to decorate it, we will glue 4 green leaves between the large petals. One segment will be free for the bud.

The flower is completely ready.
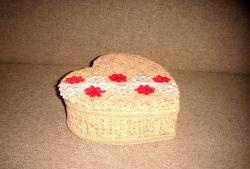
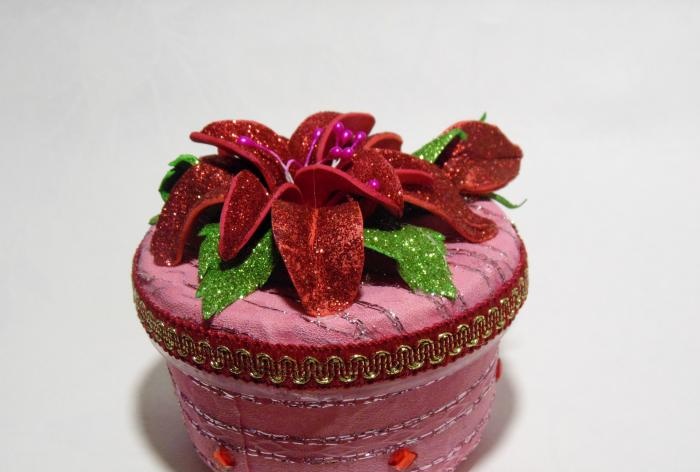
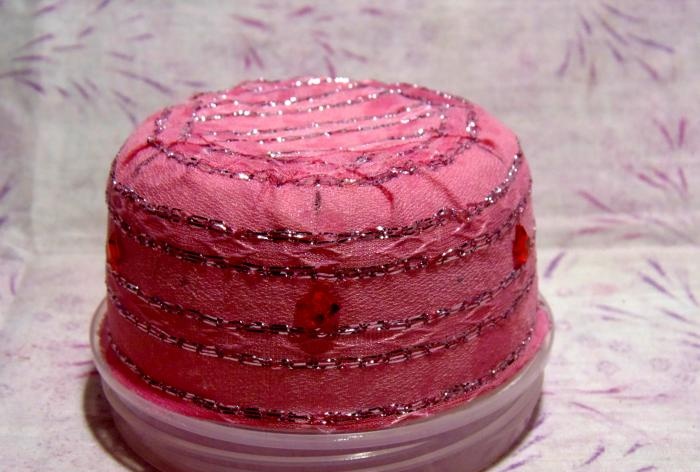
The stage of decorating the very base of the box has arrived. Let's take a small container, the diameter of the lid is 9 cm. And the lid itself is screwed on.
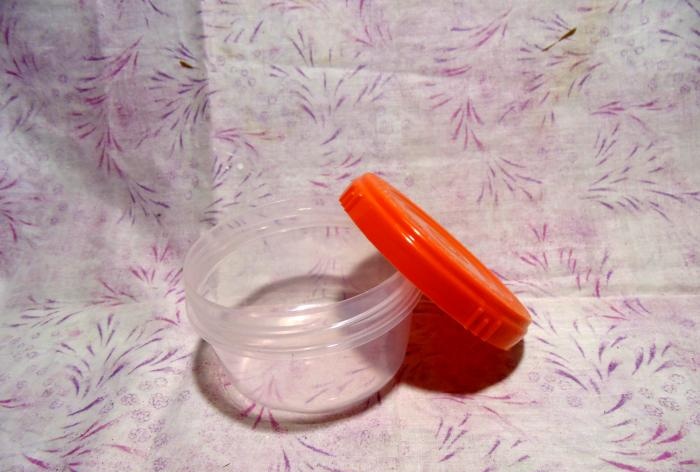
For preliminary pasting we use paper tape. On the lid we leave the space with the thread free, and on the jar we do not touch the inner sides and threads.
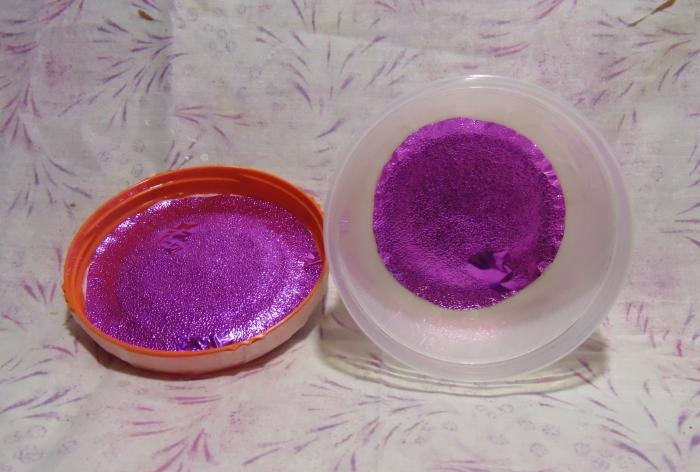
From shiny foil, cut out two circles that will be inside the bottom of the jar and the lid.
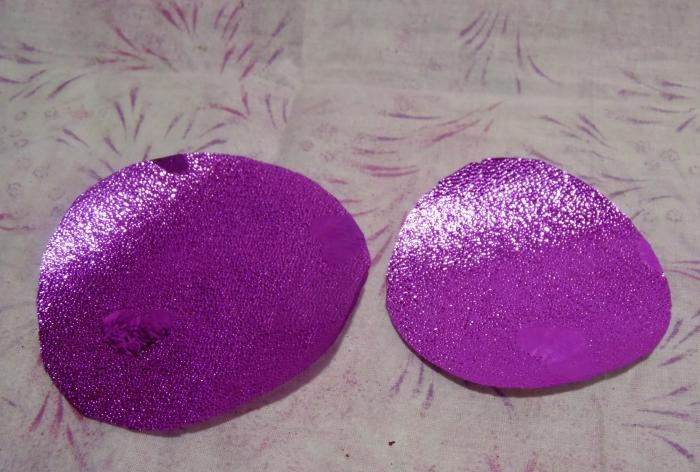
They will be well secured thanks to the adhesive tape base.
And we glue pink fabric to the outer sides of the container. We cut a strip to the size of this jar, and make its height 1 cm larger than the existing size. We cut this excess a little with scissors and press it to the bottom of the box.
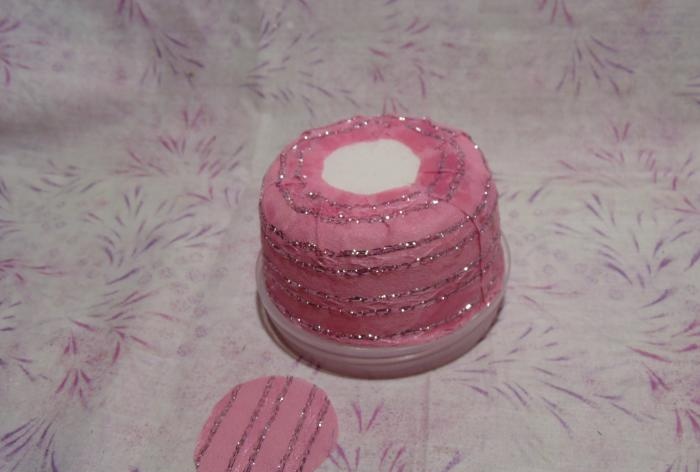
We cut out an additional circle to cover the free part of the bottom.
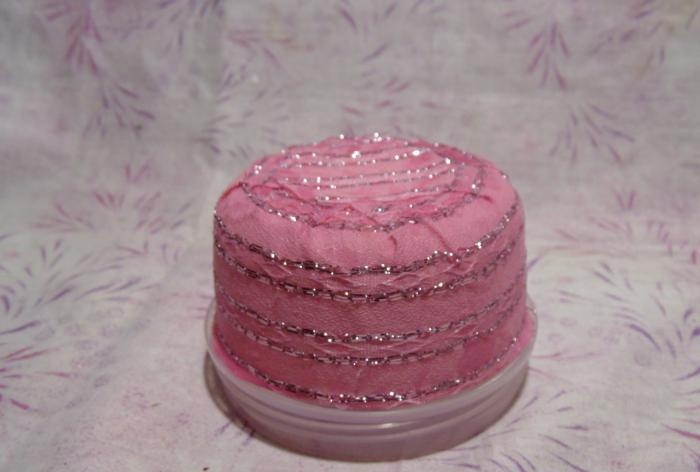
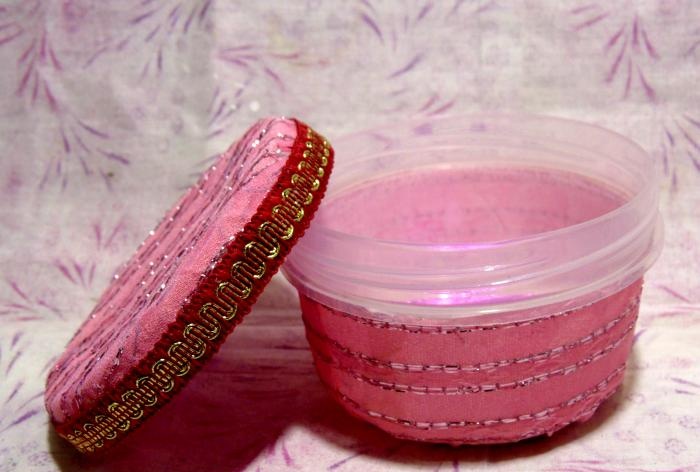
We also treat the lid with a cloth on top. But in addition you need to glue the red tape, placing it along the very edge of the lid.
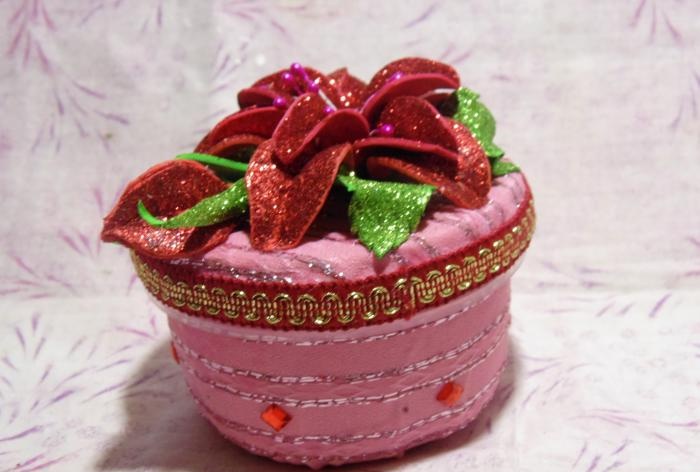
Now that the lid is ready, we will decorate it. We try on the flower and mark the location of the middle of the lily. Then we glue the bud, with the edge of the stem to the intended place.
All that remains is to secure the lily itself well, taking into account the free space for the bud. And if the petals and leaves hang heavily from the roof, they should be raised a little closer to the flower and glued. So that when opening the lid they do not interfere with your fingers.
You can attach any small decorations you like to the jar itself.
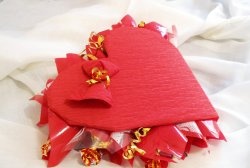
And with that, the box with the big flower is ready.
Good luck to all!