Do it yourself
Life hacks, master classes, useful tips, recipes.
home » Handicraft techniques » Scrapbooking » Scrapbooking cover » Baby daddies for birth certificate
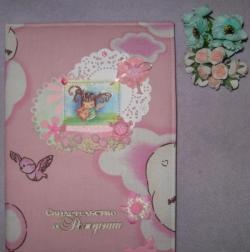
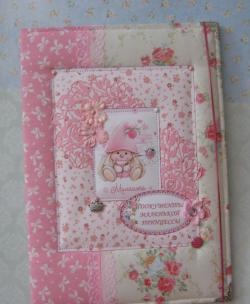
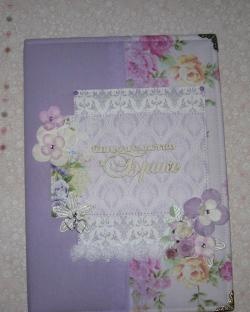
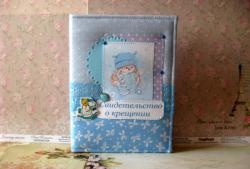
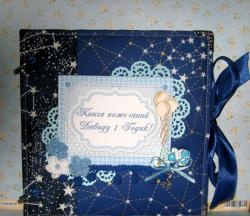
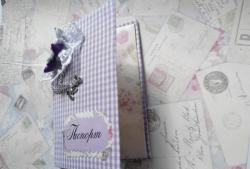
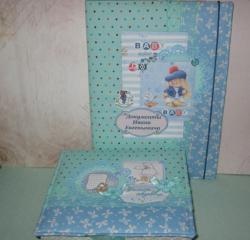
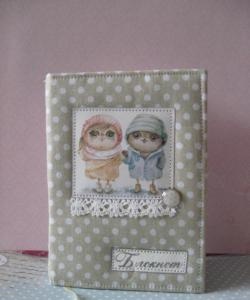
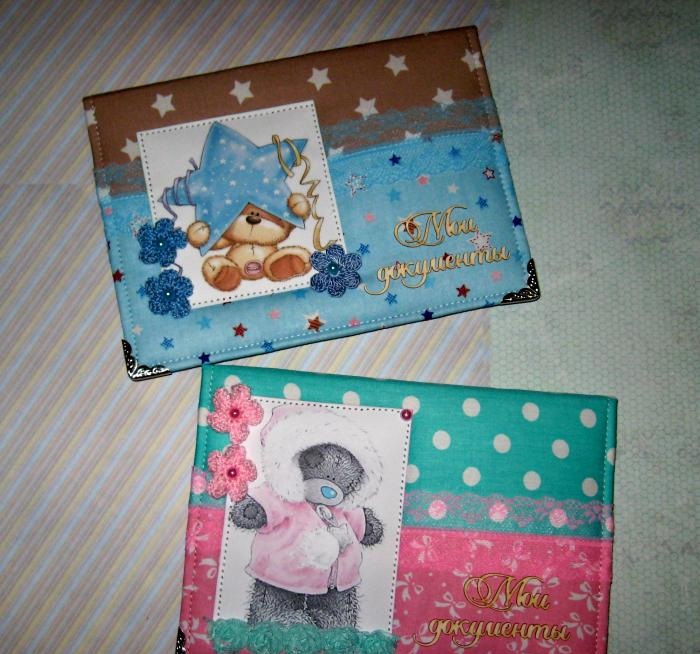
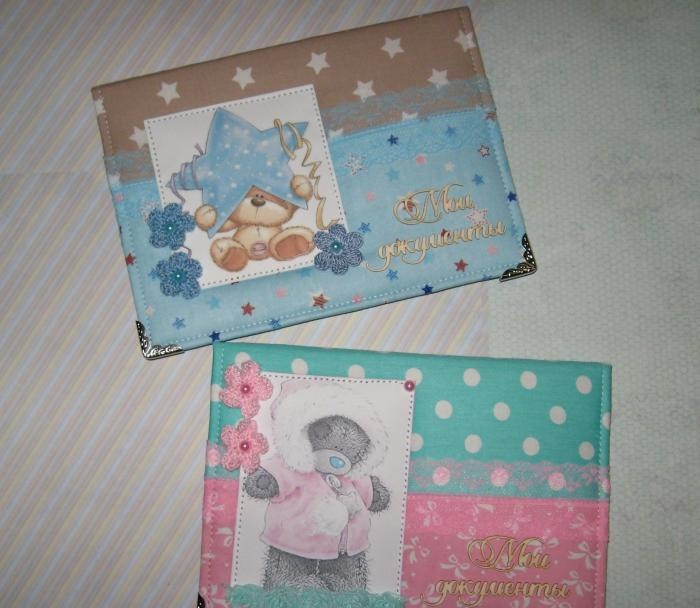
At his birth, each child already becomes a full-fledged resident of his city, country and receives the first document in his life - his birth certificate. This document is not only the first, but also important in the life of every child, since until they receive a citizen’s passport of their family, it is the only document confirming the identity of the baby. Now the birth certificate comes in a new sample and in a non-standard shape, so it is not always possible to buy a ready-made cover to store it. But once you have this document in your hands, you can easily make a folder for it with your own hands. This folder can be made in absolutely any color, design, with any inscription and picture, as you see fit for your baby.
So, now we will look at a master class on making such folders for birth certificates for both a boy and a girl.
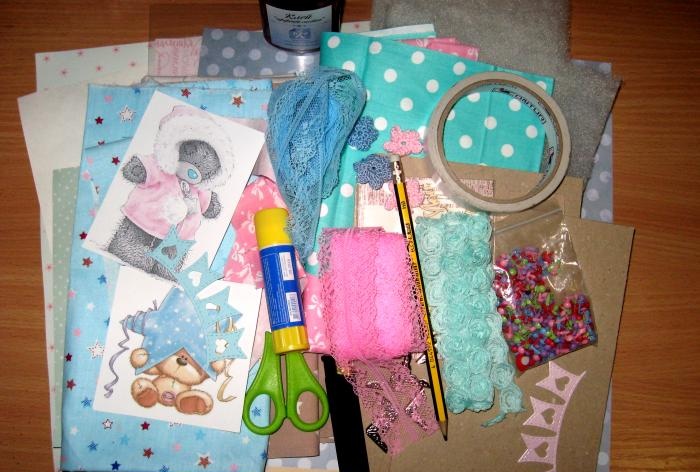
For the master class we take:
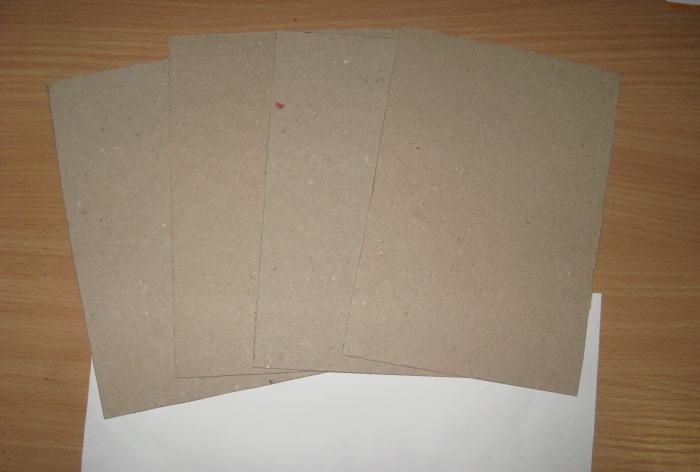
  • Binding cardboard, 4 blanks measuring 14.5 cm by 20 cm;
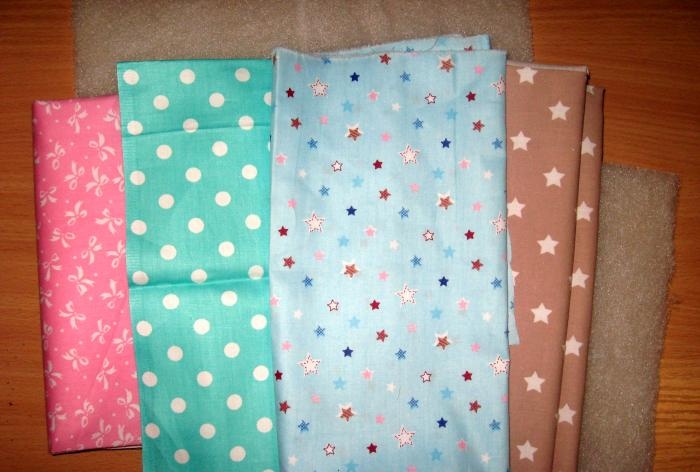
  • The fabric is pink with a bow, mint with polka dots, blue and beige with stars, we take thick, good cotton made in Korea;
  • White cardboard;
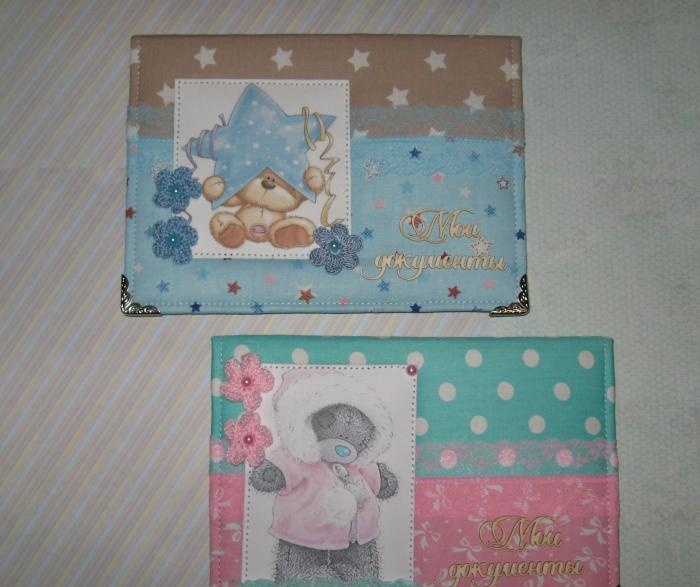
  • A picture with a teddy bear in a pink fur coat and a bear with a star;
  • Sintepon;
  • Two “My Documents” chipboards;
  • Pink and blue lace;
  • Thin hat elastic, gray and mint;
  • Knitted flowers blue, pink, mint;
  • Ribbons for decoration;
  • Metal brads;
  • Eyelets for fastening elastic bands and installer;
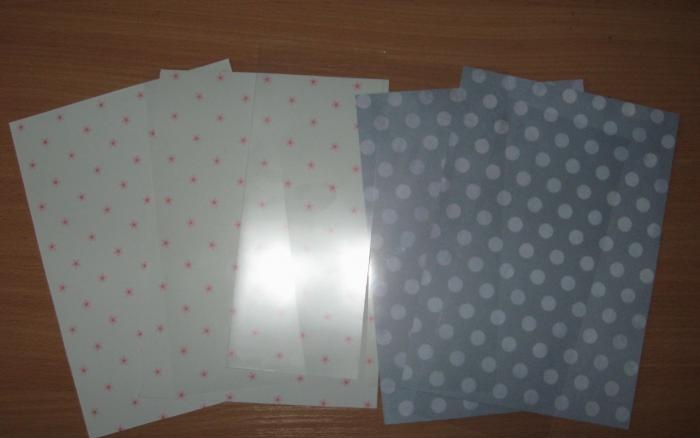
  • Scrapbooking paper in pink and blue;
  • Plastic corner;
  • Metal corners, 8 pcs;
  • Glue stick, pencil, ruler, scissors, double-sided tape, tape effect glue.
Baby daddies for testimony

Baby daddies for testimony

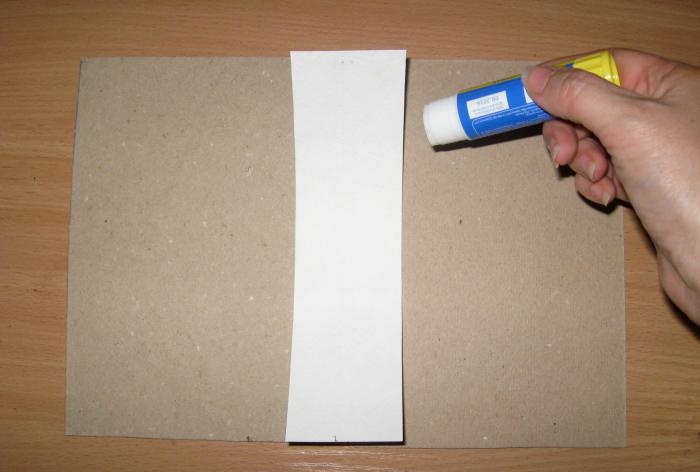
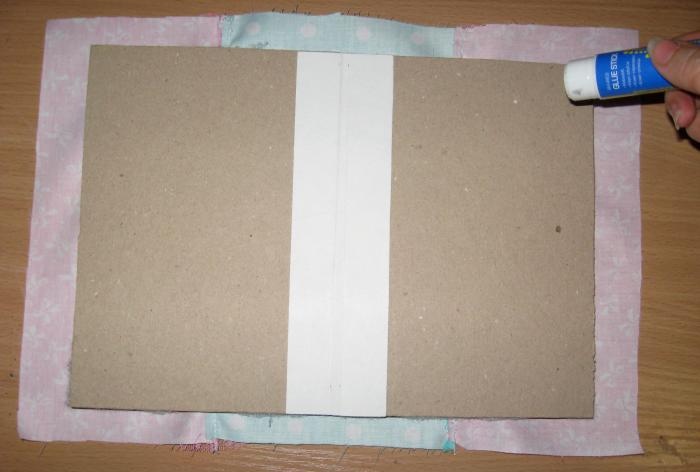
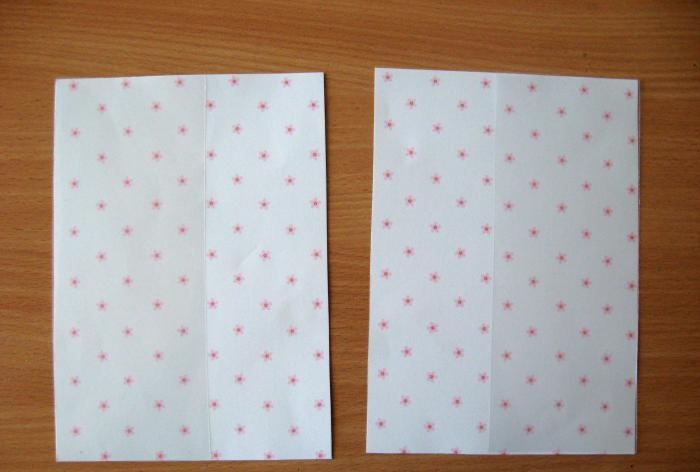
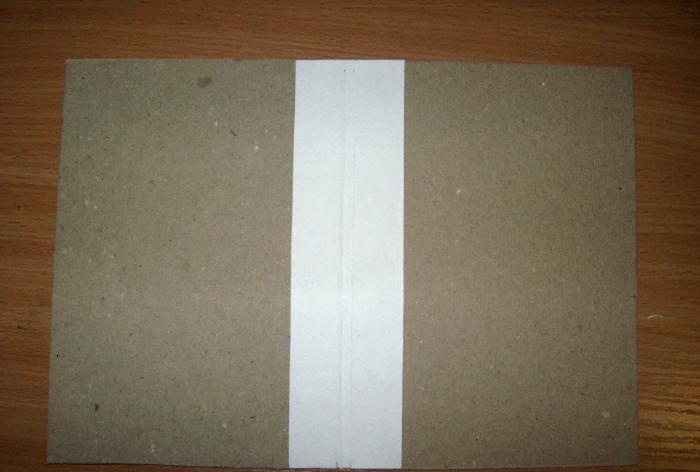
First we start by making a thick base of binding cardboard for the covers. We take two blanks, place them, leaving a distance of about 5 mm between them. We measure a strip of cardboard 2.5 * 0.5 * 2.5 cm, crease it and glue this strip onto the binding blanks, leaving just a distance of 0.5 cm between them.
Baby daddies for testimony

Baby daddies for testimony

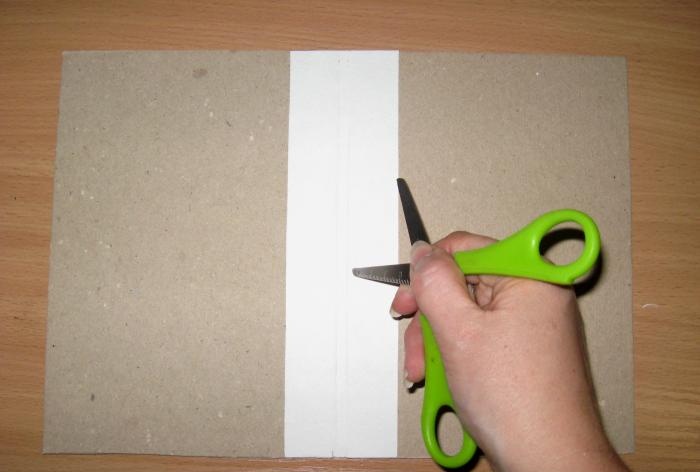
We smooth it well and now, using scissors, we carefully carry out the creasing.
Baby daddies for testimony

Baby daddies for testimony

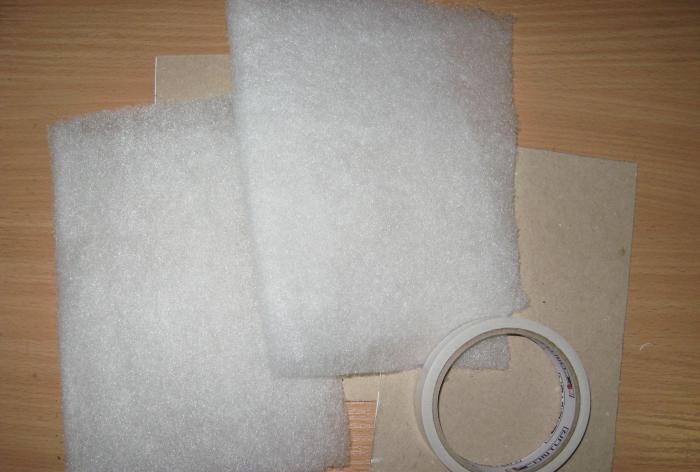
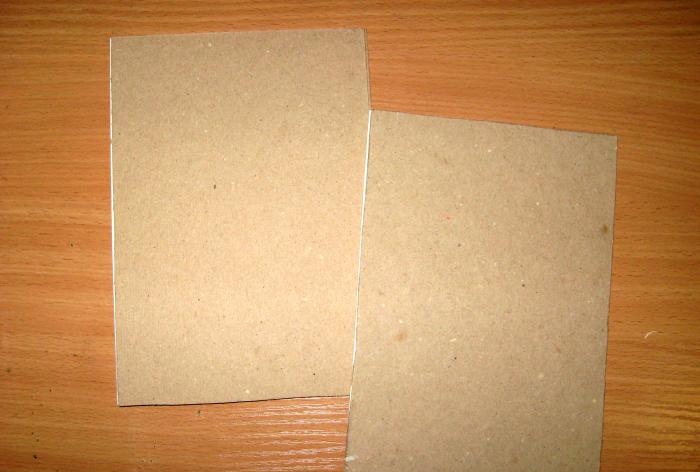
We close it and get these solid bases. Now we take the padding polyester and glue it with strips of double-sided tape.
Baby daddies for testimony

Baby daddies for testimony

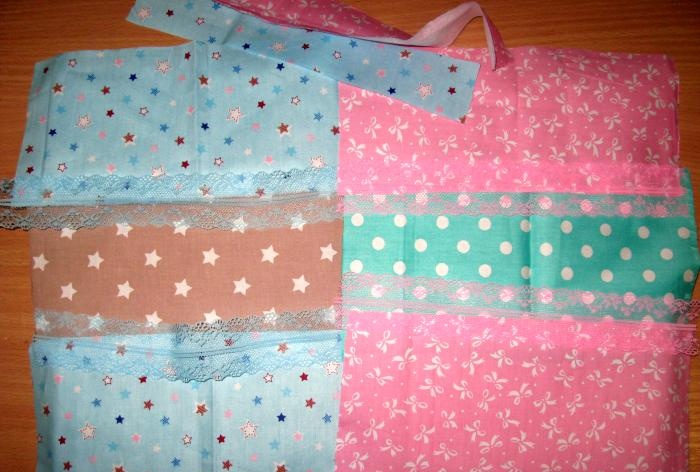
Now we take the fabric and combine pink with mint, and blue with beige, according to the color scheme. We also cut off one strip of blue and pink, approximately 3*24 cm, this is for the interior decoration of the folder. We also cut two strips of pink and blue lace.
Baby daddies for testimony

Baby daddies for testimony

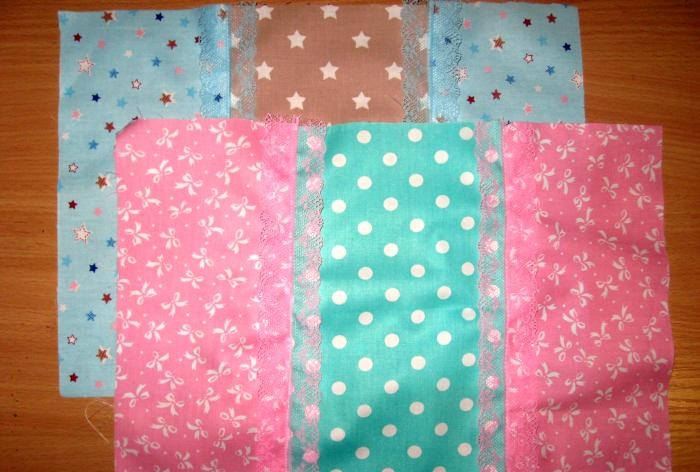
We iron the fabric and sew the pieces of fabric first, and then sew lace onto the joints. We turn the fabric over, lay out the workpiece and, using a glue stick, starting from the corners, glue the fabric to the workpiece.
Baby daddies for testimony

Baby daddies for testimony

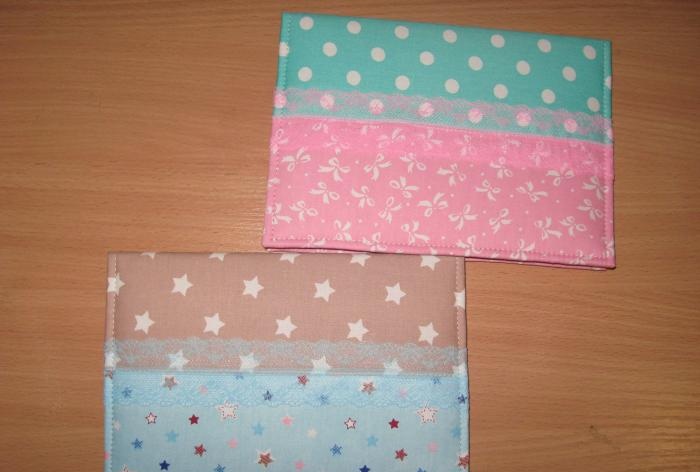
We sew both of our soft blanks along the edge with a machine.
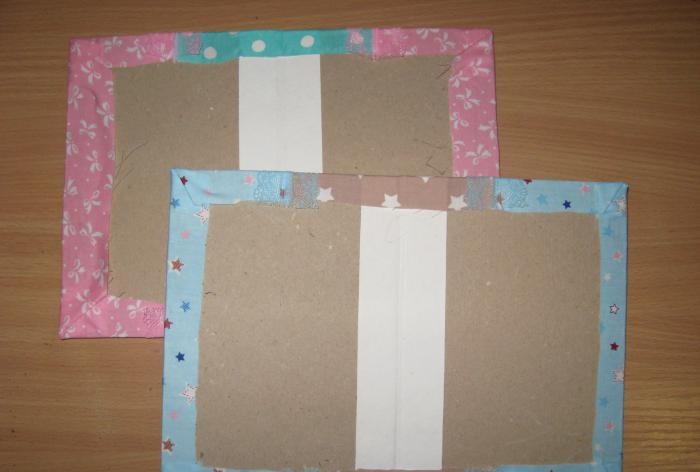
Baby daddies for testimony

Baby daddies for testimony

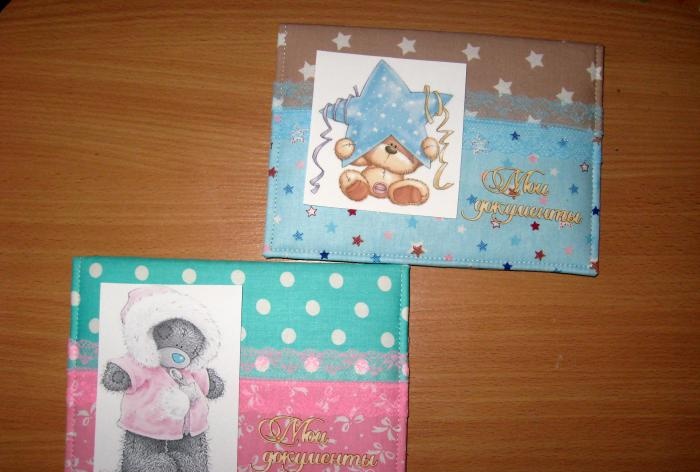
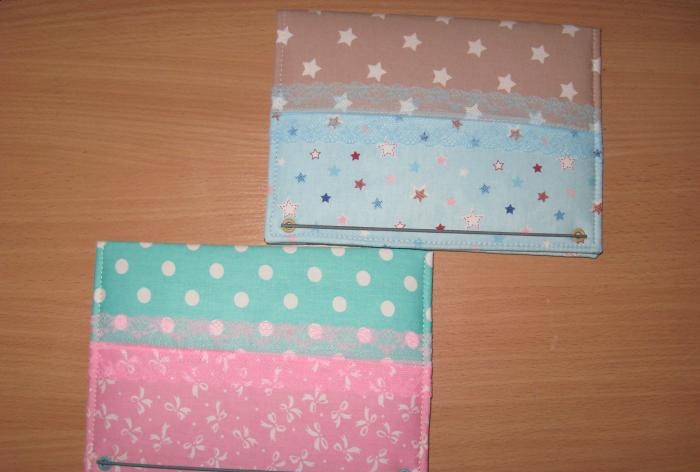
At the back we attach the elastic to two eyelets.Now we take pictures and chips and try them on covers. We sew the pictures. We don’t glue the chips yet, we’ll put them on the glue at the end.
Baby daddies for testimony

Baby daddies for testimony

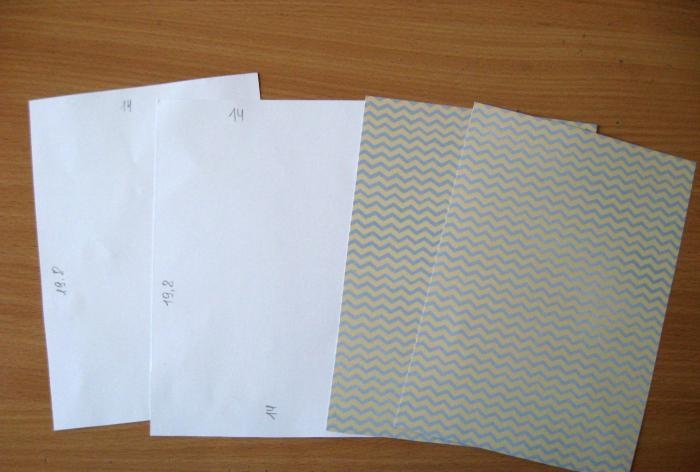
Now let's take scrap paper. We measure out two rectangles 14*19.8 cm, as well as two plastic rectangles for pockets.
Baby daddies for testimony

Baby daddies for testimony

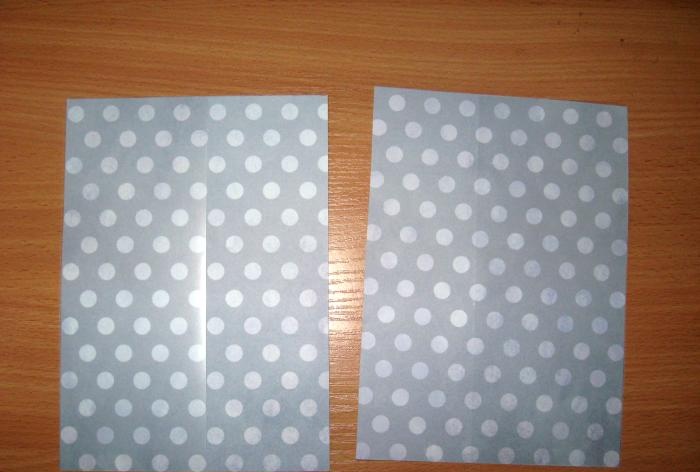
We lay plastic rectangles along the edges on paper ones and stitch them.
Baby daddies for testimony

Baby daddies for testimony

Now we need to paste these rectangles inside the covers. And now all we have to do is glue on the chips with inscriptions and a little decor. The folders are ready! Thank you for your attention!
Baby daddies for testimony

Baby daddies for testimony
come back
Comment
  • bowtiesmilelaughingblushsmileyrelaxed relaxedsmirk
    heart_eyeskissing_heartkissing_closed_eyesflushedrelievedsatisfiedgrin
    winkstuck_out_tongue_winking_eyestuck_out_tongue_closed_eyesgrinningkissingstuck_out_tonguesleeping
    worriedfrowninganguishedopen_mouthgrimacingconfusedhushed
    expressionlessunamusedsweat_smilesweatdisappointed_relievedwearypassive
    disappointedconfoundedfearfulcold_sweatperseverecrysob
    joyastonishedscreamtired_faceangryragetriumph
    sleepyyummasksunglassesdizzy_faceimpsmiling_imp
    neutral_faceno_mouthinnocent
4 minus one =
Comments (0)

Autumn planting of garden strawberry seedlings in open ground

Remote controlled syringe rocket launcher

Cool tool box made from an old canister

Basket with flowers made of nylon master class with do-it-yourself photos

«Do it yourself - with your own hands» - a site of interesting homemade products made from scrap materials and items at home. Step-by-step master classes with photos and descriptions, technologies, life hacks - everything a real master or just a craftsman needs for needlework. Crafts of any complexity, a large selection of directions and ideas for creativity.

We recommend reading

Washing machine error codes