Do it yourself
Life hacks, master classes, useful tips, recipes.
home » Handicraft techniques » Scrapbooking » Scrapbooking cover » Making a textile passport cover
To make a textile passport cover, you will need cardboard with a density of 200 g/m2, scrap paper, purple office paper, checkered and floral cotton fabric, lace, decorations, PVA glue, glue stick, transparent polymer glue, scissors with curly and straight blades, scoring tool, ruler.

materials


Cut a rectangle from cardboard 20 cm long and 13.5 cm wide.

cut out a rectangle


To correctly calculate the size of the rectangle, measure the sides of the passport (in this case 9x12.5 cm). Double the width and add 2 cm to the resulting number (9cmx2+2cm = 20cm). Add 1 cm to the height (12.5 cm + 1 cm = 13.5 cm)
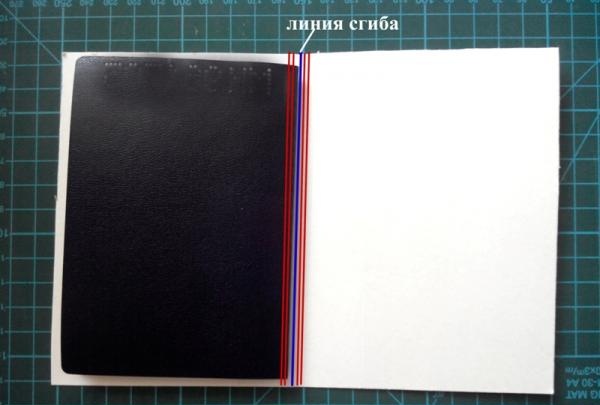
Make a crease along the fold line and two lines on either side of the fold line at 2mm intervals.

Crease the fold line


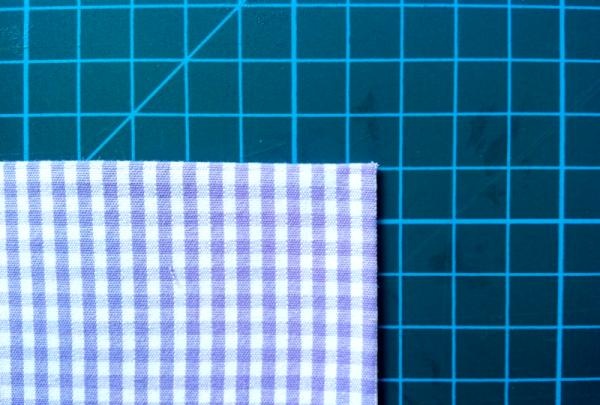
Iron the checkered fabric and cut out a rectangle with sides 2 cm larger than the sides of the cardboard rectangle. In this case, 22x15.5cm.

Apply a thin layer of glue to the cardboard


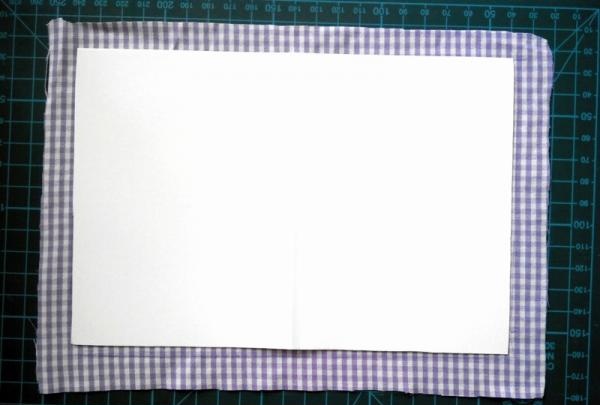
Apply a thin layer of PVA glue to the cardboard. Glue the fabric to the cardboard, leaving a hem allowance. Cut the corners of the fabric diagonally.

Fold and glue


Fold and glue the top and bottom sides of the fabric to the cardboard coated with PVA glue.

Fold and glue


Then the right and left sides.

Then the right and left sides


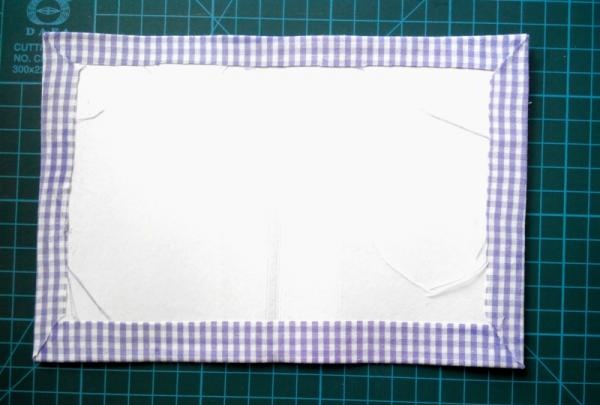
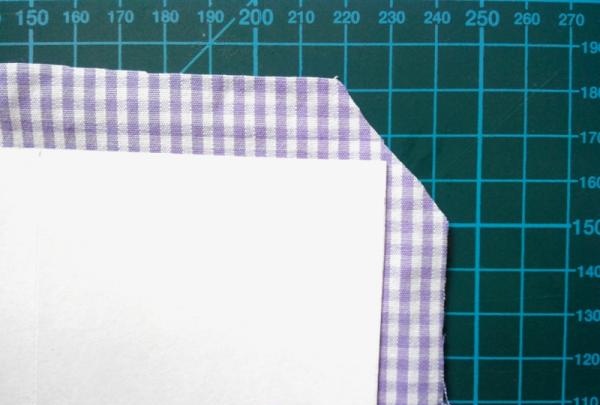
Make sure that the fabric does not overlap at the corners, but lies seam to seam. Excess tissue can be trimmed with nail scissors.

corner


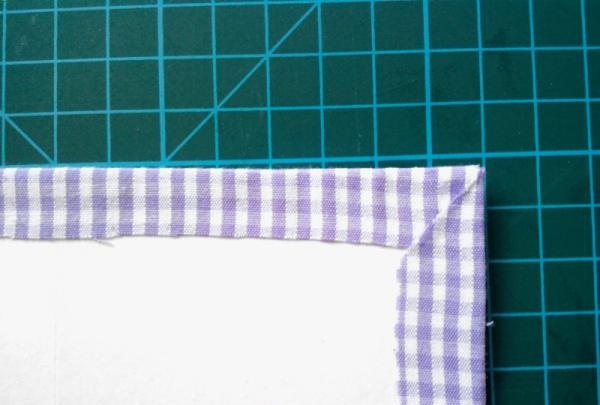
From the outside, the corner should also be neat.

corner


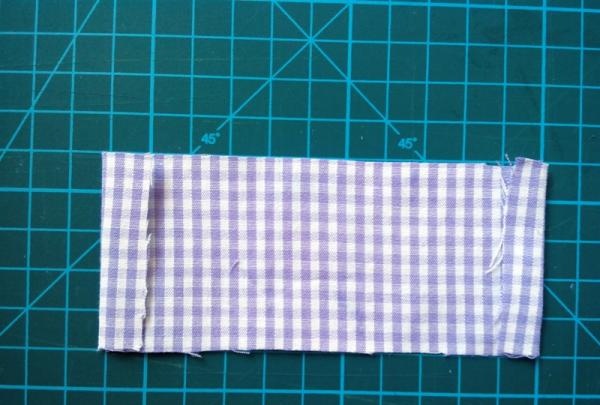
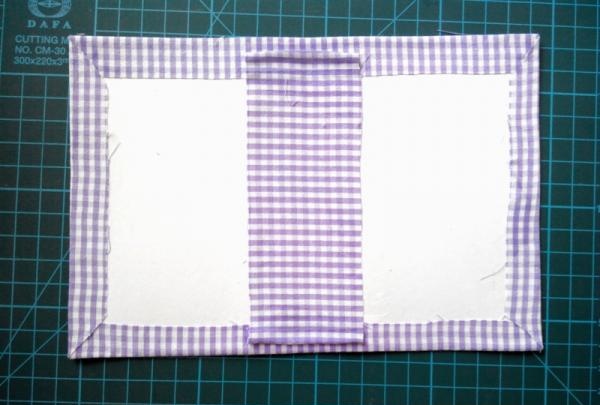
Cut a rectangle 13 cm long and 5 cm wide from plaid fabric. Fold it 1 cm and iron the short sides of the rectangle inward.

cut out a rectangle


Glue the fabric to the inside of the cover.

Glue the fabric to the inside


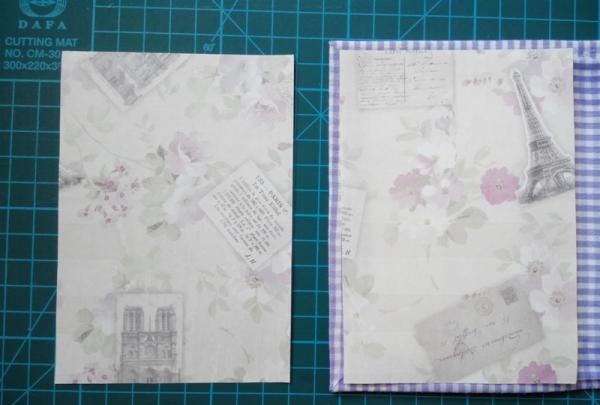
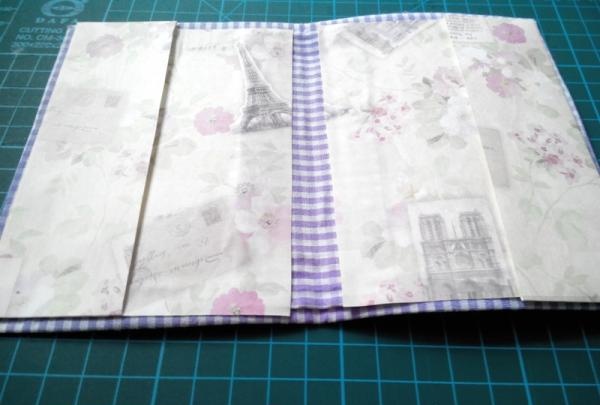
Cut two 9x12.5 cm rectangles from scrapbooking paper.

cut two rectangles


To form pockets from the same paper, cut out two rectangles measuring 5x14.5 cm.

cut two rectangles


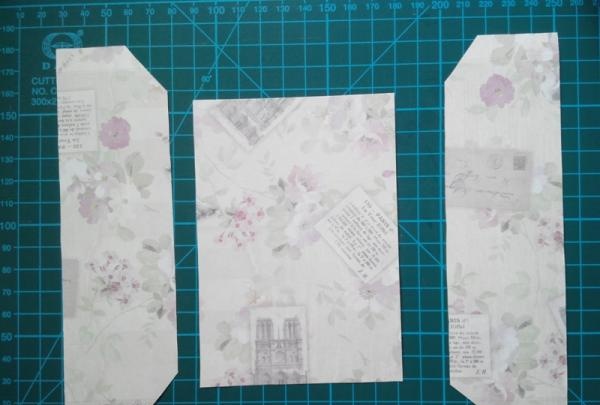
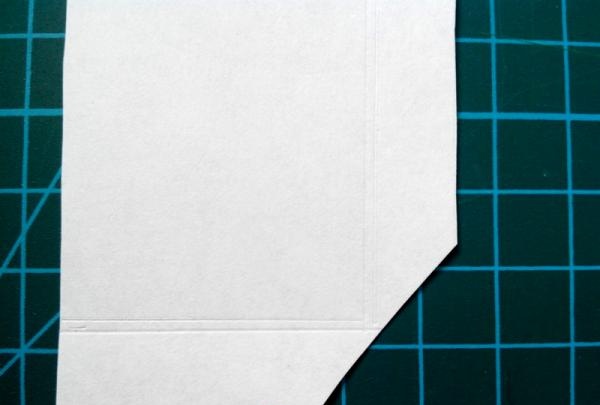
Cut two corners of the long rectangles. To do this, step back 1 cm from the edge of the short and one long side and draw lines. Step back 2 mm from them and draw the parallels that are needed to create a voluminous pocket.

Cut two corners of long rectangles


Fold and glue the pockets to the endpapers.

glue the pockets to the endpapers


For gluing, use a glue stick, which, unlike PVA, does not warp the paper. Glue the paper blanks to the cover. Here already use PVA, but apply it not to paper, but to a cardboard blank.

Glue the paper blanks to the cover


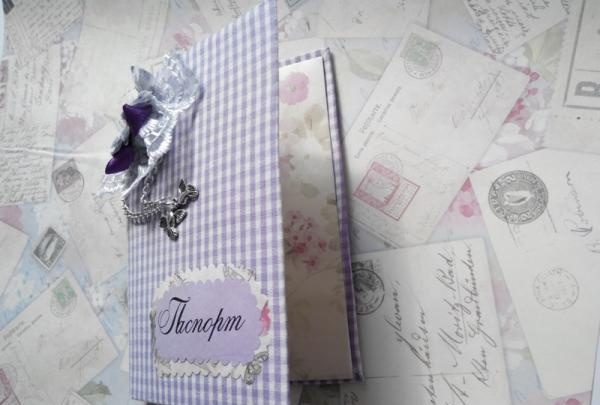
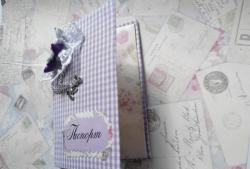
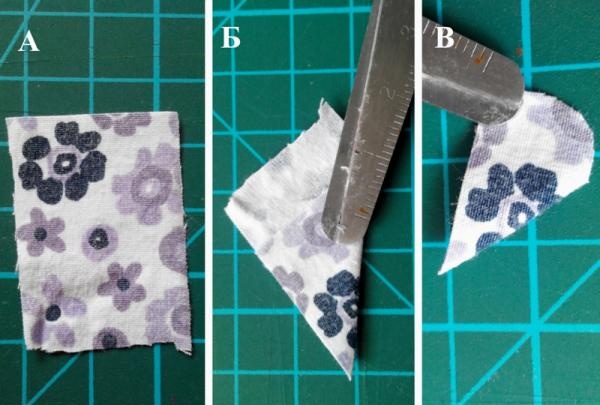
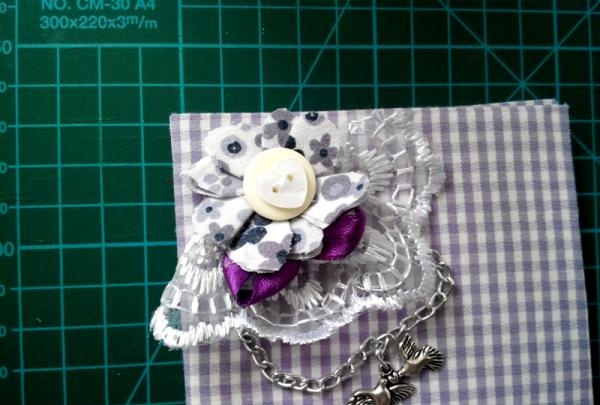
The final stage is decorating the cover. Cut a rectangle from floral fabric (a), fold it diagonally (b) and round the base of the resulting triangle (c). The result will be a petal.

cover decoration


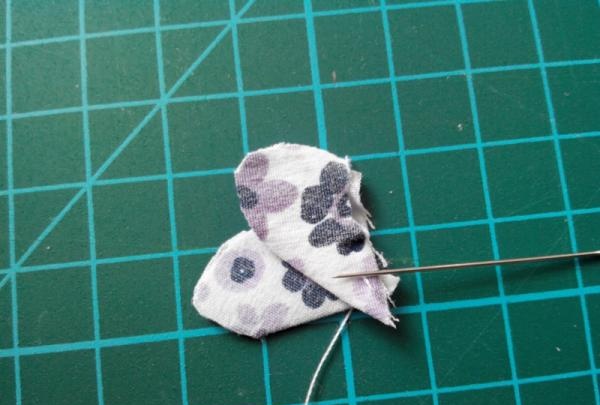
Make 7 more petals. Layering one petal on top of the other, form a flower, periodically stitching through the middle.

cover decoration


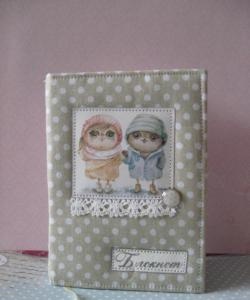
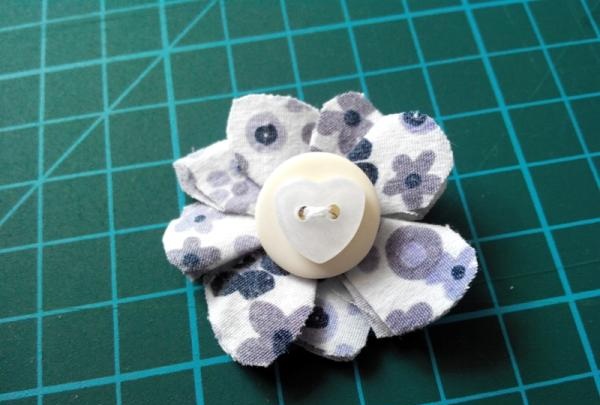
To complete the flower, sew on a round button and a heart button.

cover decoration


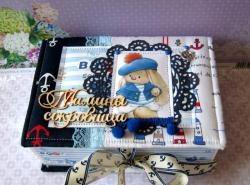
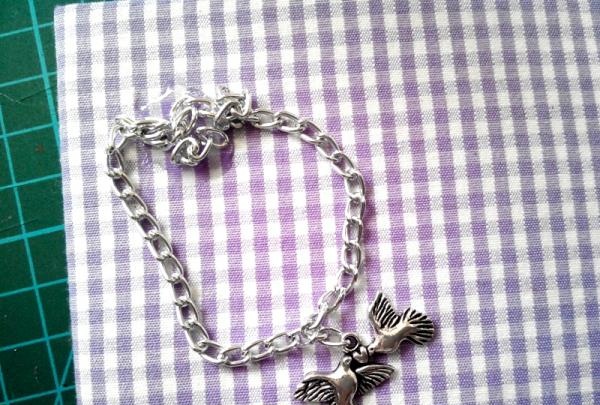
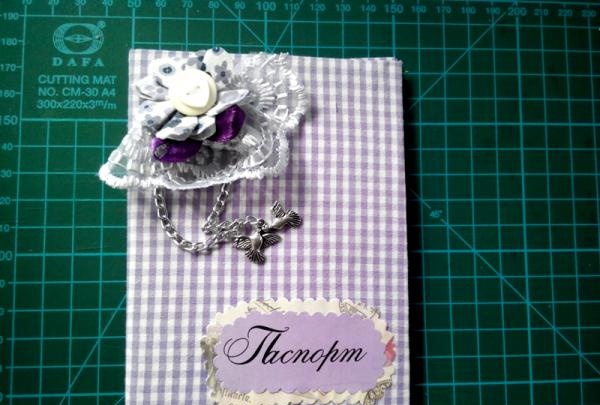
Glue the doves and the chain onto polymer glue.

cover decoration

cover decoration


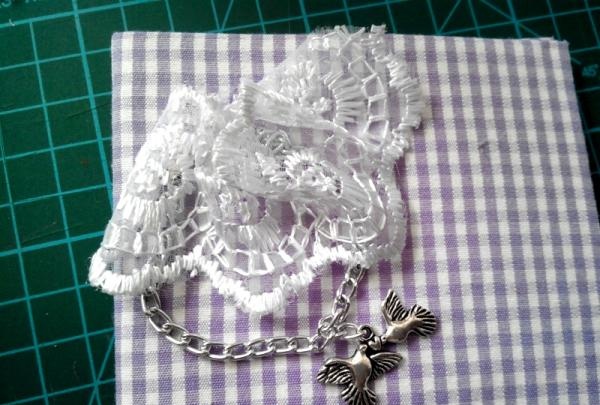
Then glue lace21.jpg, ribbon and textile flower.

cover decoration


Cut an oval out of scrap paper using curly scissors. Print the inscription on purple office paper and cut it out with curly scissors. Glue two pieces together.
cover decoration


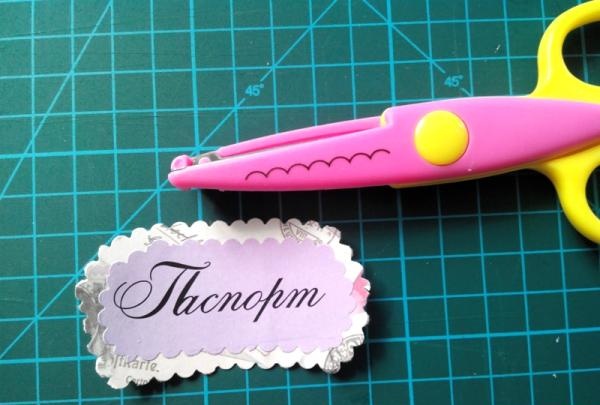
Glue the inscription to the cover.

making a textile passport cover

making a textile passport cover


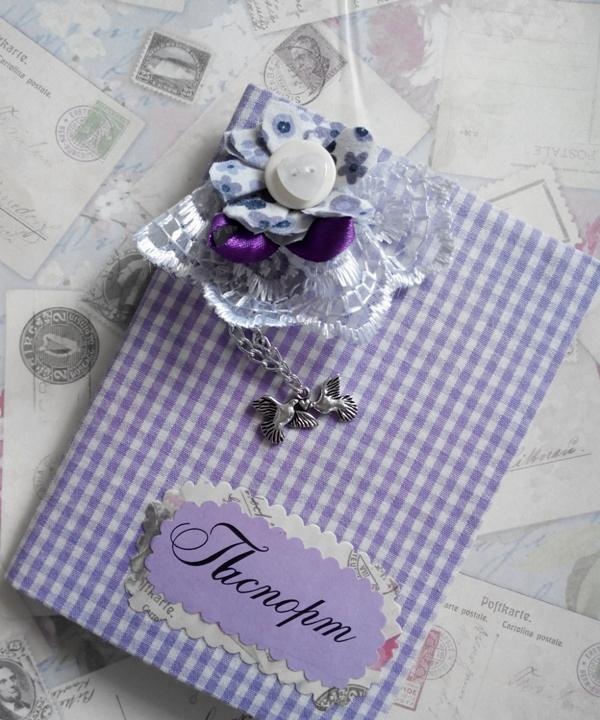
Your DIY textile passport cover is ready.

making a textile passport cover


come back
Comment
  • bowtiesmilelaughingblushsmileyrelaxed relaxedsmirk
    heart_eyeskissing_heartkissing_closed_eyesflushedrelievedsatisfiedgrin
    winkstuck_out_tongue_winking_eyestuck_out_tongue_closed_eyesgrinningkissingstuck_out_tonguesleeping
    worriedfrowninganguishedopen_mouthgrimacingconfusedhushed
    expressionlessunamusedsweat_smilesweatdisappointed_relievedwearypassive
    disappointedconfoundedfearfulcold_sweatperseverecrysob
    joyastonishedscreamtired_faceangryragetriumph
    sleepyyummasksunglassesdizzy_faceimpsmiling_imp
    neutral_faceno_mouthinnocent
4 minus one =
Comments (1)
  1. Karinka
    #1 Karinka Guests 23 August 2017 15:38
    0
    A great option for those who want to stand out. To create such a cover, you can choose any color, material and pattern. Using these simple instructions, you can emphasize your individuality.

Kite | Do it yourself

How to feed cucumbers in the middle of summer to increase yield with your own hands

Simple robots using alternative energy sources | Do it yourself

How to open a locked door without a key

«Do it yourself - with your own hands» - a site of interesting homemade products made from scrap materials and items at home. Step-by-step master classes with photos and descriptions, technologies, life hacks - everything a real master or just a craftsman needs for needlework. Crafts of any complexity, a large selection of directions and ideas for creativity.

We recommend reading

Washing machine error codes