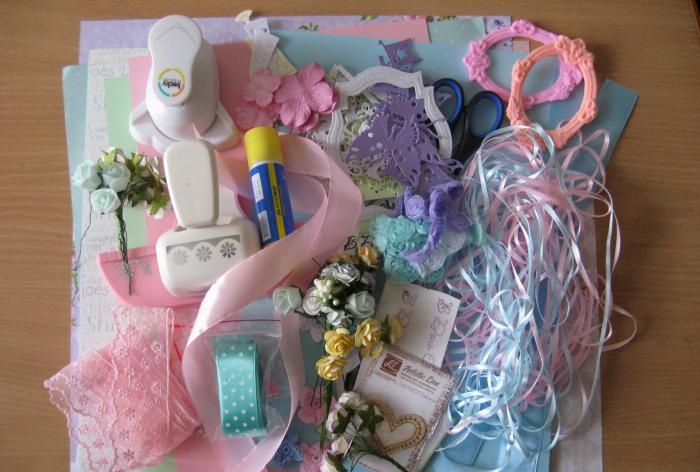
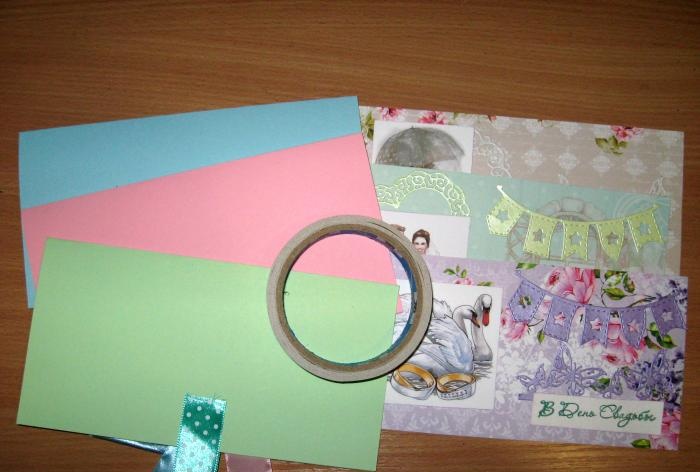
So, let's get started and take the following to make envelopes:
- Blue, light green and pink cardboard on A4 sheet;
- Scrappaper 30 by 30 cm in lilac, mint and beige-pink colors;
- Pictures of newlyweds, swans, etc., any on a wedding theme;
- Stamp and ink black and green “On the Wedding Day”;
- Ribbons 25 mm satin pink, blue, mint with polka dots;
- Lighter for processing ribbons;
- Paper flowers and latex roses are white, mint, lilac;
- White lace flowers;
- Pearl half beads;
- Cutting from mother-of-pearl cardboard in white, pistachio and lilac colors: festive flags, butterflies, hearts, frames;
- Chiffon roses on a ribbon are purple and soft pink;
- Curb hole punch;
- Scissors, glue stick, ruler, double-sided tape, pencil and glue gun.
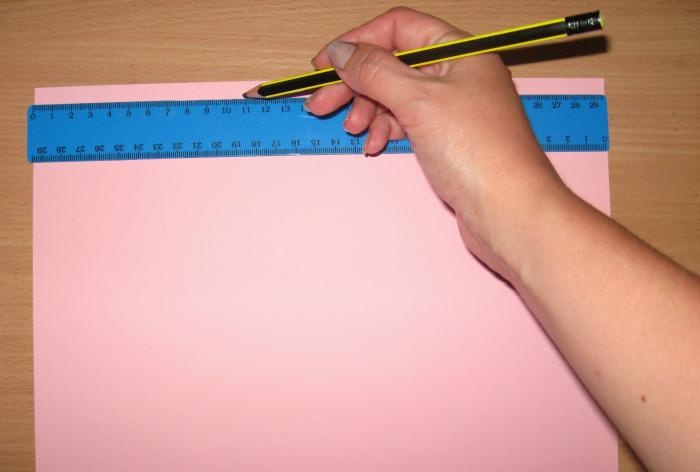
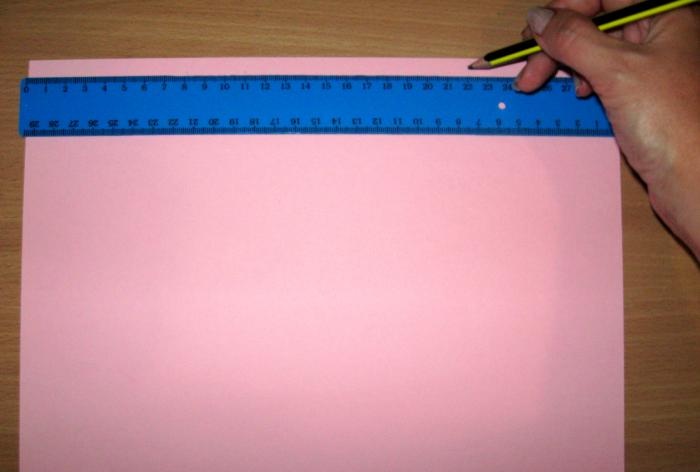
Let's start with the basics for cardboard envelopes. We divide each sheet in a horizontal position into three parts 11 cm, 11 cm and 7.5 cm.
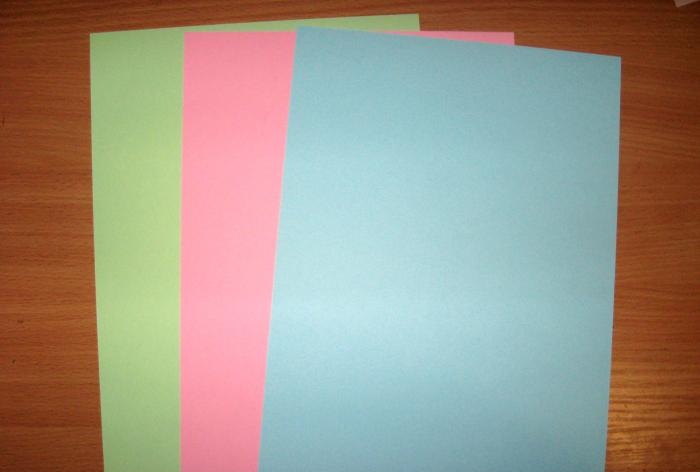
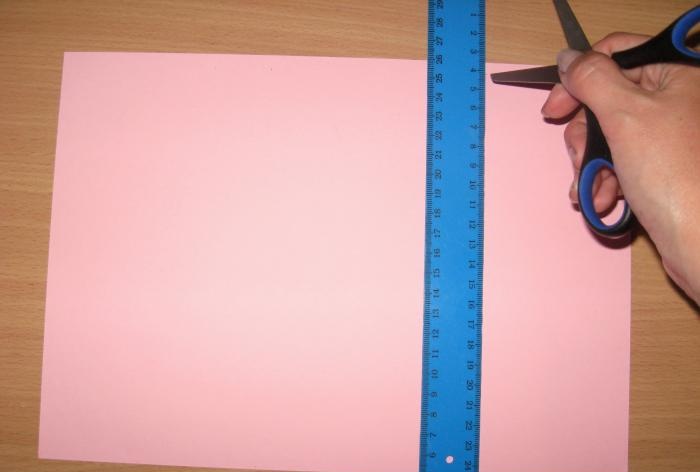
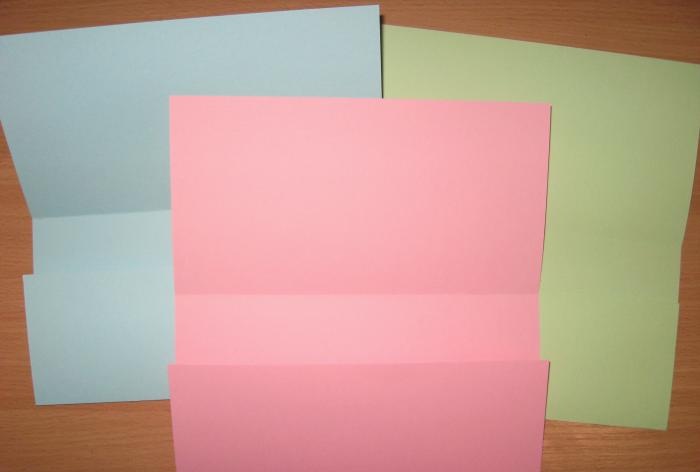
We draw bend lines and fold the bases under the envelopes.
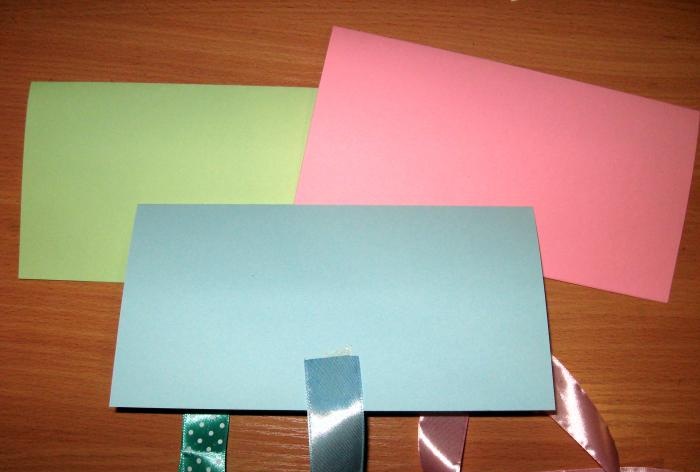
Now for each envelope we select ribbons by color, burning the edges of each cut.
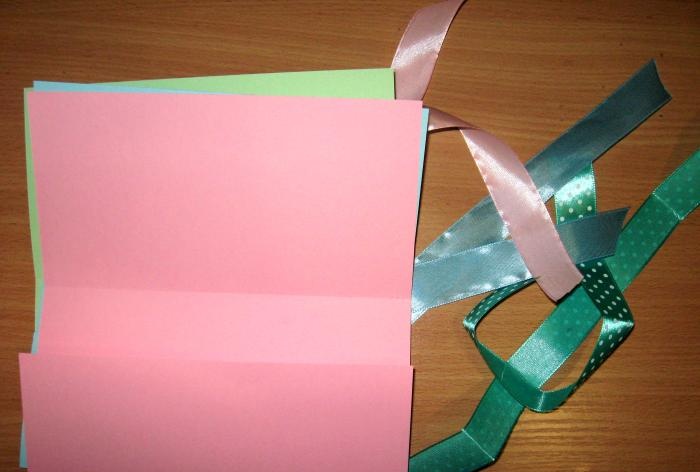
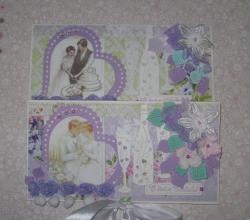
We glue the tapes onto the front and back of each base, centered on the edge. Now we cut out three rectangles of each color from scrap paper, two measuring 10.5 by 20.5 cm and one measuring 7 by 20.5 cm.
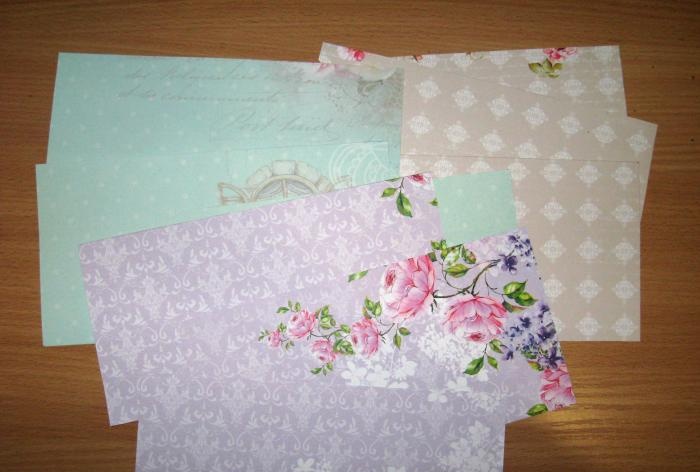
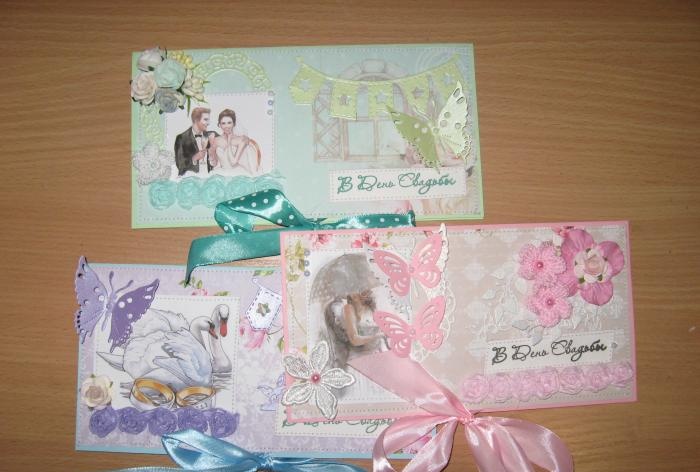
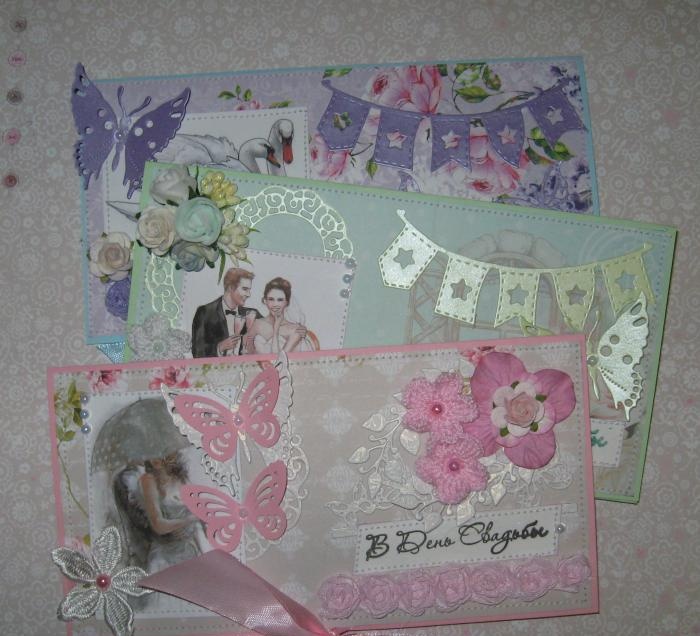
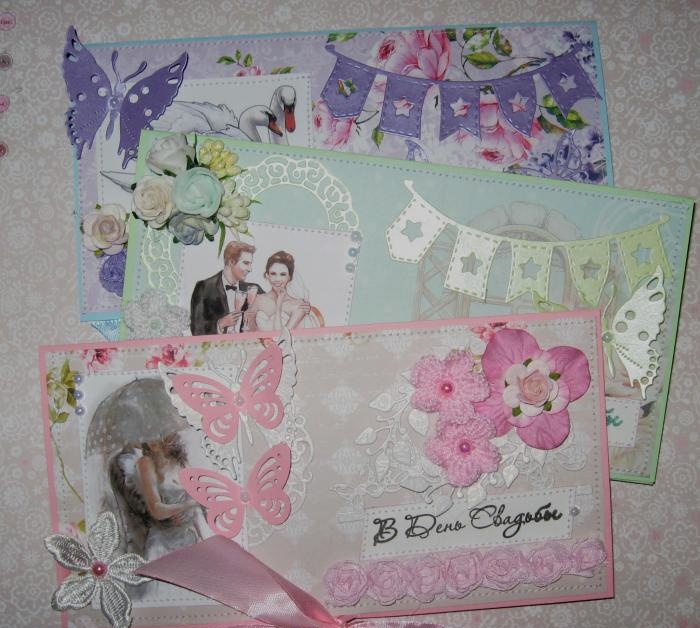
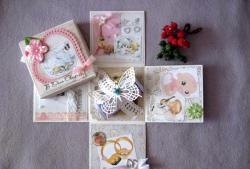
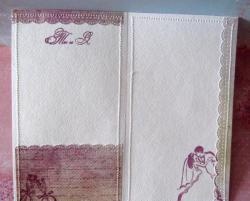
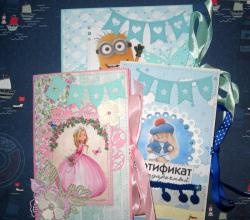
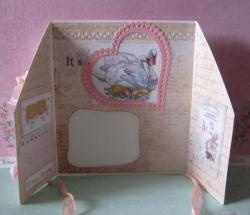
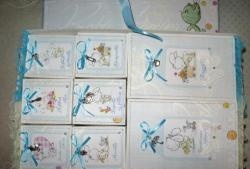
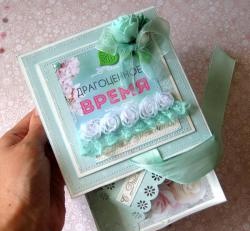
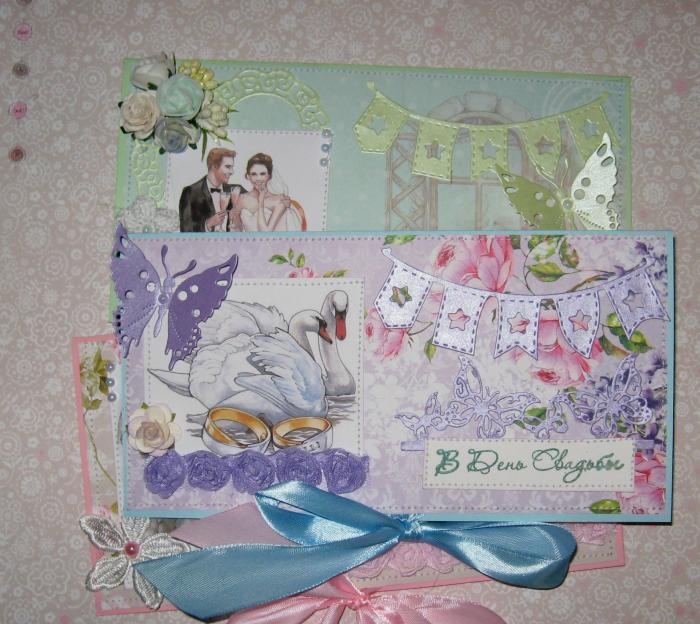
Inside and behind, we immediately glue scrap rectangles onto the tape. We will decorate and stitch the front ones. We stamp inscriptions of different colors, cut them out, and tint them. We glue a picture and an inscription on each of the envelopes and sew it on. We glue the butterflies onto the branches and flags with a glue stick.
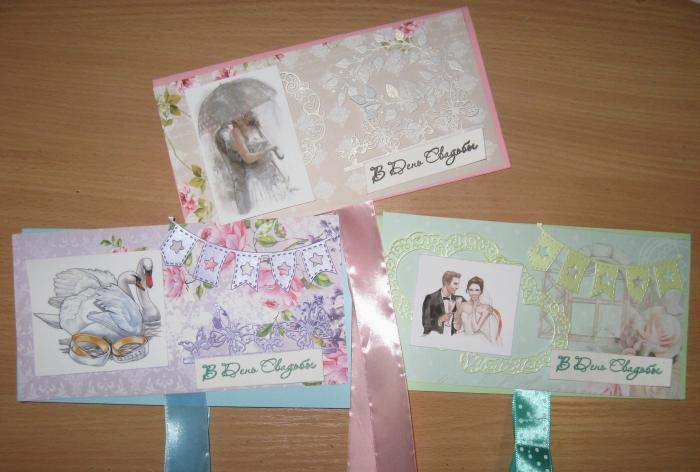
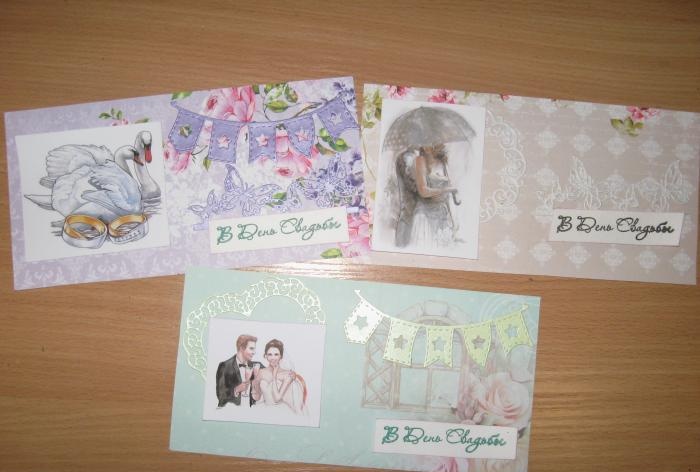
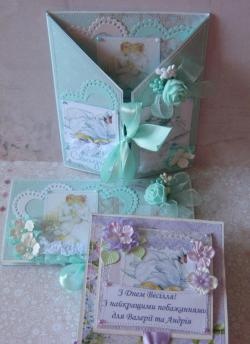
We glue these parts to the front of the envelopes and sew the outer parts of the envelopes separately, and the inner and back ones together. We get envelopes inside, tie them with bows.
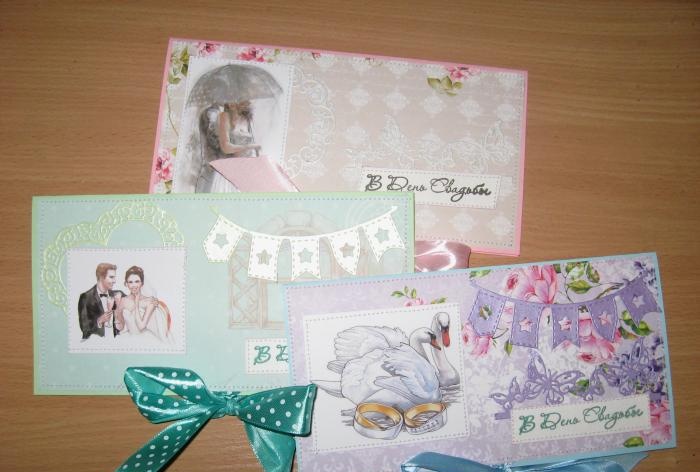
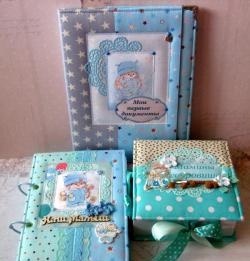
Glue on some decorations and you're done! We receive a variety of envelopes for wedding congratulations. Bye, see you everyone)