For the amulet you will need:
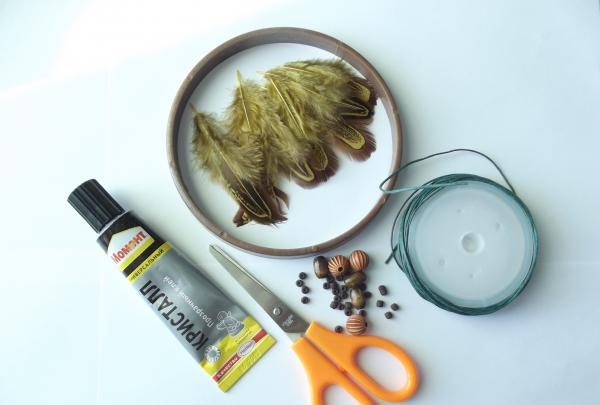
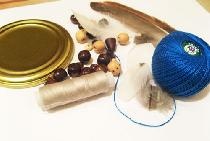
- ring-shaped base. Traditionally, the amulet uses a willow rod bent into a ring, but you can also use the inner circle from a hoop;
- cord or thread from 12 to 14 meters long. The threads should not be too thin: a woolen thread, braid or waxed cord is suitable for an amulet. It is believed that when choosing the color of a thread for a dream catcher, preference should be given to natural, “natural” shades;
- wooden beads of different sizes. It is advisable to use natural materials, but modern dream catchers also use all kinds of beads made of glass, plastic or natural stones;
- feathers. Feathers of various colors needed for the amulet can be purchased at craft and scrapbooking stores;
- transparent glue "Moment";
- scissors.
Progress:
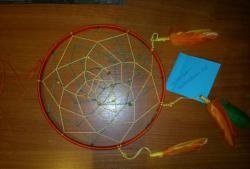
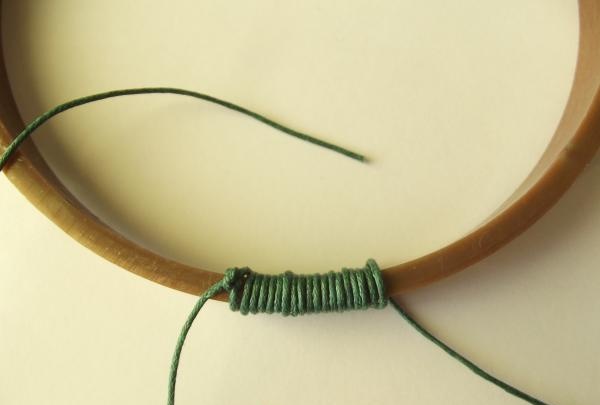
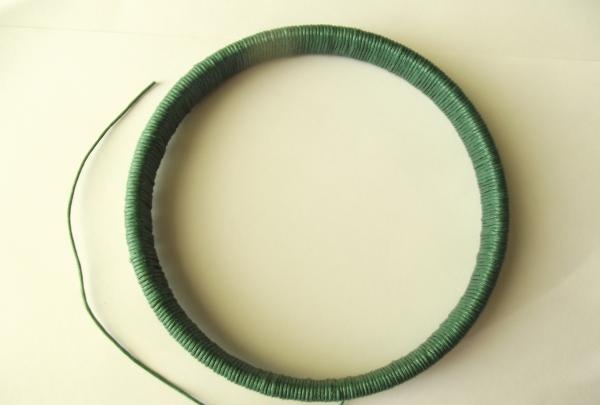
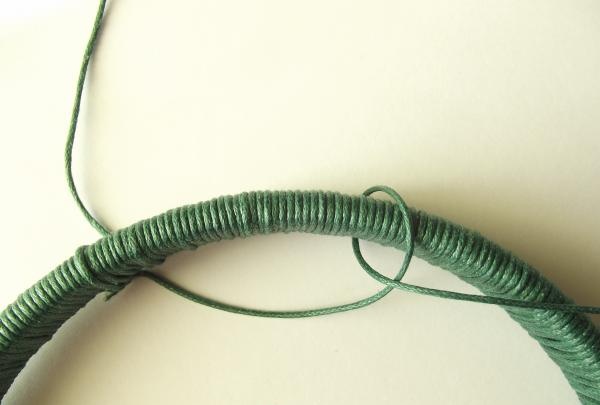
A long cord must be tightly tied to the ring taken as the basis of the amulet, leaving about 20 of the other edge free for attaching beads and feathers. Start wrapping the thread tightly around the warp, being careful not to leave any gaps between turns. It is advisable that the thread does not break during the process. After wrapping the entire warp, tie the threads tightly to the cord left at the beginning of the work. All knots can be coated with clear, quick-drying glue to strengthen them.
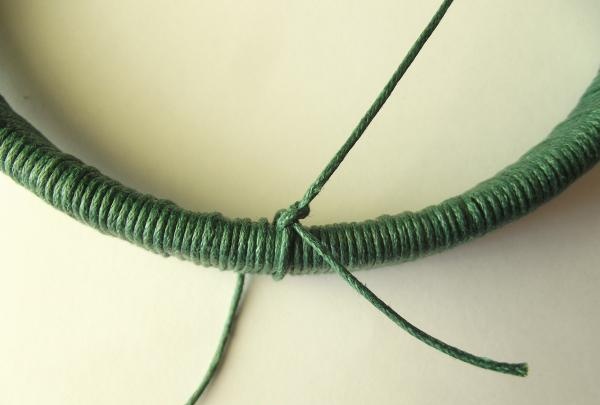
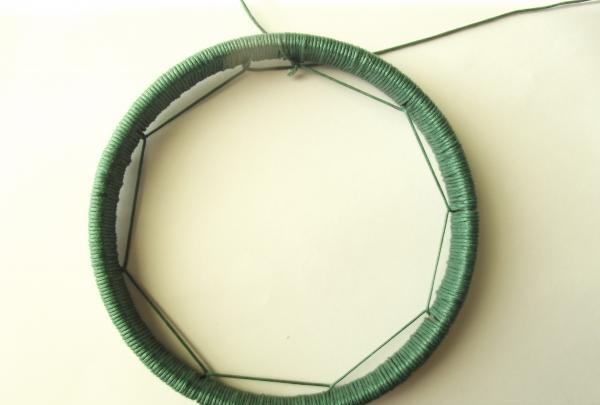
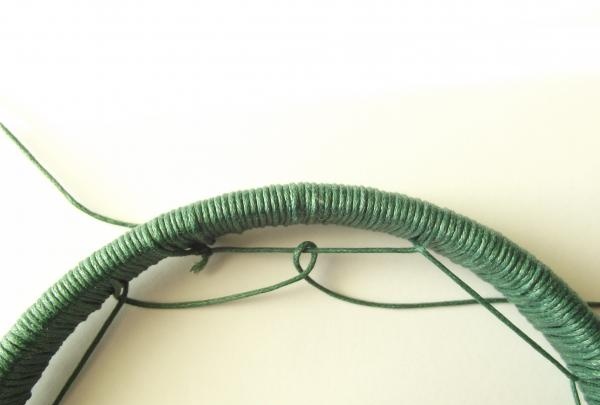
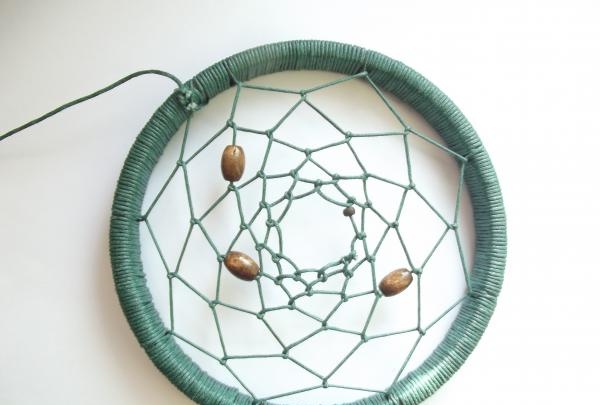
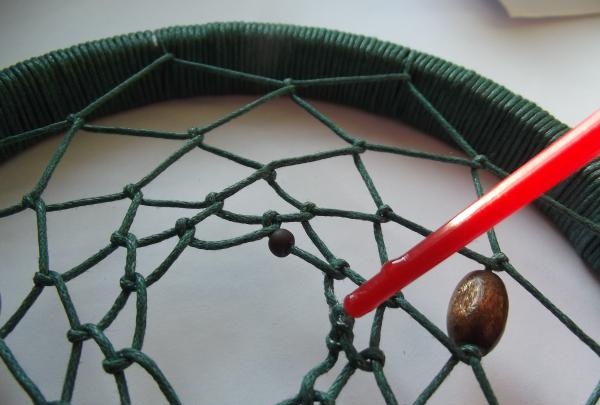
Then, close to the knot, you should tie the initial thread that will braid the amulet. To start the first row of web, step back 3-4 centimeters from the beginning of the thread and make a loop: wrap the hoop in a clockwise direction and thread the thread into the hole formed, pulling it tightly. Continue making similar loops in the round. In the process of making a dream catcher, you can weave wooden beads and shells into the web, securing them with knots if desired.
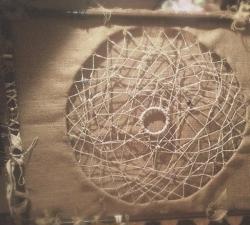
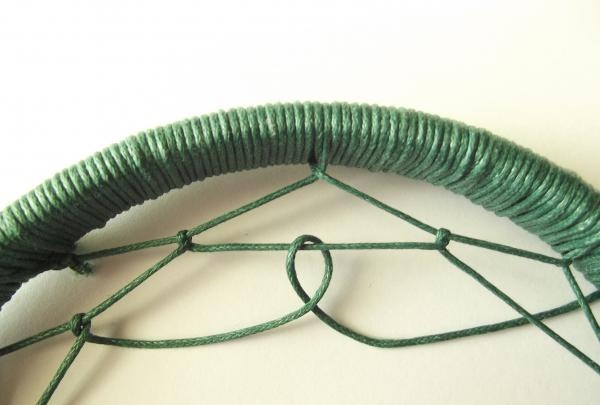
When the first row is completed, immediately move on to the second round. Now the thread should not be wrapped around the base, but the loops should be fastened on the thread itself, which makes up the first row of the dream catcher. Continue weaving the web around the next rows.The radius of the hole inside the weave should gradually decrease.
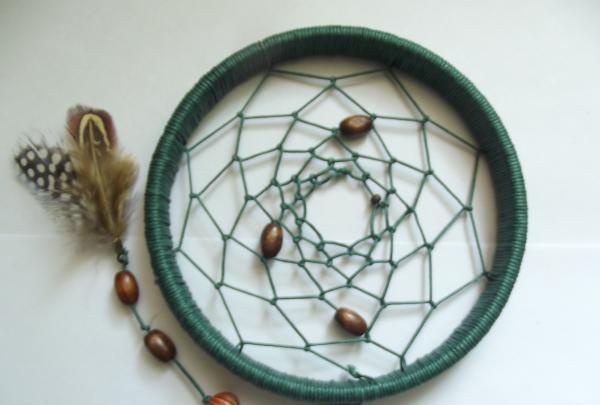
You can finish weaving when a small circle of thread is formed in the very center of the trap. Carefully tie the end of the cord, securing it with a knot. Apply a small drop of instant glue to the knot to prevent the web from unraveling. Align the rows of weaving and cut the end of the thread.
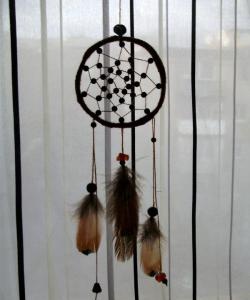
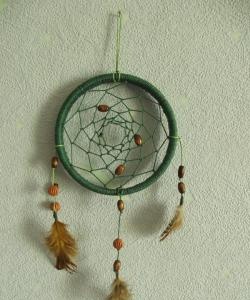
At the next stage, you can start decorating the amulet. String beads onto the cord left before starting work and secure them with a knot so that they do not fall off. When the beads are strung on a thread, you need to firmly tie the end of the cord to the base of the feathers chosen for the dream catcher.
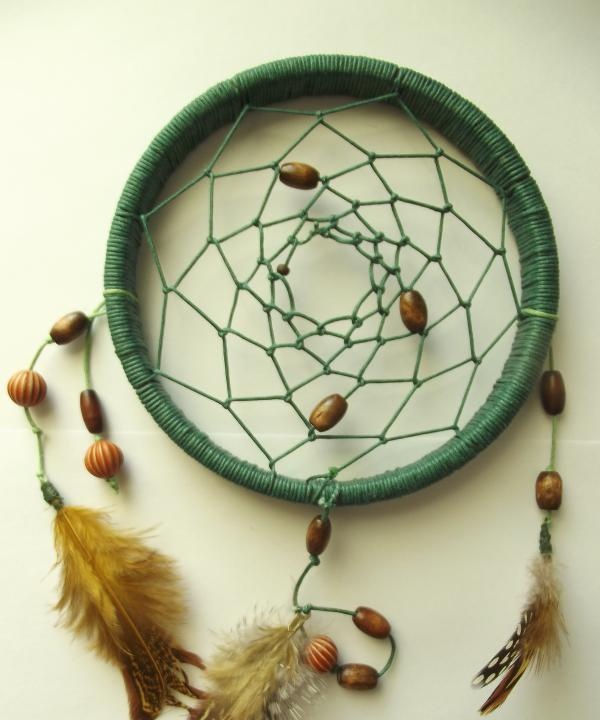
At the same distance from the cord, make two similar “tails” with feathers and beads.
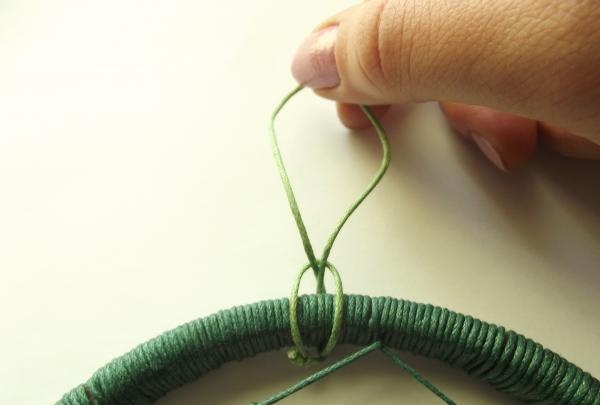
To make a loop for attaching a dream catcher, cut a thread approximately 16 centimeters long and tie the ends together. Fold in half and make a knot as shown in the picture.
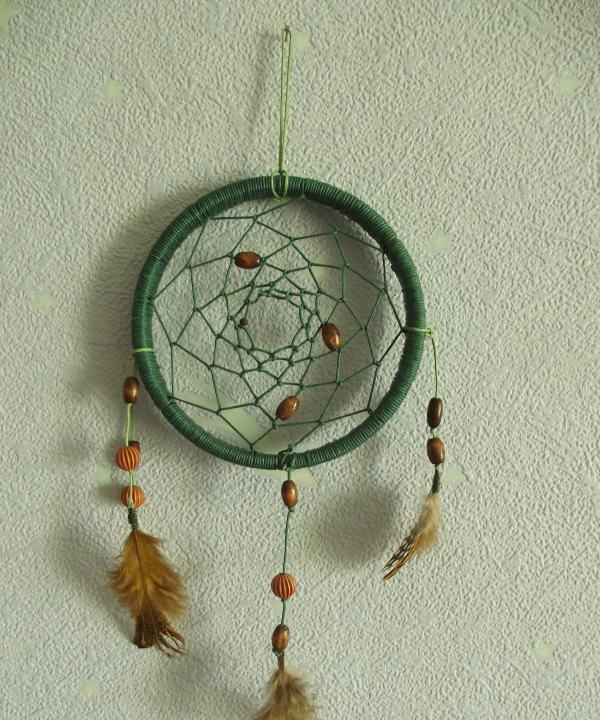
Your personal dream keeper is ready!