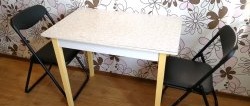
In practice, most often things happen differently. In the store you see an already assembled version furniture, as a sample. Everything is assembled and beautiful. As a result, after the purchase, they bring you small cardboard boxes several times smaller than the assembled cabinet and that’s where it all ends.
Later it turns out that assembling the cabinet is the work of a specialist for a fee.
Well, it’s okay, you think, what’s there to assemble it, an ordinary construction set.
But when you unpack the boxes, you are horrified to find neither instructions nor installation diagrams.
Then the question may arise: what parts and in what order to collect so that everything works out? After all, some glued parts can no longer be taken apart.
This article describes the assembly of a standard kitchen cabinet and some of the nuances of this work.
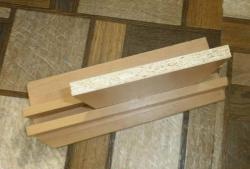
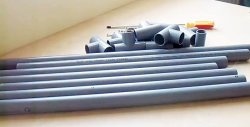
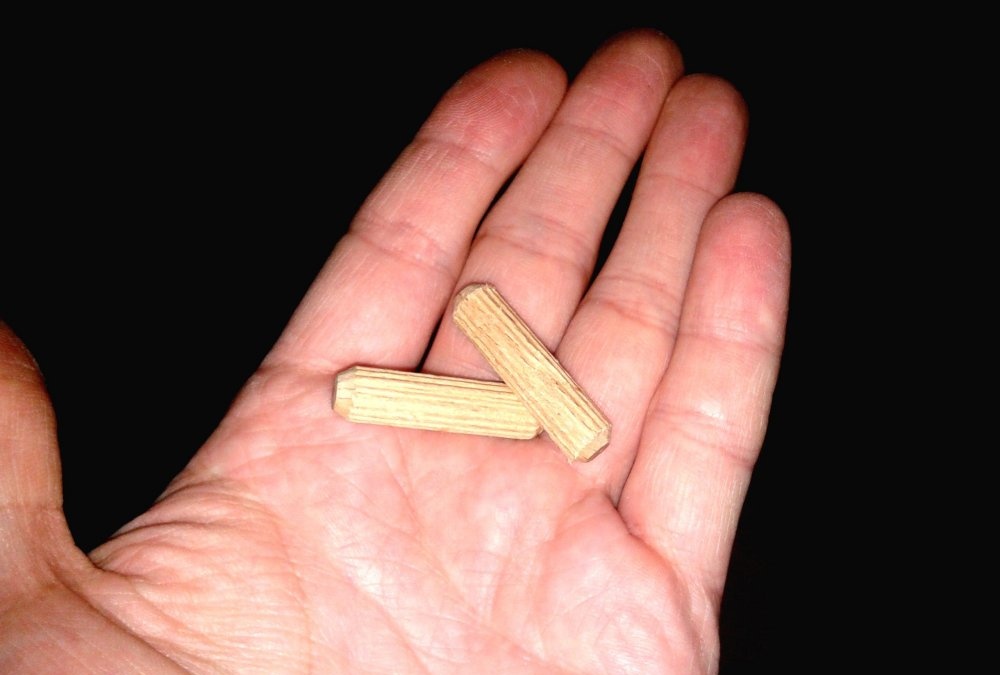
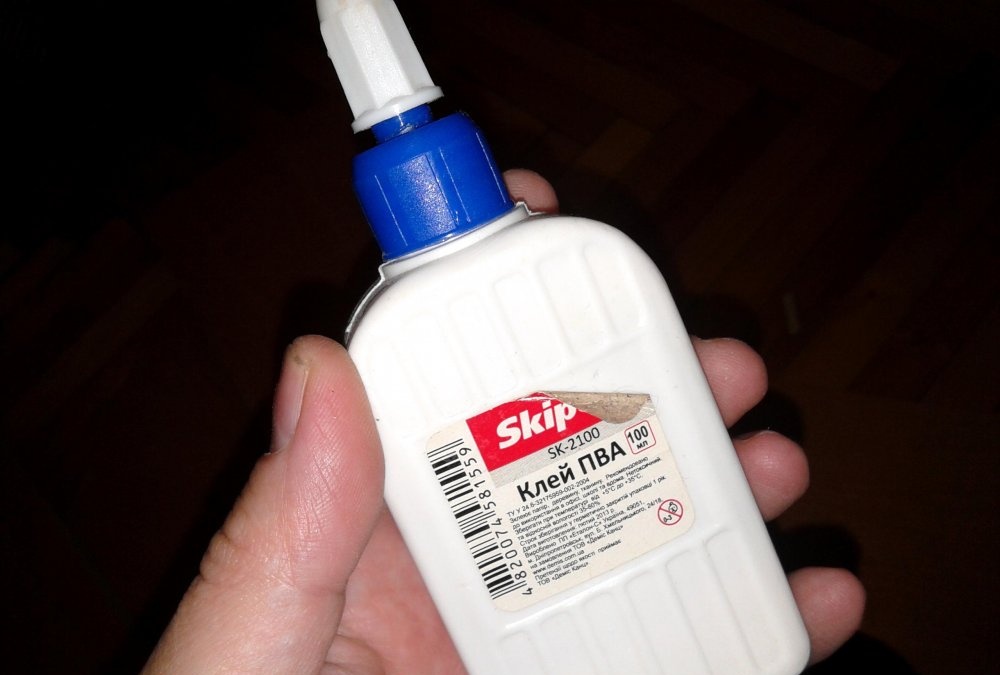
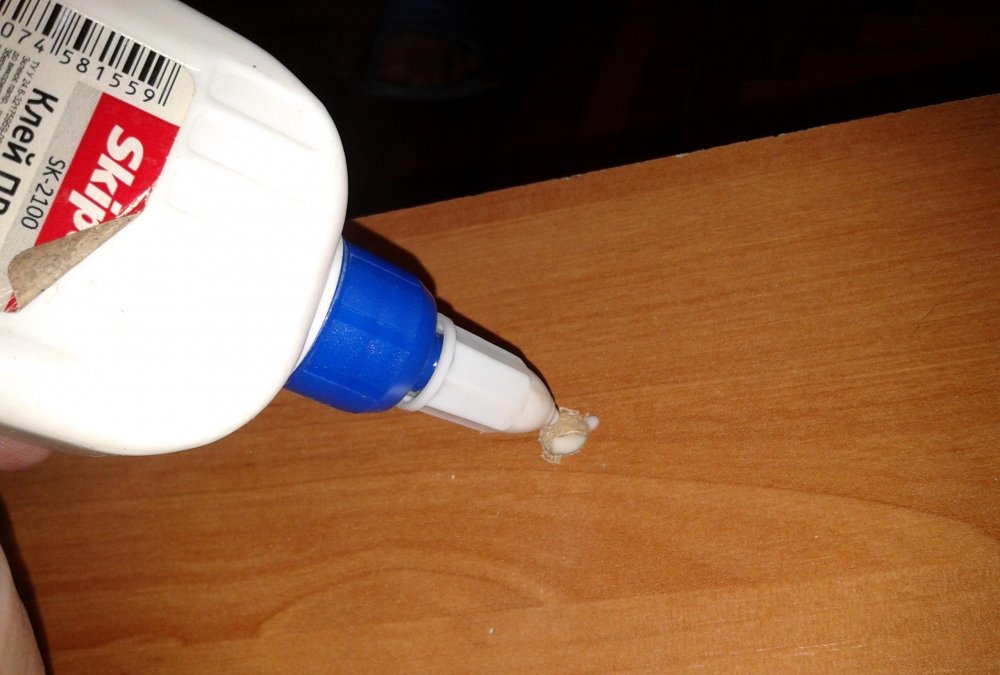
So, having unpacked the box, you can immediately see the main parts made from chipboard, as well as a set of wooden rods (chops), nails, fastening screws and a tube of PVA glue.
To carry out the work you will need a fairly large space, so you need to choose a larger room.
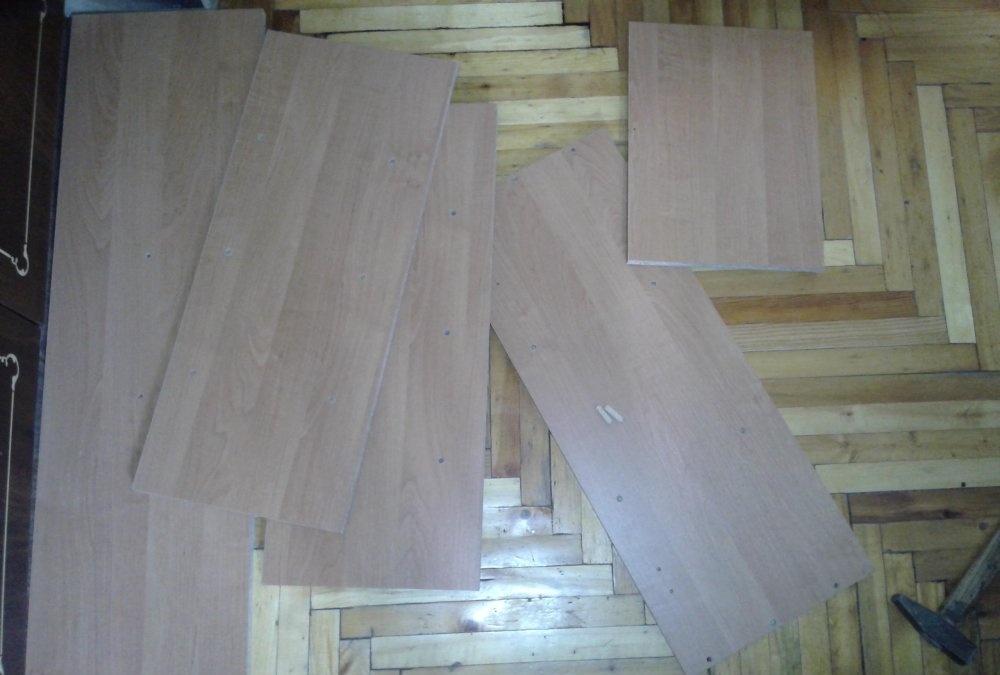
We lay out all the elements of the cabinet and sort them into piles, from larger to smaller pieces.
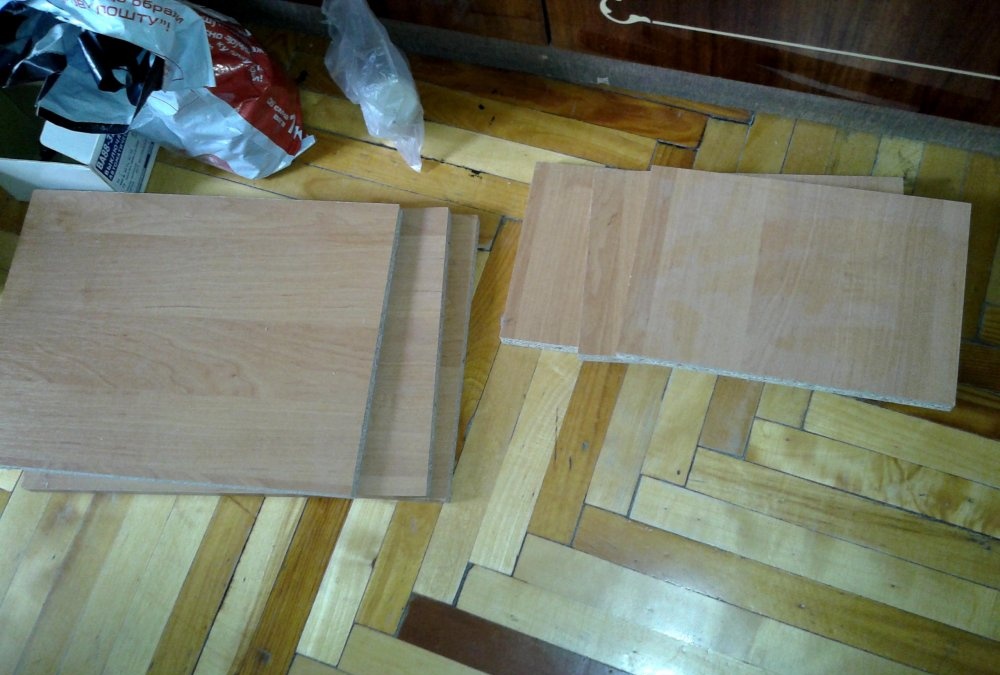
If your imagination allows, by turning the details you can mentally imagine what the cabinet will look like and which element fits where.
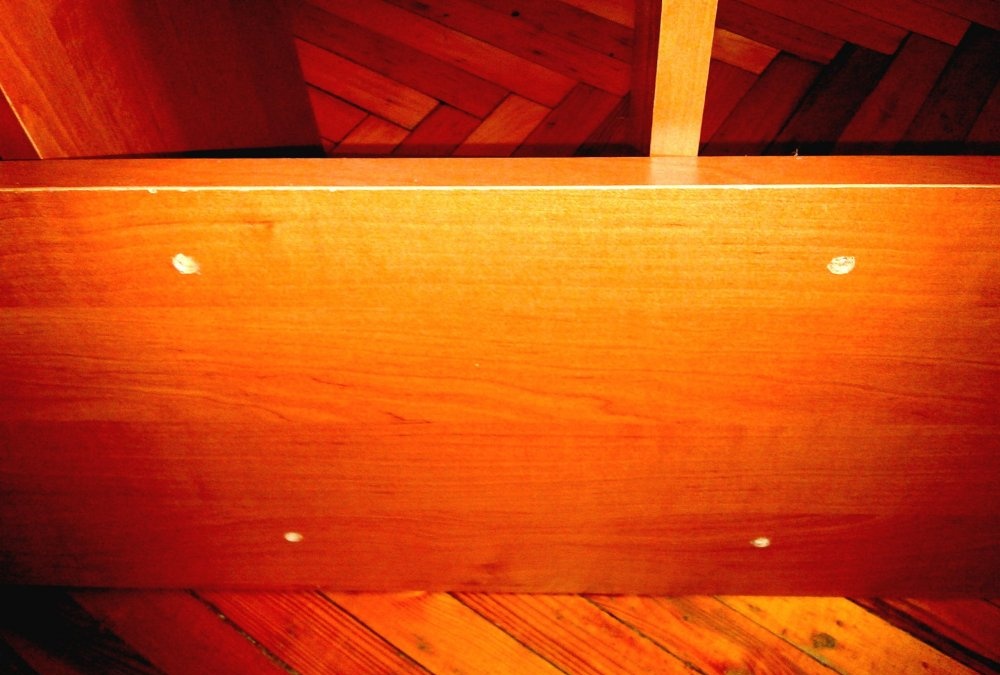
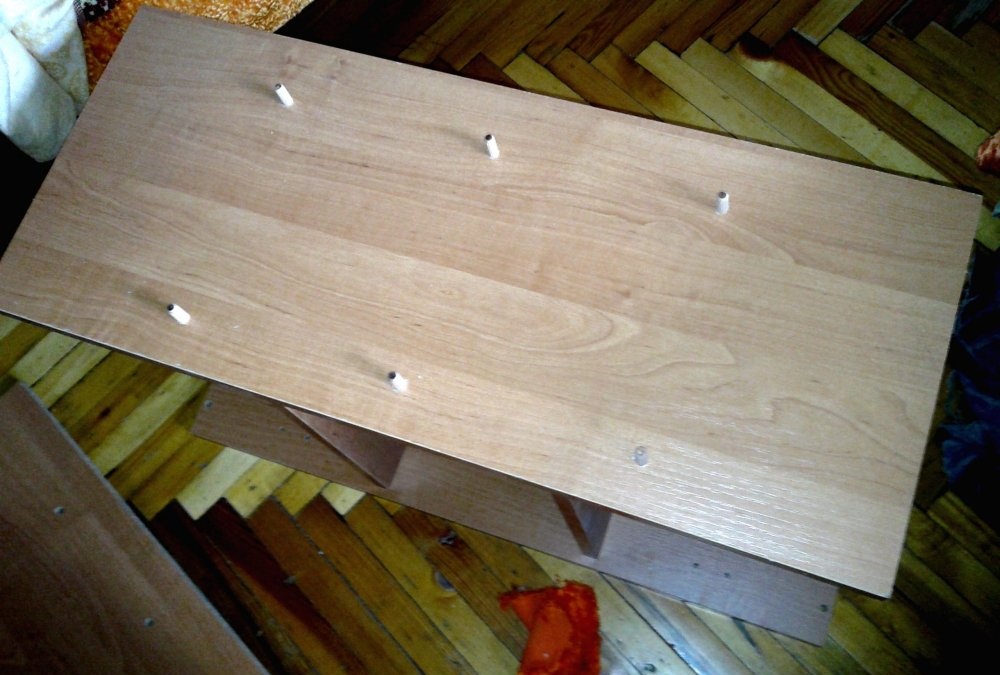
Let's start assembling this cabinet from the side panel. It won't be difficult to find; it has four holes for attaching door mechanisms.
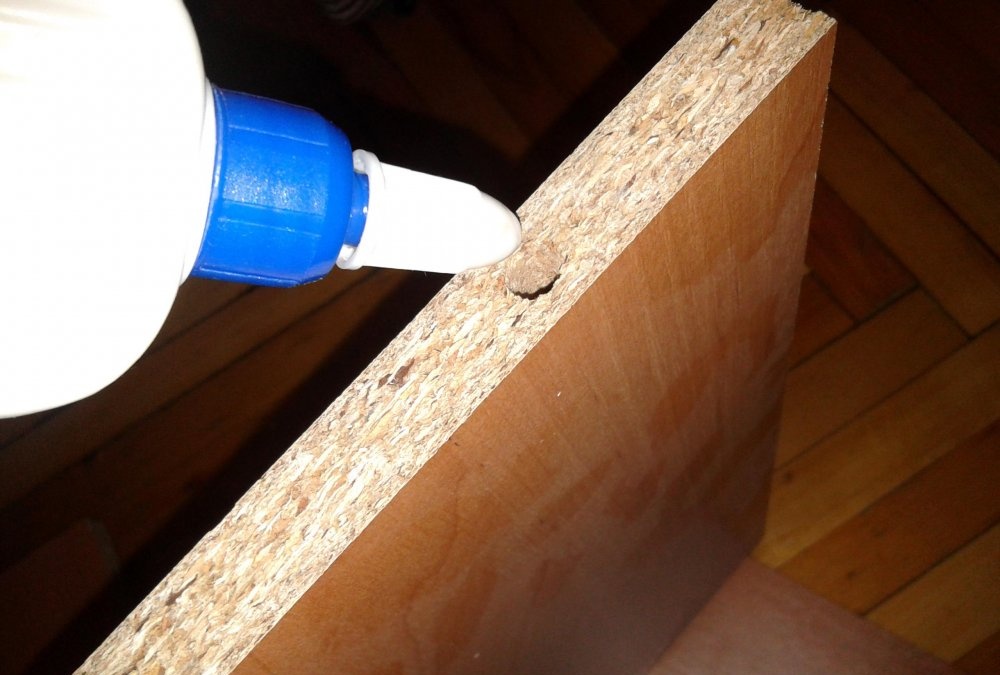
There are two such panels, on one of them, as can be seen in the photo, there are wooden choppers.
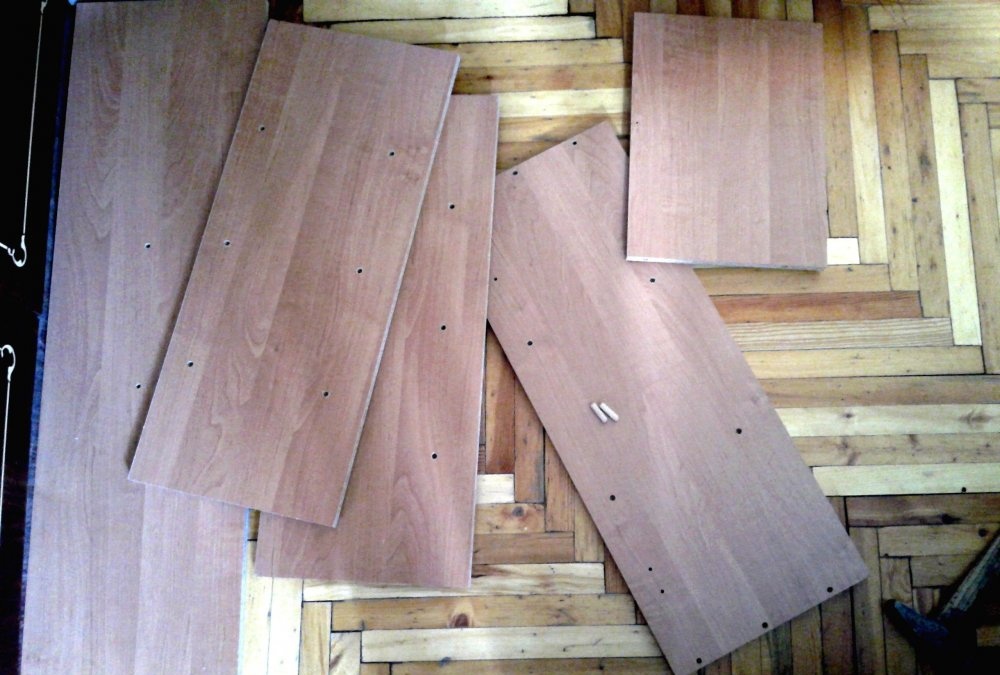
Closer to the center you can see four non-through holes.
They serve to fasten parts with the help of these choppers.
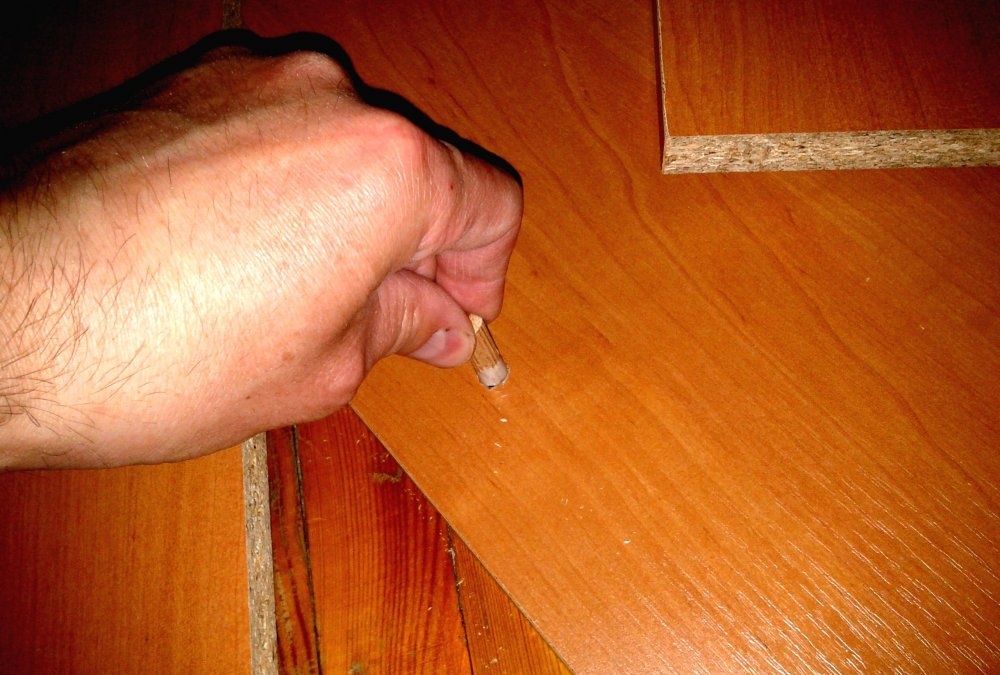
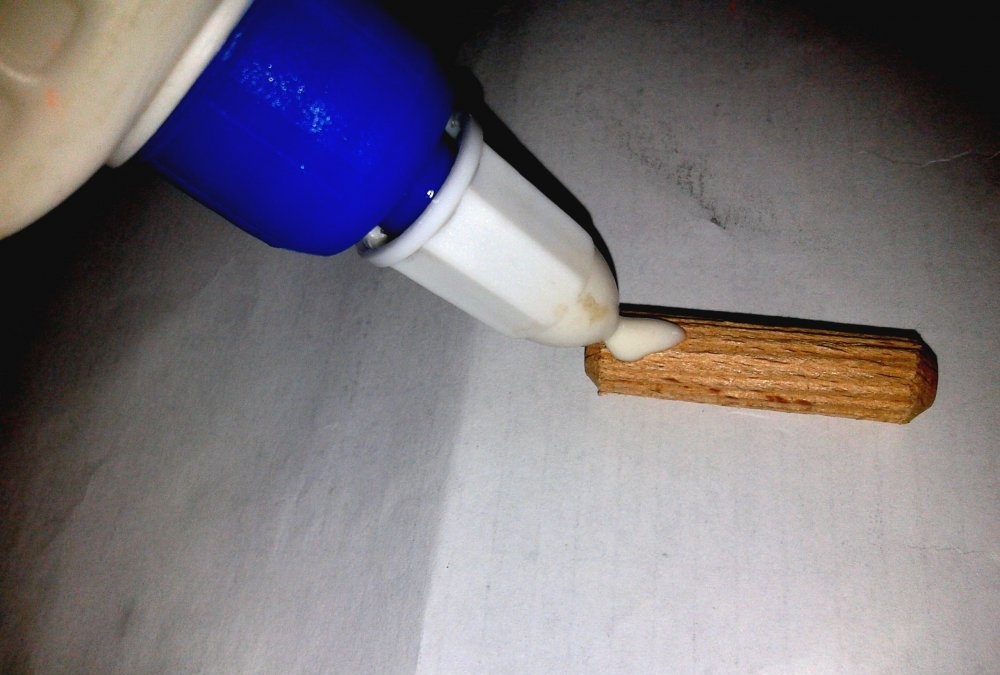
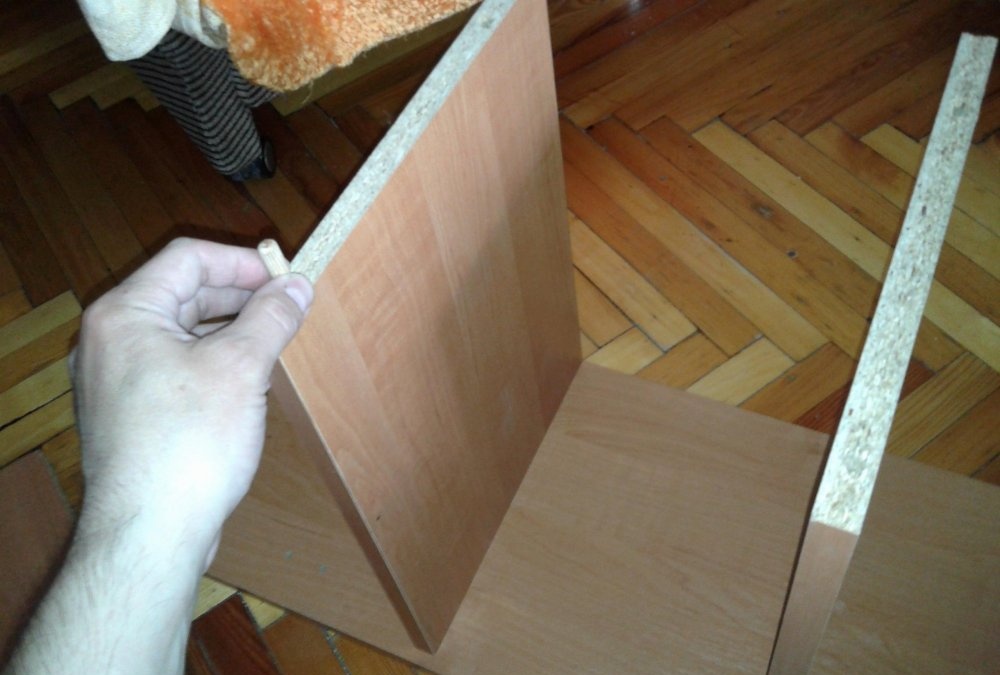
Place the part on a flat surface and generously coat both the hole itself and the tip with glue.
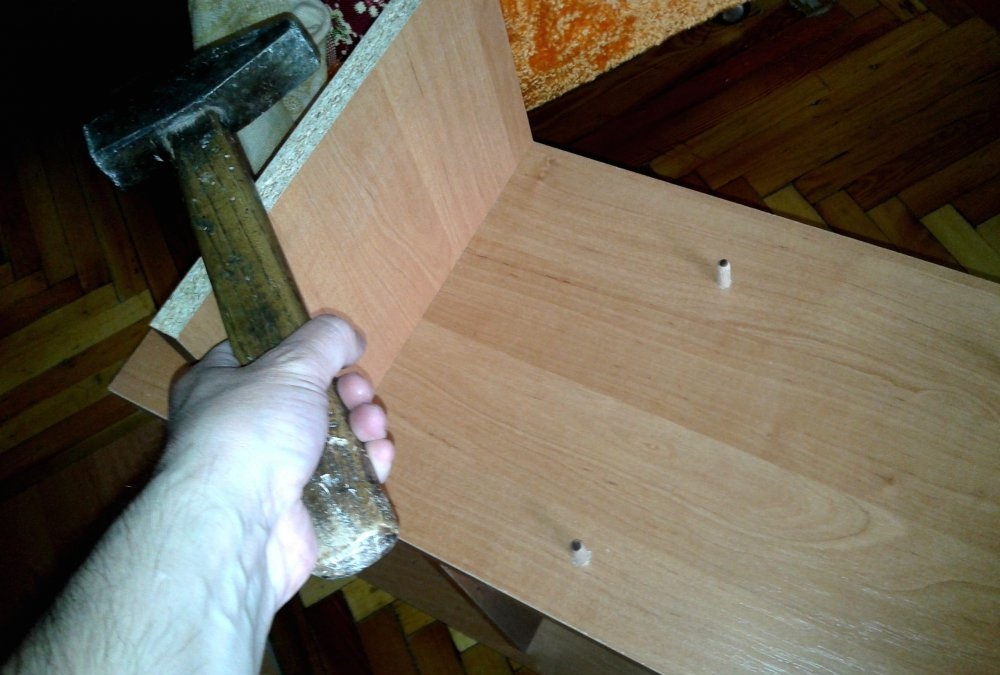
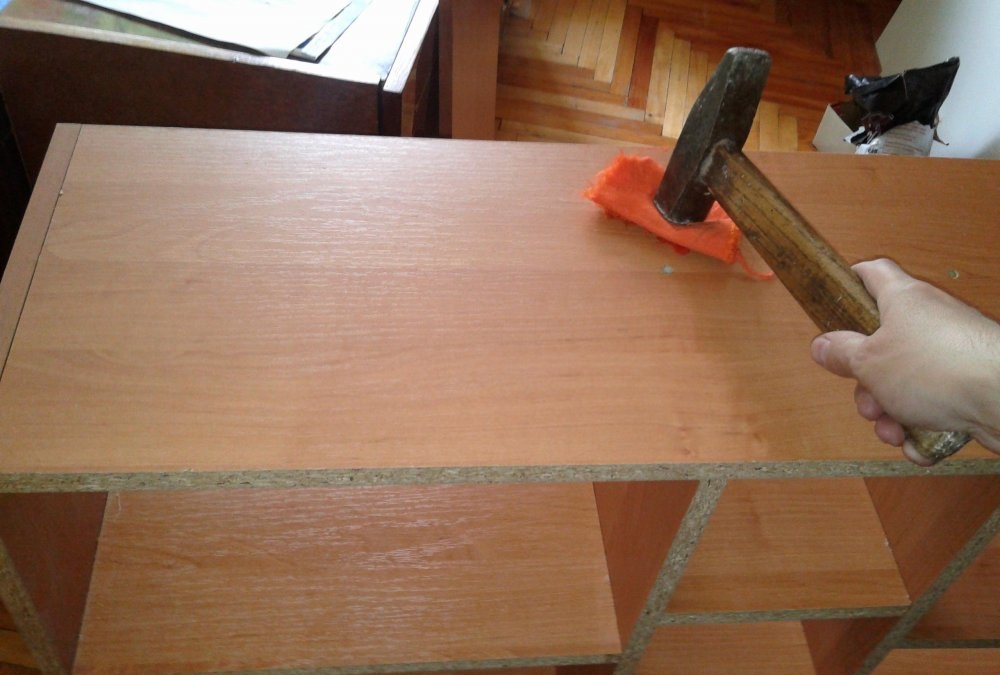
Next, using a hammer, carefully hammer the chops into the seats. It is better to use a mallet for this or, in extreme cases, a regular hammer, striking through a piece of rubber or rag.
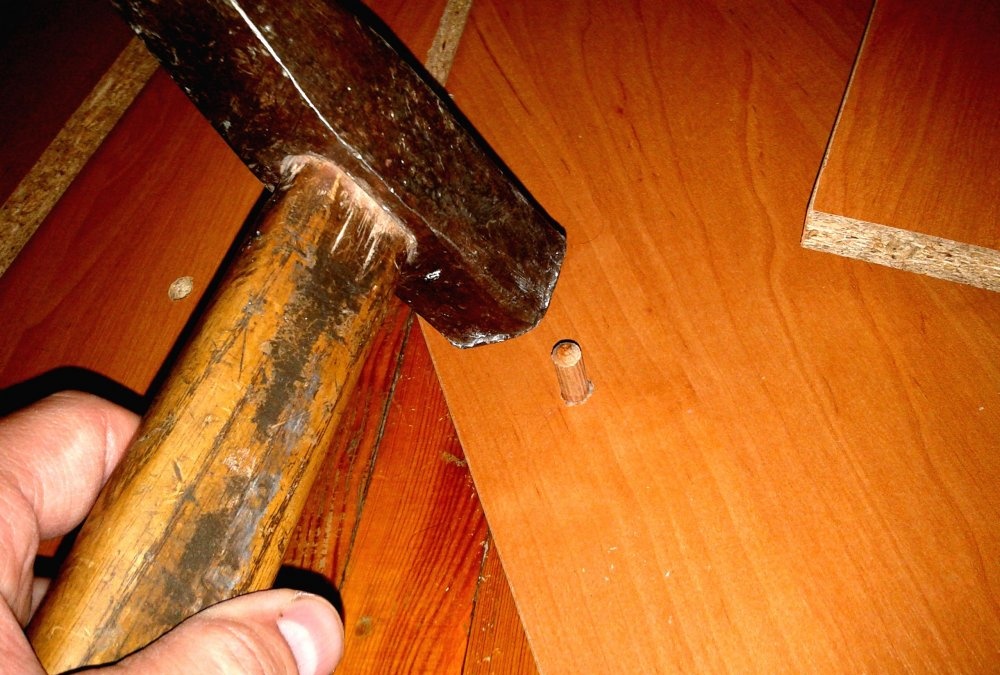
There is no need to overdo it, otherwise the rod may come out from the back of the panel, breaking off a piece of the part. It’s better not to finish it off, but when the upper part is seated, the rod itself will “sit” as it should.
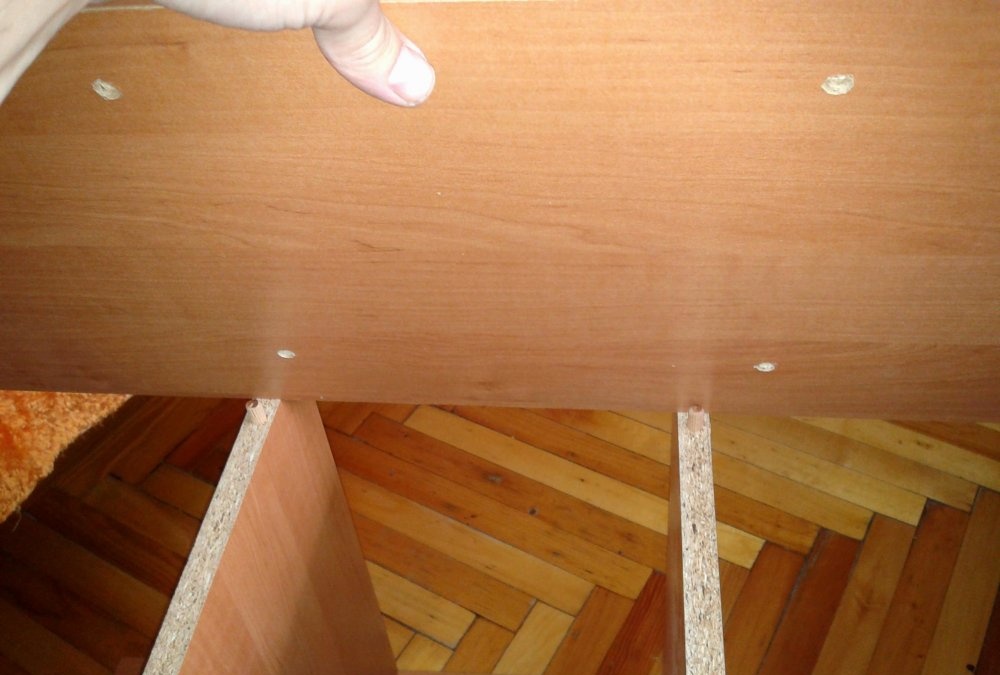
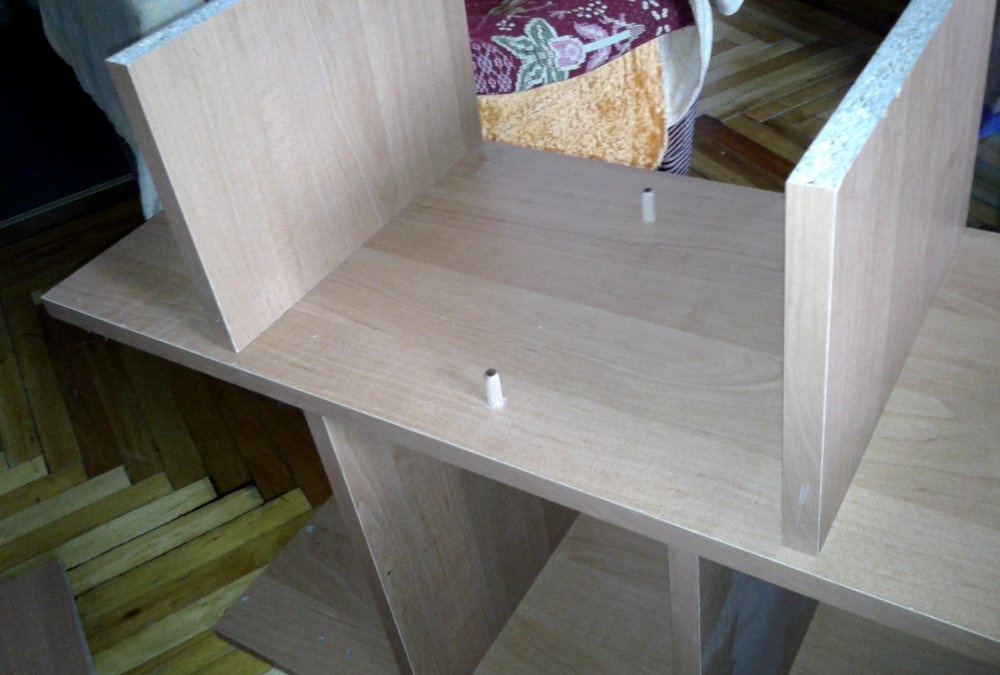
When all four chopsticks are already in place, we find in the set two small shelves with side holes and fill these holes with glue.
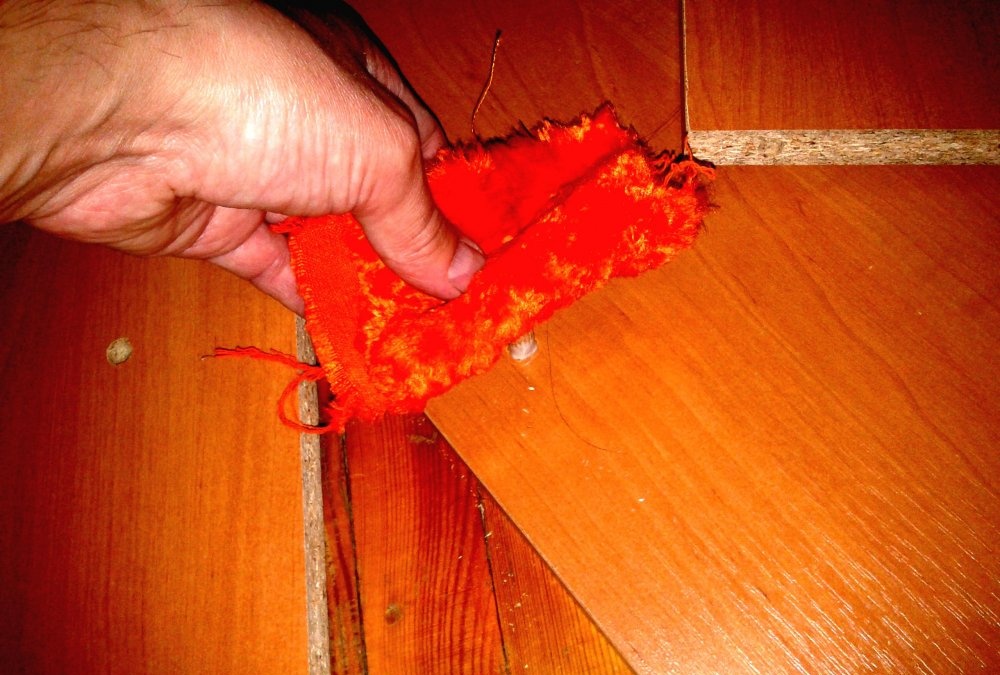
Next, we connect the holes with the choppers on the bottom panel and connect the parts with light blows of a hammer. In this case, excess glue may come out, where it is immediately removed with a clean rag.
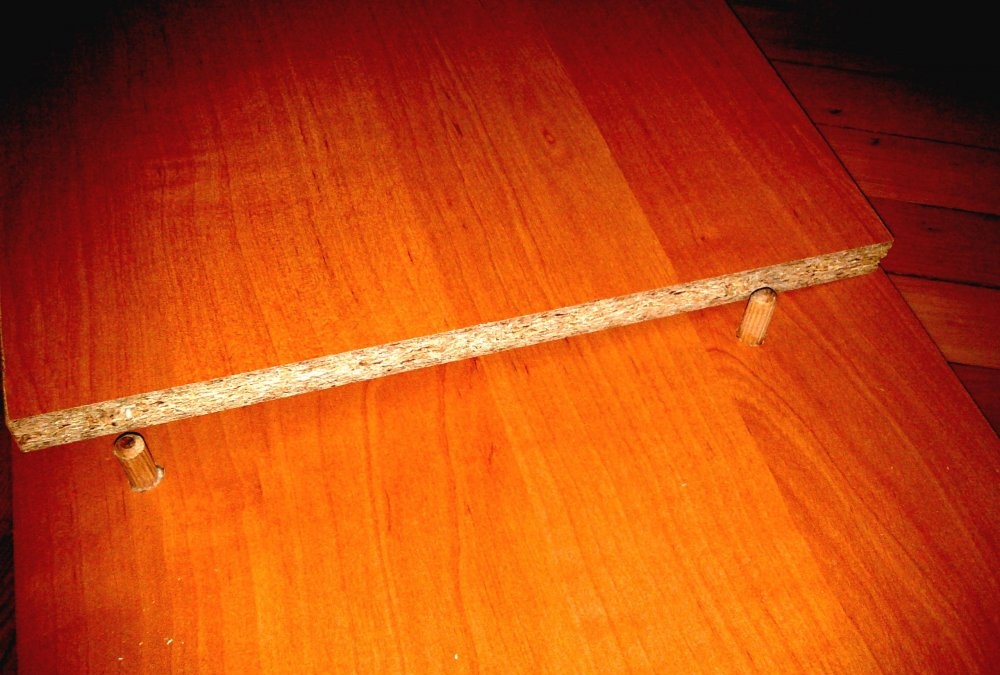

The two planted shelves look like in the photo.
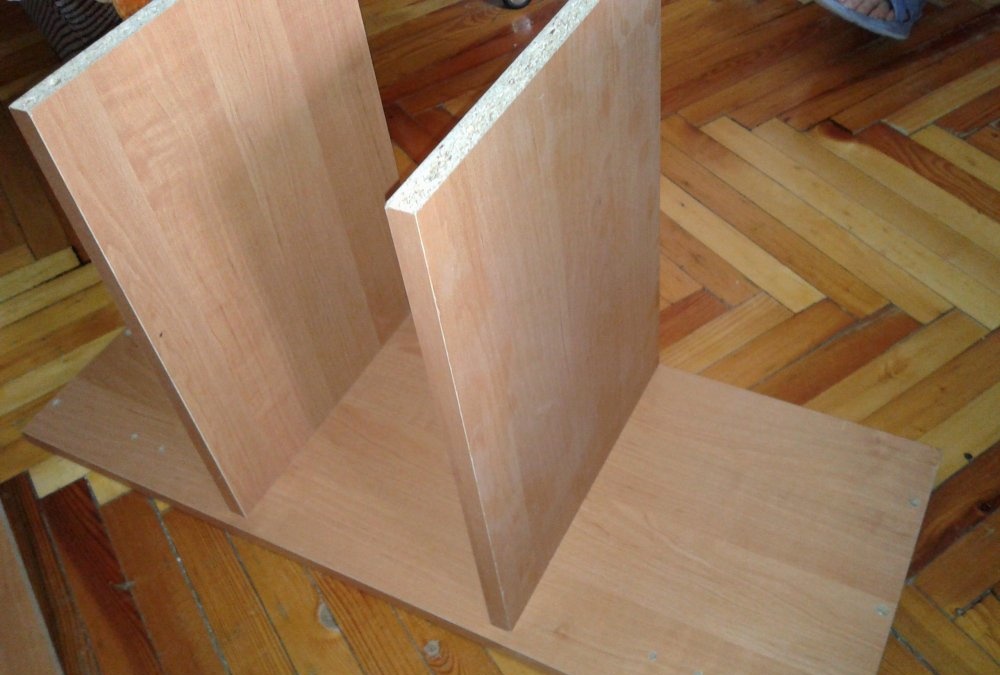
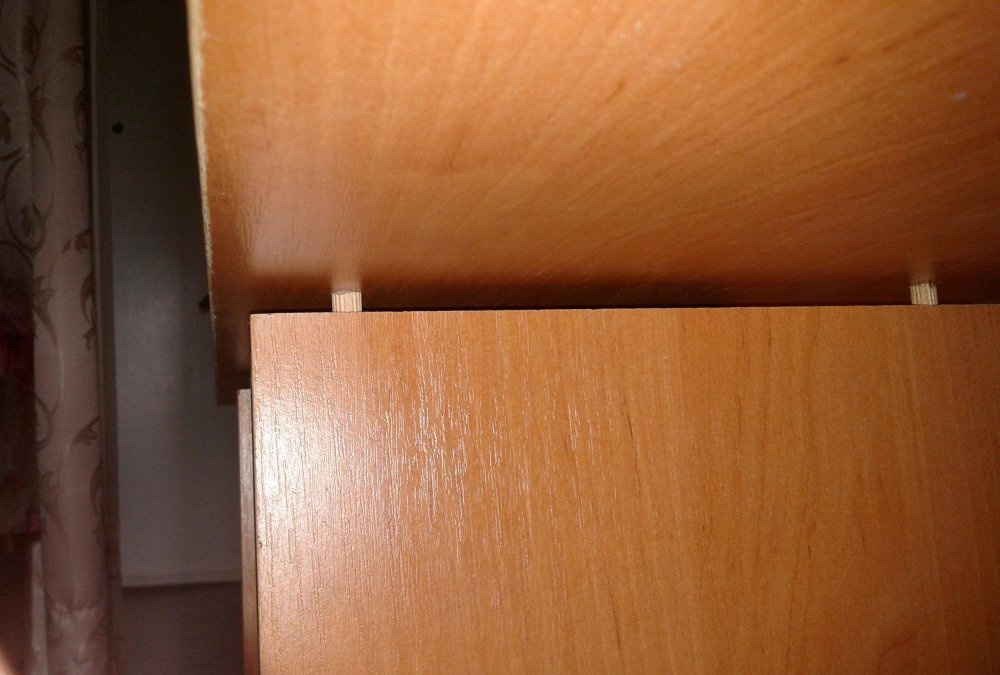
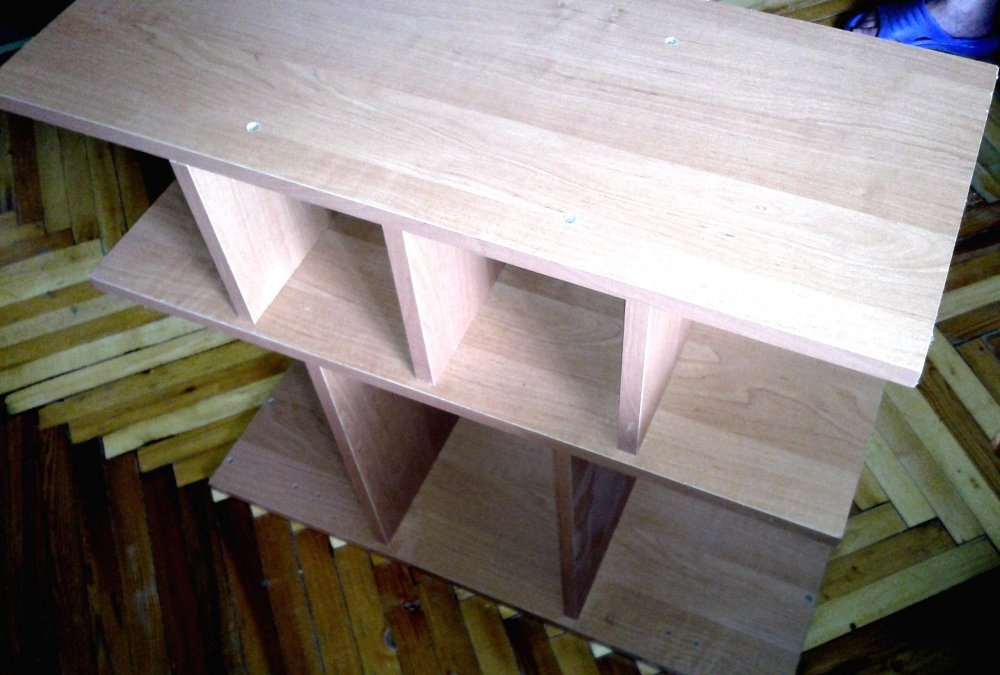
Now it's time for the next detail. This panel has four seats on one side and six on the other.
As you already understood, where there are four of them will be the next connection. The six holes will have to face up.
I would like to remind you of an important point. The ends of the shelves and panels are covered with PVC tape on the front side, but not on the back side. Therefore, pay attention to the fact that on the door installation side (front side) there are no shelves that are not covered with PVC.
With this point everything is clear, now we also apply glue to the four holes of the panel.
We combine the holes with the choppers and, evenly pressing and tapping with a hammer, achieve complete alignment.

We do the same procedure with the rods at the next stage, only there are already six of them.

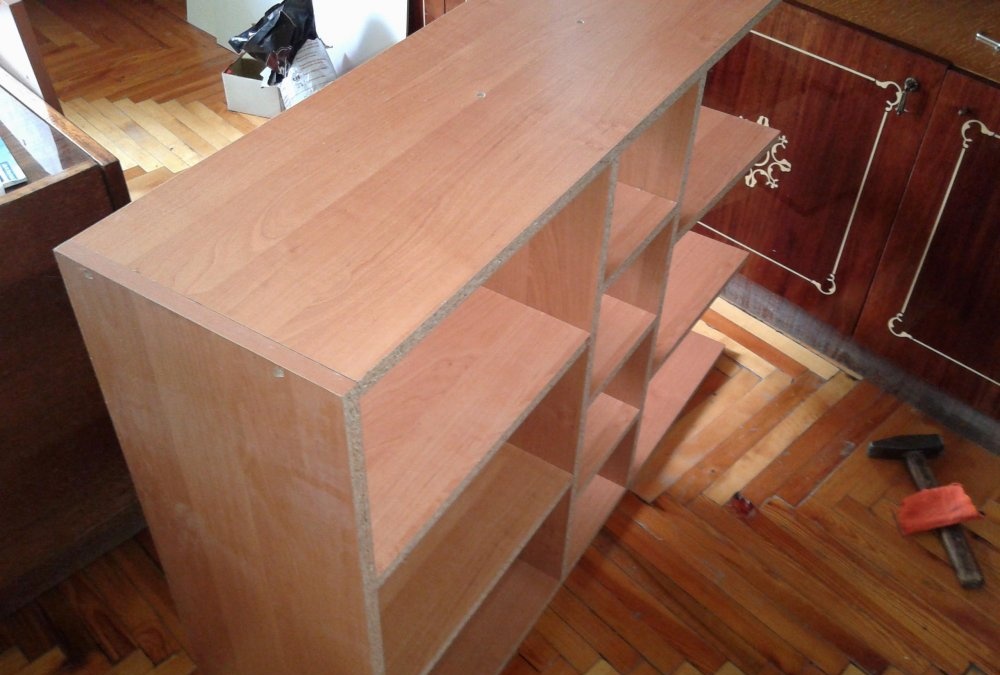
Carefully place the next three shelves, making sure that the lower part of the structure is not deformed. Where necessary, we hit it with a hammer.

Then the principle and details are the same, only in reverse symmetry.
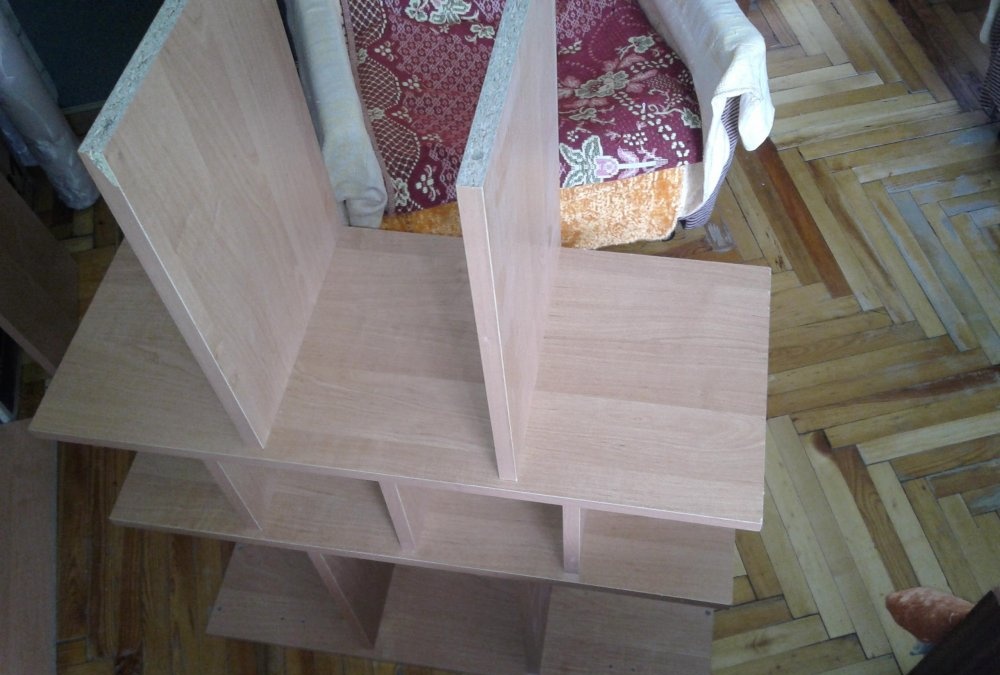
When it comes to the other sidebar, there is no need to install it. It will be final and close the entire structure.
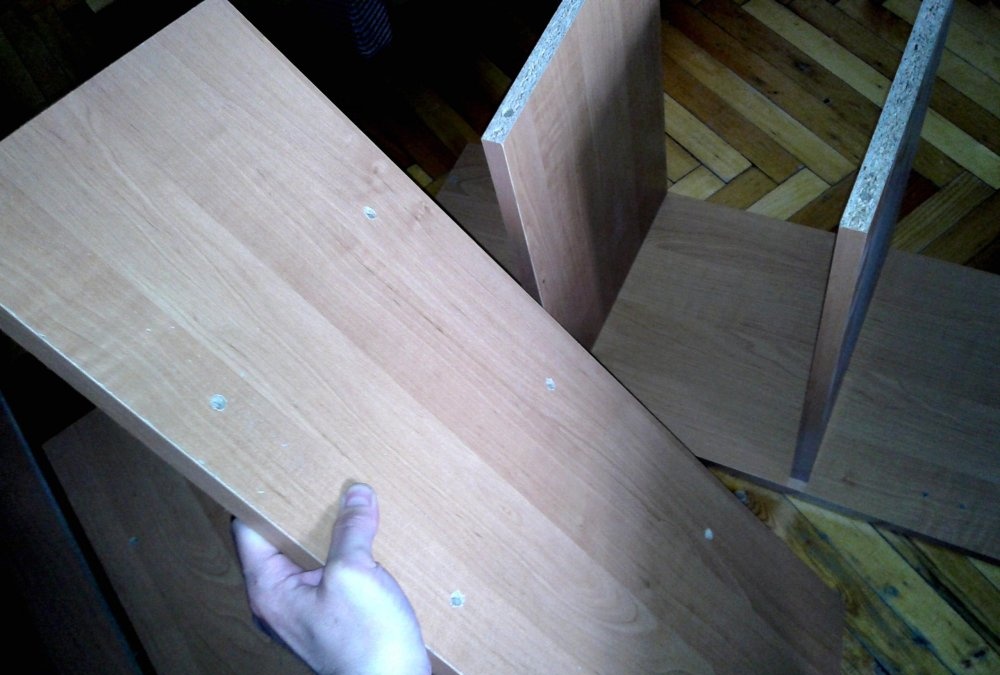
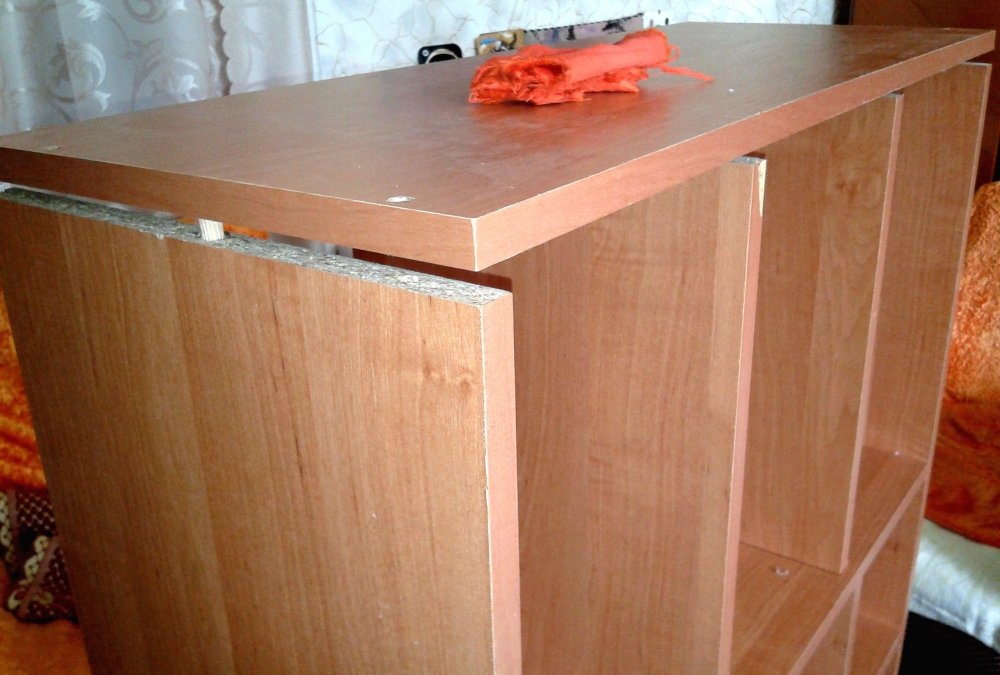
Therefore, having attached the top two shelves, we mount the top and bottom panels. In the set they are the longest, at the edges at the ends they have one (not through) hole for the rod, and two (through) for the clamping screws.
To secure this part, we insert the rod in the center into the lowest side panel and also into all the partitions that go to this side.
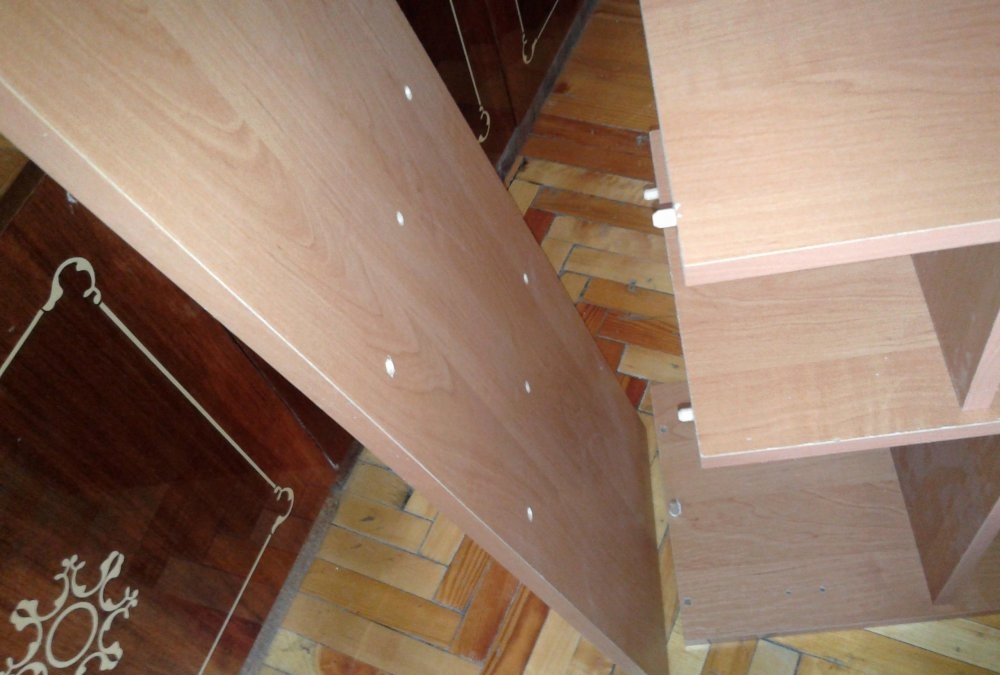
Carefully, pressing down, join the lower part and all the chops with holes on the partitions.
When it is clear that everything matches, we turn the box over with the panel being connected up and, pressing, we achieve maximum rigidity of the structure.
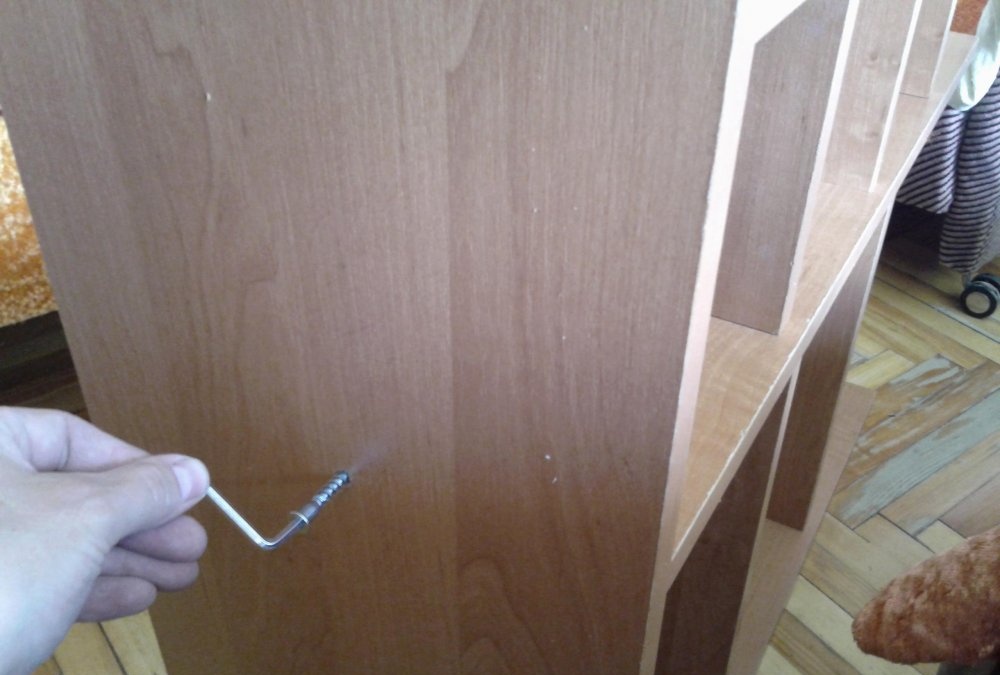
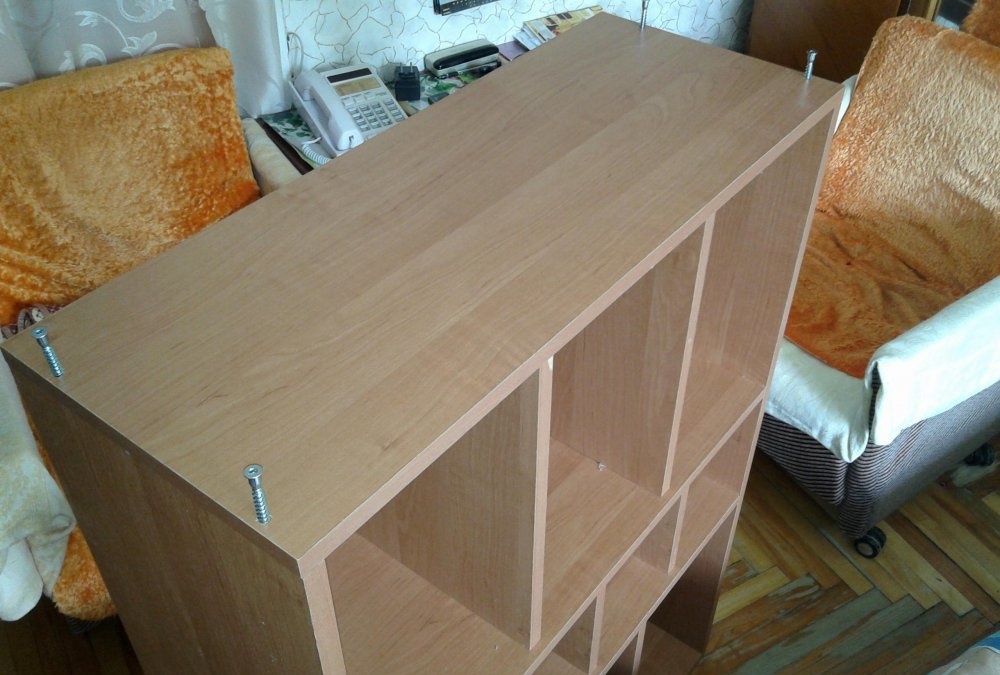
In addition to connections via rods, the top panel has two through holes for tightening screws. If everything is done correctly, the tightening screws should fit exactly into the prepared holes of the partitions and fasten the structure.
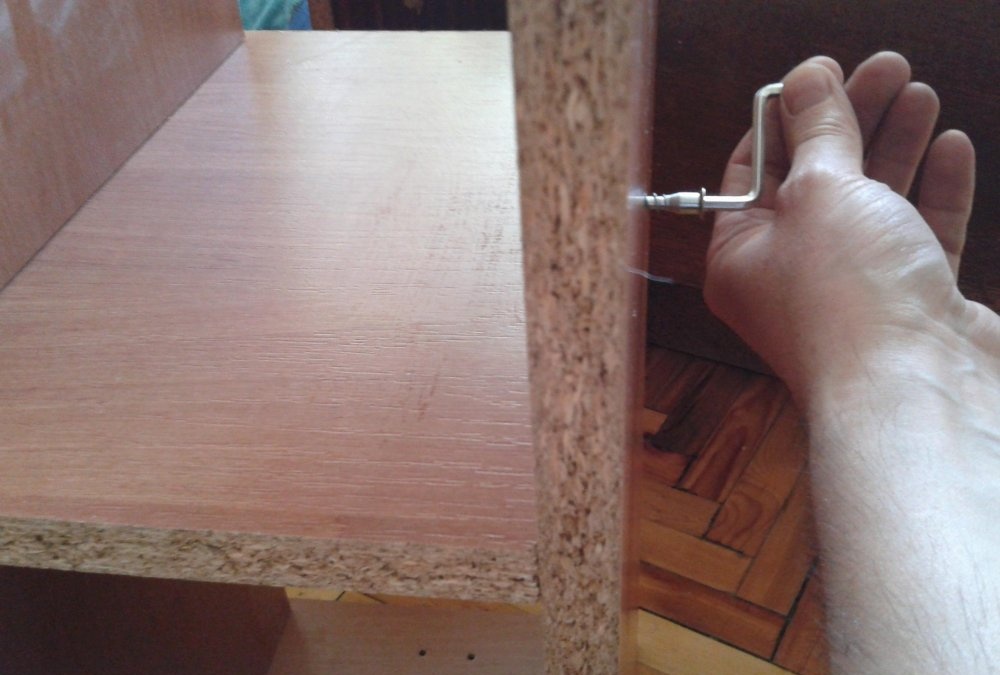
This can be done using a hex key, which should be in the cabinet kit.
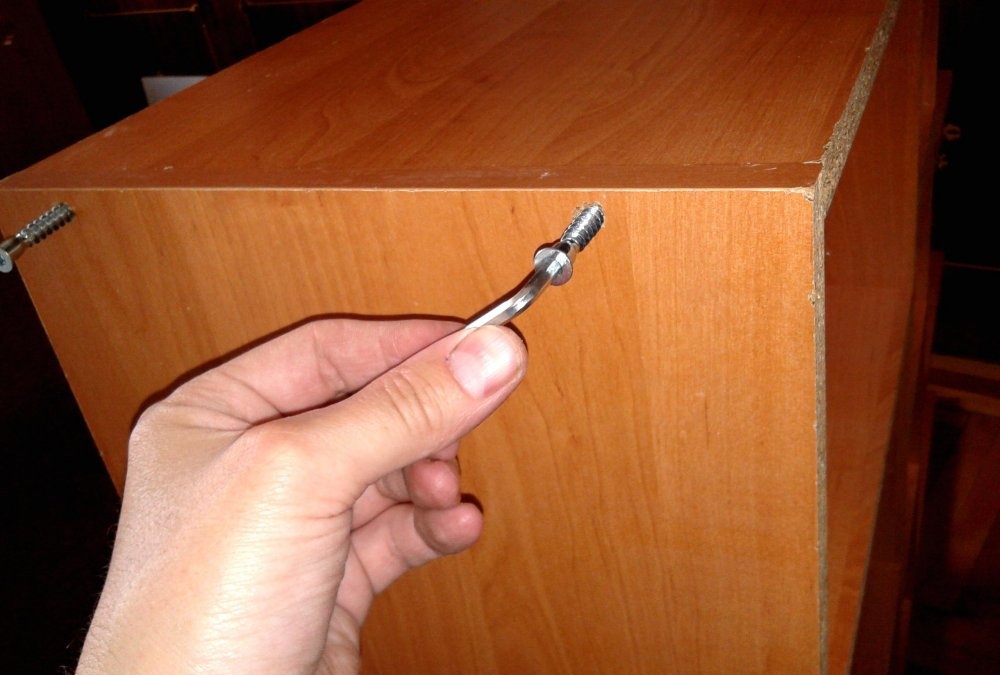
Also, two coupling bolts are provided on the side of the side panels - left and right.
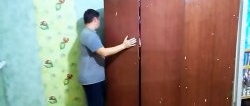
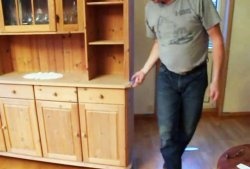
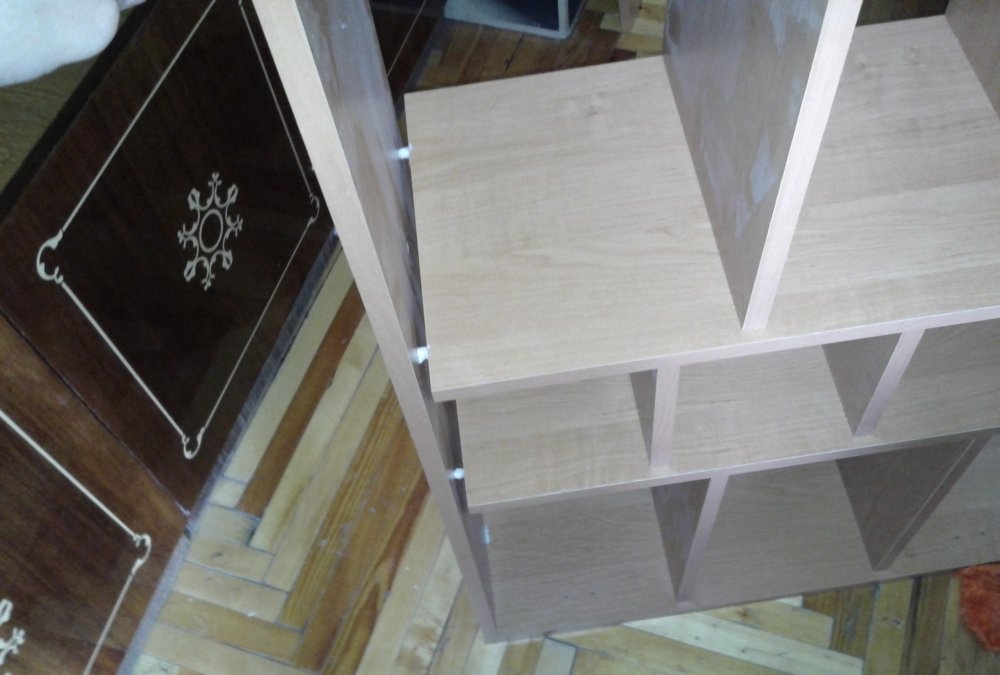
When the top and bottom panels are installed, install the final remaining side panels.
To do this, we turn the cabinet over with the working area up, and inserting the choppers in the center into the remaining part, we finally fasten the structure body, not forgetting to screw in the four tightening screws.

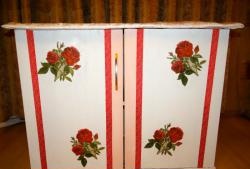
After complete assembly, it would not hurt to once again go over the remaining glue with a rag and turn the cabinet over and re-tighten the tightening screws.
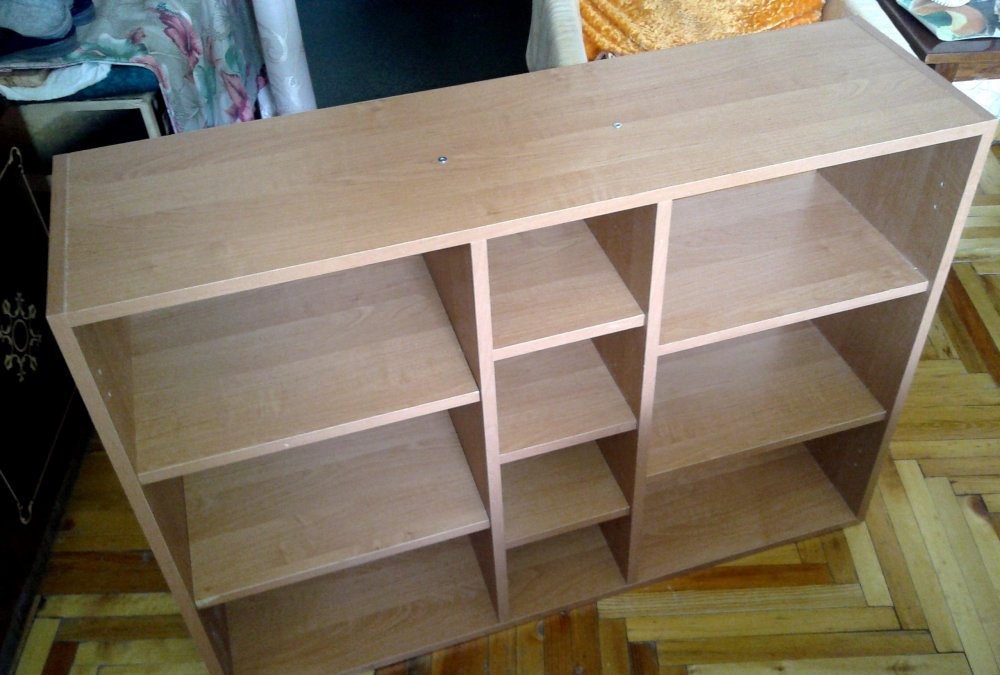
Now you need to leave the cabinet on level ground for a day so that the glue finally “sets” and gives the structure maximum rigidity.