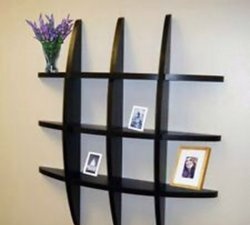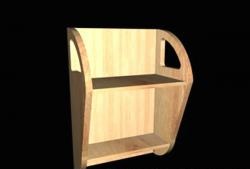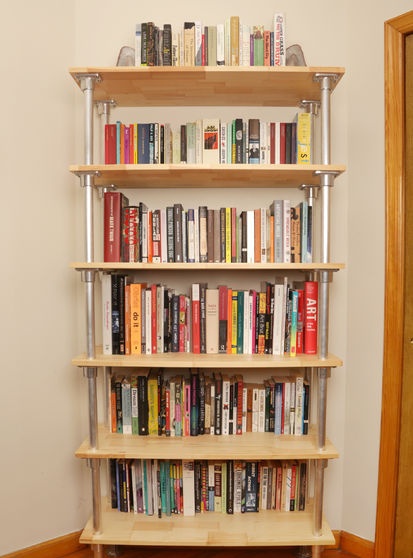
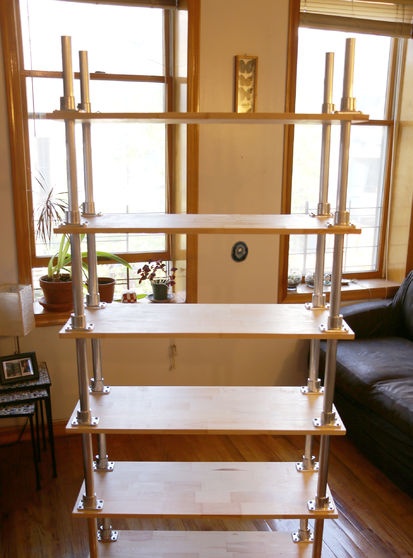
This modular adjustable bookshelf tutorial is super easy to make and a fun way to spend the weekend. The advantage of this shelf is the aluminum frame with tubes, which allows you to easily move the racks, so they slide well. As you can see in the illustrations, the shelves are placed at standard intervals, but nothing prevented us from placing them all at different heights. This way you can make your shelf the way you want.
Although this bookshelf may cost you a lot due to its aluminum tube frame, its manufacturability, durability and aesthetics will allow this item to furniture serve you for many years. If after some time you no longer need this bookshelf, you can turn its individual parts into new interior items. This shelf is not the cheap chipboard countertops that you can find at a big box store and will eventually turn into a pile of junk when you move to a new place. Because this shelf can be disassembled into small, lightweight pieces, it is relatively easy to reassemble when moving to a new home.
Materials
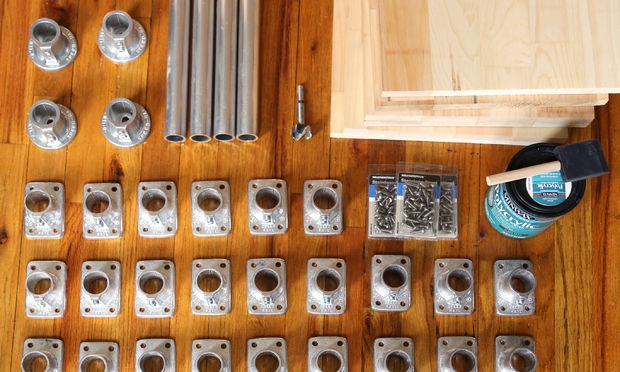
Tools and materials you will need:
- 36 x 91 x 1.5 cm pine board (or other wood of your choice). Pine board is best suited for two reasons: it is quite durable and pleases with its aesthetic appearance;
- 183 cm x 2.5 cm aluminum tubes;
- mounting supports for 2.5 cm through holes;
- end switches for 2.5 cm tubes;
- self-tapping screws;
- liter of wood stain of your choice (in this case, polycrystalline satin was used);
- drilling machine (if you don’t have a drilling machine and a cutter, you can use an electric drill and a bit);
- cutter 25/30/8;
- hand sander (and/or sanding block);
- sandpaper 180;
- sandpaper 220;
- electric drill;
- hex key 31/86 with blade size 5.5 mm;
- ruler;
- pencil.
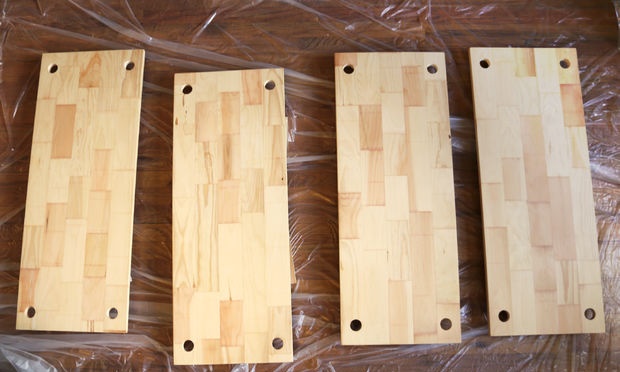
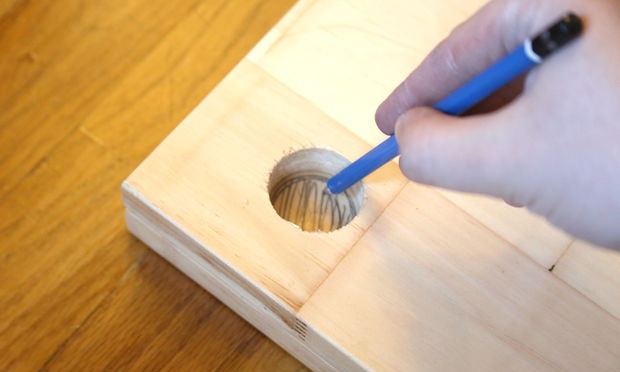
Mark and drill
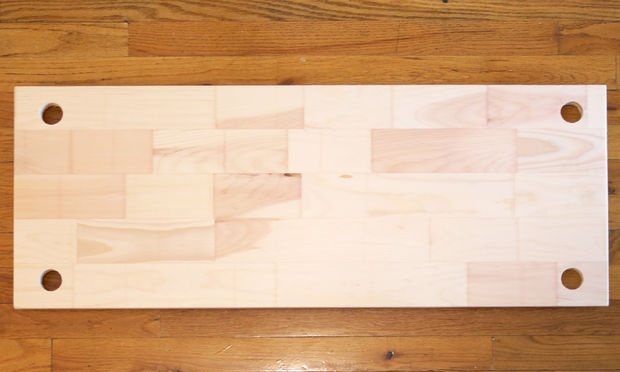


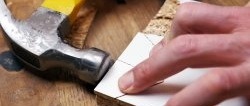
Take symmetrical measurements from the edges of each canvas. It is important that the placement of the holes on each blade matches, otherwise problems will arise in further work.
The following marks are made on five boards:
- 4.5 cm wide x 5 cm long;
- 4.5 cm length x 21 cm width;
- 77 cm length x 5 cm width;
- 77 cm long x 21 cm wide.
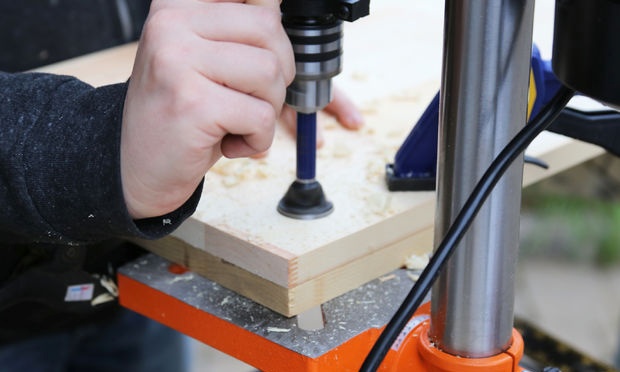
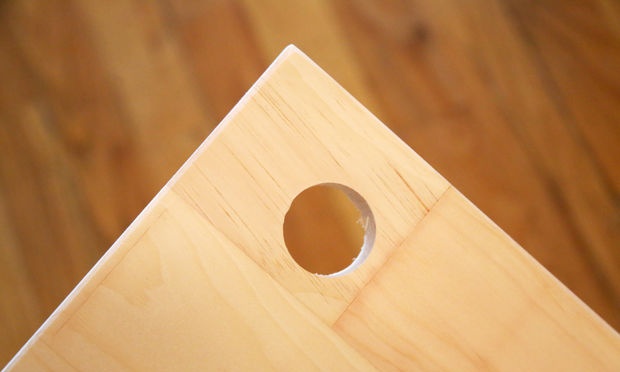
Drill through the center of each of these marks using a 25/30/8 bit.
No marks or drilling are made on the sixth board. It will function as the top of a bookshelf.
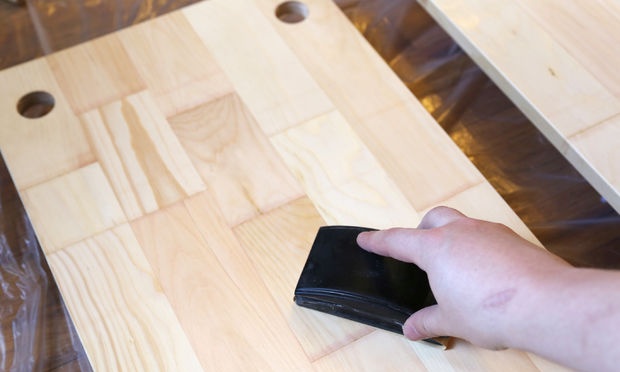
Grinding
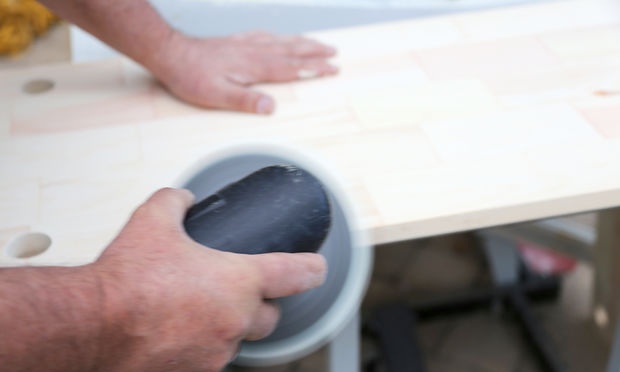
Sand the surface and edges of all boards with 180 sandpaper to make it clean and smooth.
You can also use a sander to slightly round the edges of the boards if you want to make them less sharp.
We cover
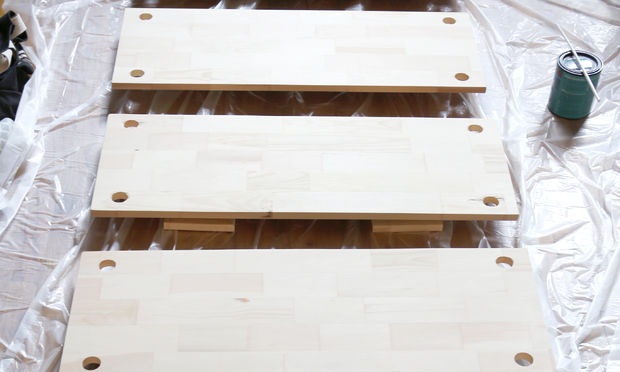
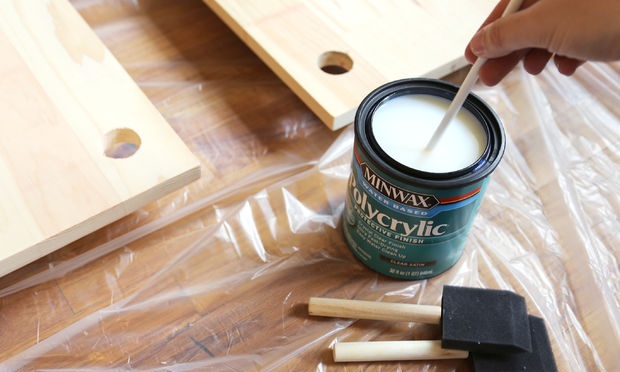
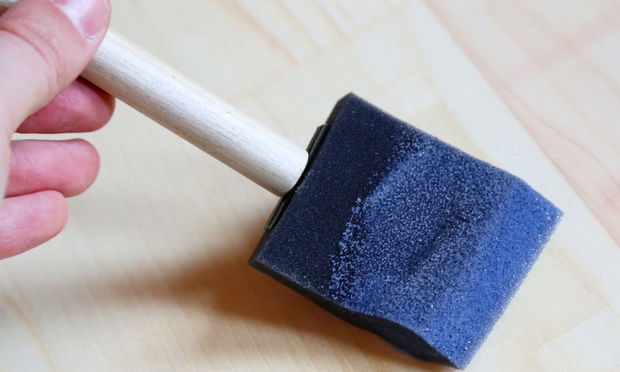
It's time to cover the prepared boards with stain. In our case, they were coated twice with polycrystalline satin stain, and lightly sanded with 220 sandpaper after each coat.There are no clear rules here; you can make the coating whatever you want.
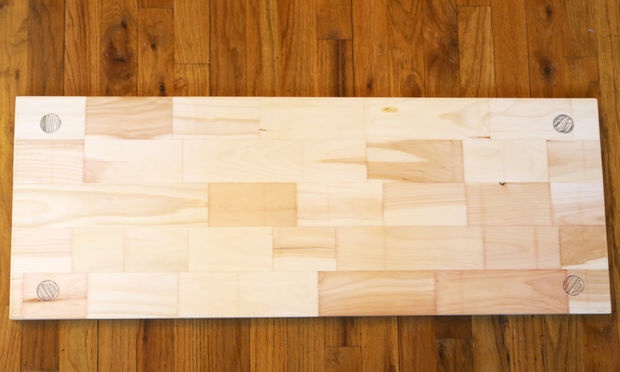
Screw the mount
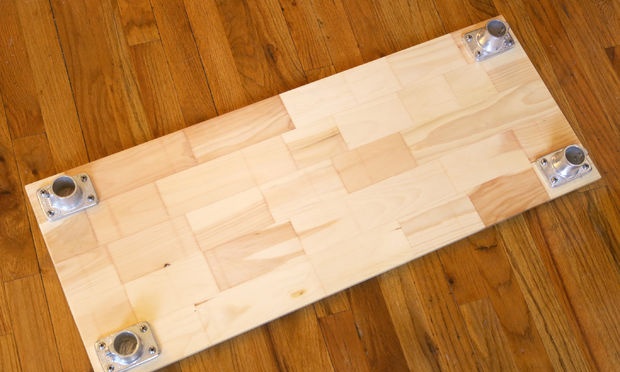
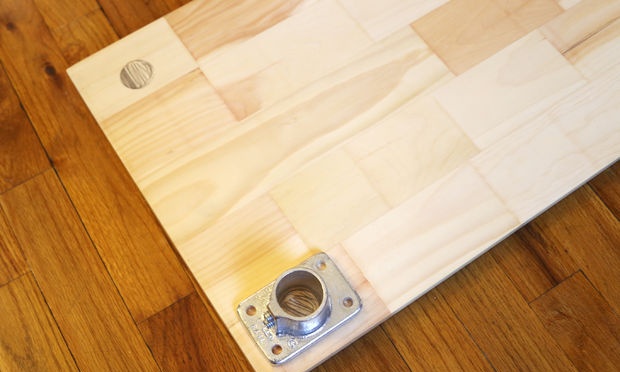
Place the board without holes on a flat surface.
Place one of the drilled boards on another piece of wood, and trace the outline of each of the four holes on it using a pencil. Center the through-hole mounting supports around each of the four holes.
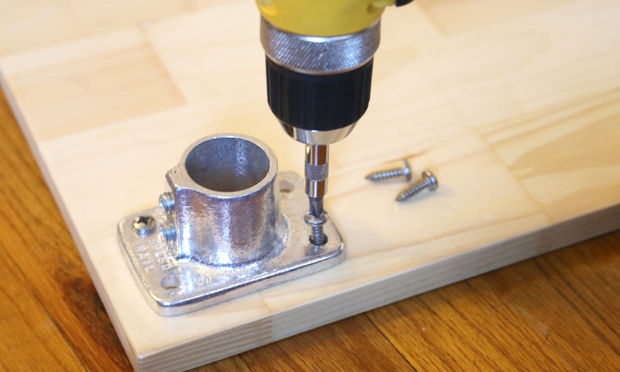
Finally, attach the supports to the slab using self-tapping screws.
Let's start collecting

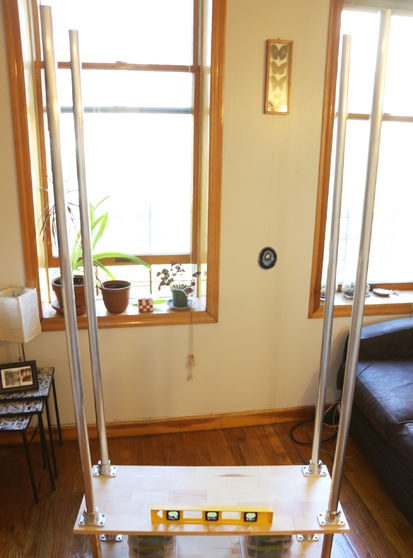
Place the top of the shelf upside down on the floor with the brackets facing up. Insert aluminum posts into each of the slab brackets and secure them with self-tapping screws.
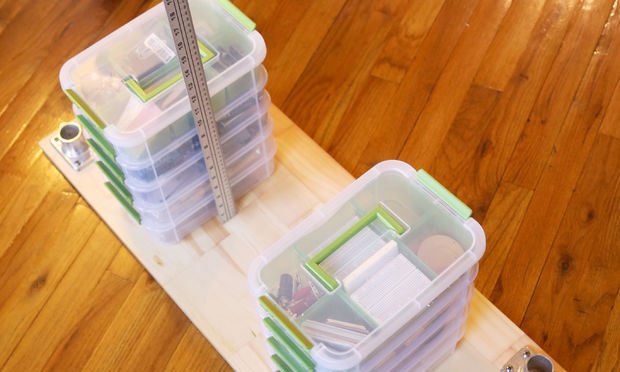
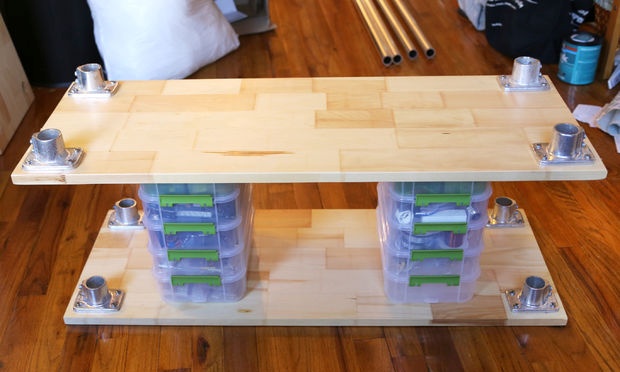
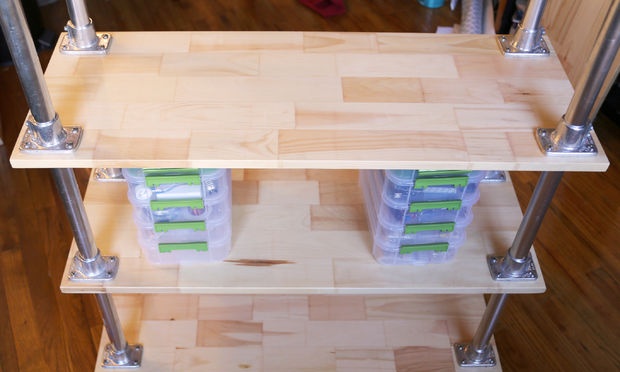
If you want to make the distances between shelves equal, find two or more boxes or containers that are identical in height and place them between the boards.
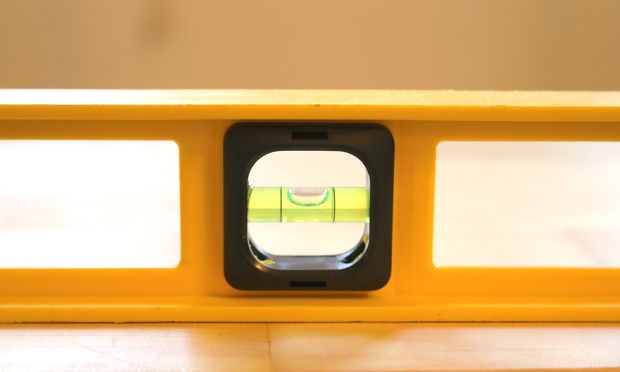
Slide the next shelf upside down along the aluminum posts until it rests flush against the boxes. Use a level for accuracy. Then commit
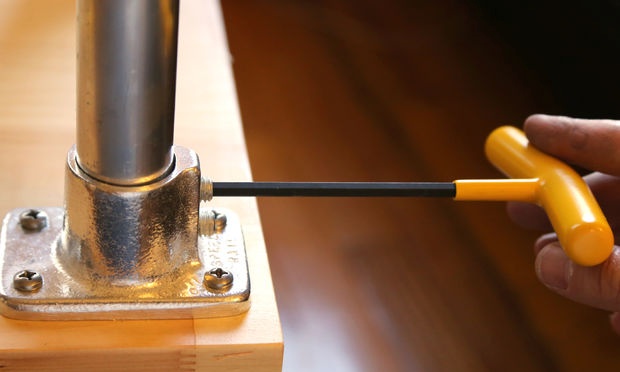
shelf using the bracket set screws. Finally, remove the boxes between the shelves.
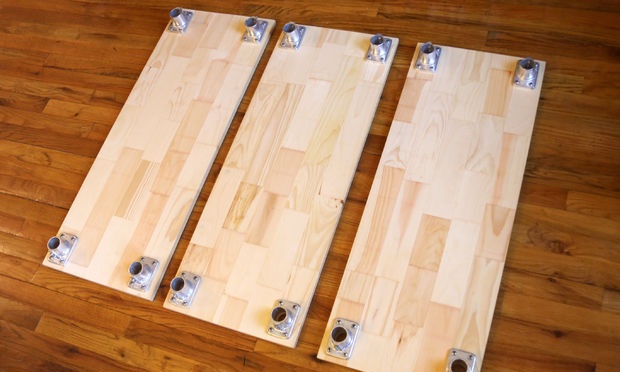
Two shelves are ready.
Adding the remaining shelves
Continue adding shelves in the same manner. Repeat this until all the slabs are in place.
Finishing touches
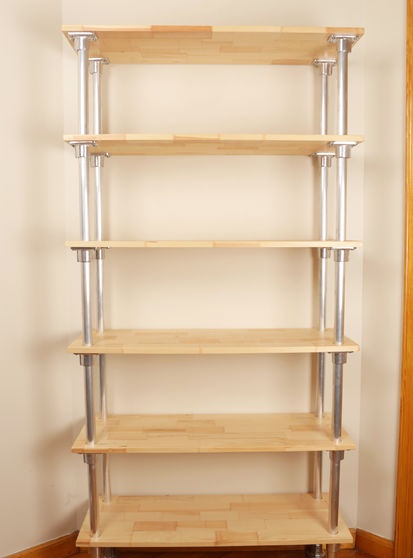
Carefully turn the bookshelf over (preferably with a friend) and place the ends on the tubes.
Arranging books
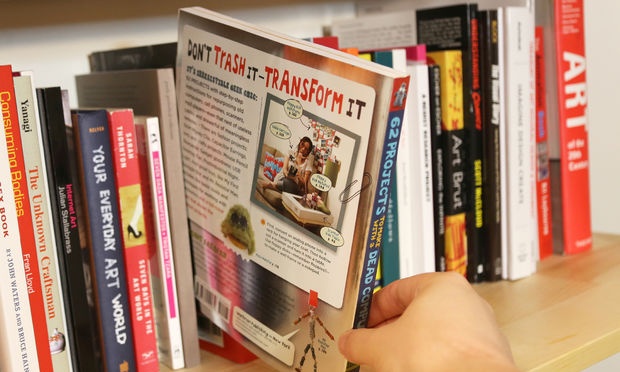
It's time to fill your shelves with your favorite books and magazines.
Original article in English