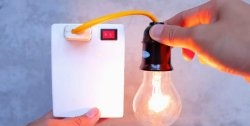
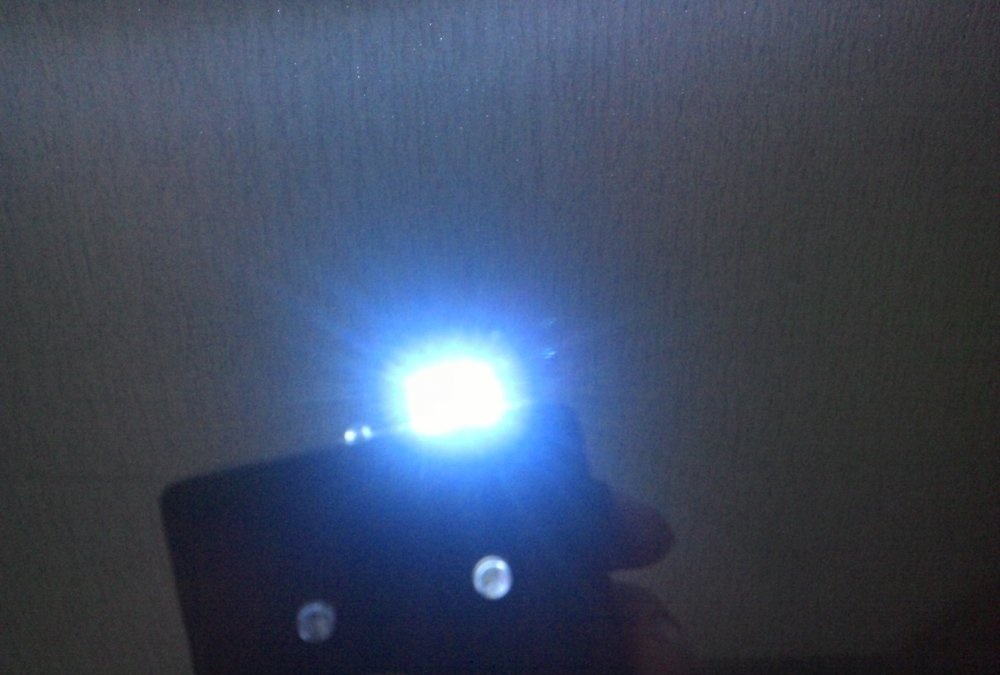
We often find ourselves in situations when the battery of our device (tablet, smartphone, portable speaker, etc.) runs out and we are far from the power supply. In this case, a power bank can help us, but not everyone can afford expensive devices. I will tell you how you can easily and simply make it, and it will also have a fairly powerful flashlight and a small flashlight for small illumination.
Advantages of this device:
- Ease of manufacture.
- Inexpensive components.
- Reliability.
- Compactness.
- Power.
For production you will need:
(Active links to the store)
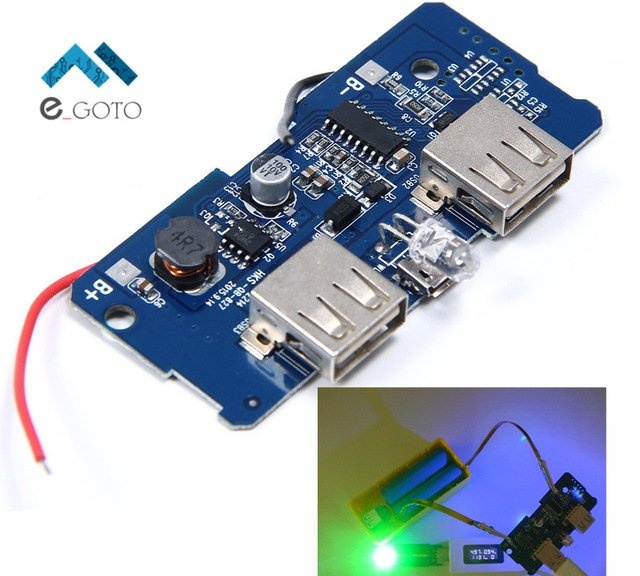
- Charge board for lithium batteries with overcharge protection.
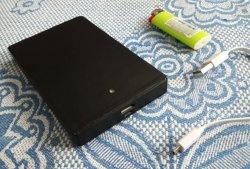
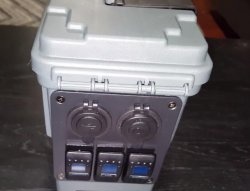
- Frame (you can do it yourself or, as in my case, just find it).
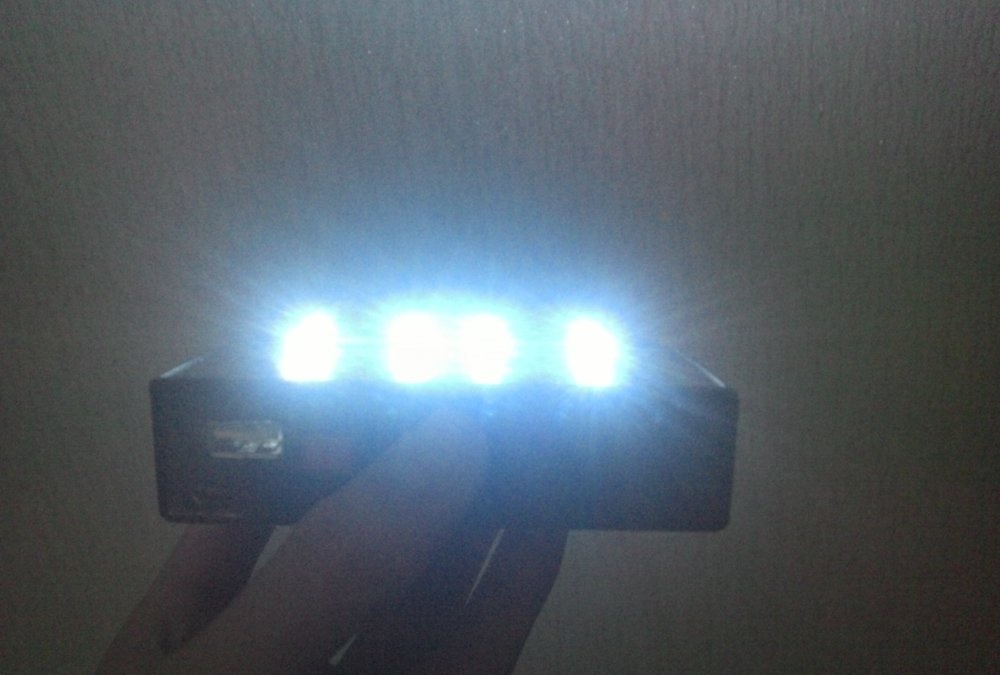
- 10 white LEDs with a diameter of 5 mm.
- 1 red, 1 green and 1 blue Light-emitting diode with a diameter of 3 mm.
- 3 switches.
- Lithium battery with voltage 3.7V (you can use several).
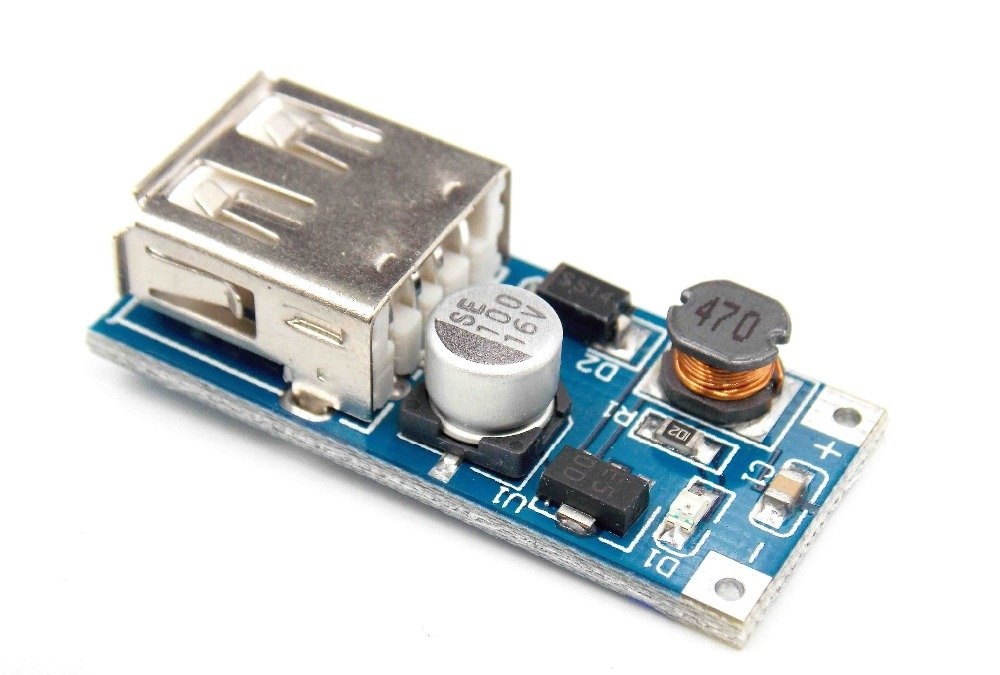
- Converter voltage up to 5 Volts.
- 1 resistor with resistance from 100 to 150.Ohm.

Brief explanation:
The charge board will provide protection against severe discharge and overcharging of the battery. Without a voltage converter, the phone will not charge.If you do not include resistors in the circuit, then LEDs They will simply overheat and burn out (It is better to take a high-power resistor so that it does not overheat). Number of whites LEDs may vary or may not be included in the project at all. You can also ignore the green and red LEDs; they only serve to more conveniently indicate the charge. When choosing a battery, try to find one whose capacity will be greater than the capacity of your phone’s battery, so it can charge up to 100%, but of course you should not forget about the resistance, so you should choose a battery with a capacity of about 10-20 percent more.
Manufacturing process:
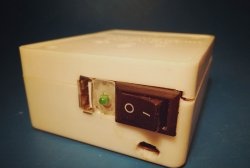
First of all, we need to decide on the location of the switches, LEDs.
We mark their locations on the body.
Carefully make all the necessary holes using a drill and, if necessary, correct them with needle files.
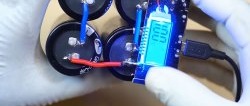
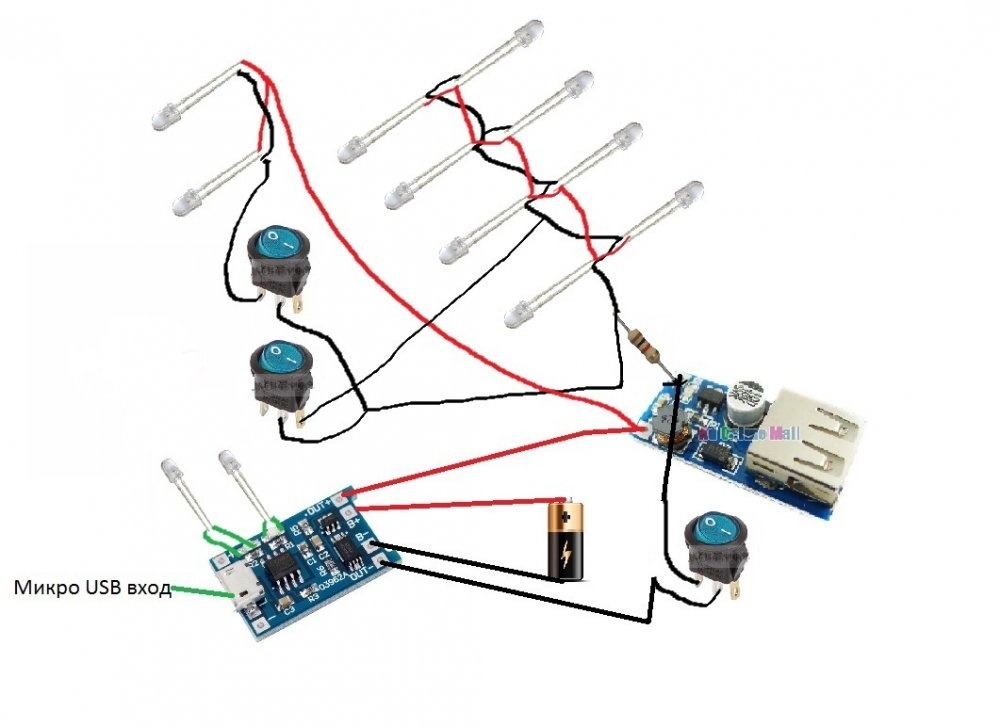
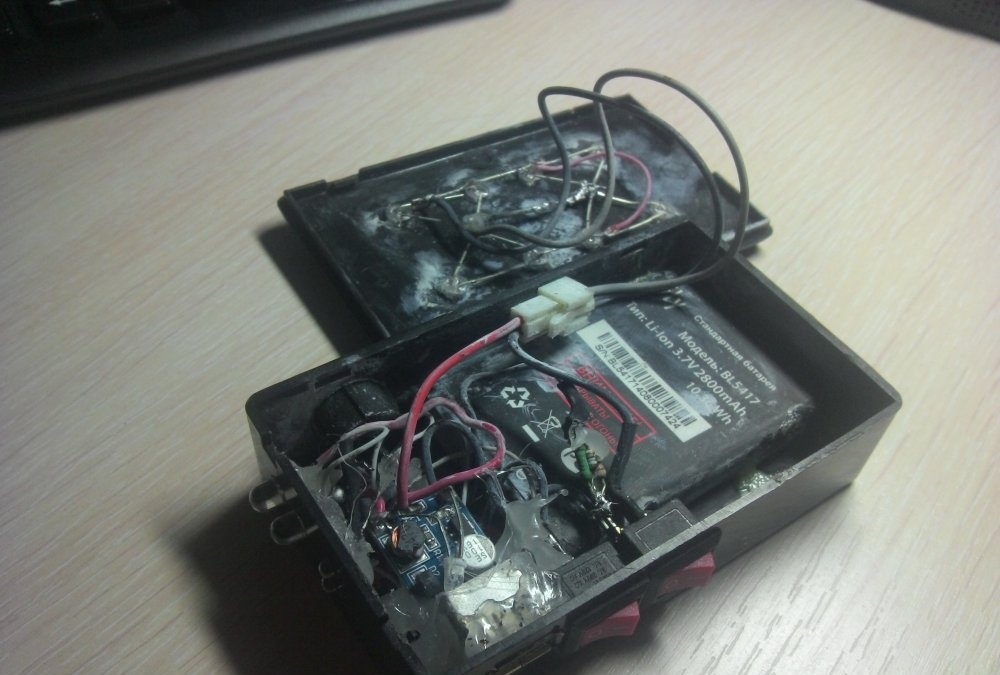
We solder all the components according to the diagram (first, determine the rational length of the wires so that everything fits into the case and nothing interferes with anything). Everything is simple here: the boards already have contact markings (+ and -), white LEDs soldered in parallel and connected through a resistor.
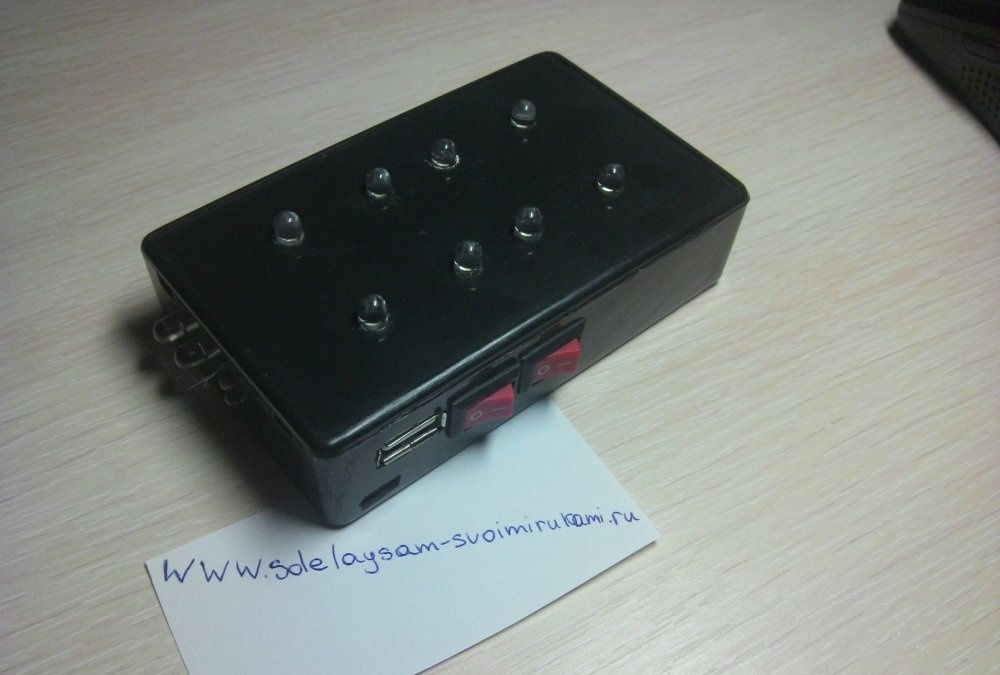
We place all the elements in place; for reliability, you can glue everything.
PS: All components can be bought in online stores, so they will be much cheaper. And if you make an assembly from several batteries, make sure that their voltages (V) match. At different values, the voltage will equalize and when connected to the charging modules, a high current will flow, due to which the board may burn out. There are also more advanced models of charge modules (2 V
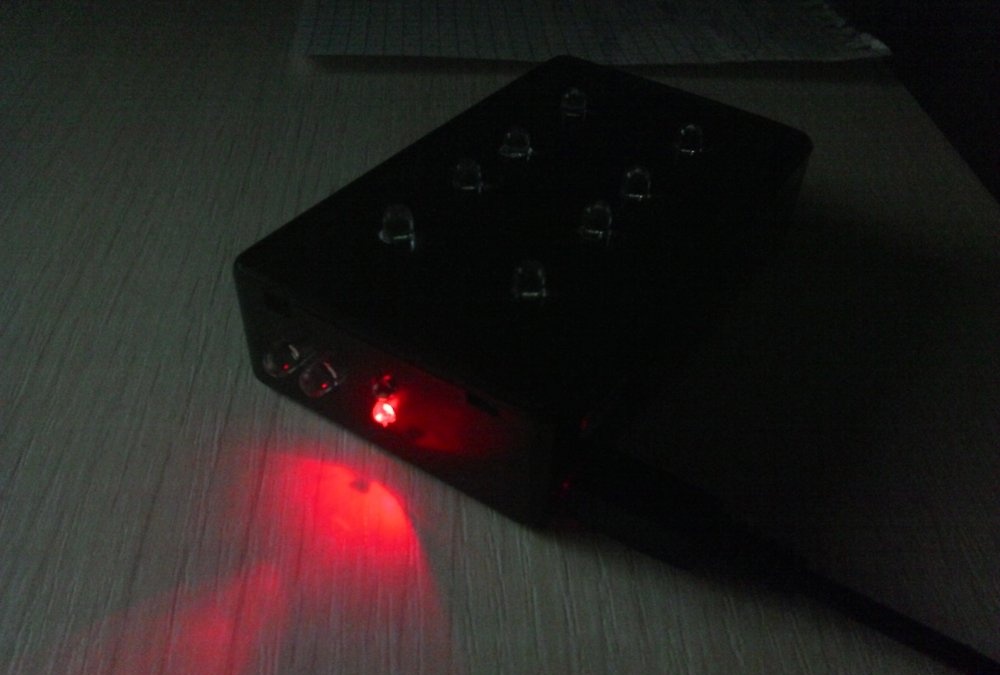
As a result, we have small dimensions and average power; of course, we can increase it by choosing other modules.
When the battery is low, the red LED will light up.
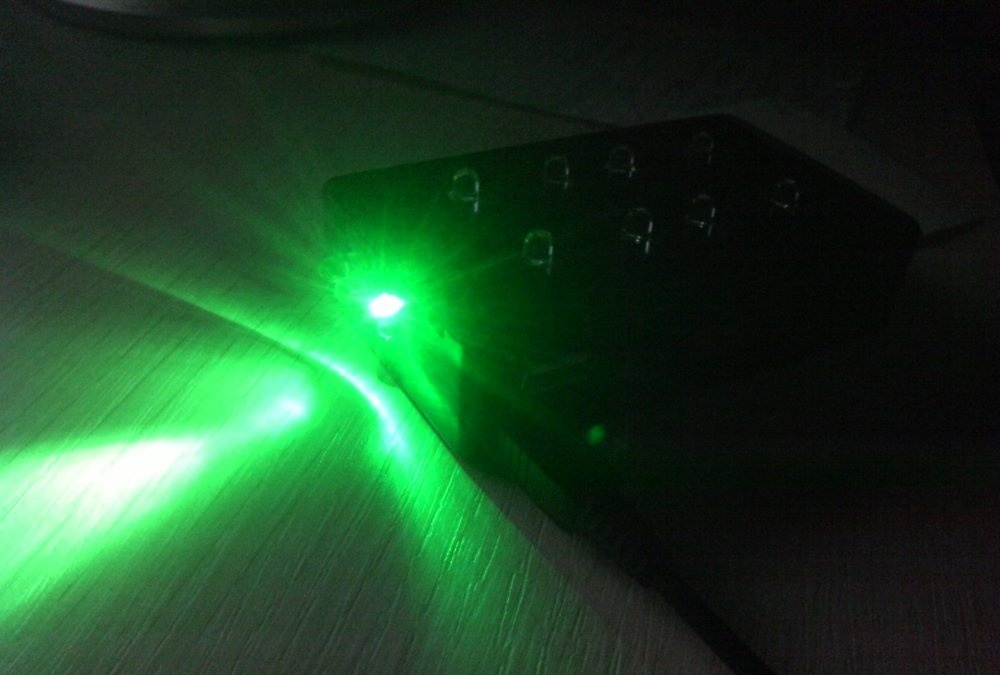
When the battery voltage reaches 4.2V, the charge module will automatically turn off and the green LED will light up.
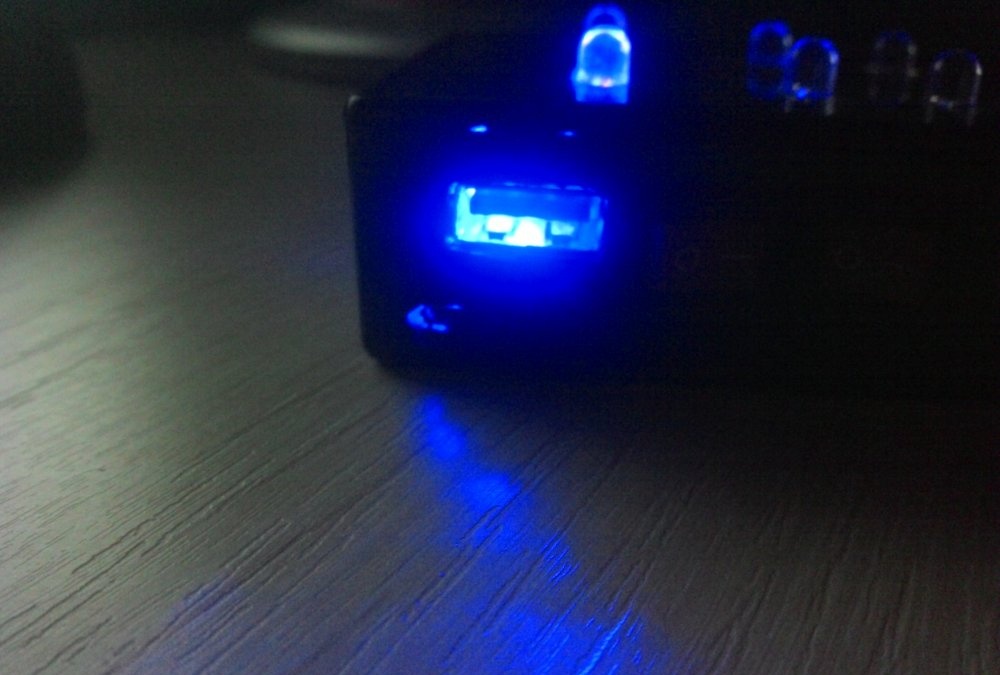
You can also add a power bank operation indicator by including an LED in the circuit, connected directly to the voltage converter.
Thank you for your attention!