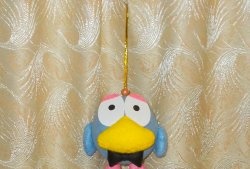
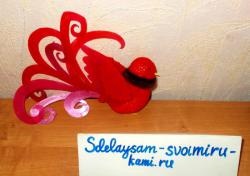
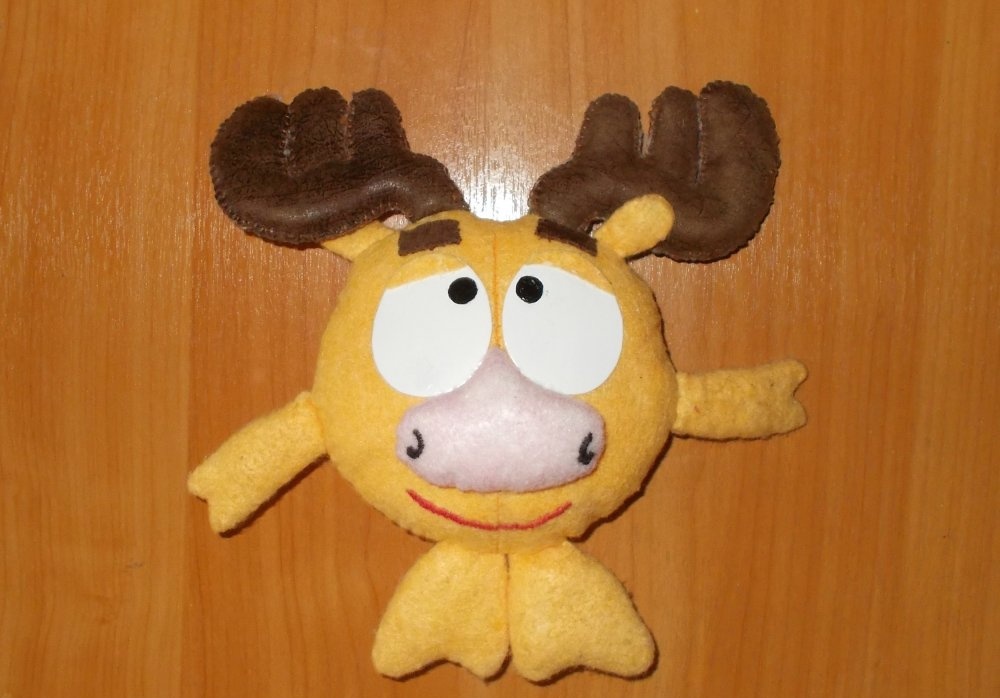
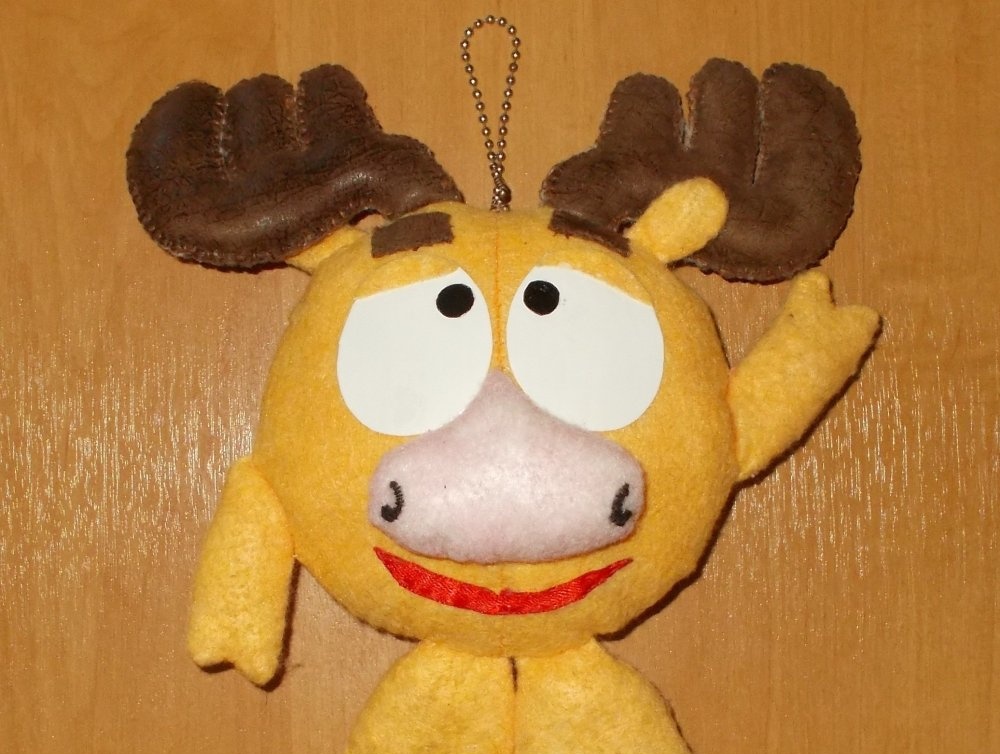
This is how my toy Elk turned out:

The process of making it took me approximately two weeks (twelve days).
The process of making crafts.
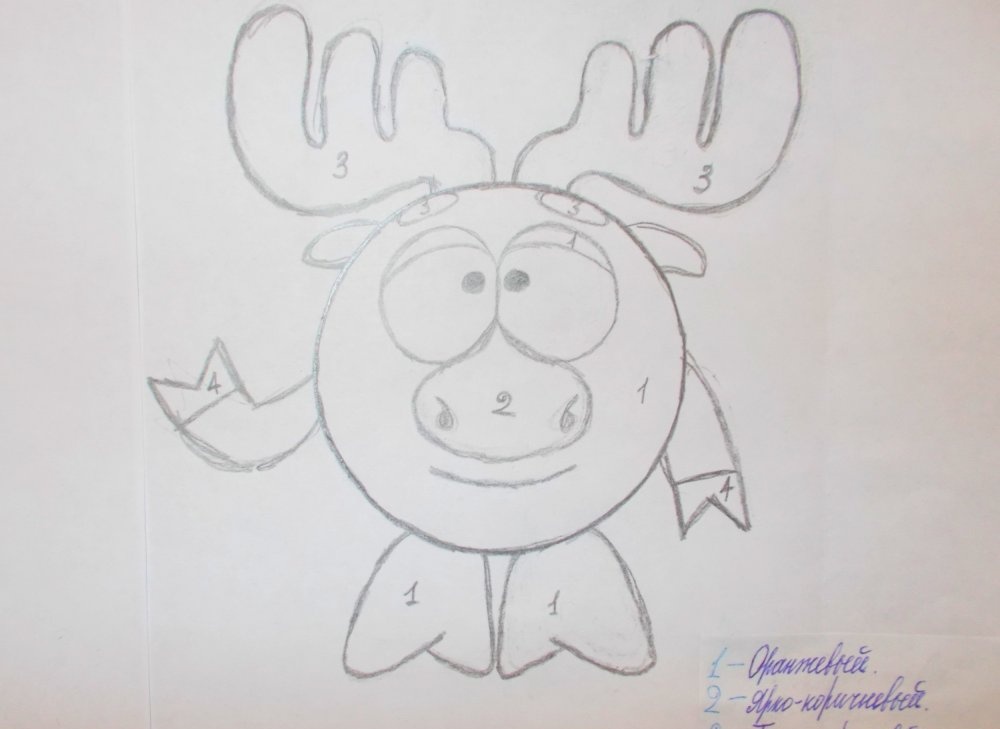
Step 1. Getting started, I make a sample on paper:
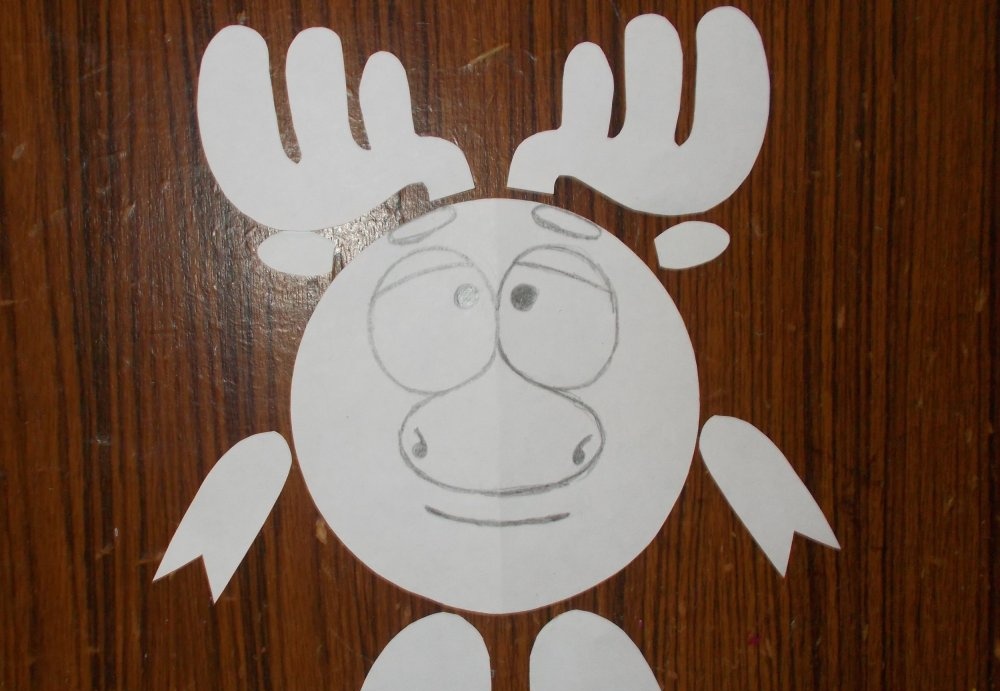
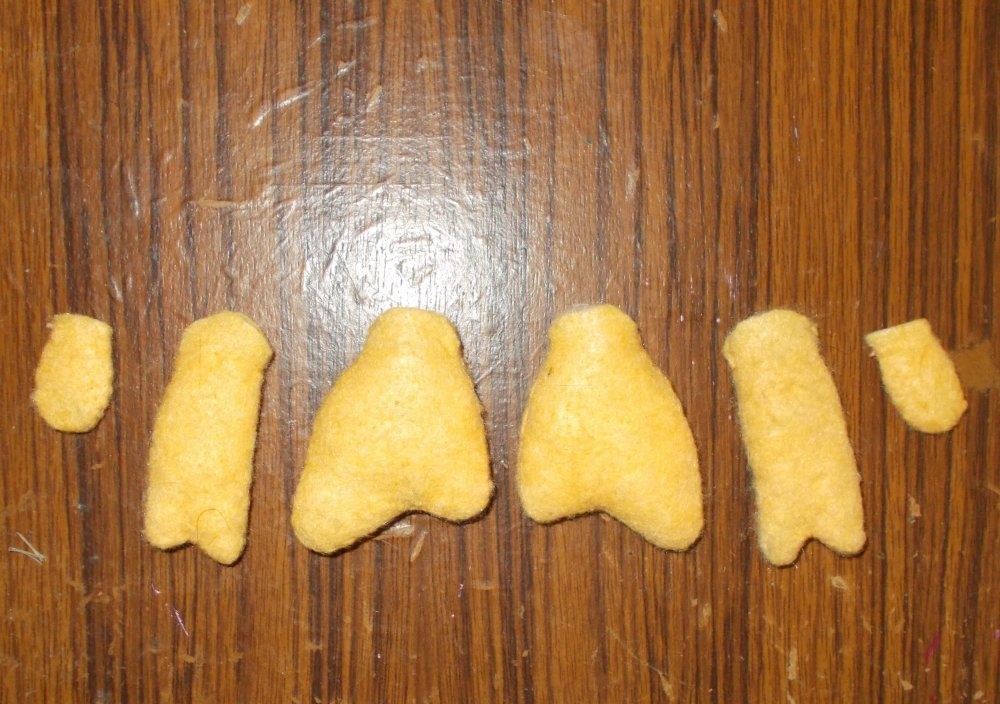
I cut out the resulting image and divide it into separate parts:
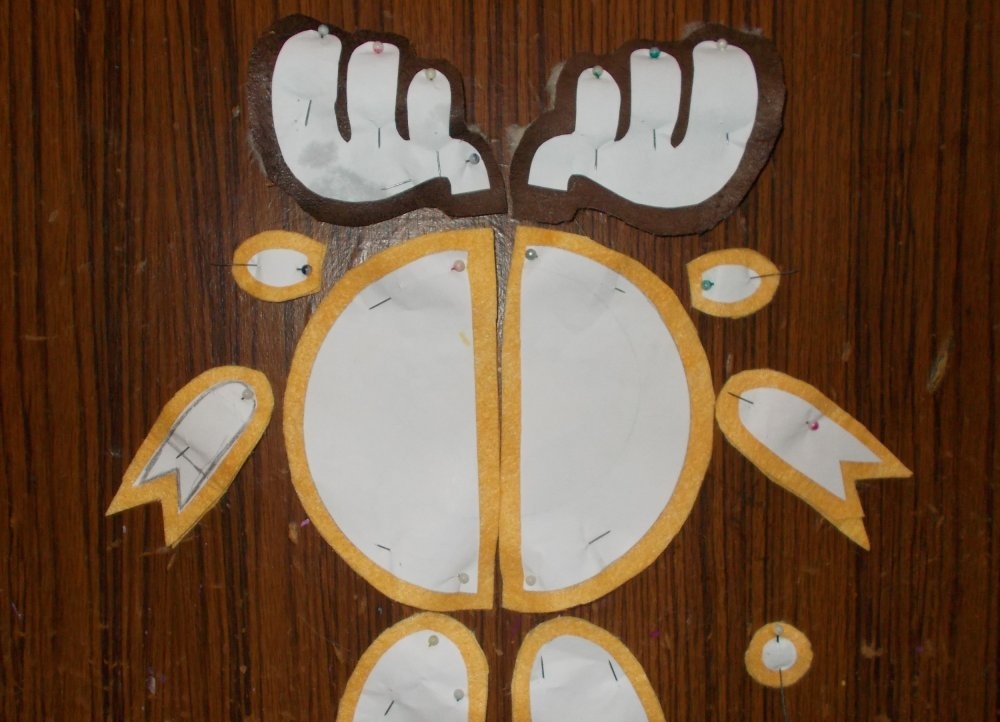
Step 2. Next, I take the orange fabric and fold it in half so that the parts can be cut out of it in pairs and neatly. After this, I pin the paper parts of the sample to a fabric of a suitable color and cut out the parts taking into account the allowance (from 0.5 cm):
Now I sew the resulting parts along the edges, leaving each with a small unsewn area in order to then turn them inside out:

Step 3.After that, turning the sewn parts of the paws, legs and ears inside out, I fill them with cotton wool:
Step 4. After filling the parts of the ears, paws and legs with cotton, I sew up their holes and begin making the eyes, nose and smile (mouth).
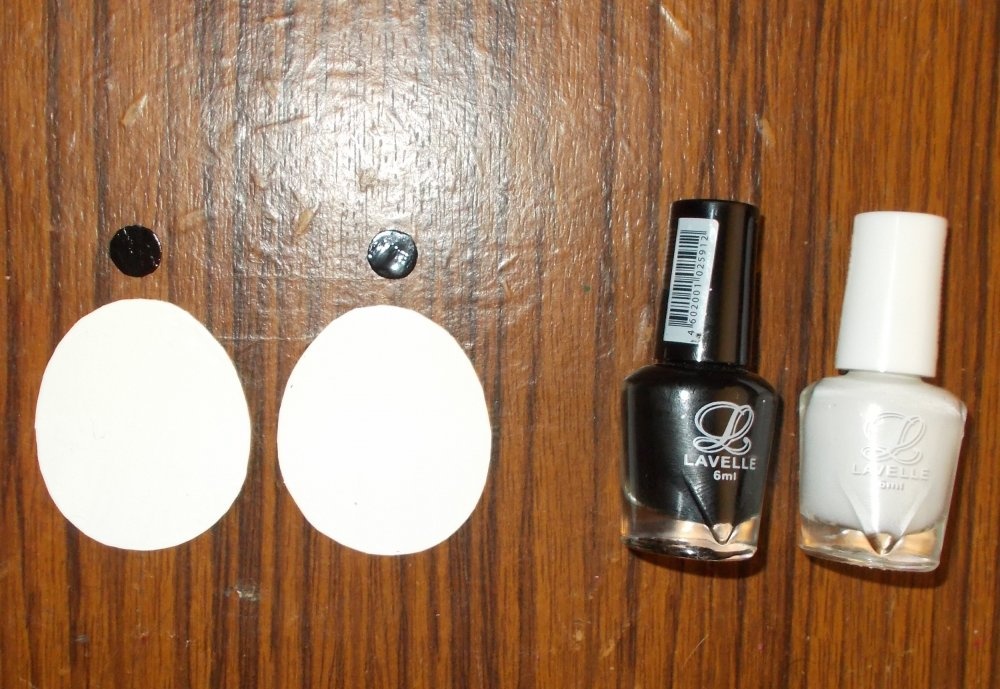
I do the eyes first. The parts for their manufacture can be made from cardboard painted with varnish:
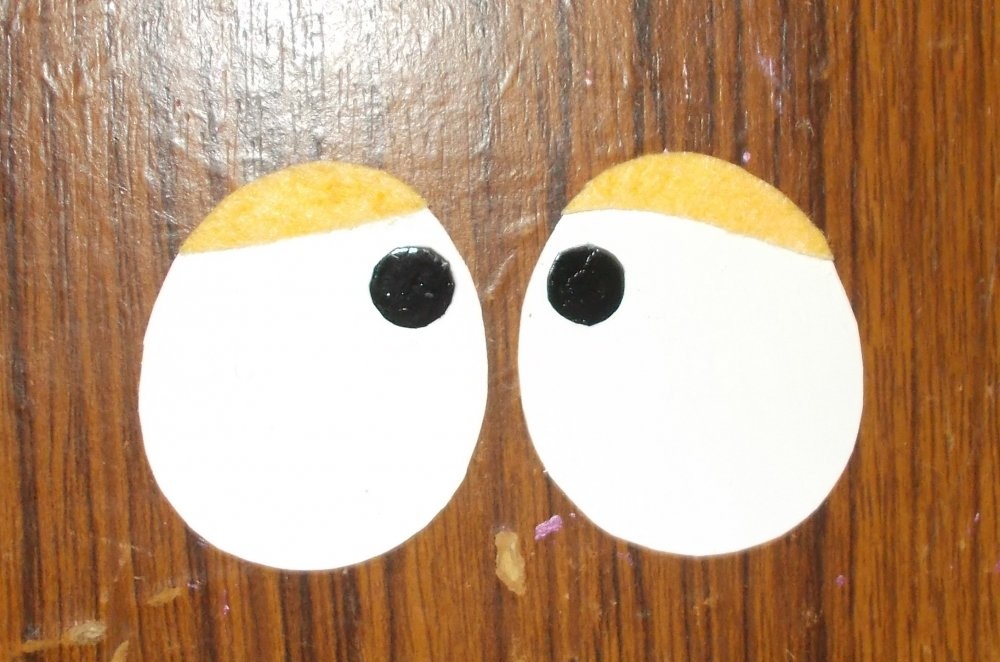
I glue the details of the pupils on top of the white parts of the eyes, and additionally attach the details of the eyelids, cut from fabric, to the upper edges of the eyes. So eyes crafts will look better:
Step 5. Now I start making the nose.
I cut out a nose from a paper sample cut into two parts and glue the two parts together.
Of all the fabric I have at home, the only color that was most suitable for making a nose was pink viscose fabric. The fabric was light brown in color, but it was nylon, and when filled with cotton wool it immediately stretched and became translucent:
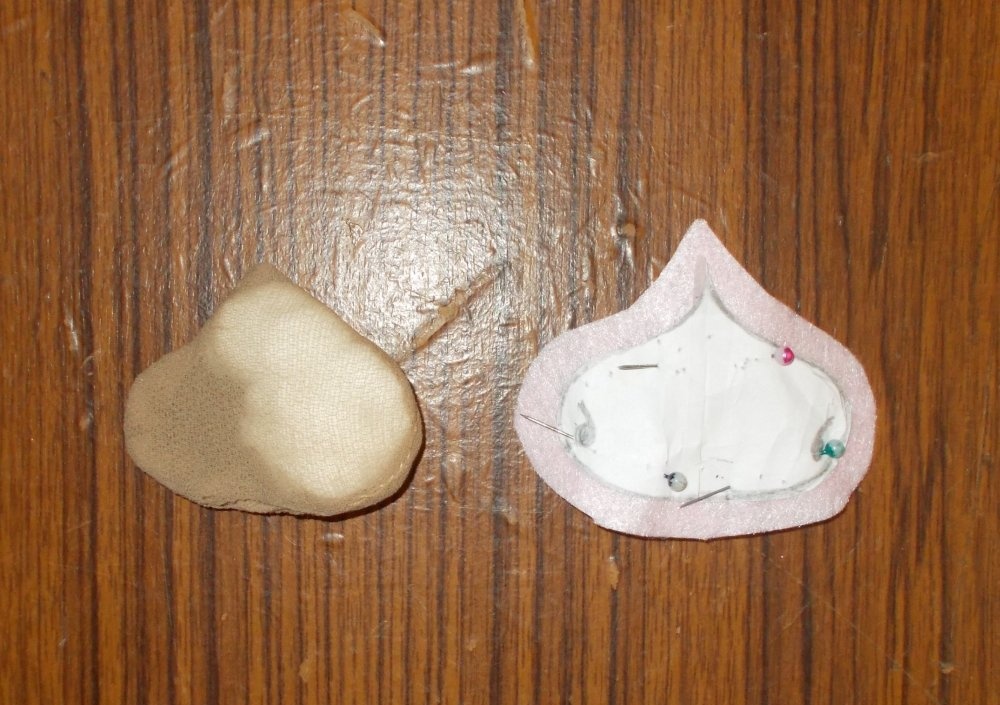
After cutting out the nose pieces from the pink rayon fabric, I sew them together, leaving small areas unsewn so that I can fill the finished pieces with wadding.
Having sewn the nose piece, I turn it inside out and embroider black nostrils on the sides:
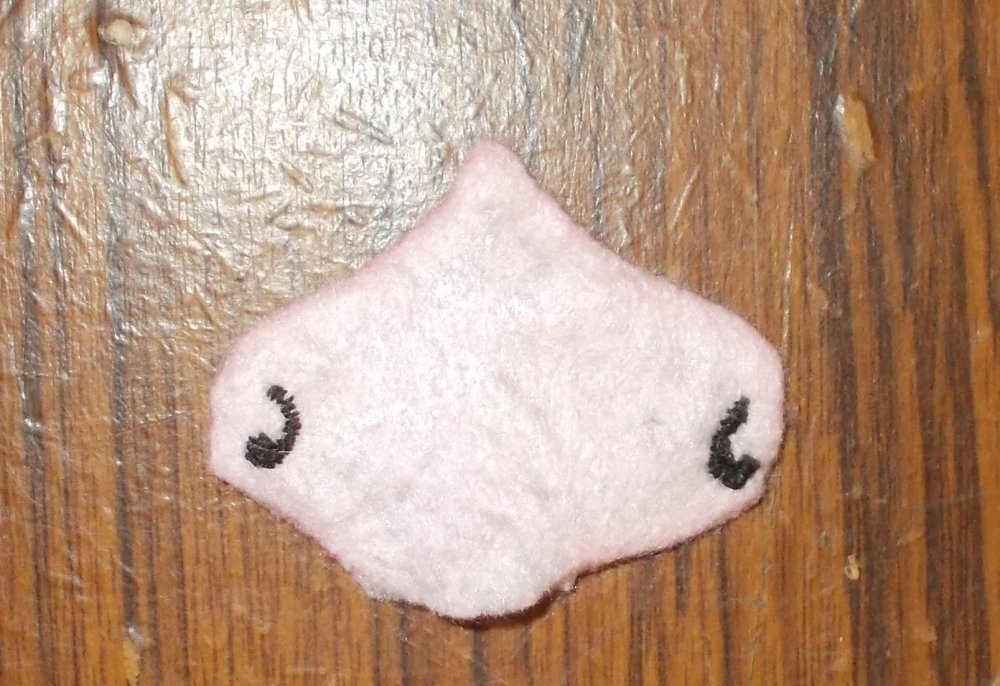
Step 6. I fill the resulting part with cotton wool, after which I begin making the eyebrows.
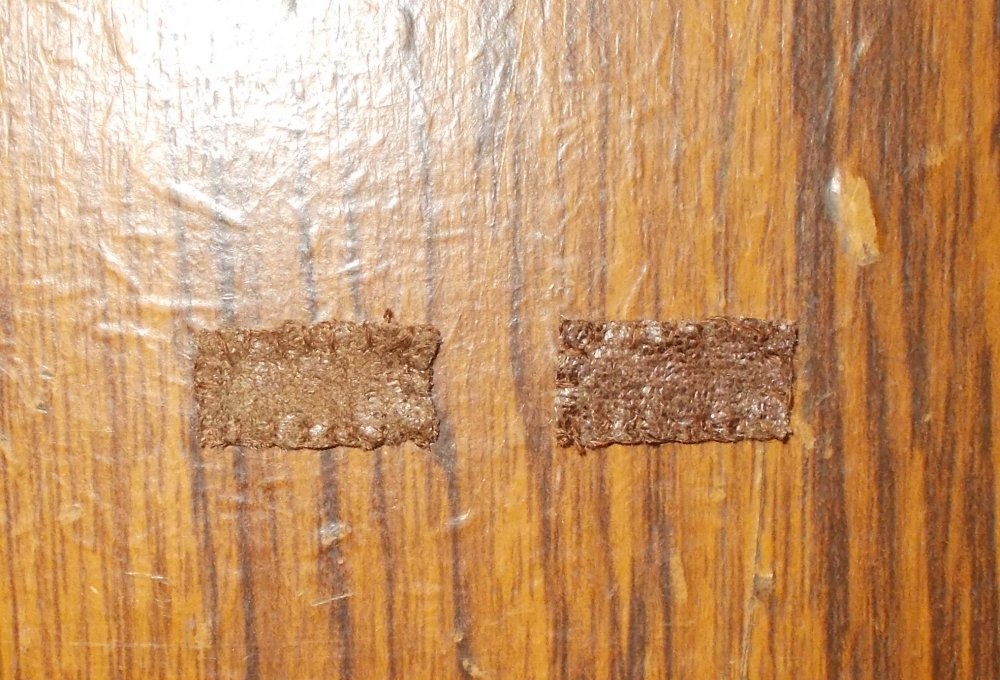
Having filled the part with cotton wool, I cut out the eyebrow parts in pairs from brown leather fabric according to the size of the paper samples (the eyebrow parts are small and narrow, and it will be difficult to turn them inside out) and sew them together on the outside with a blanket stitch:
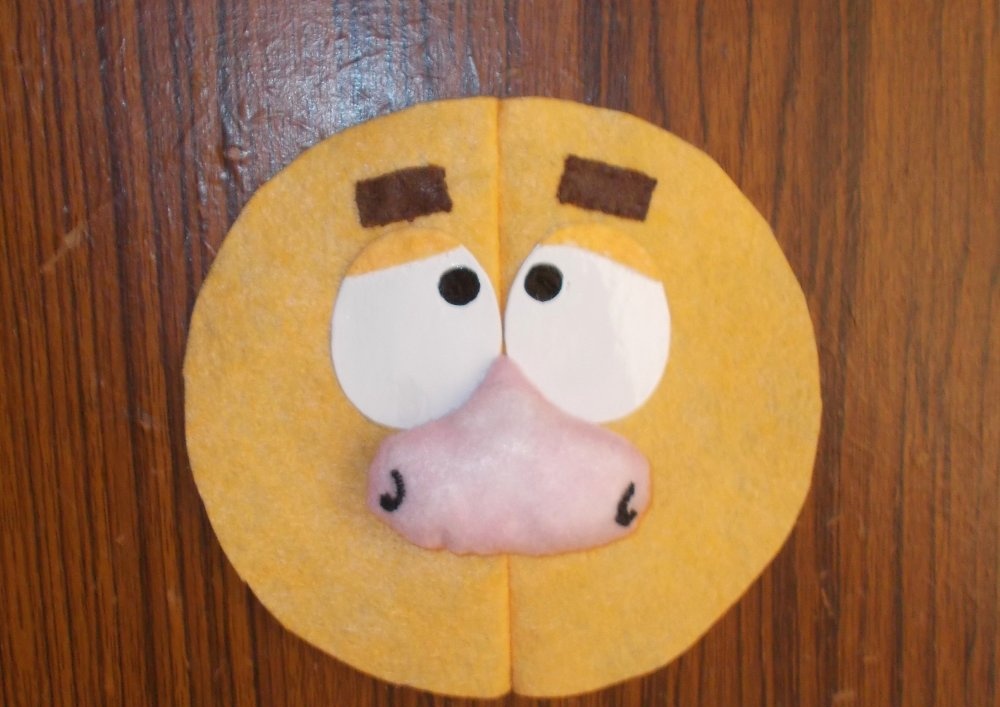
Step 7. Next, I sew the resulting details of the eyebrows and nose to the craft, and then glue the eyes:
Now I sew the front and back parts of the body, and sew horns and paws to the craft as I work. At first I also decided to sew a smile (mouth) for the toy Elk:
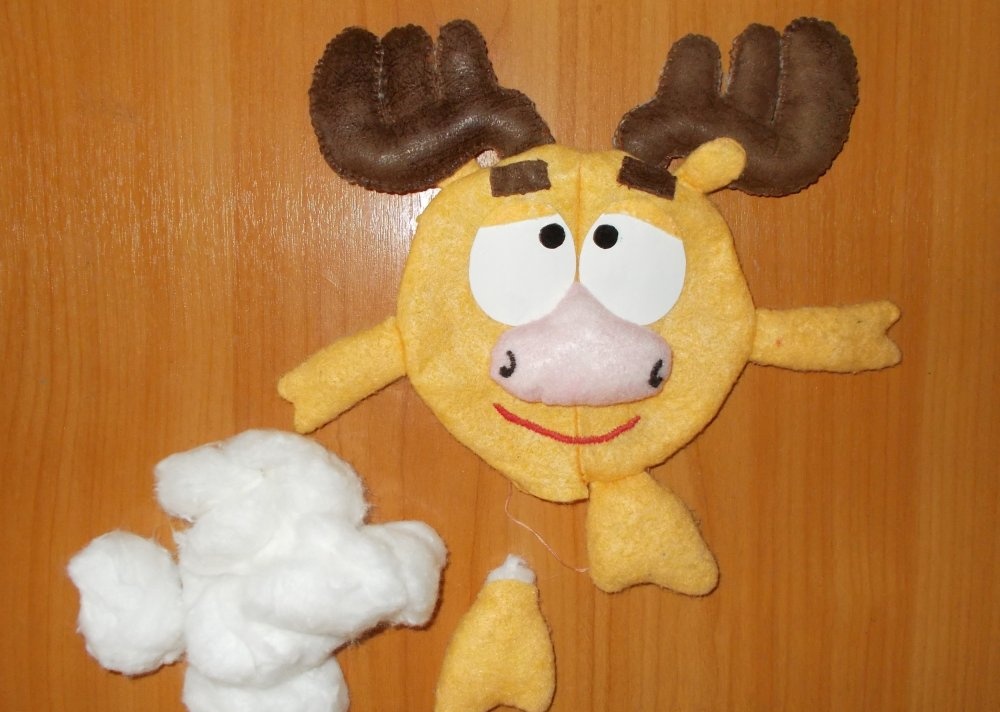
Now I fill the toy with cotton wool:
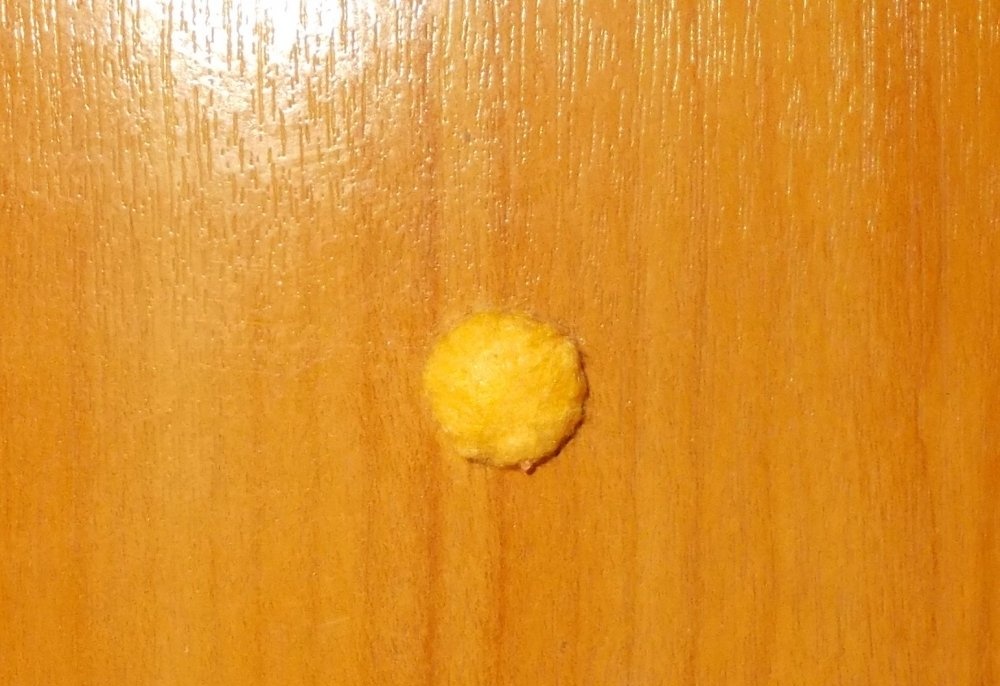
Step 8. Having filled the craft, I wanted to make her a tail. I also make it from two parts.
When sewing the tail parts, I fill them with cotton wool and sew them up:
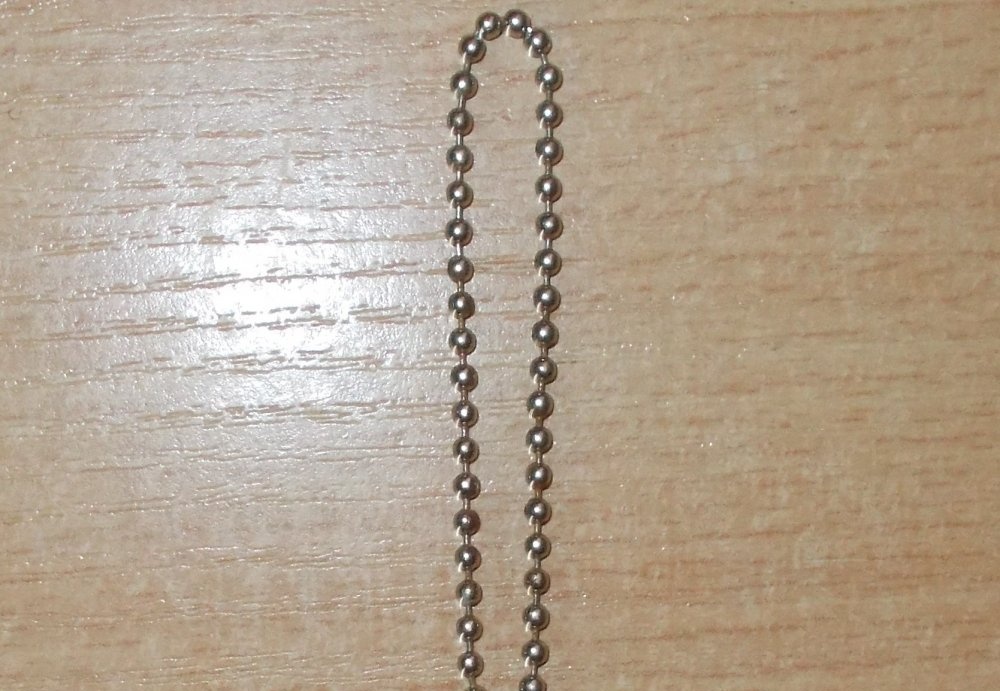
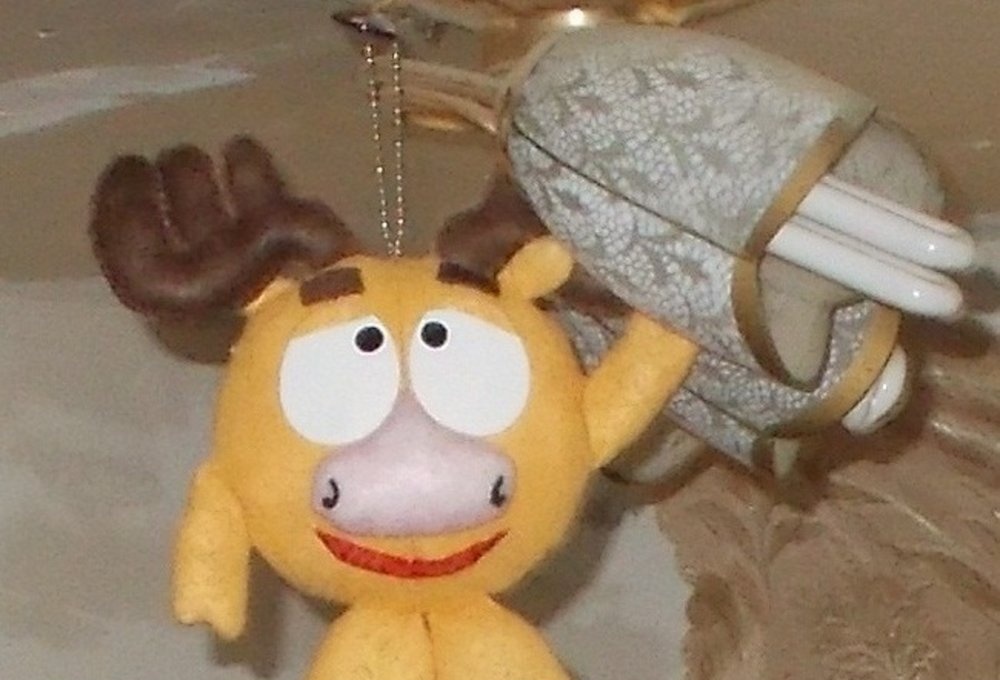
Step 9. Now my craft is almost ready. All that remains is to sew a chain or ribbon onto it, by which you can hang the finished toy as a decoration in one of the rooms or in a car. I chose the chain:
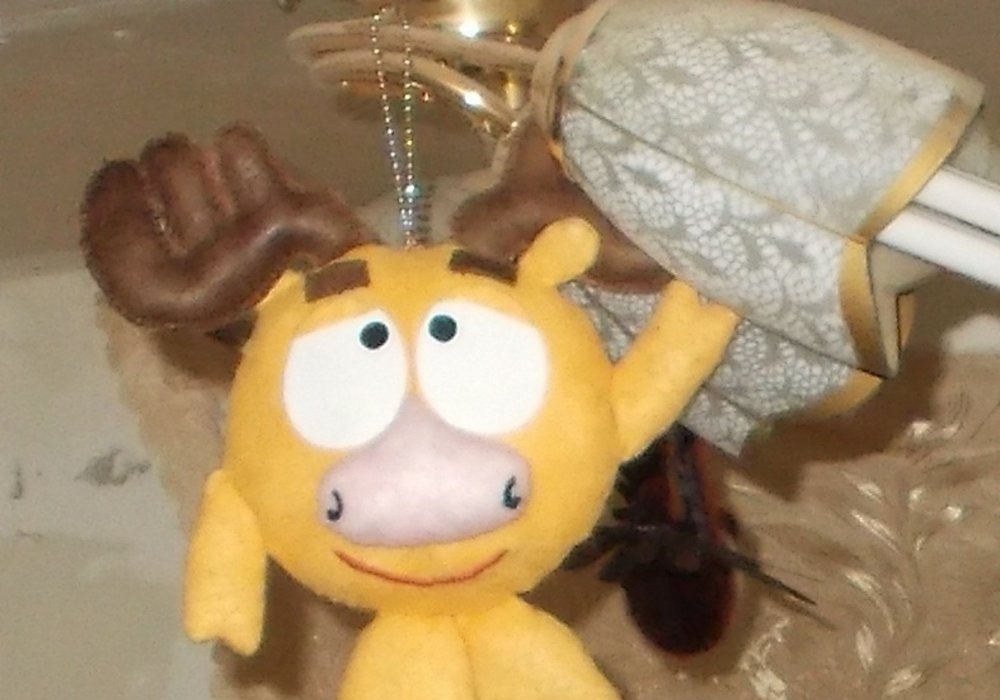
After the chain with the tail is sewn on, the craft can already be ready:
It seems to me that if you make a smile out of a red satin ribbon for the toy, it will look a little better.
Having cut the edges of a narrow satin ribbon, I singe them so that the fabric does not fall apart. And I sew the resulting ribbon to the craft, bending it in the middle:
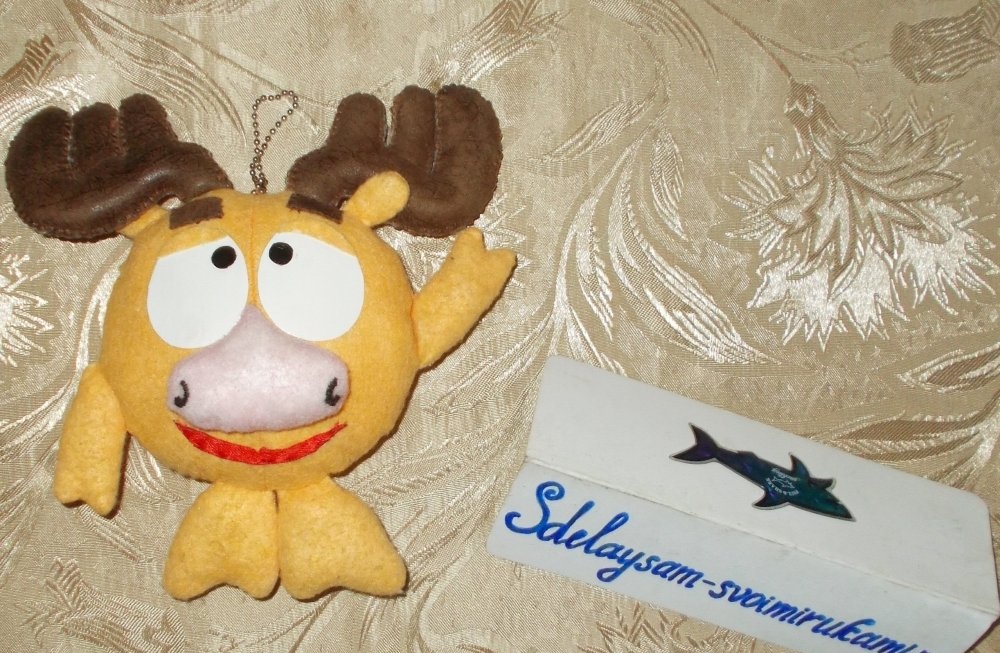
After this little processing, my toy Elk began to look like this:
Now our toy character from the popular children's animated series is ready:
Sincerely, Vorobyova Dinara.