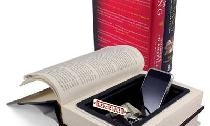
The squeak of a suitable book
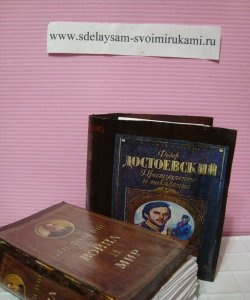
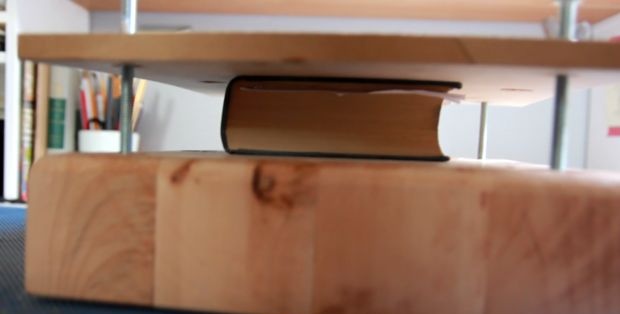
The first thing I did was visit a nearby bookstore, where I found this interesting book. Interesting, of course, not in terms of text, but in the form of a future hiding place. She only got five bucks. If you have the opportunity to find a similar book for free, then this will generally be just great for you.


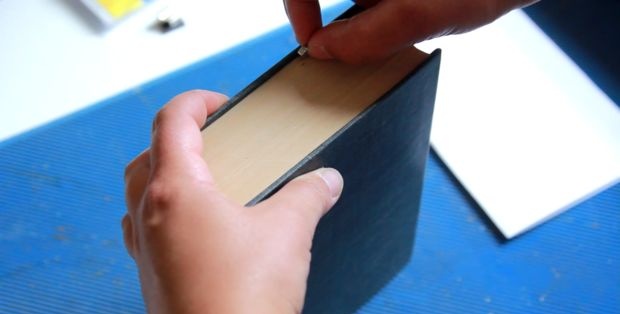
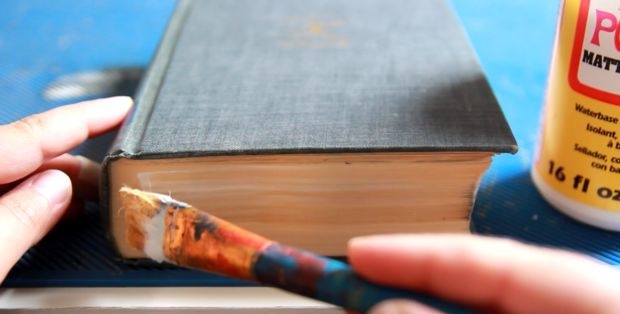
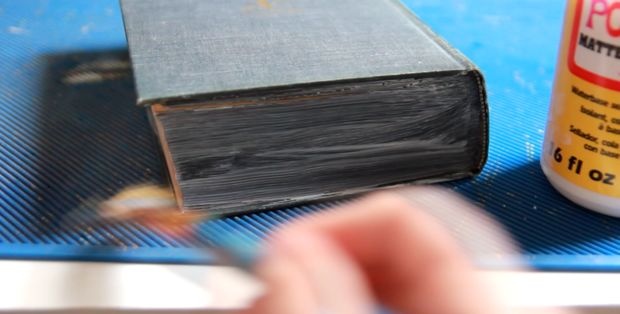
I will be making a Velcro book using neodymium magnets. And for this you need to make a reserve of thickness for the magnets from the first pages. To do this, we glue the first pages with PVA glue.
To prevent the pages from becoming wavy after gluing and to stick together better, we place them under a small press.
Gluing book pages
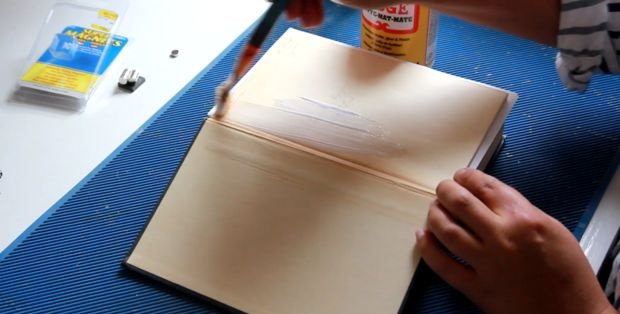
Now you need to glue the pages of the main part of the book. To do this, we coat all three sides with glue and put it under the press again.Afterwards I realized that I could not have done this, since I still had to drill holes for the magnets and glue them in, which in turn would have held all the pages together.


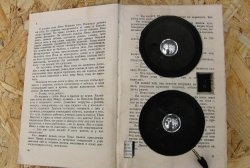
Removing the interior
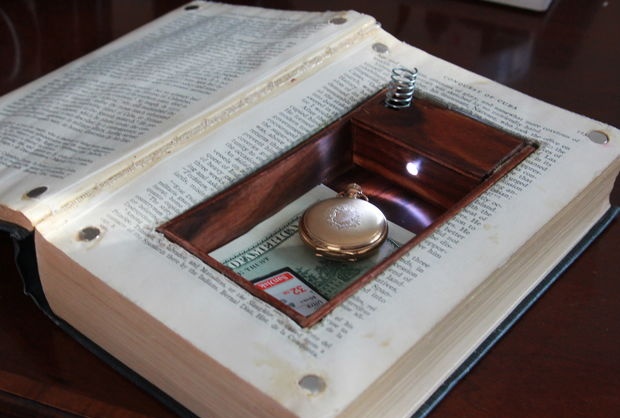
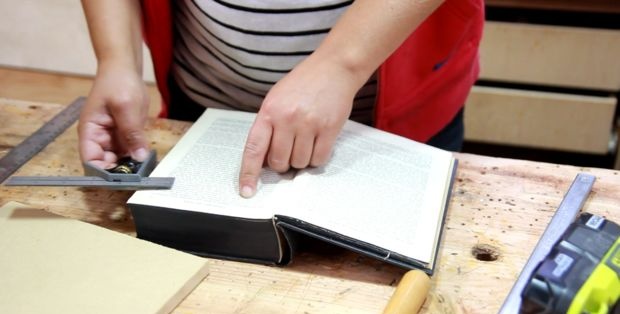
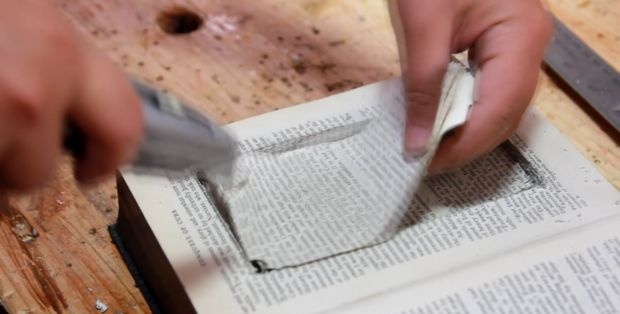
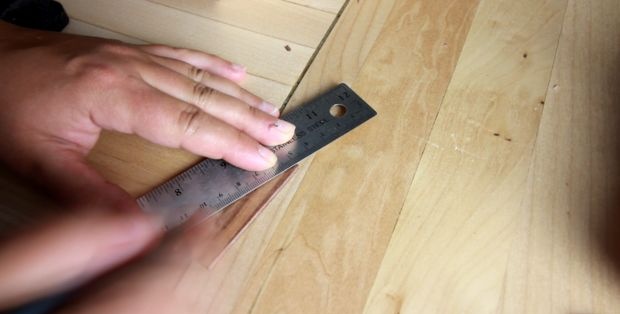
It's time to decide on the dimensions of the inner cell of the cache, and finally, make this cut and remove unnecessary paper.
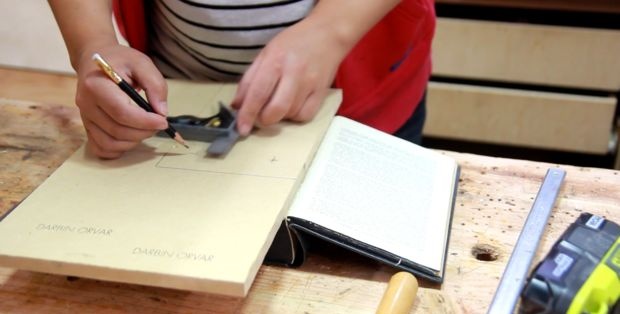
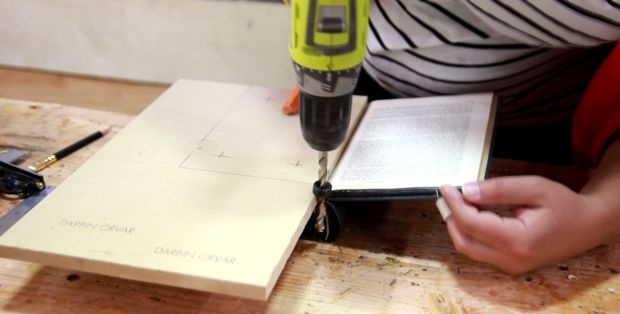
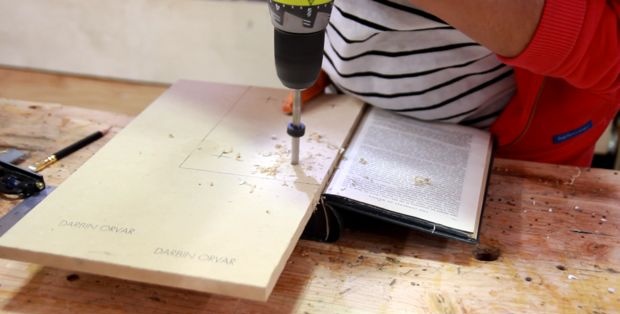
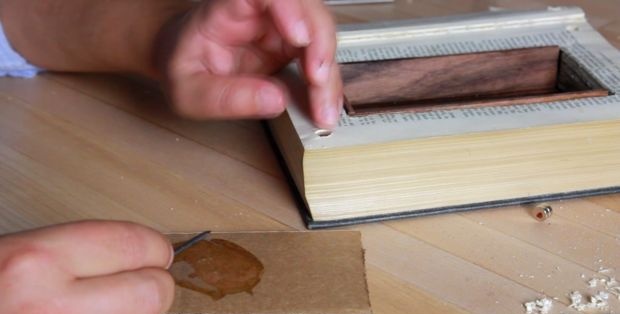
The technology is as follows: We take a piece of MDF and draw the dimensions of our cache cell on it. Place the piece on the book and press tightly. And we drill MDF with a book in the corners. Before drilling, you need to measure the thickness of the piece of MDF and the thickness of the book, subtract 0.5-1 centimeter. We make a limiter on the drill for the resulting distance so as not to drill through the book.
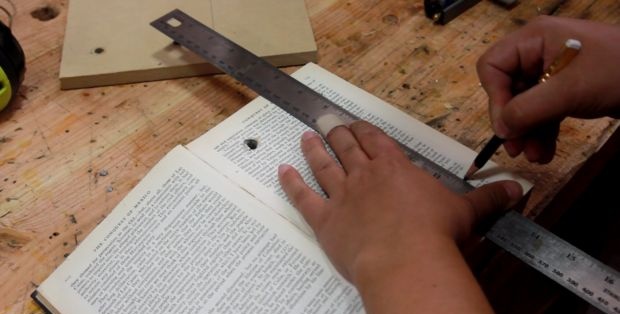
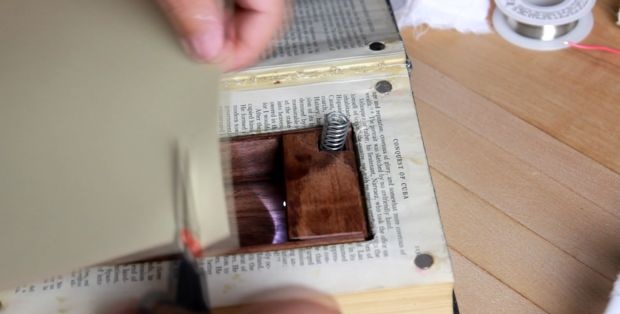
We remove the board, use a ruler and pencil to connect the holes on the book. We take a sharp stationery knife and slowly begin to cut out pieces of paper. Be careful when working with a sharp knife.

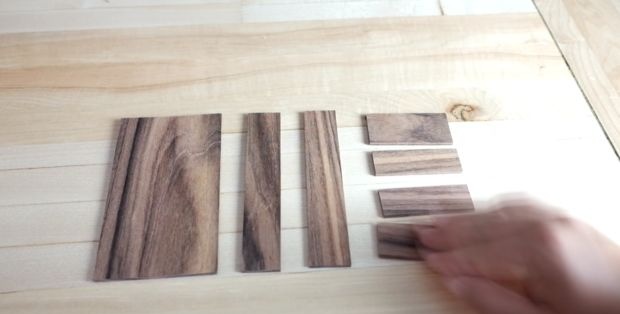
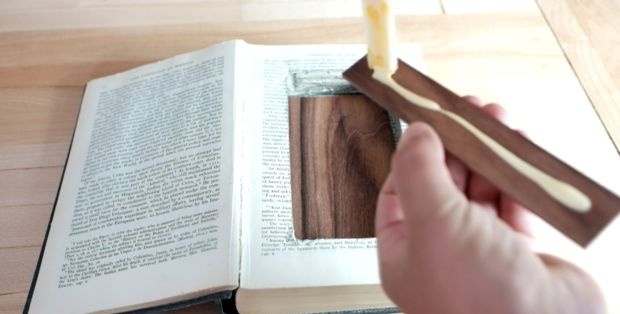
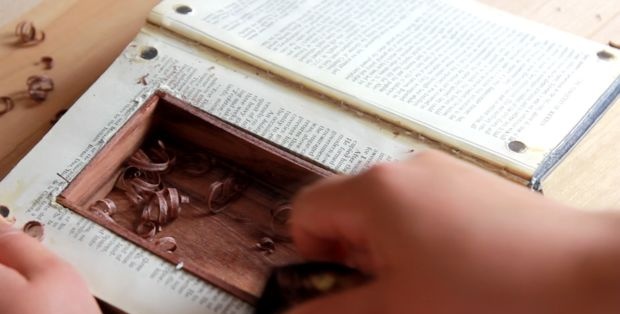
Wooden insert
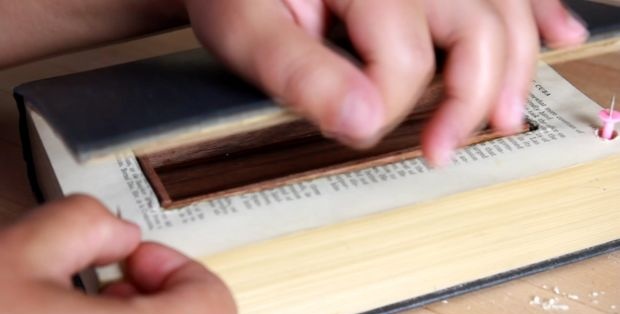
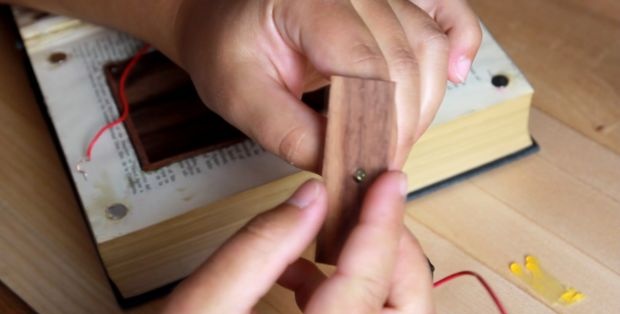
Based on the dimensions of the resulting recess, we make parts of the wooden insert. Apply plenty of glue and glue it into the recess. We use available materials as spacers.
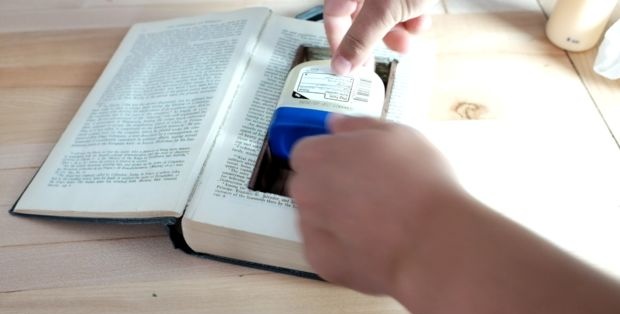
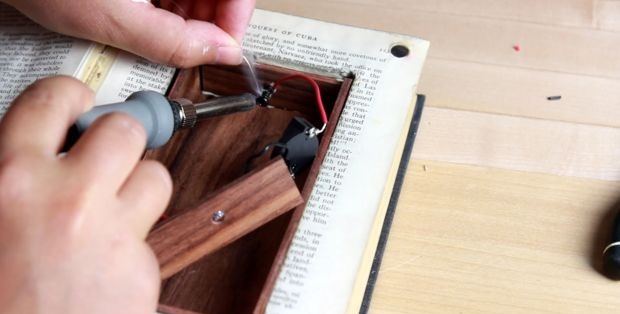
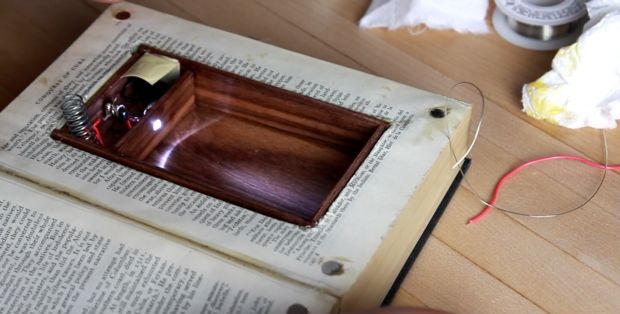
Making a box with light
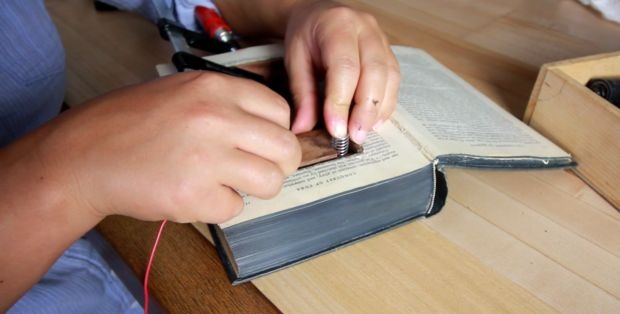
LED lighting requires an additional section in the hiding place. I will glue it from the same wood as the main box. Drill a hole for LED. We form a box for the activation mechanism LED.
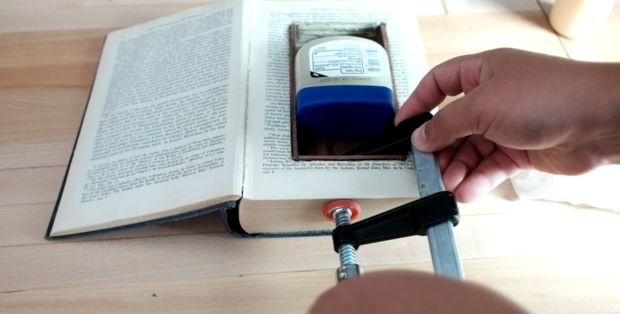
Magnetic clasp
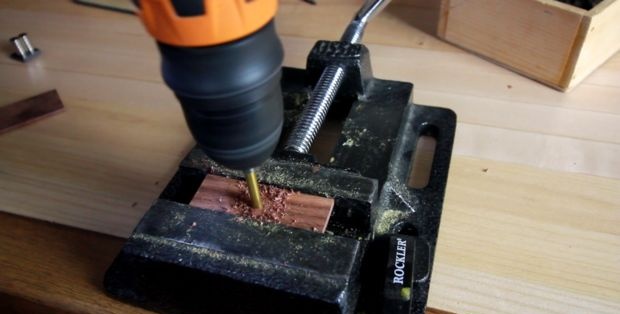
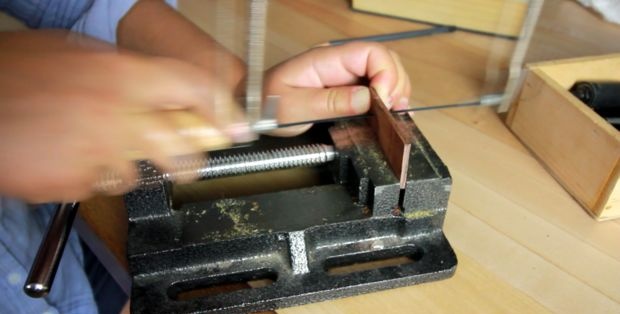
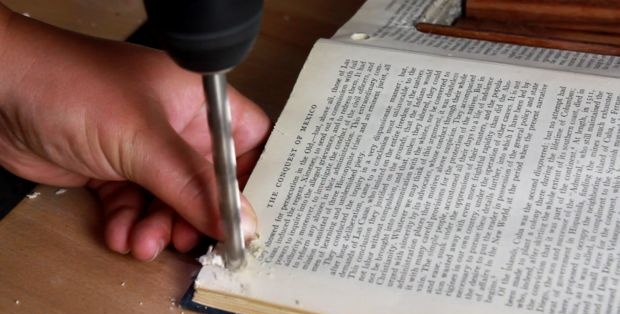
In order for the book to close securely, I decided to modify it with magnetic clasps. To do this, we drill holes, four in the lid and four in the main part. I advise you to first mark it equally on both sides, so that when closing the book, the holes are opposite each other, and, therefore, in the future, magnets.
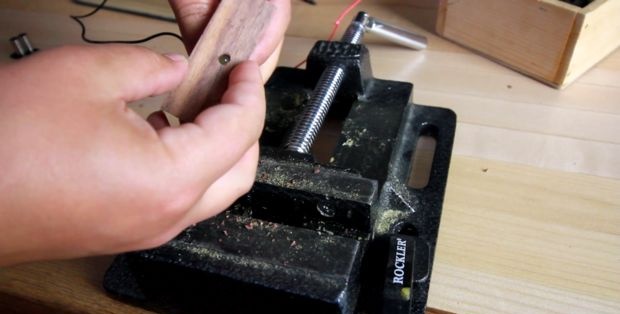
Then we glue magnets into the resulting holes.


Fit
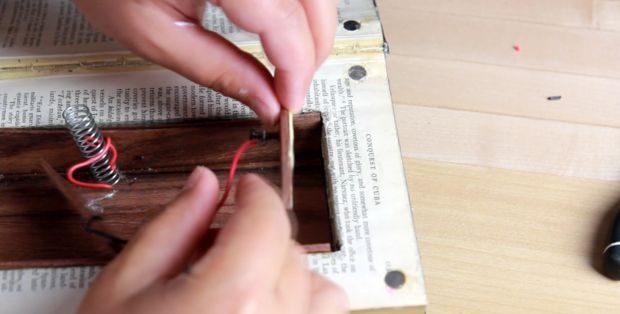
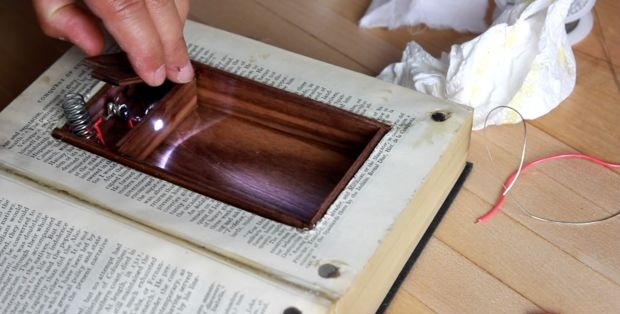
I didn't calculate the inner box quite accurately and that's why the book didn't close tightly. I decided to correct this mistake by cutting off a couple of millimeters of the box with a knife.
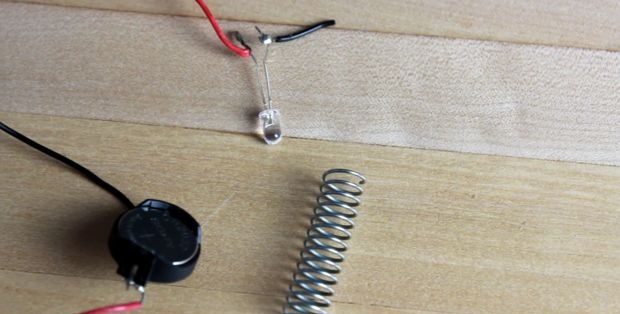
Assembling the backlight
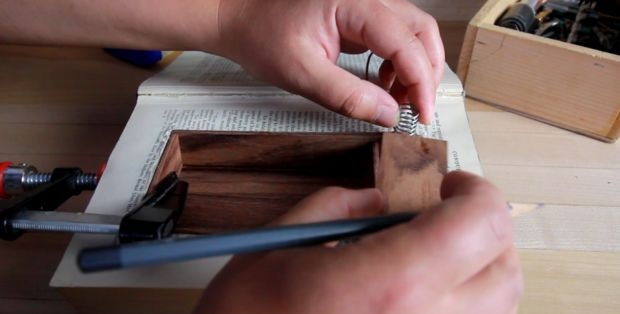
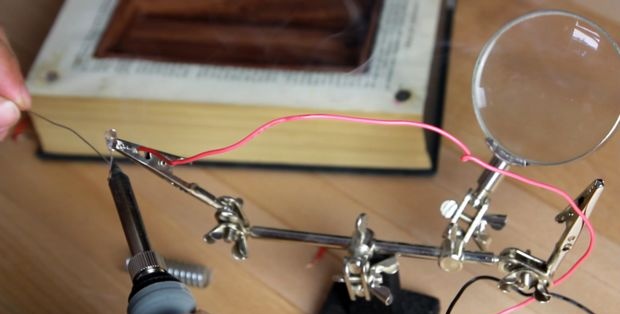
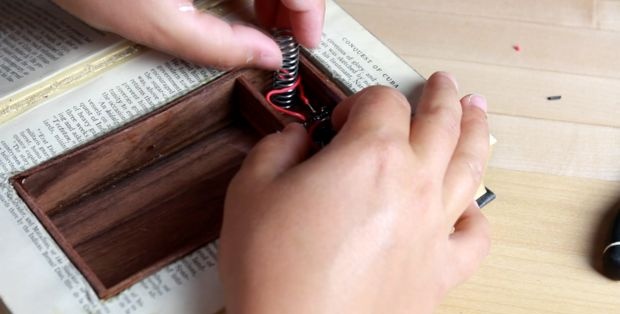
I needed: Light-emitting diode, coin cell battery (3 volts), battery holder, spring, wires.
Let's put together a simple diagram. Solder the wires, having previously determined the polarity LED and batteries.
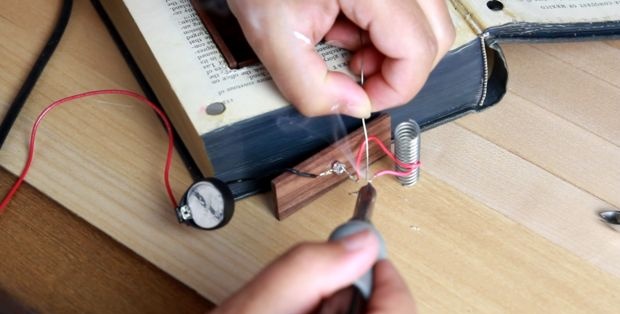
The switch is made of a spring in such a way that in a relaxed state the contacts of the backlight circuit close. We pass the wire through the spring, and the end of the wire rests on the leg LED, thereby closing the circuit. All you have to do is shorten the spring - the wire goes down from the LED and the circuit opens.
Of course, it’s better to use a switch and not dance with a tambourine, but I haven’t found one.
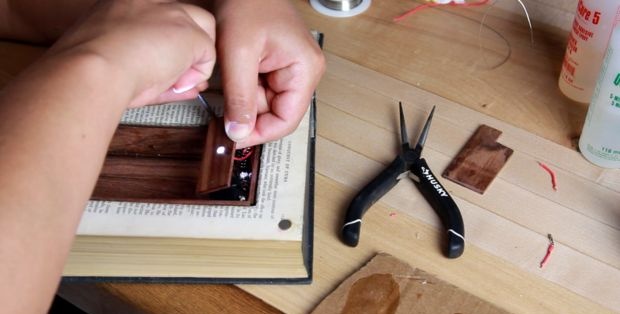
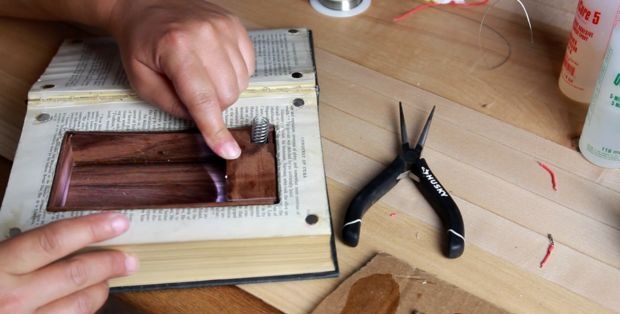
Final backlight assembly
We install the backlight. We glue all the parts with glue. I used epoxy resin for the spring. After the entire circuit has been worked out and is functioning, close the lid of the box. Now close the book and see if the backlight turns off.
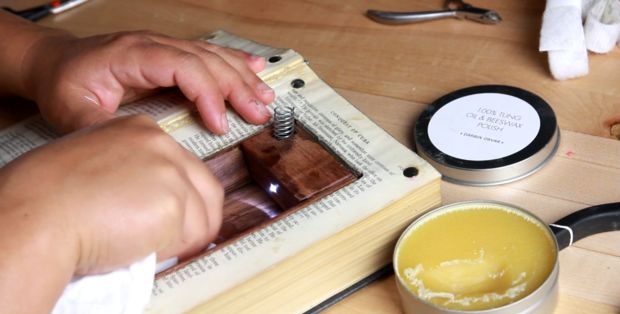
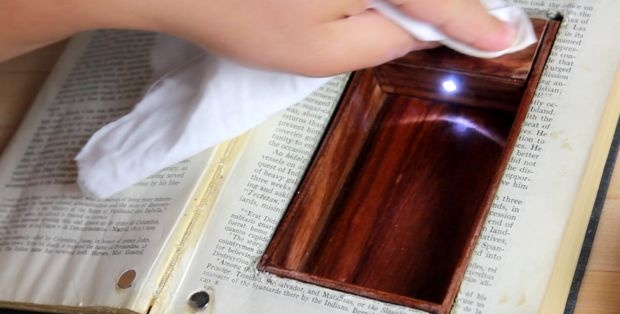
Rub with wax
To make the hiding place look presentable, and you won’t be ashamed to put your treasures in it, we’ll wax it to give the wood a shine.
That's all. I finally did this miracle. Now I have this interesting hiding place in my room.
Original article in English