Materials
What materials do we need? Just a piece of plastic pipe.
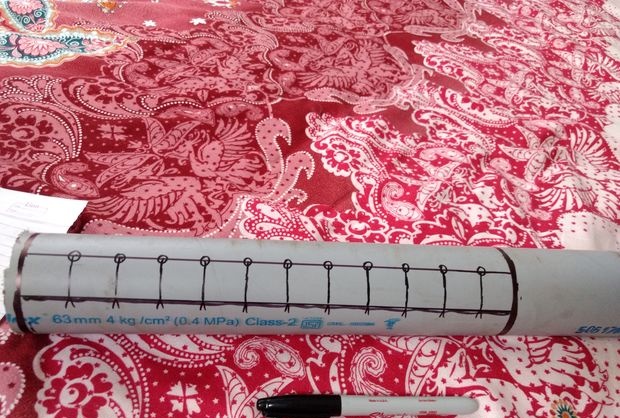
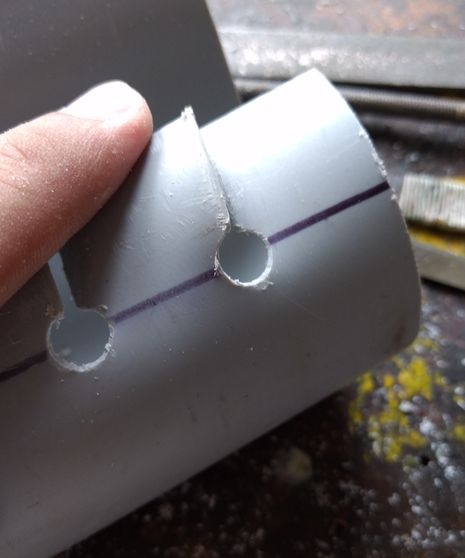
We take this piece and mark the cut and drill spots with a permanent marker.
Manufacturing
I roughly calculated how many wires would go through and took the number of holes and grooves as a reserve.
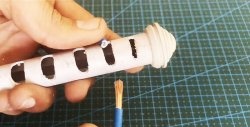
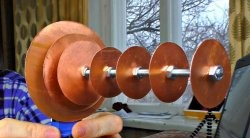
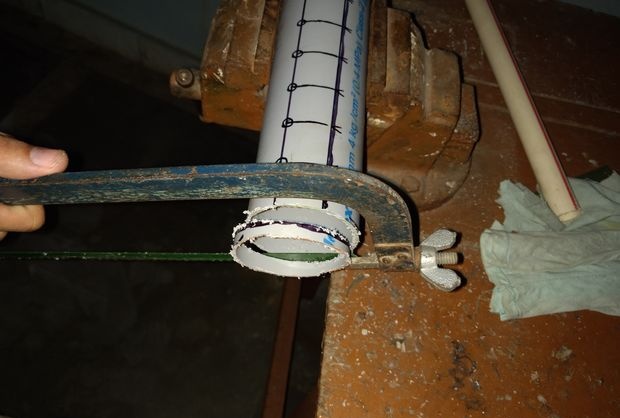
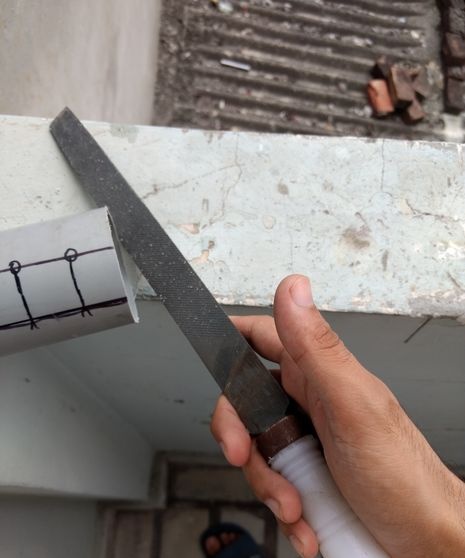
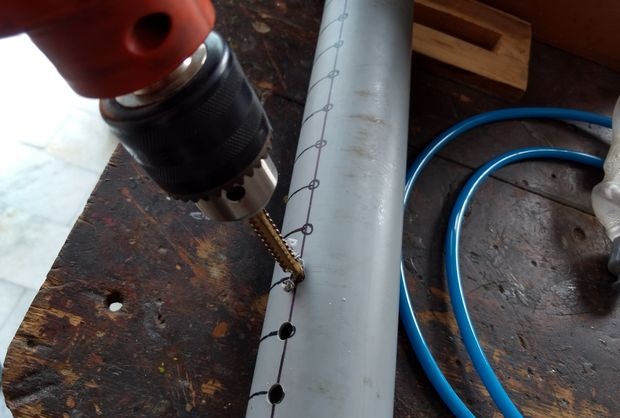
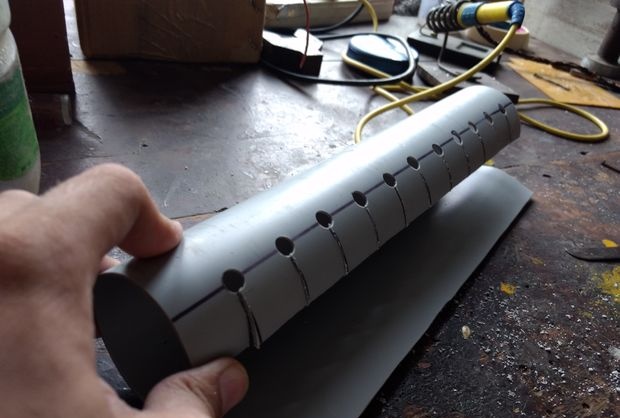
First of all, cut the pipe to the required size. We saw off the uneven edge. We clean off burrs and irregularities with a file. After this, we drill holes with a wide drill. I make a cut along the entire length of the pipe.
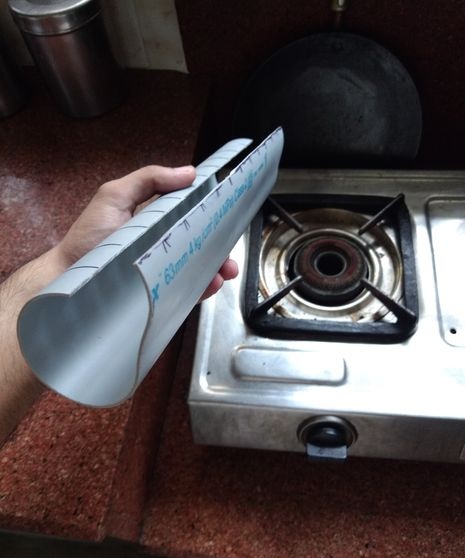
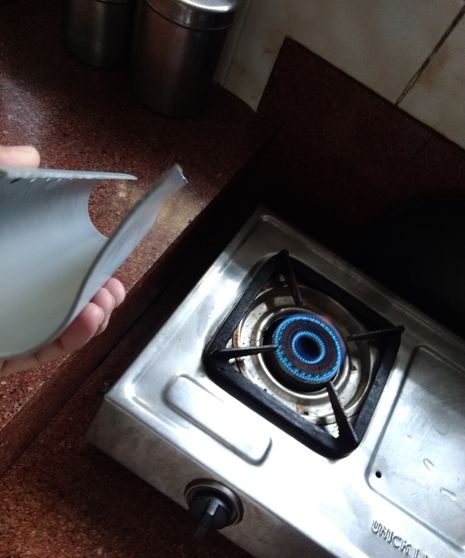
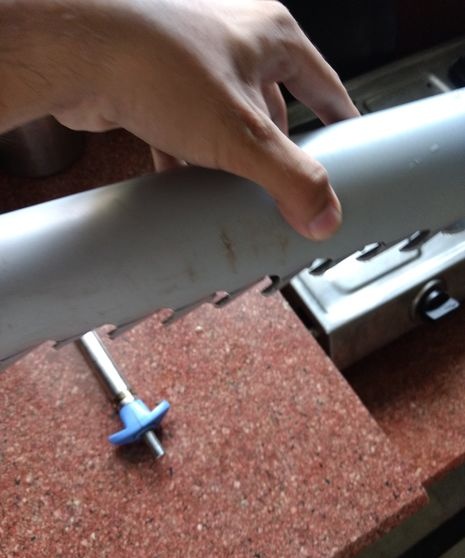
Now, using a heating device, in my case a gas burner, you need to heat the edge of the pipe along the entire plane and bend it. See photo.
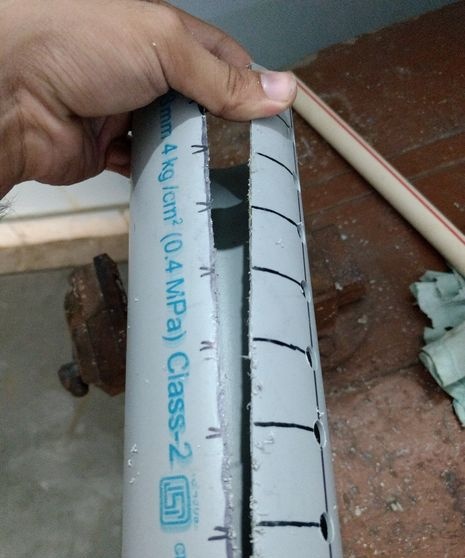
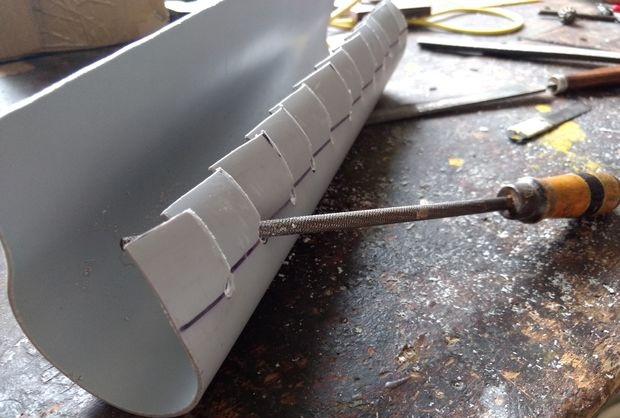
After the pipe has cooled, we cut the grooves.This can be done with a small jigsaw, an electric hacksaw, or, as I did, with a piece of blade from a hacksaw.
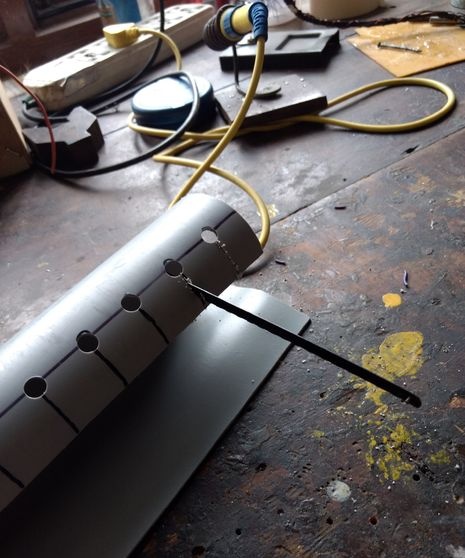
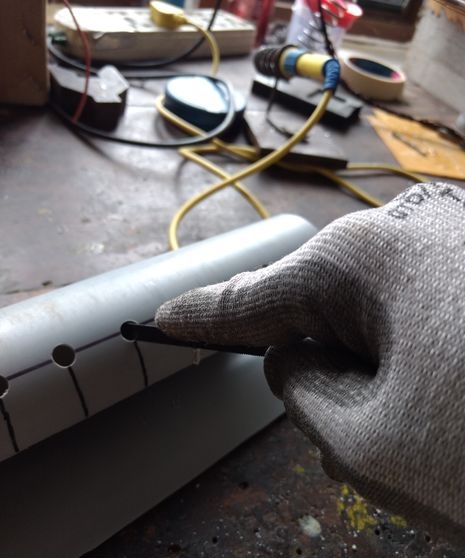
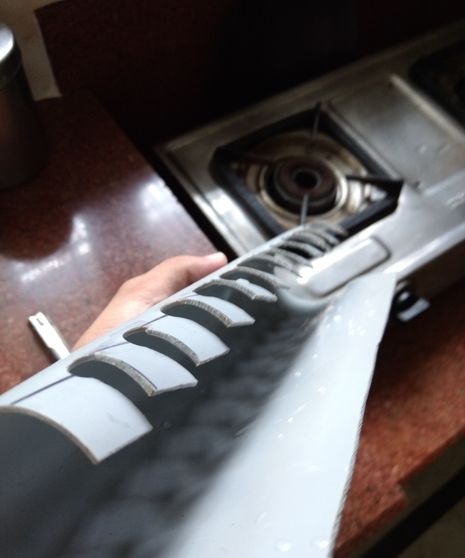
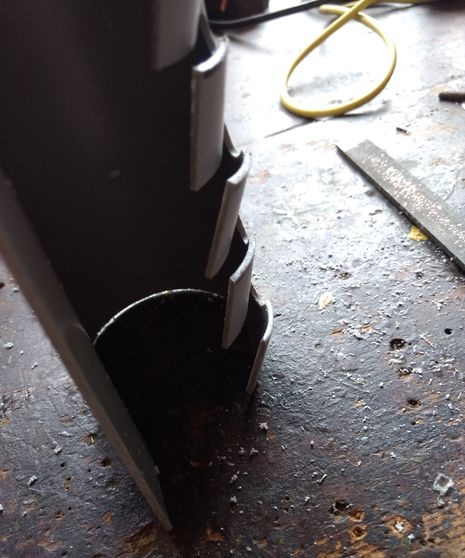
Once all the cuts are made, we heat each groove in turn and bend it. This is done so that the wires can be inserted in the future without unnecessary effort.
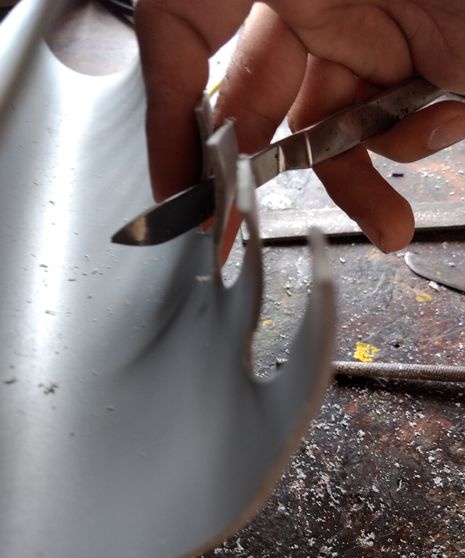
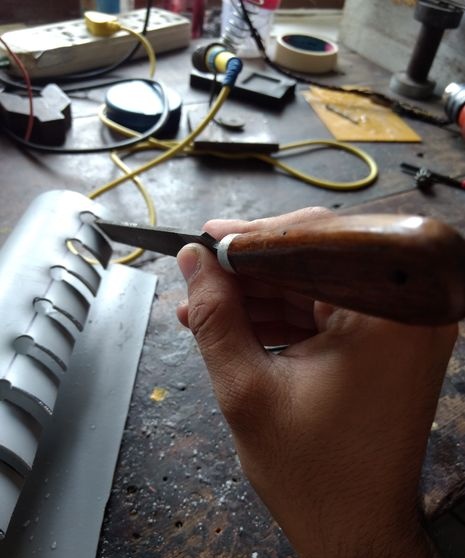
We clean off burrs and irregularities using a scalpel and file.
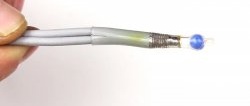
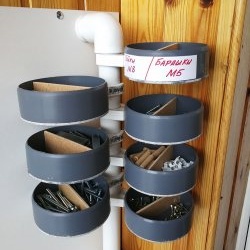
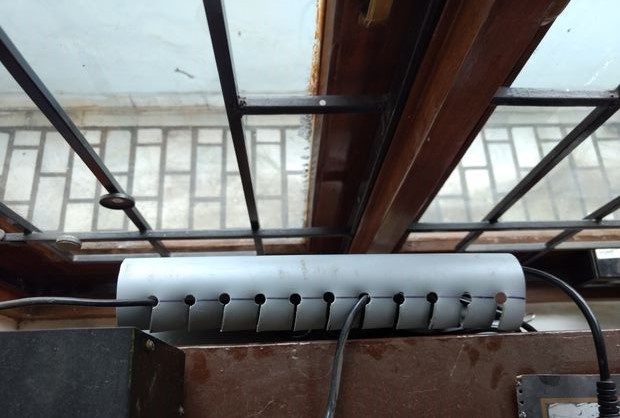
At this point the organizer is ready.
Organizer mount

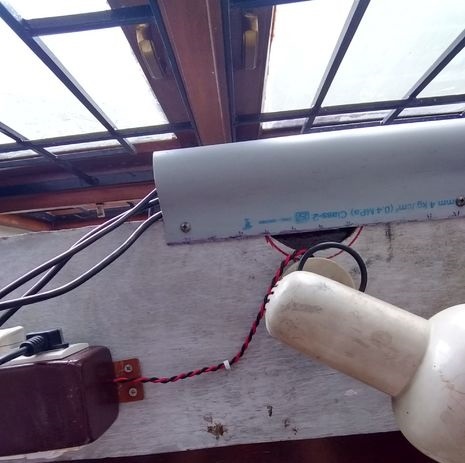
The organizer for wires is attached to the table with two screws like mine. To prevent anything from cracking, we drill holes in the organizer and the table at the mounting location. Once screwed, everything is ready, you can insert the wires.


Conclusion.
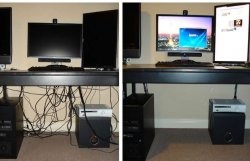
The thing is definitely very necessary. You don’t even have to pull the mouse wire while working – it is fixed and does not fall to the bottom. Now you can safely wash the floors under the tables and not get confused in this pile of wires.
I naturally recommend that everyone take my example and make their own organizer and make their life easier.
Original article in English