Do it yourself
Life hacks, master classes, useful tips, recipes.
home » Electronics » Simple circuits » Simple indicator of Li-ion battery discharge
How tightly Li-ion batteries have entered our lives. The fact that they are used in almost all microprocessor electronics is already the norm. So radio amateurs have long adopted them and use them in their homemade products. This is facilitated by the significant advantages of Li-ion batteries, such as small size, large capacity, and a large selection of designs of various capacities and shapes.
Simple indicator of Li-ion battery discharge

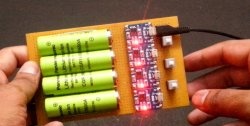
The most common battery is 18650, its voltage is 3.7 V. For which I will make a discharge indicator.
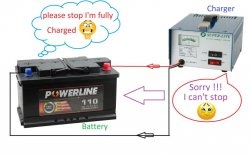
It’s probably not worth telling how low discharge is harmful to batteries. And for batteries of all types. Proper use of batteries will extend their life several times and save you money.

Charging indicator circuit


Simple indicator of Li-ion battery discharge

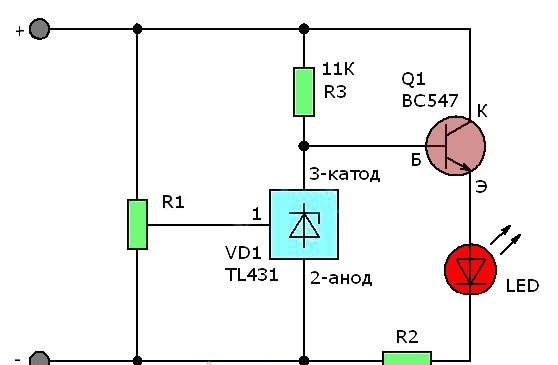
The circuit is quite universal and can operate in the range of 3-15 volts. The response threshold can be adjusted using a variable resistor. So the device can be used for almost any battery, be it acid, nickel-cadmium (nicd) or lithium-ion (Li-ion).
The circuit monitors the voltage and as soon as it drops below a preset level, it lights up Light-emitting diode, signaling that the battery is low.
The circuit uses an adjustable Zener diode TL431 (link where I got it). In general, this zener diode is a very interesting radio element, which can significantly make life easier for radio amateurs when constructing circuits related to stabilization or threshold operation. So take it into service, especially when building power supplies, current stabilization circuits, etc.
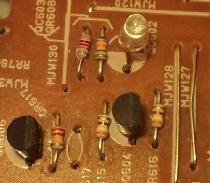
The transistor can be replaced with any other NPN structure, the domestic analogue of KT315, KT3102.
R2- adjusts brightness LED.
R1 is a variable resistor with a nominal value of 50 to 150 kOhm.
The value of R3 can be increased to 20-30 kOhm to save energy if a high gain transistor is used.
If you do not have an adjustable stabilizer TL431, then you can use a proven Soviet circuit with two transistors.
Simple indicator of Li-ion battery discharge

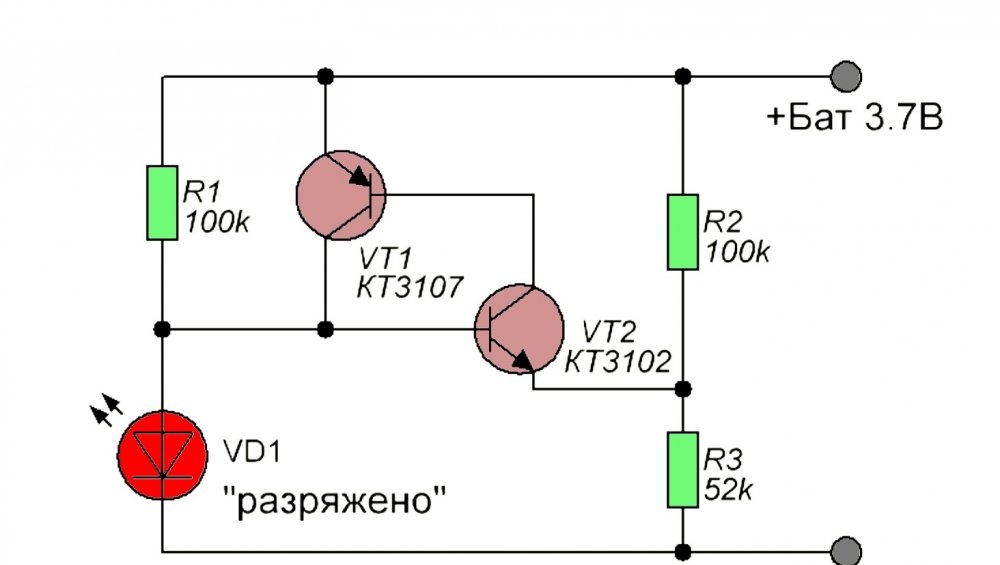
The response threshold is set by resistors R2, R3. Instead, you can solder one variable to allow adjustment and reduce the number of elements. Soviet transistors can be replaced with BC237, BC238, BC317 (KT3102) and BC556, BC557 (KT3107).
Simple indicator of Li-ion battery discharge

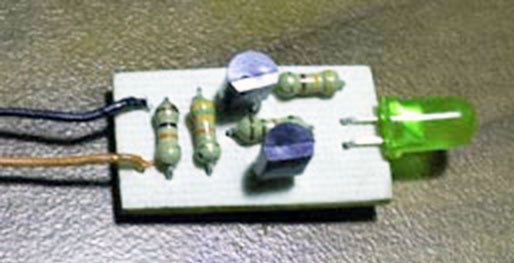
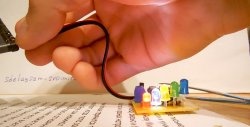
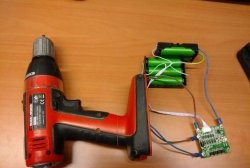
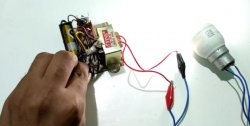
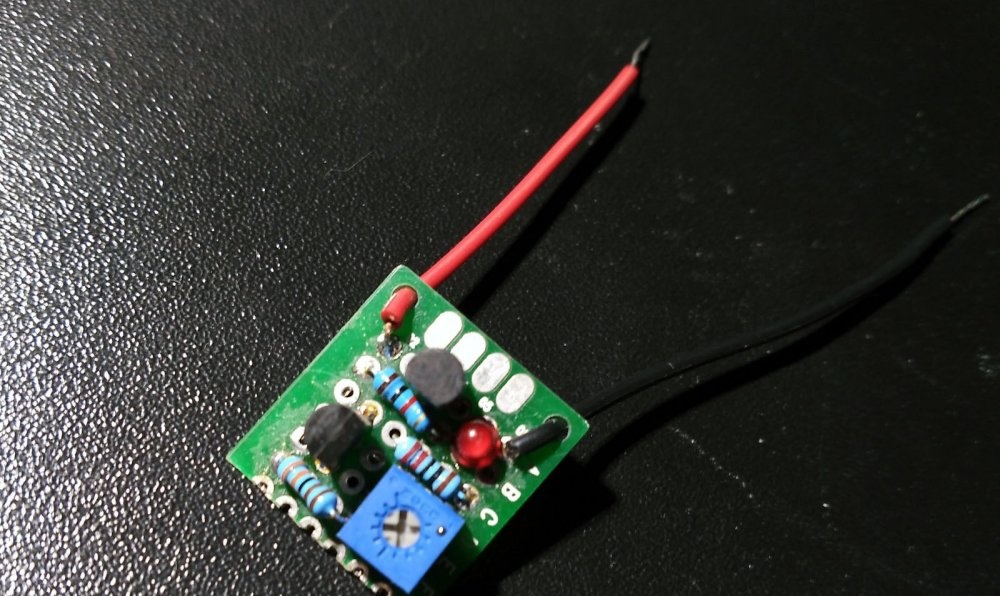
The circuit can be assembled on a board or mounted. Put on the heat shrink tube and blow it with a hot air gun. Attach with double-sided tape to the back of the case. I personally installed this board in a screwdriver and now I don’t drive its batteries until they are critically discharged.
You can also connect a buzzer (squeaker) in parallel with the resistor with the LED, and then you will know exactly about the critical thresholds.
come back
Comment
  • bowtiesmilelaughingblushsmileyrelaxed relaxedsmirk
    heart_eyeskissing_heartkissing_closed_eyesflushedrelievedsatisfiedgrin
    winkstuck_out_tongue_winking_eyestuck_out_tongue_closed_eyesgrinningkissingstuck_out_tonguesleeping
    worriedfrowninganguishedopen_mouthgrimacingconfusedhushed
    expressionlessunamusedsweat_smilesweatdisappointed_relievedwearypassive
    disappointedconfoundedfearfulcold_sweatperseverecrysob
    joyastonishedscreamtired_faceangryragetriumph
    sleepyyummasksunglassesdizzy_faceimpsmiling_imp
    neutral_faceno_mouthinnocent
3+three=
Comments (6)
  1. Guest Alexander
    #1 Guest Alexander Guests December 9, 2018 21:08
    1
    But as if instead of a signal LED plug in a beeper?
    1. Ruslan
      #2 Ruslan Guests 29 December 2018 13:28
      3
      Read the last sentence of the article
  2. ozi
    #3 ozi Guests 29 May 2019 17:32
    2
    You can use one HT7039A for 10 rubles. Series for different voltages. With hysteresis and up to 50 mA load.
  3. Igor
    #4 Igor Guests April 1, 2021 09:52
    3
    The last diagram shows three resistors, and the photo of the finished board shows four of them. Where is the fourth one installed?
    1. Luntik
      #5 Luntik Guests 2 December 2022 18:17
      0
      4 is the current limiting resistor LED. It stands either before the LED or after it. Value 100-500 Ohm, select according to brightness LED.
  4. Alexei
    #6 Alexei Guests April 4, 2023 12:00
    1
    I assembled the circuit with TL, it worked from a telephone battery only with the following changes. R2 set the jumper, R3 set to 1k, transistor KT3102

How to make popsicles from any berries at home

Textile cup for kitchen utensils | Do it yourself

How to make a reinforced concrete fence post

How to clean capelin quickly and without bones

«Do it yourself - with your own hands» - a site of interesting homemade products made from scrap materials and items at home. Step-by-step master classes with photos and descriptions, technologies, life hacks - everything a real master or just a craftsman needs for needlework. Crafts of any complexity, a large selection of directions and ideas for creativity.

We recommend reading

Washing machine error codes