I decided to write an article on how to make a knife. The main idea is that all work will be done manually (with the exception of drilling and heat treatment). The idea came about because there are a lot of articles that say that all you need to do to make a knife is to have a few files and a drill or something like that on hand. I was curious to know how long the whole process would take and whether I would have to cheat and use power tools. Making a knife this way was a wonderful experience. The whole job took much longer than I expected. And when I finished, I had a new respect for the people who make knives by hand. Overall, I am pleased with the result, and I hope that this article will help anyone who wants to try making a knife with their own hands.
Creating a knife layout
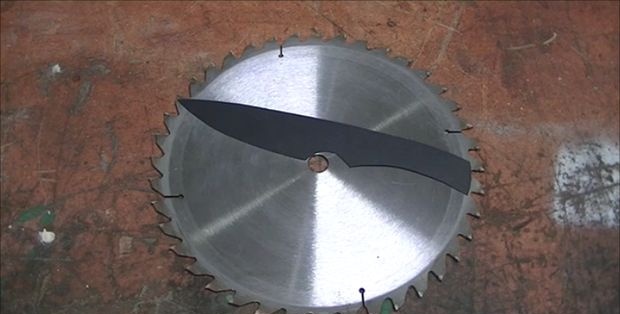

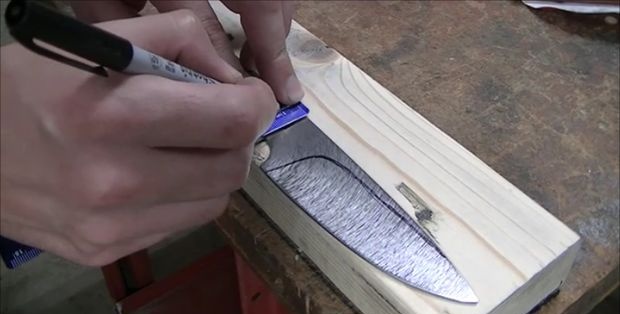
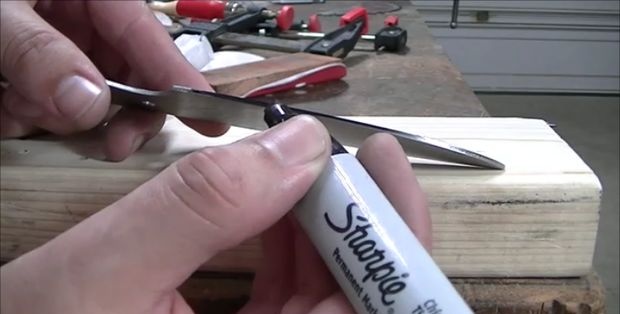
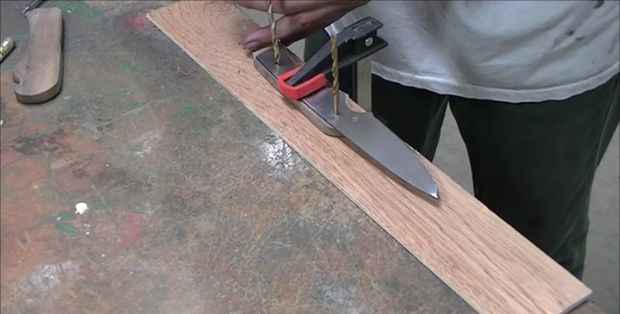
I tried to make a knife as large as possible, using a design whose contours fit the size of the blade as closely as possible. Thanks to the knife model I made from thick paper, it was easy for me to transfer its outline to the surface. For this procedure, I used a fine-tip marker.This may seem like a small thing, but in my opinion this detail is important. Compared to a regular marker, a thin one leaves a more precise line. If the line is too thick, then you can make a mistake when cutting out the workpiece.
Cutting the workpiece
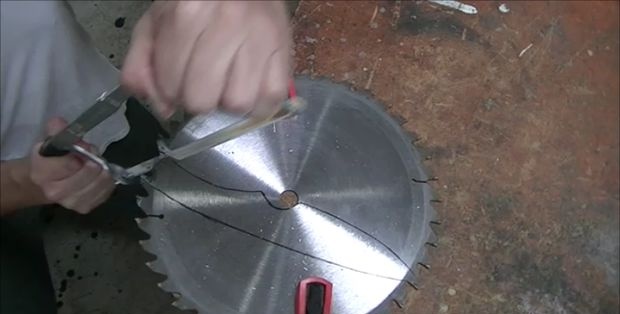
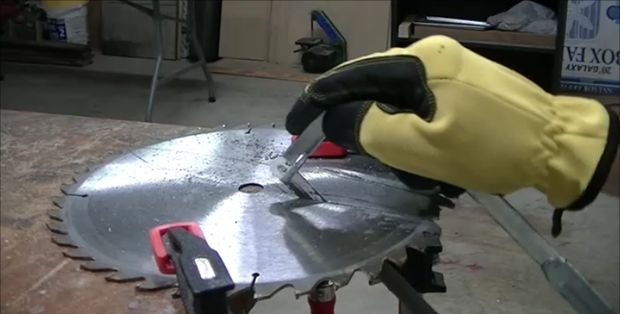
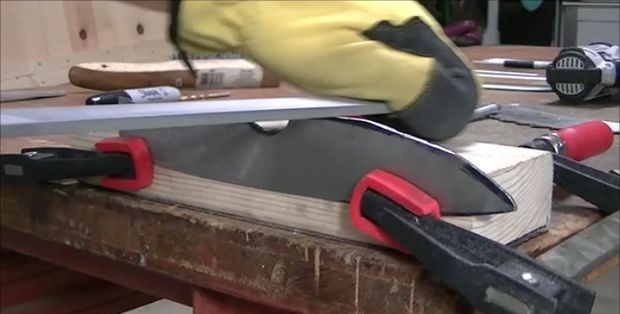
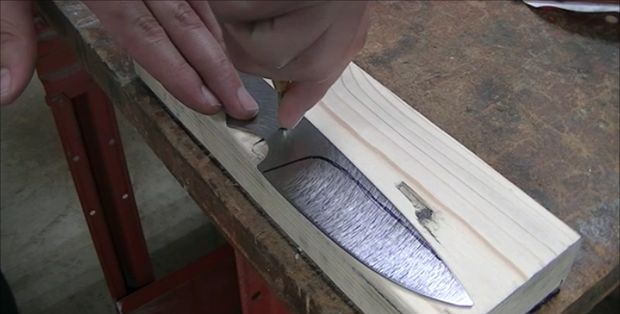
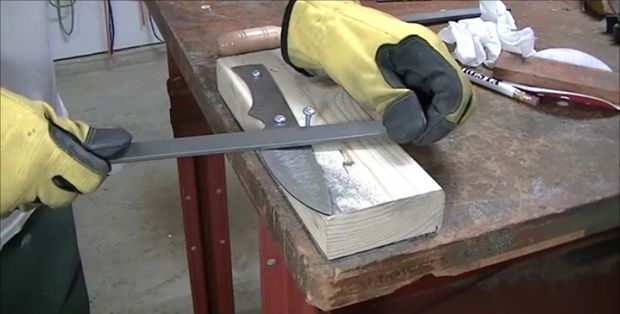
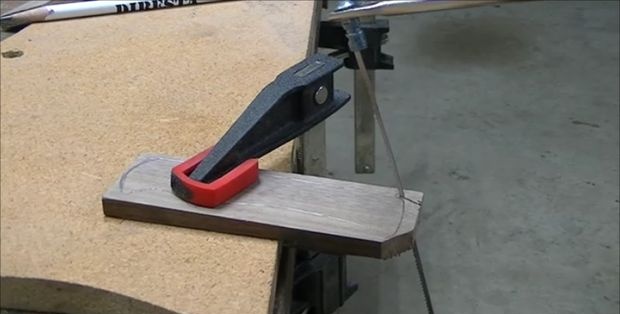
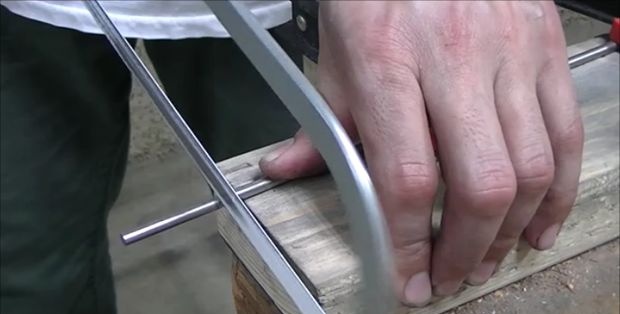
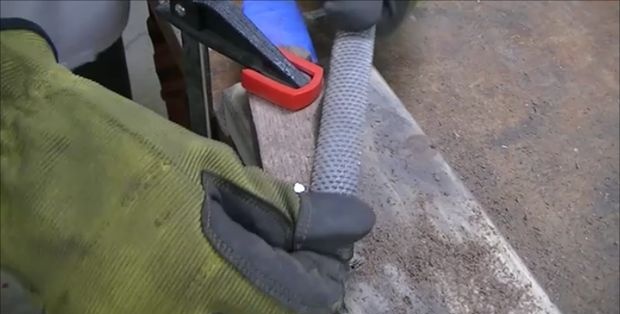
With the blade secured to the workbench, I began cutting out the approximate shape of the blade using straight cuts. If you've never used a hacksaw before, make sure the blade is secured correctly with the teeth pointing forward. The hacksaw should cut with “pull” pressure.
Sawing bends
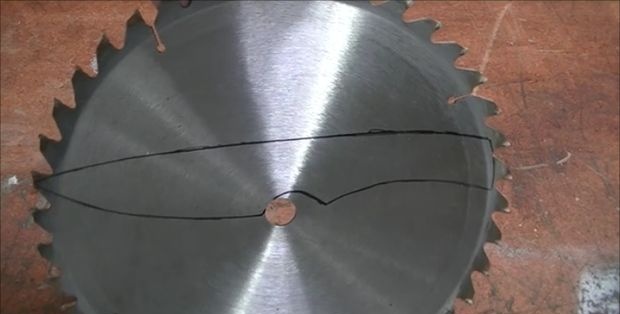
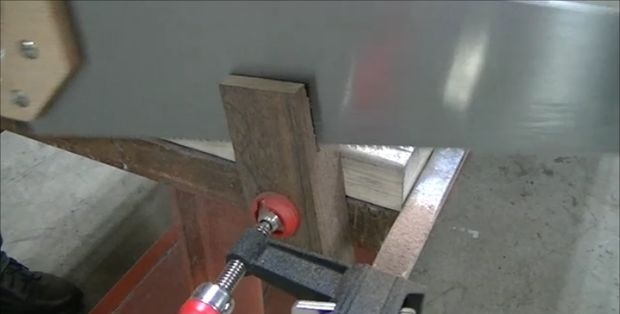
In order to cut out the curved section of the handle, for convenience, I had to make several perpendicular short cuts along the entire bend. Then, using a hacksaw at a slight angle, I cut off each piece. Short cuts make it much easier to cut out curves.
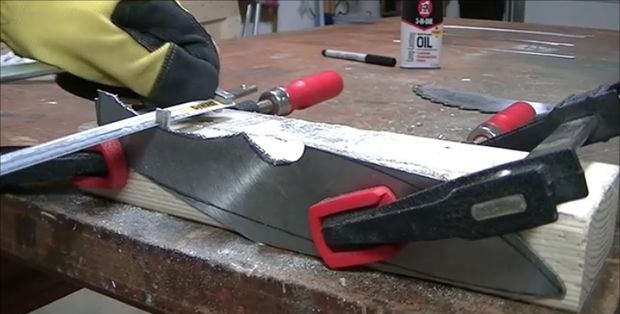
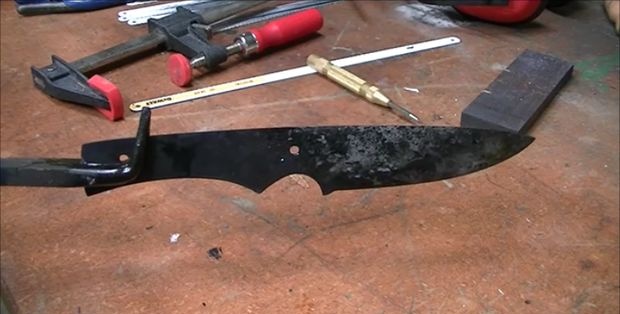
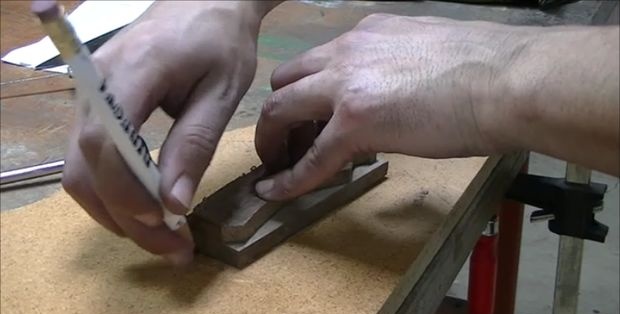
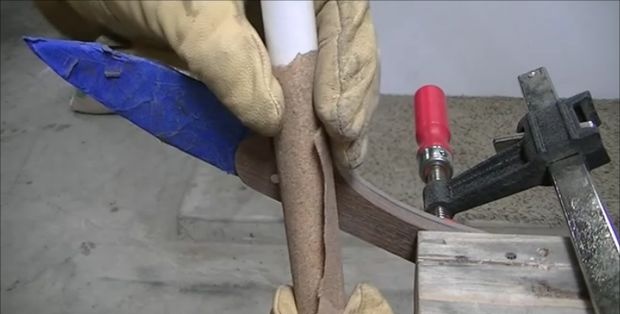
Primary processing with a file

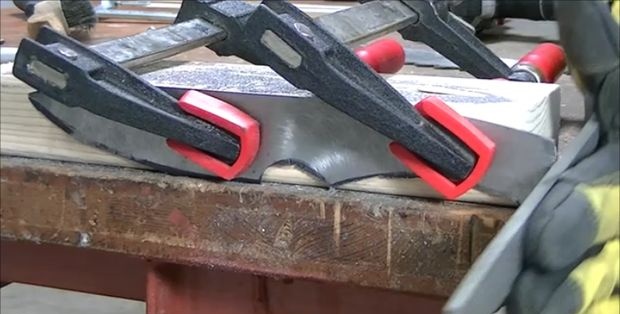
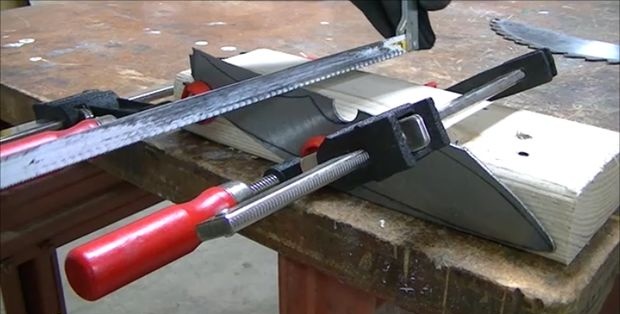
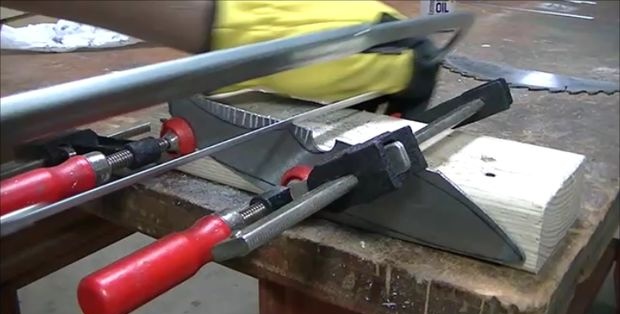
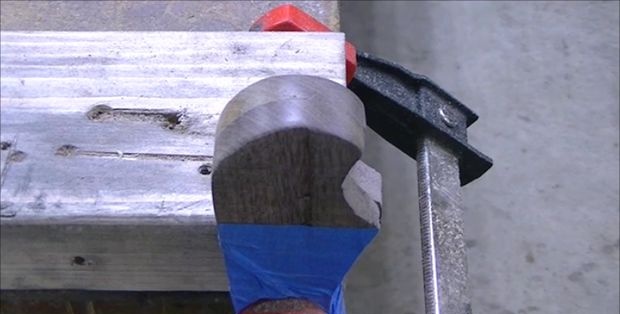
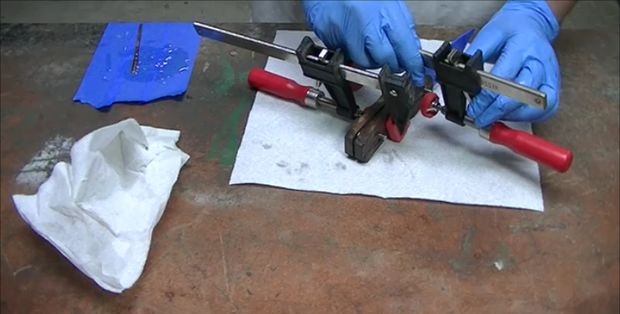
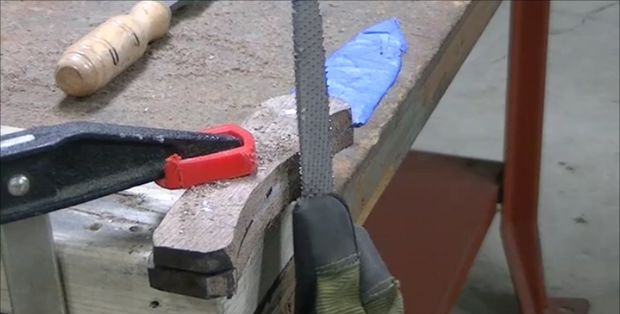
To improve the shape of the workpiece, I attached a block of wood to the work table and secured the blade to it using clamps. This made it possible to file the edges. At the same time, the blade was conveniently and securely fastened. I also used the file to identify areas that needed more work. The design called for a slight bend in the butt, and I applied the flat part of the file to check the progress of the work on this bend. If there was a flat area on the butt, you could easily find it with a file.
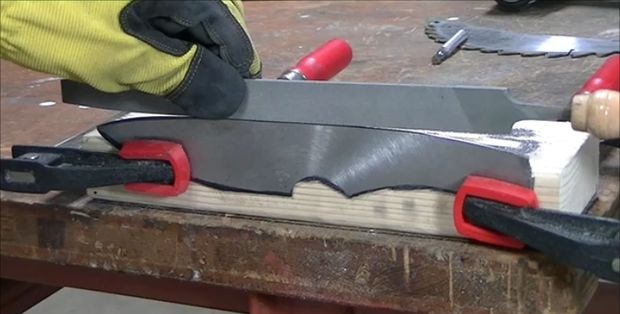
Giving the workpiece its final shape
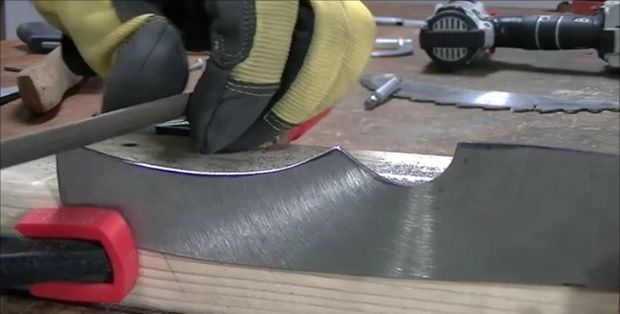

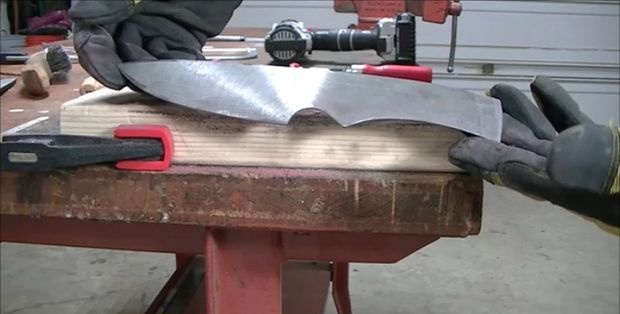
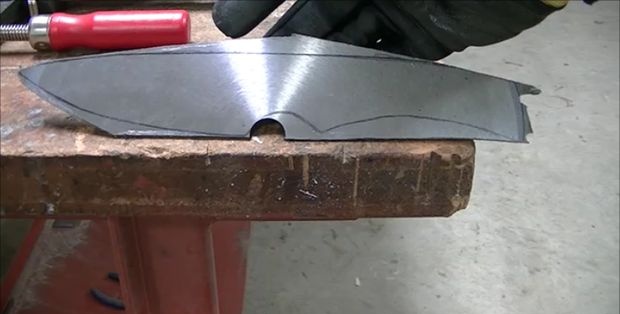
I used several types of files to get as close to the shape as possible. At this stage, the workpiece began to look more like a knife and it was already more difficult to detect flaws with the eye.If there was a spot that needed work, I would adjust the outline with a marker and then work the piece down to the new line. This line was needed so as not to overdo it and ruin the design. The last photo shows the blade after it was shaped using a file and sandpaper. I don't have a photo of how I sand the blade. At this stage, the marks left by the file were removed. I started with P150 grain and worked my way up to P220.
Shank drilling
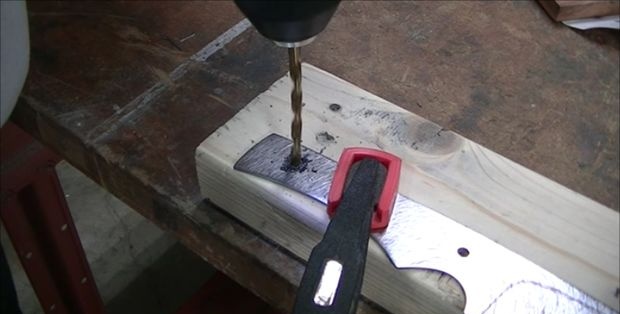
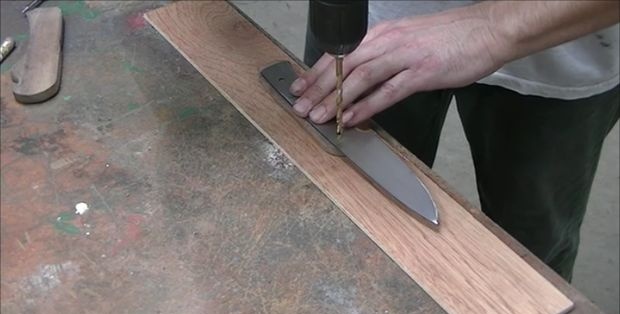
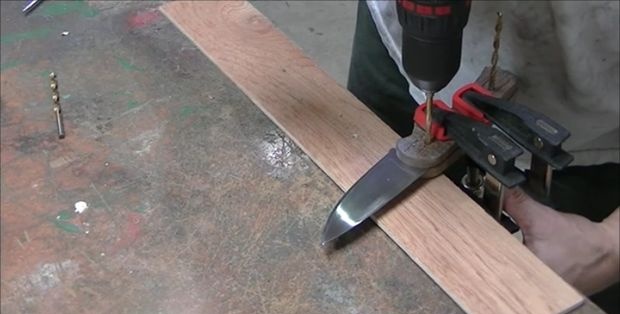
I originally planned to make a sharpening rib with a high cutting edge, but I didn't want to test my limited abilities. The saw blade is made of a fairly thin material, and I would not have been able to sharpen the sharpening rib with the cutting edge with a file as I wanted. We will return to this topic later. At this point I measured the rivet locations, cored and drilled the holes using a cordless drill.
Preparing to work with a cutting edge
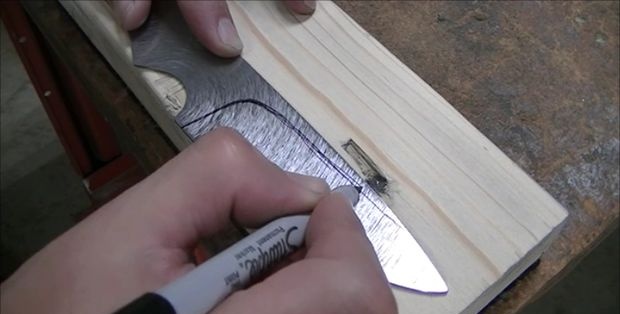
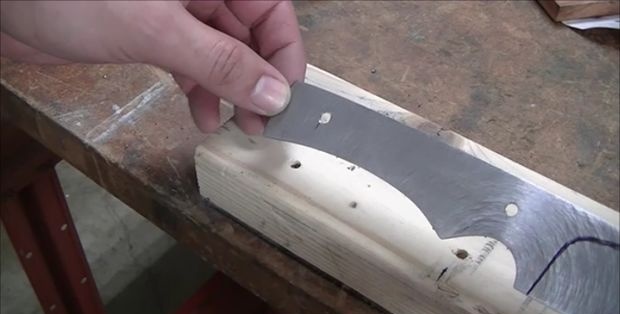
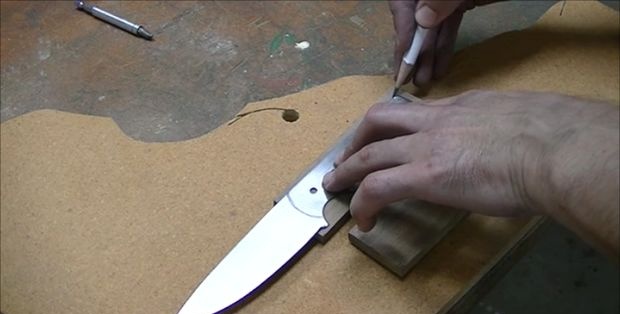
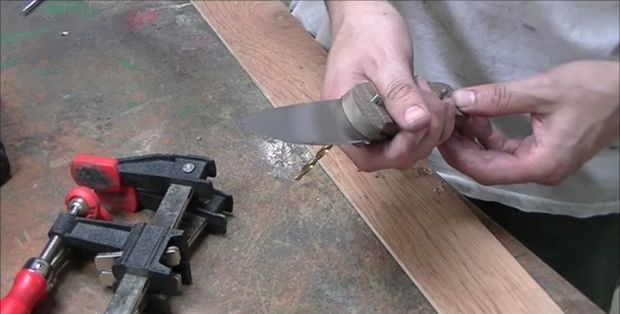
I applied paint with a marker along the future cutting edge of the blade. Then, using a drill bit the same thickness as the blade, I scratched a mark exactly in the middle of the blade line. This line is hard to see in the last image, but it is there. This mark will be convenient when filing the cutting edge, so as not to make it with an uneven slope.
Forming the cutting edge

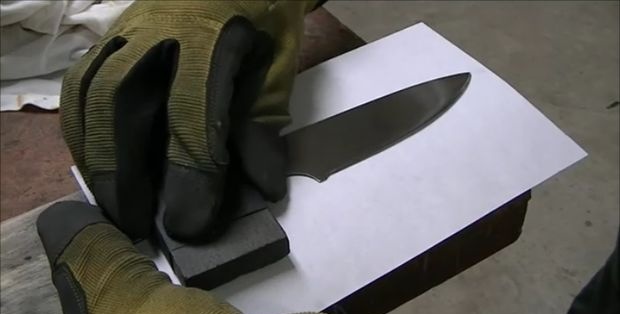
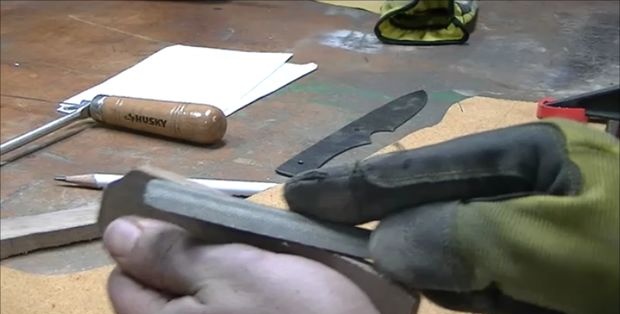
To shape the cutting edge, I used a file with a large notch; at this point I realized that I did not have sufficient skills to manually turn the sharpening edge. So I chose a smoother angle, working with a file from the edge and moving to the butt. I'm new to this, so I chose a more conservative method of removing the seam allowance.Once the cutting edge was properly ground, I sanded the entire blade with P220 grit sandpaper.
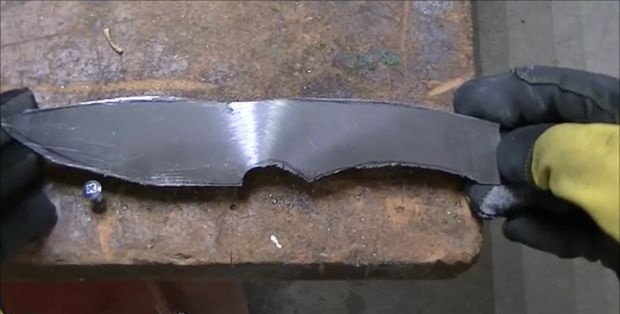
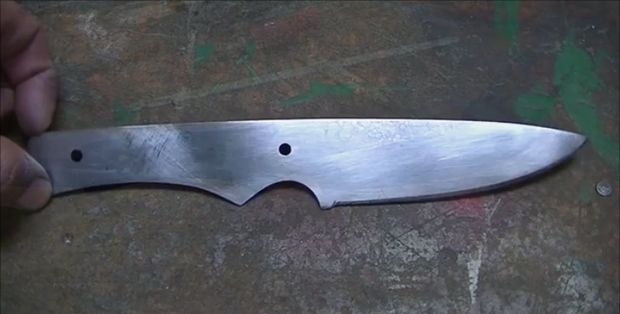
Finished blade
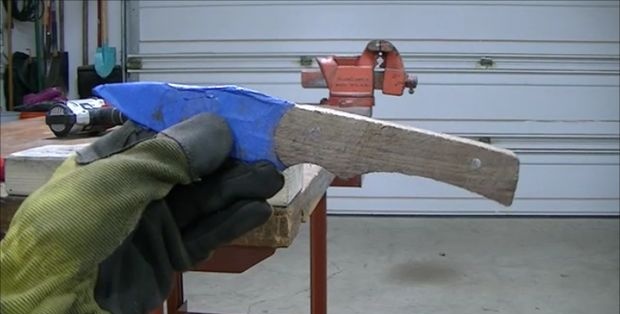
Here is the blade after shaping, filing and sandpaper. Ready for heat treatment.
Hardening
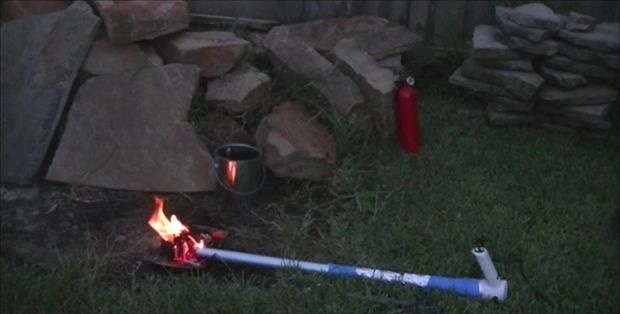

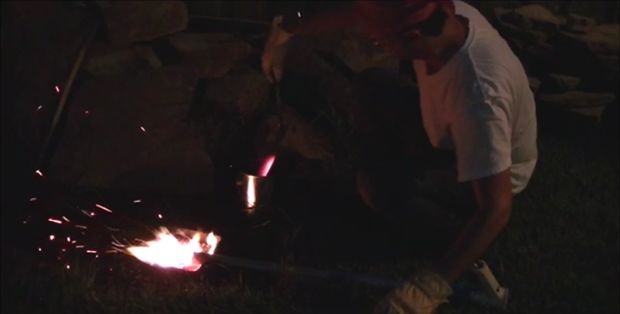
Before I continue, I would like to point out that heat treating can be done over an open wood fire, but I would not recommend it. The thing is that this method seems unsafe to me. So I used my mini forge. If you don't have anything like that, you can actually use a third-party service to heat treat the blade. There are some companies that are willing to perform heat treatment. For money, of course. I'll explain how I did it. Made a fire using raw wood. For the bellows I used a hair dryer attached to a pipe. I turned on the hairdryer and heated the charcoal until red hot. It didn't take long. I placed the blade in the fire and heated it until it was no longer magnetic. Then I hardened it in a container with peanut butter. The last photo shows what the blade looks like after hardening. Although it is possible to cook over an open fire, I do not recommend it.
Vacation
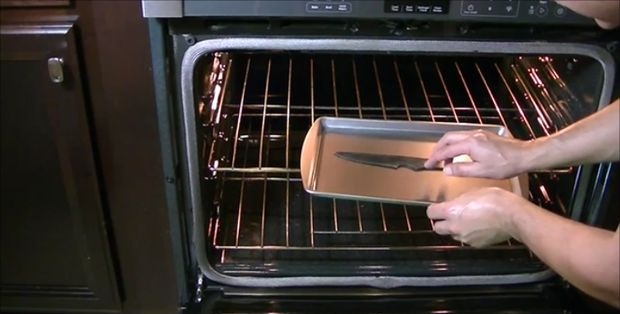
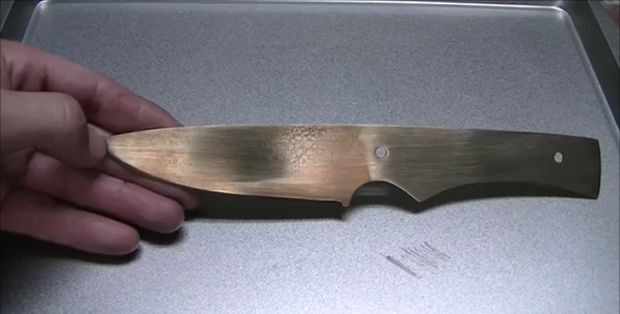
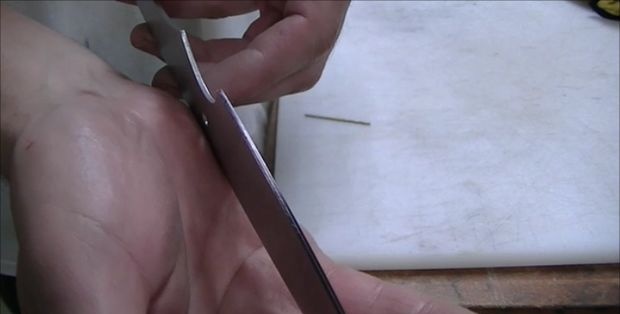
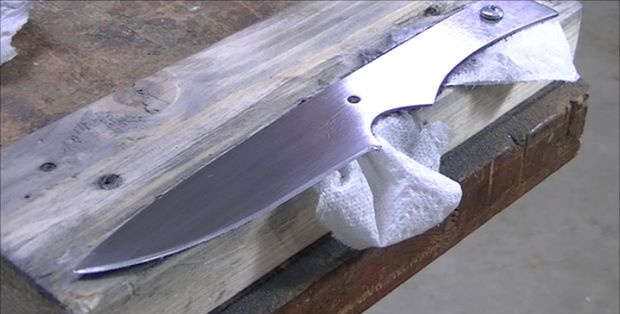
Then it was time to release the blade. First, I cleaned off the scale that remained after hardening with sandpaper. I set my oven temperature to 190 degrees Celsius and put the blade in it for 1 hour. An hour later, I turned off the oven and left the knife in it to cool to room temperature without opening the oven door. You can observe the light or bronze tint that the blade acquires after tempering.After this procedure, I sanded the blade with P220 grit sandpaper and then moved to P400. In the last photo I'm using P400 sandpaper wrapped around the block. I process from the shank to the tip in only one direction. This treatment makes the surface homogeneous.
Sawing the handle blank
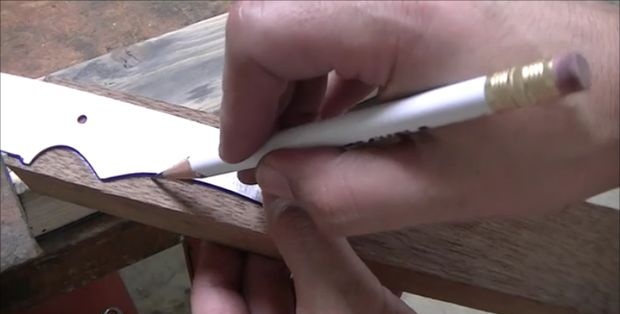
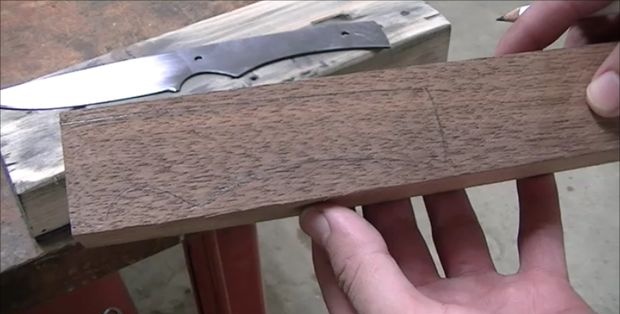
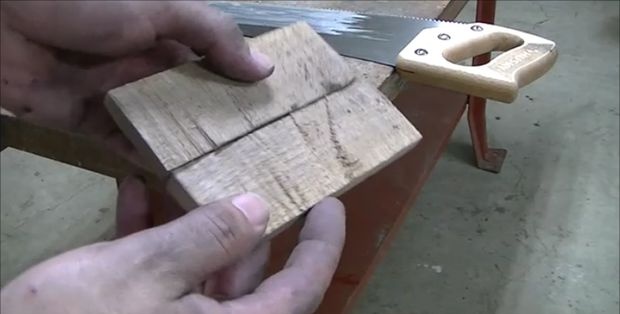
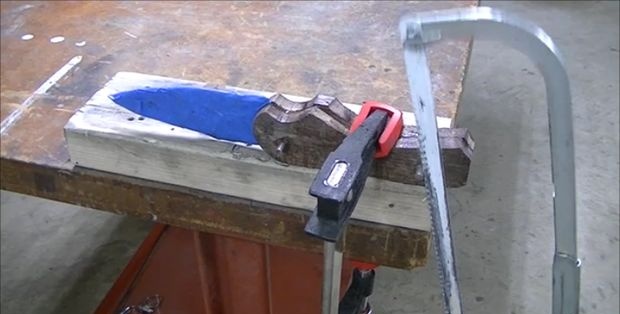
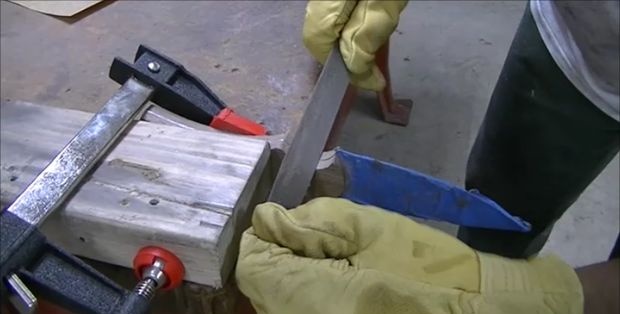
Using the blade as a reference, I traced the outline of the handle onto a block of wood. The handle will be made of walnut. Here again I used timber and clamps, and cut two pieces, each 0.6 centimeters thick. In a state of inspiration, I hurried to cut the tree. Give it a little time to think about the procedure, and I could do it with less effort, and probably with better results. My first mistake was cutting off the extra part. It can be used to clamp while cutting. This is where my inexperience showed, and, as a result, more work was done. Although, in the end, we managed to make two parts suitable for the handle.
Preparing the handle for gluing
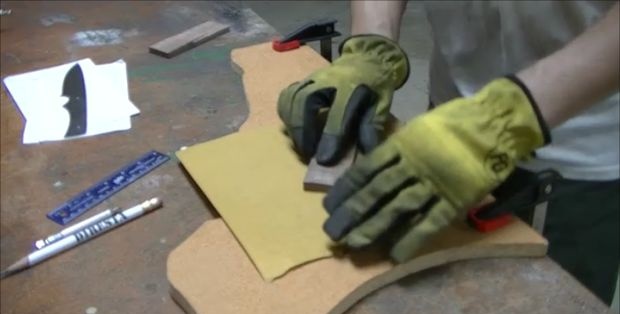
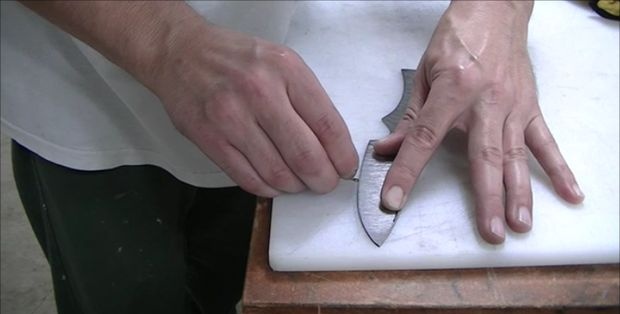
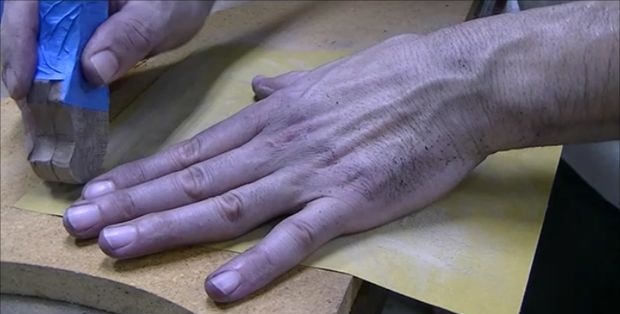
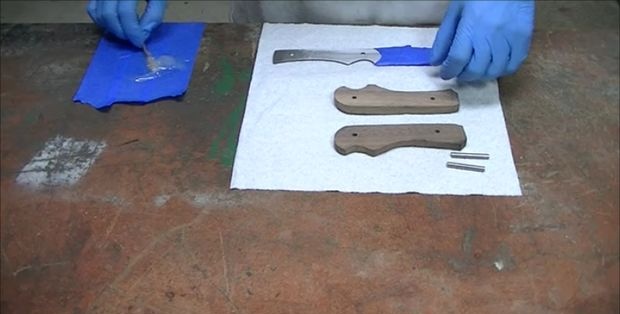
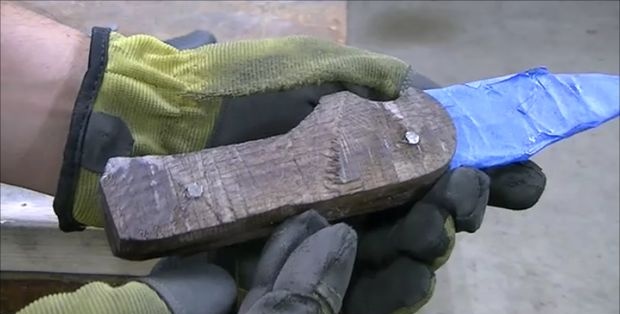
In order for the handles to fit well to the shank after gluing with epoxy resin, I used a flat surface and sandpaper to make one side of each part as flat as possible. This way there will definitely be no gaps after gluing. At this point I also decided on the shape of the handle, and to finally make sure of this, I drew its approximate outline. I then transferred the outline of the tang onto the wood portion of the handle again. I cut out an approximate shape on one of the parts with a jigsaw, and then, applying it to the other, transferred the outline to the second. This operation gave me the opportunity to make approximately identical parts, which will be convenient when gluing.The last photo shows a fitting to check that all parts of the shank are covered with wood.
Forming the upper part of the handle
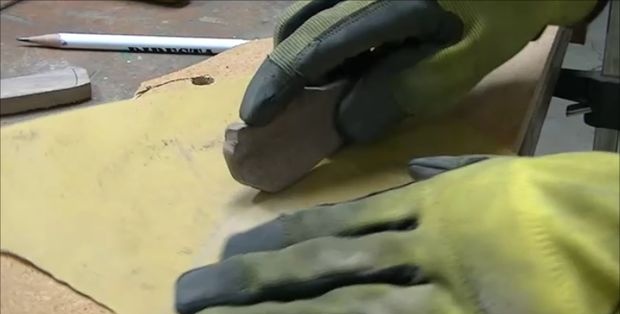
It's time again to work with sandpaper and create a more precise shape. At this stage it is important to finally form the mold for the binding or the upper part of the handle, because after gluing it will be more difficult to process. And also by processing these parts after gluing, you can scratch the blade. So I got this part finally shaped and sanded using P800 sandpaper.
Preparing holes for rivets
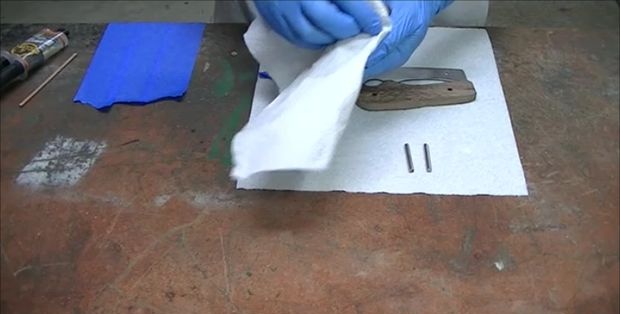
Having drilled one hole in the wood for the rivets, I inserted a drill of the appropriate diameter into it to secure this axle. In other words, this was done for fixation purposes to avoid mistakes when drilling the second hole. I drilled the other side of the handle in the same way, making sure that the corresponding holes lined up.
Manufacturing of rivets
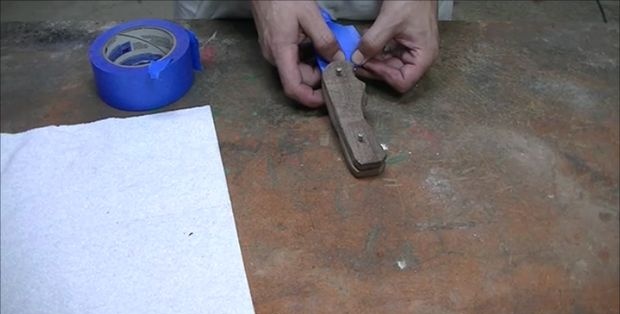
As a rivet I used a stainless steel rod with a diameter of 4.7 millimeters. Before applying a layer of glue, I treated the surfaces to be glued with acetone or alcohol to remove dirt, dust or oil.
Applying glue
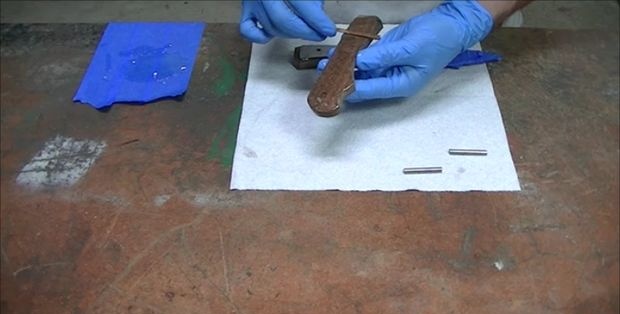
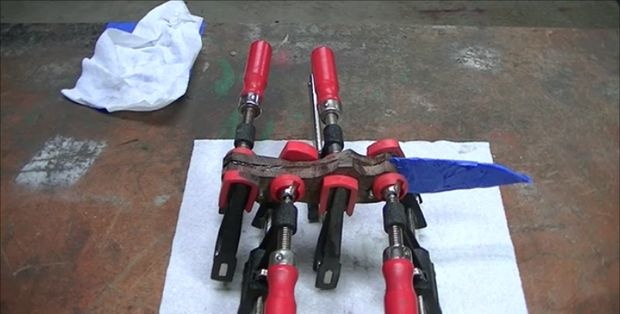
Once dry, I mixed up some epoxy glue and applied it liberally to the handle and rivet parts. Then I held everything together using clamps.
Giving the handle the desired shape
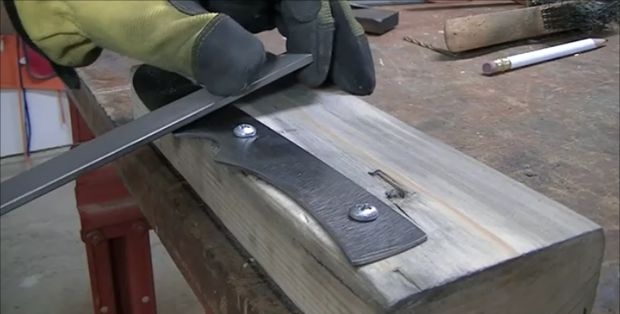
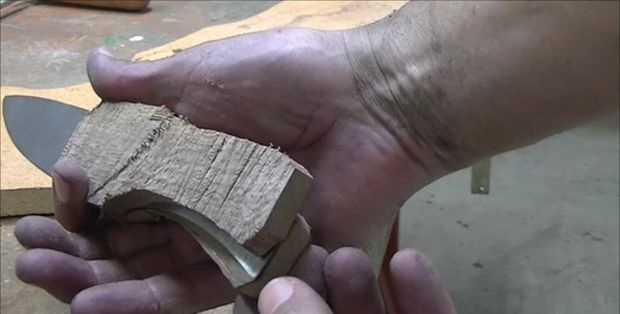
After the epoxy glue dried, I cut off the excess parts of the rivets with a hacksaw. After that, I began to form the handle using a rasp.
Sanding a knife handle
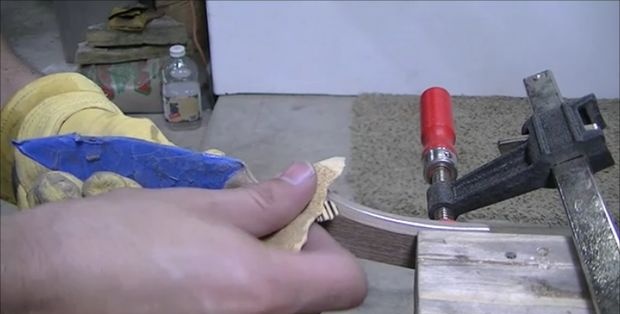
I used a rasp to give the handle a rough outline. Then it was a matter of using various files and sandpaper of different grits. The grain reached P600.
Varnishing of the handle

Finally I got the handle into the shape I wanted.Before I started varnishing, I cleaned it with acetone. I applied 5 layers of Danish varnish to the handle.
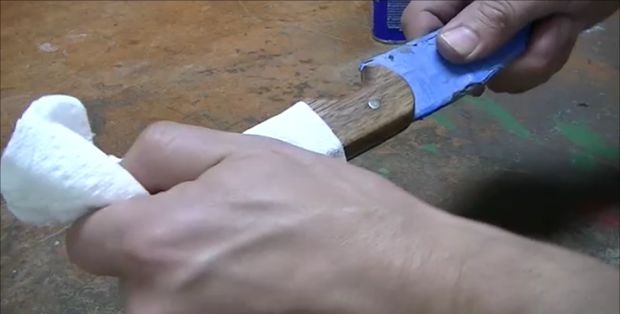
Blade sharpening
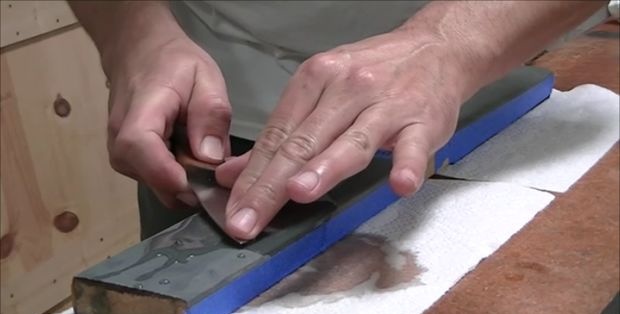
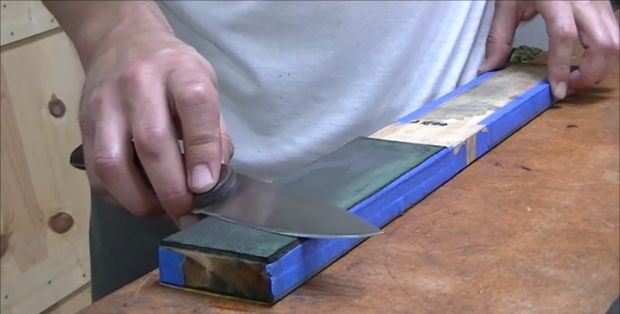
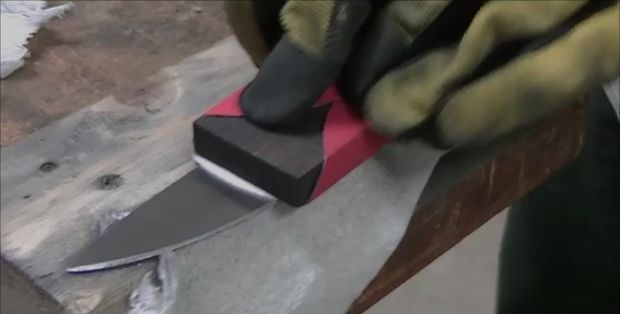
Finally, I sharpened the knife on a sanding block. It was wrapped with P1000, P1500 and P2000 sandpaper. There was also a piece of leather attached to it. Using a sanding block like this, I can sharpen the knife so that it can be used to shave.
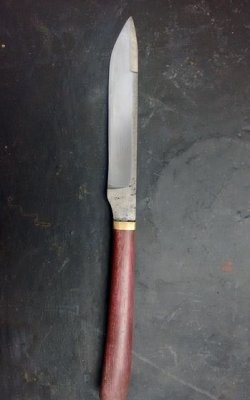
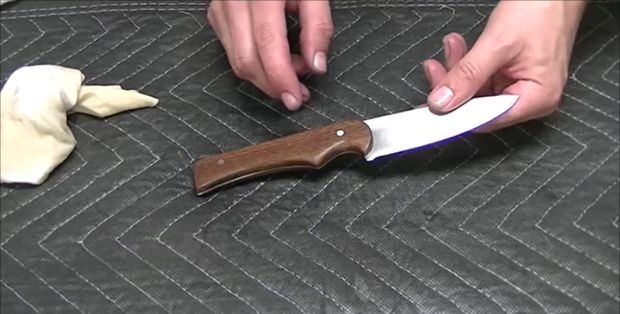
Finished knife
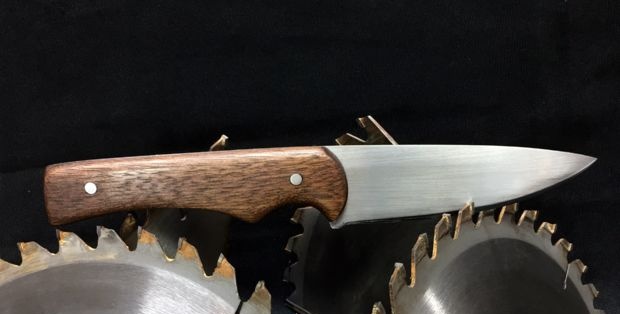
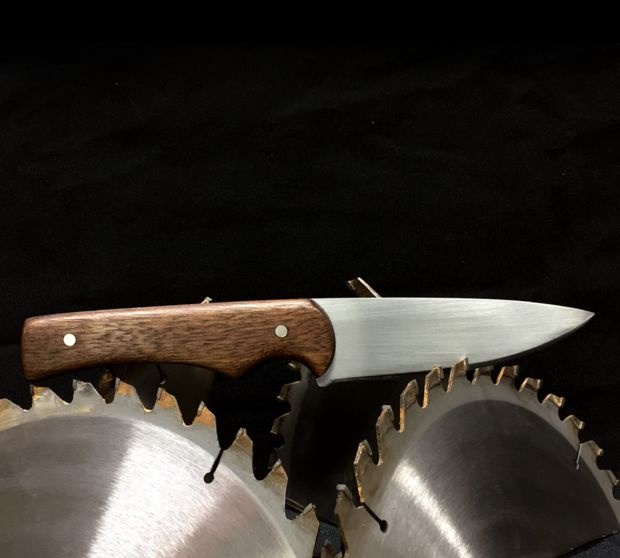
Finished work. Although the process was difficult, the reward was worthy. It was something of a rite of passage for me. The process of making a knife forces change. From the experience, these changes were my favorite part. I'm not just talking about the transformation of objects, but also about personal changes. I have learned new skills and experiences and learned to learn from my mistakes, which will definitely make me a better craftsman. I hope you find this article helpful, and thank you for reading to the end.
DIY circular saw knife
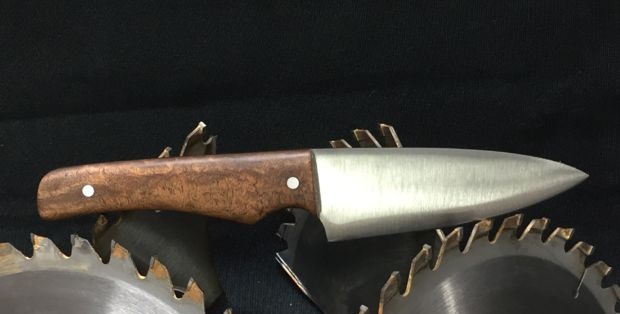
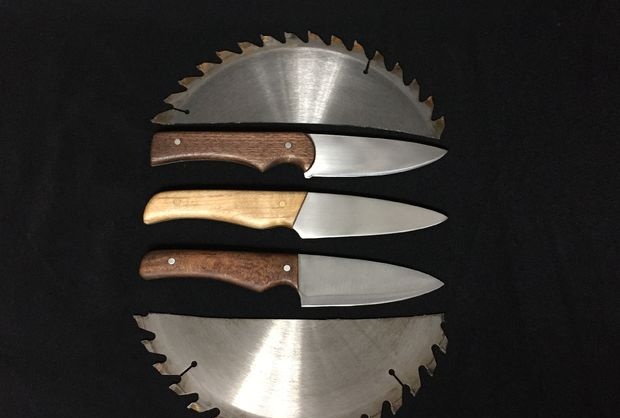
I made two more knives. I made them using power tools. And the time spent making two knives was one third of the time I spent making it by hand. The last photo shows all the knives together.
Watch a video of making a knife from a circular saw with your own hands
Original article in English