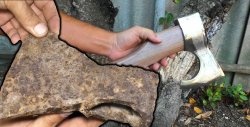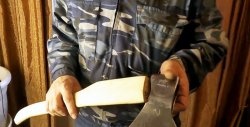
Hi all! This summer I went on a 5-week trek in the Alps with some friends. The time spent left a lot of positive impressions. But during this trip I discovered that I had forgotten one very important tool - an axe. After a long day in the mountains, it's nice to sit by the fire and drink beer. But in order to start a fire without an ax, we had to spend a lot of time looking for small branches that could be broken by hand.
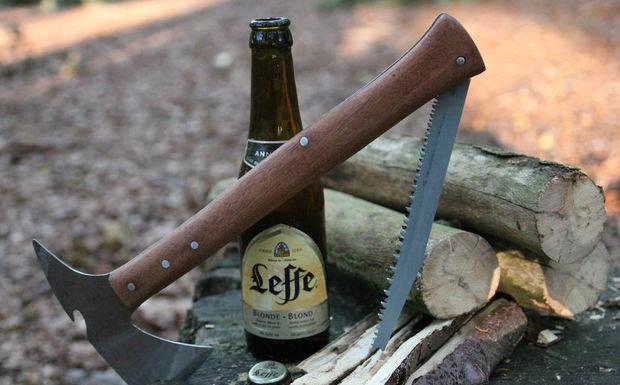
Therefore, as soon as I arrived home, I had the idea to make a tourist hatchet, in which, like a knife, a saw is hidden and there is a beer opener.
In this master class I will tell you how you can make such an ax yourself.
Ax design
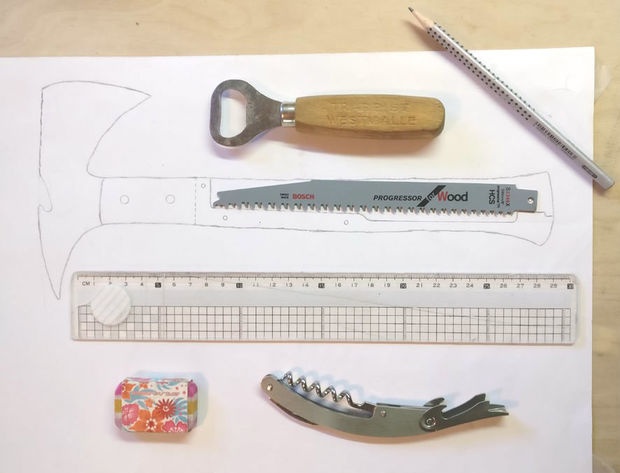
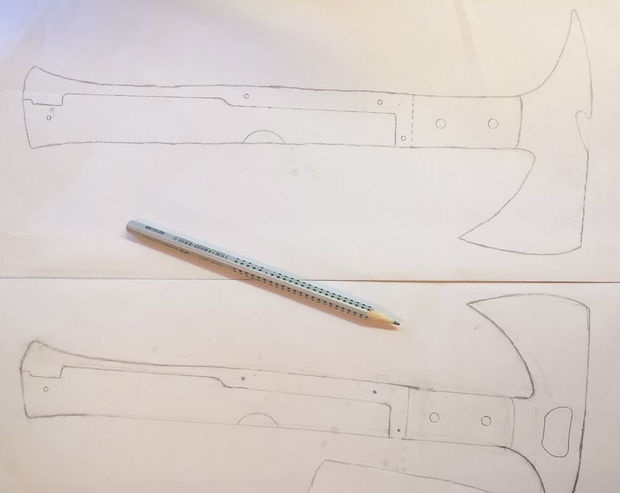
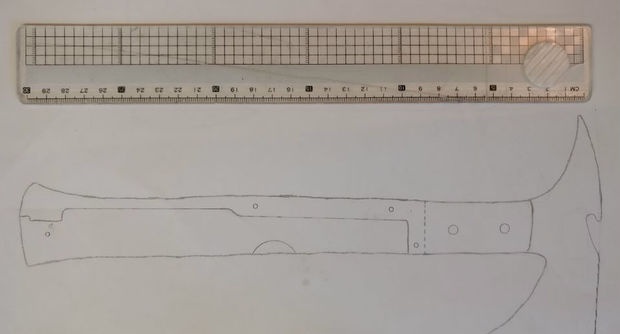
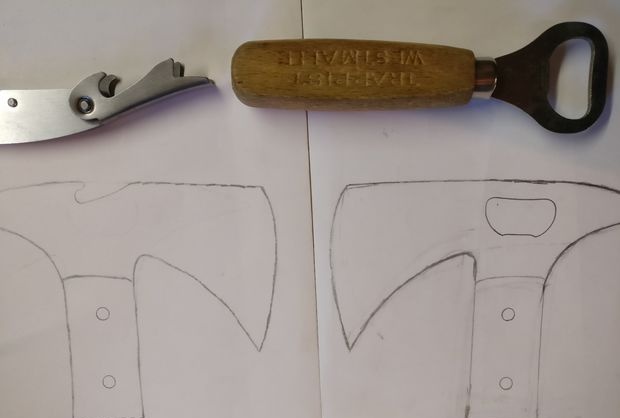
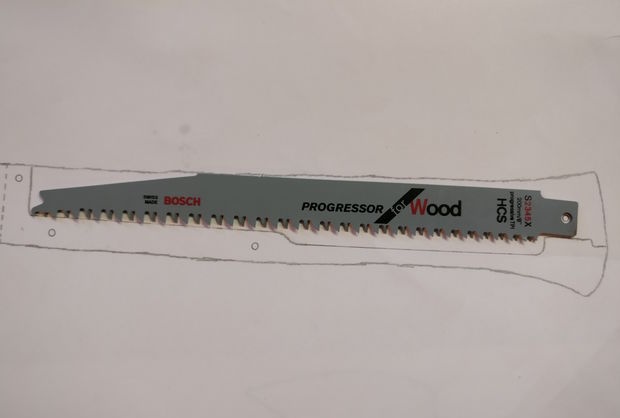
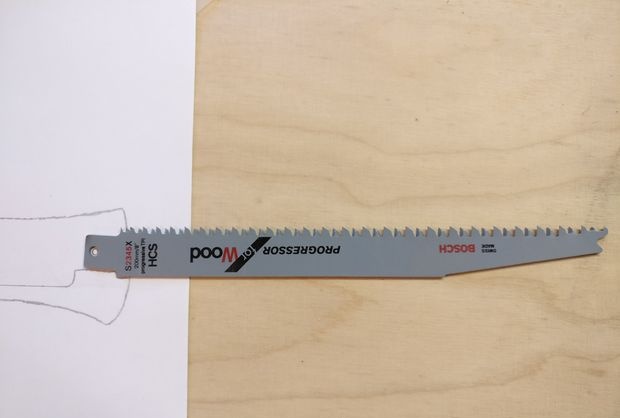
The design of this ax consists of three parts.
Ax blade
The shape of the blade was borrowed from the tomahawk, an ax used by Native Americans and European colonists. But you can change its shape by adding some spikes or a hammer on the butt. The ax blade will be glued to the handle and secured with rivets.
Opener
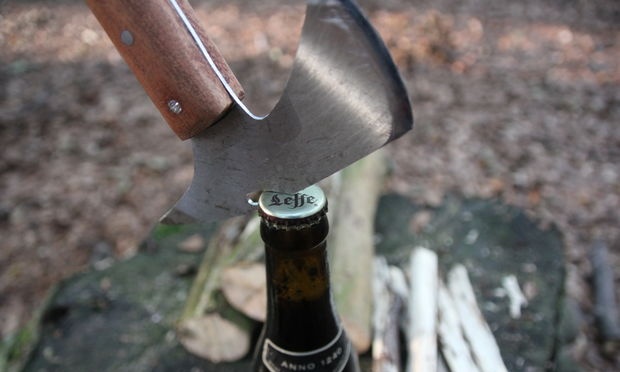
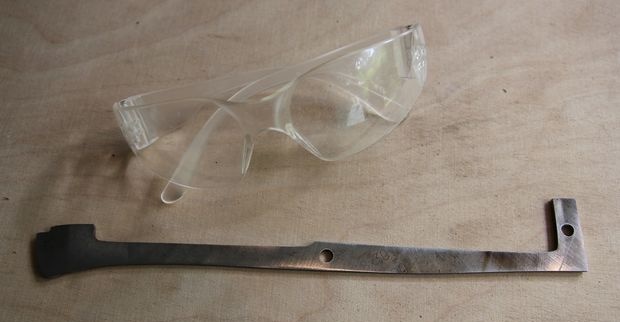
First, as an opener, I wanted to make a suitable hole in the blade.As a result of test drilling, it was discovered that it was impossible to make a hole with a conventional drill, so I changed the type of opener. Both options can be seen in the image. The new type will be made in the form of a specially shaped hook.
Saw
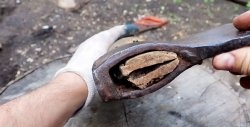
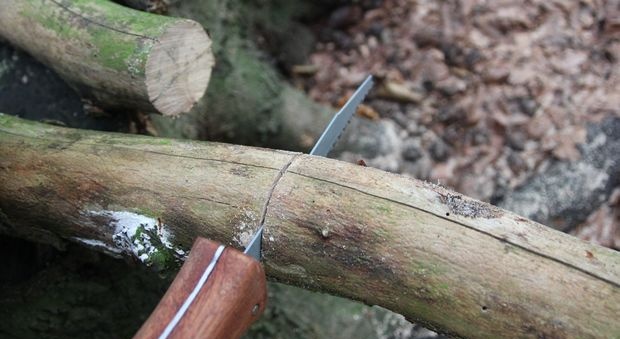
I wanted the ax to come with a saw and thought it would be nice if it could be hidden like a jackknife. From the handle and it can be unfolded using the finger groove. The saw will be hidden between two pads. The shape of the metal part of the handle will allow the saw to be locked in both open and folded positions.
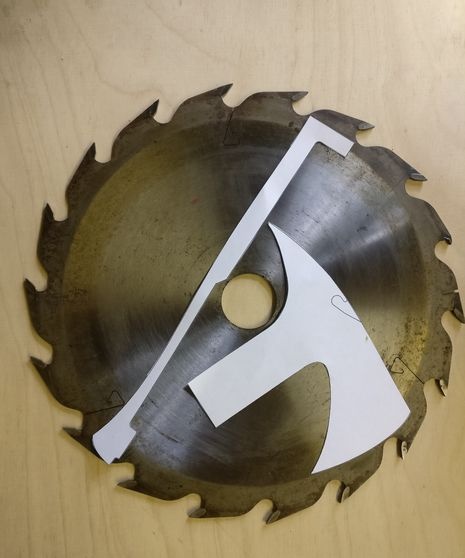
Once the design was chosen, I tried it on a circular saw blade to get the dimensions to fit.
Materials and tools
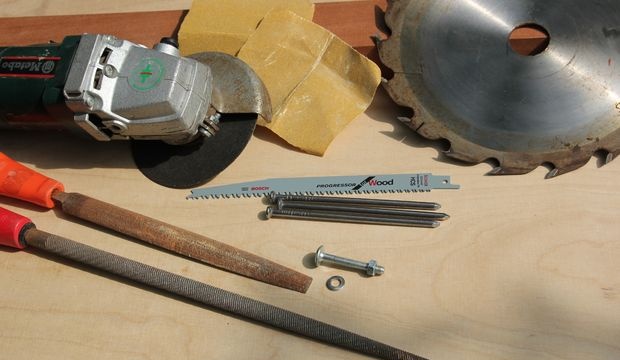
This ax is made from a used circular saw and hardwood that I had. I only had to purchase a folding saw blade. It was already hardened, so it did not need heat treatment.
Materials:
- Old circular saw blade.
- Hardwood timber (approximately 50 x 40 x 300 mm).
- Epoxy resin.
- Large nails for use as rivets.
- Folding saw blade (I used 200mm).
- Bolt, nut and washer.
Tools:
- Angle grinder (don't forget about safety equipment!).
- Rasp.
- File.
- Sandpaper.
- Drill.
Let's make sparks!
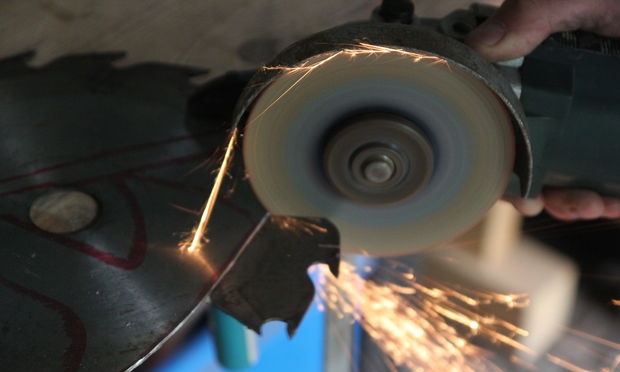
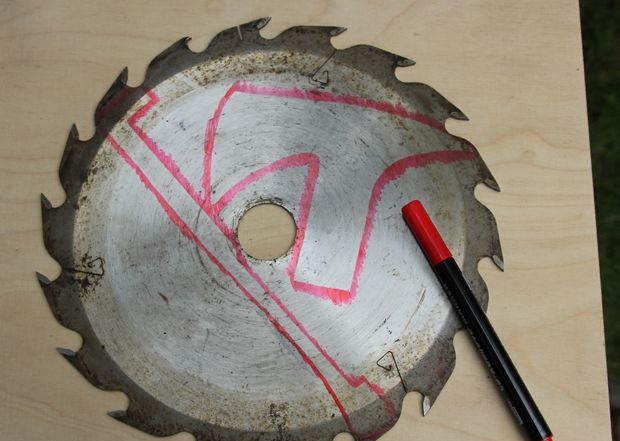
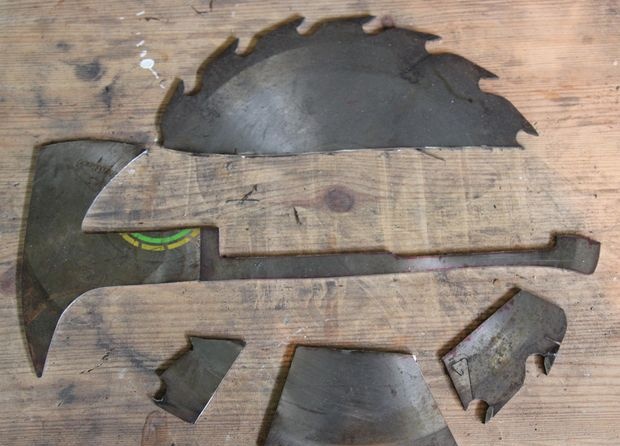
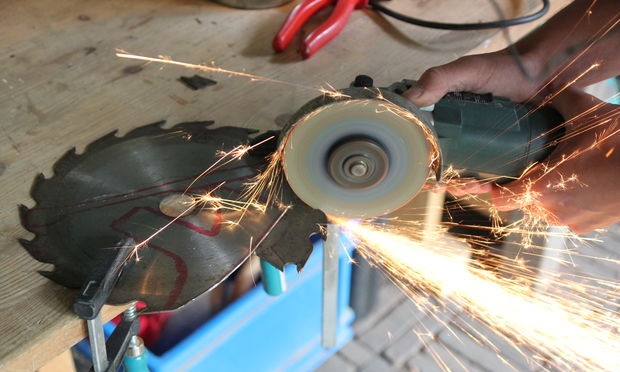
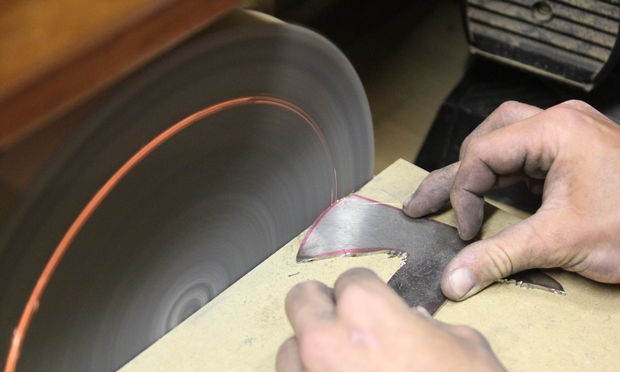
I transferred the outline of the ax and the metal part of the handle to a circular saw and cut them out using an angle grinder with a fine cutting wheel. I then used a sanding wheel, angle grinder and files to finish shaping the pieces. The final shape of the metal part of the handle can be given later.
Making the handle
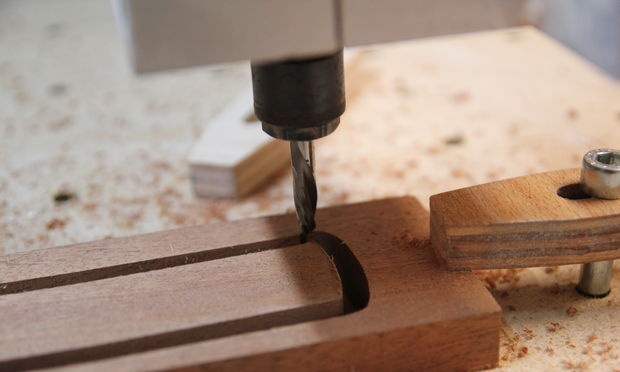
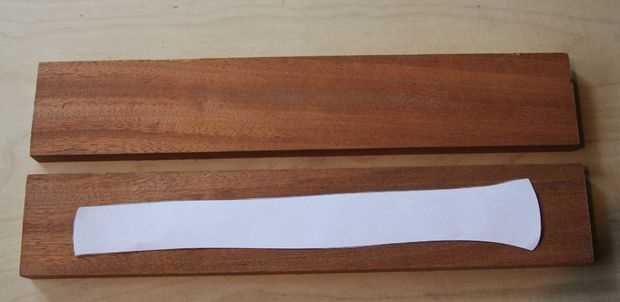
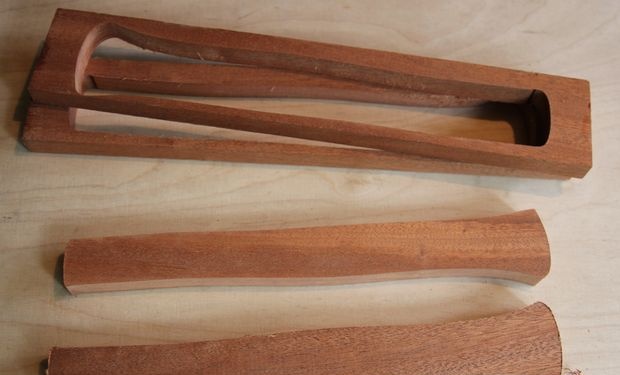
You can glue the template to a piece of wood and cut out two overlays. I used my CNC router.
Drilling hardened steel
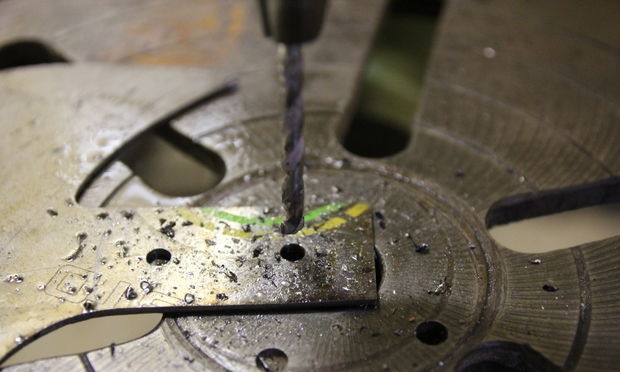
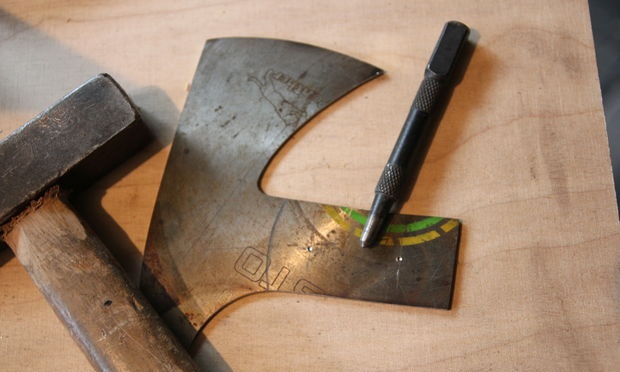
I didn't have a carbide metal drill, so I wasn't sure how the process would work with a hardened axe. I came across a video where it was said that you can use a sharpened concrete drill bit to drill hardened metal. That's what I did, and everything worked out pretty well.
Adding an opener
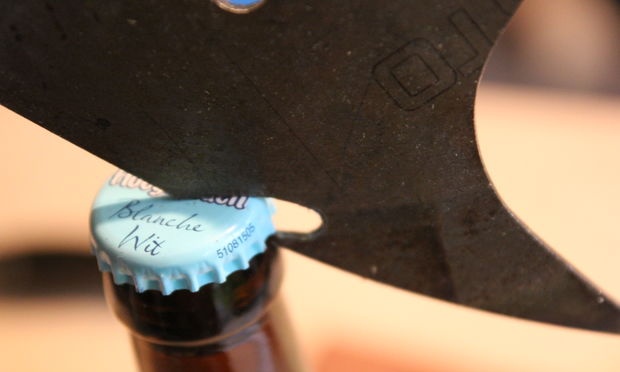
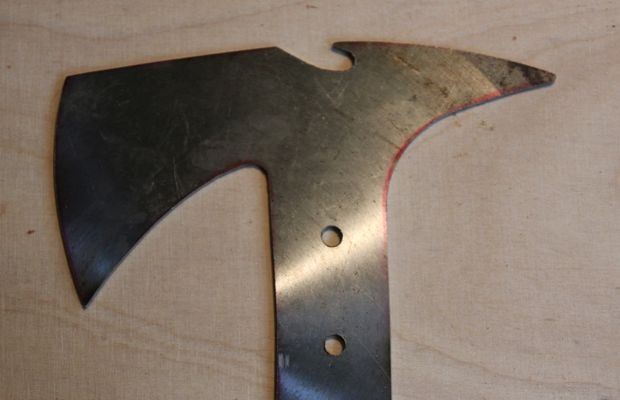
This is probably the most irreplaceable part of the ax! Whenever I go camping, my friends and I usually have a couple of beers around the campfire in the evening. Opening them with stones and tree branches is very inconvenient. So I thought this detail would come in handy. I transferred the outline of a regular bottle opener onto the ax blade and cut a recess into it. Works great :)
Drilling the handle
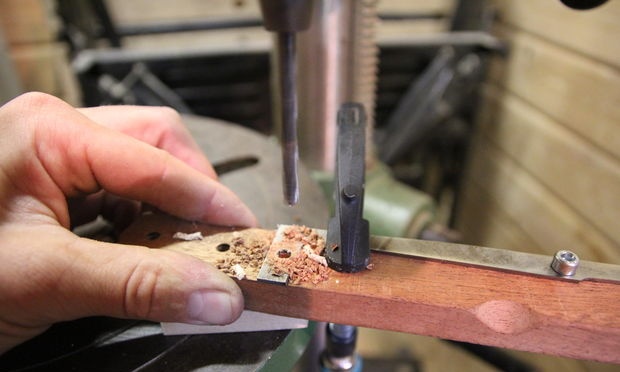
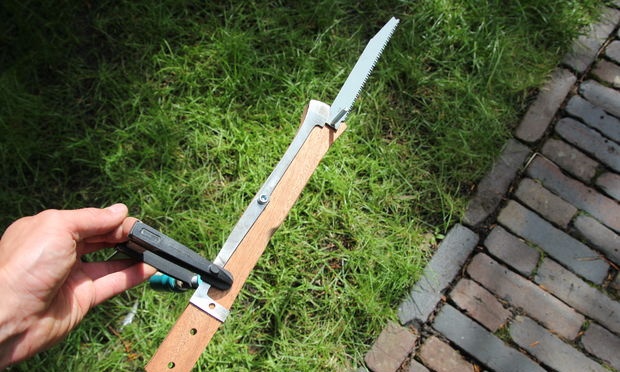
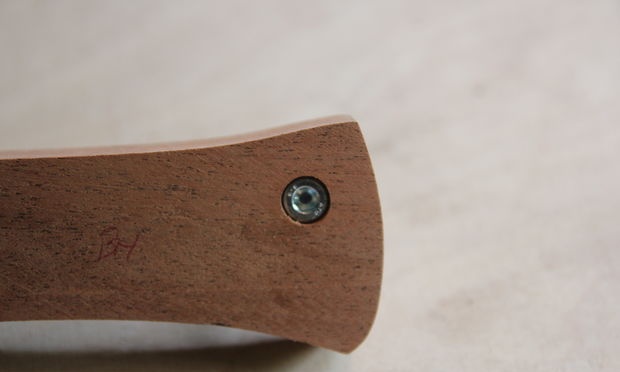
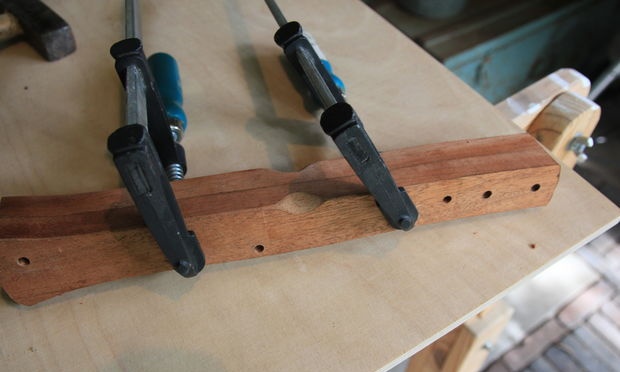
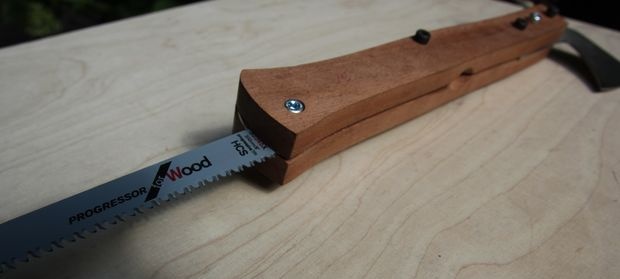
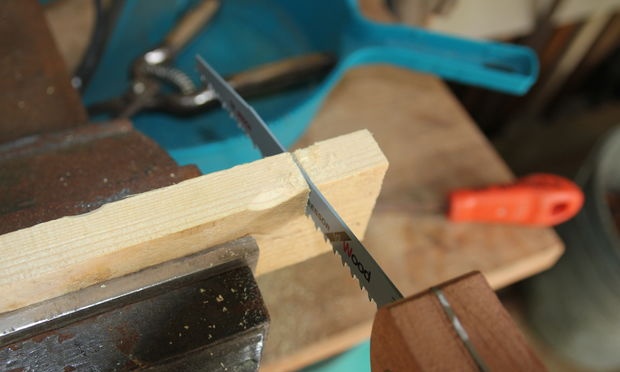
Next, I drilled holes in the handle and checked that everything fit. The metal part of the handle should act as a spring that will fix the saw blade. If it is too elastic, it can be made thinner. First I used the metal part of the handle as a template to make the holes. Then I fastened the two pads together with clamps and then drilled a through hole. This way all the corresponding holes were in one line.
To connect the parts of the ax without gluing, I used bolts. This way you can check whether all the parts of the ax fit and whether the saw folds correctly.
Blade sharpening
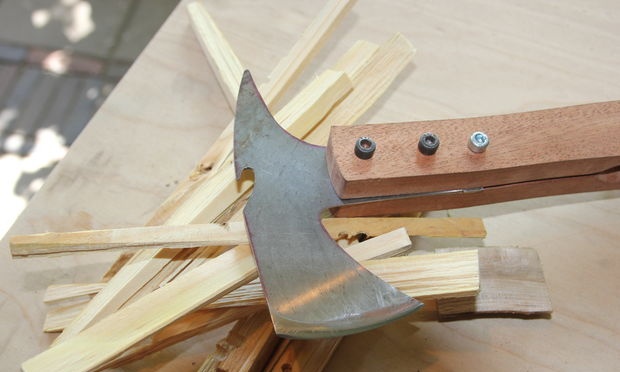
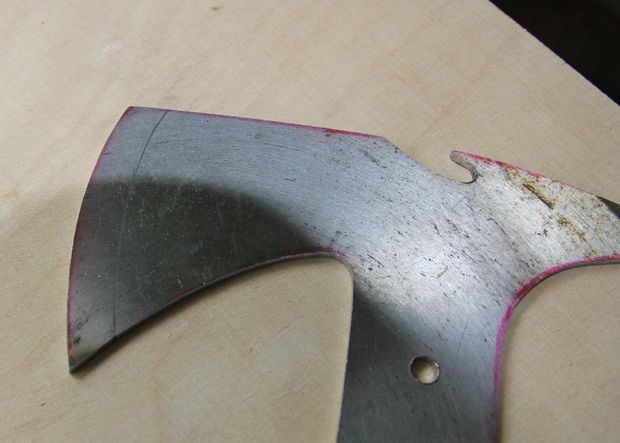
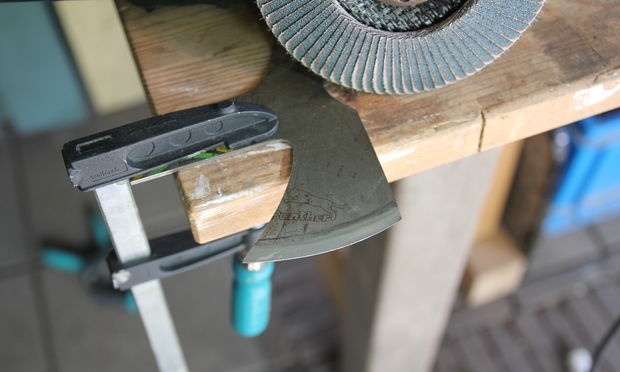
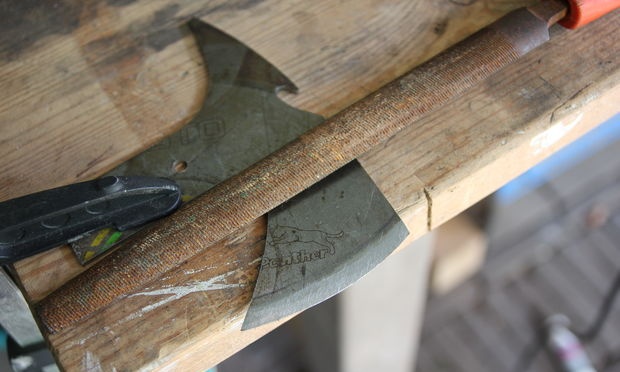
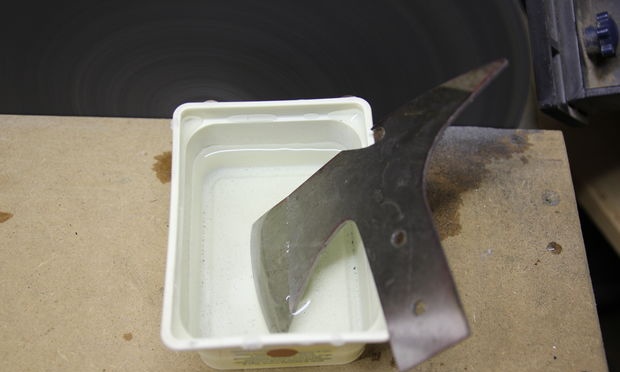
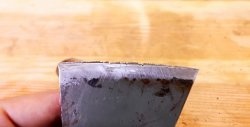
Once the edge of the blade was outlined, I used an angle grinder with a sanding disc for a rough finish.Then, for finer work, a file and grinder were used (use water to cool the blade). The final sharpening was done using the grinding wheel of a sharpening machine.
I'm not an expert at sharpening an ax blade, so you can do this another way.
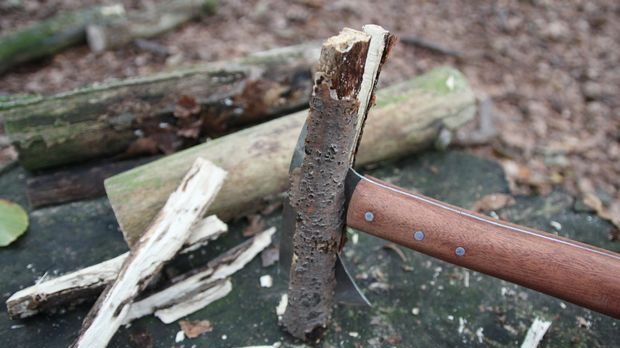
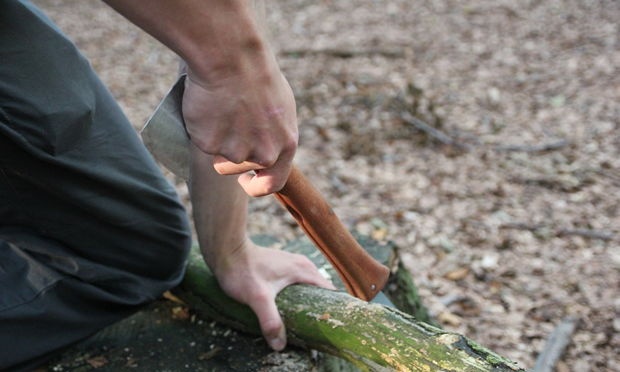
The ax will primarily be used to split wood into smaller pieces, so I did a little testing of its functionality.
Gluing and riveting
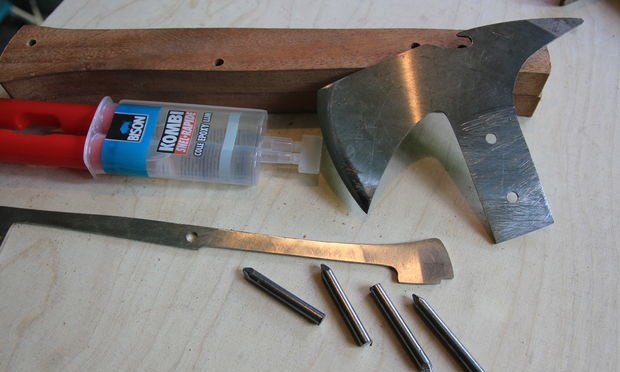
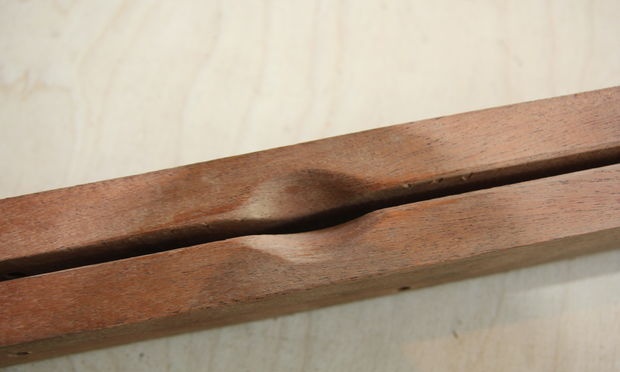
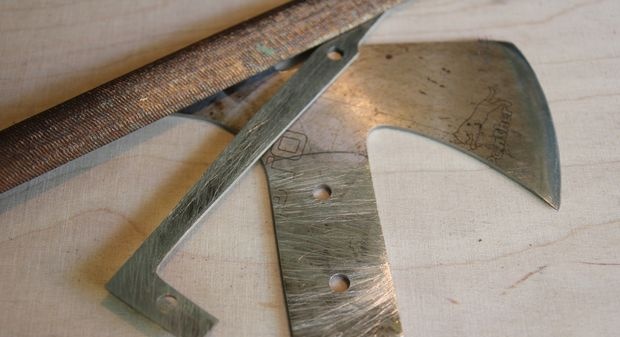
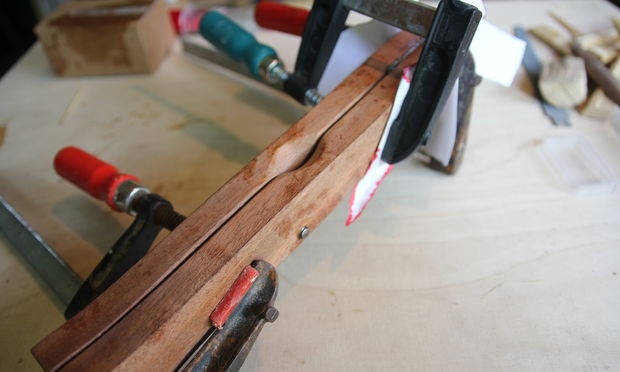
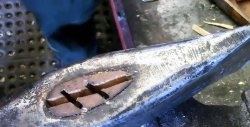
The trims are attached using two-part epoxy resin and 5mm steel rivets (I used large nails). Before gluing everything together, be sure to make finger grooves for easy folding of the saw. For better adhesion of the glue and the metal surface, it can be made more rough with a file. We apply glue only to the ax and the upper part of the metal part of the handle. In the handle, the plate should act as a spring.
Shaping the handle
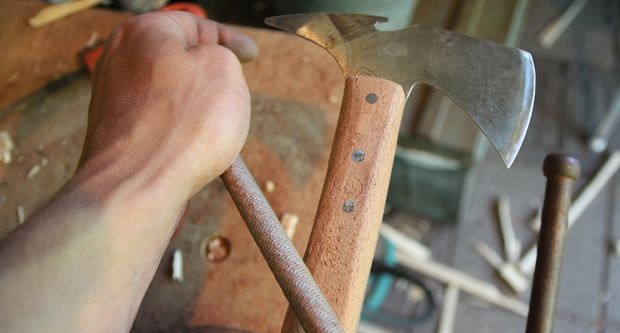
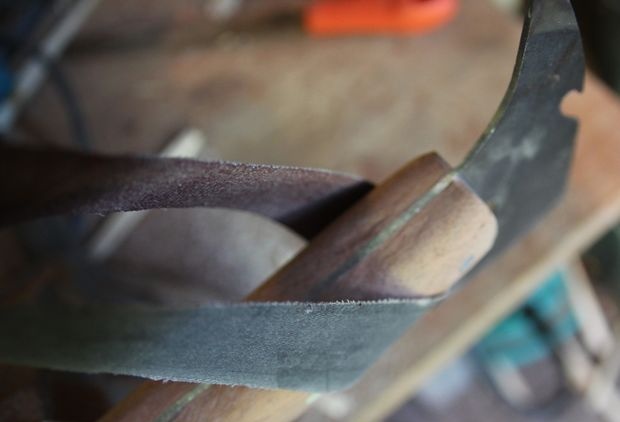
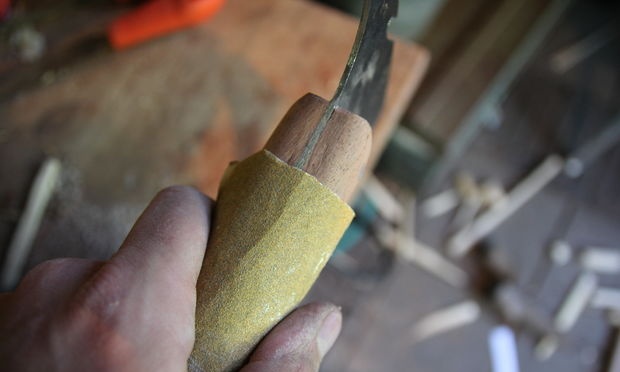
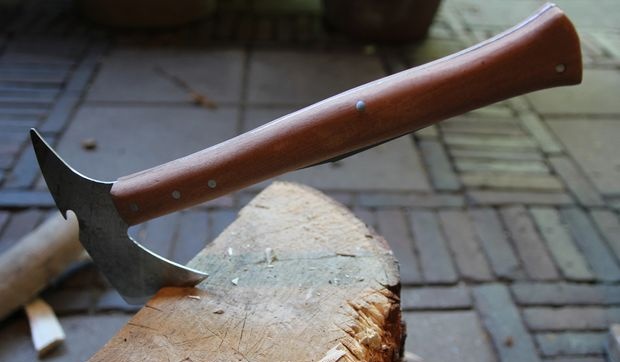
Now that the pads are glued, it's time to give the handle a comfortable shape. I used a rasp, files and sandpaper. A strip of sandpaper makes it easy to sand the edges.
Polishing and Wrapping Up
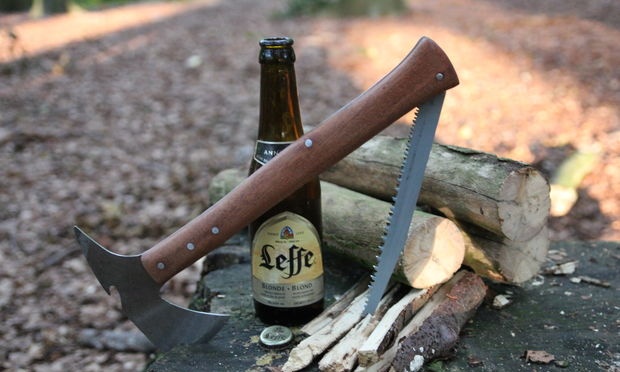
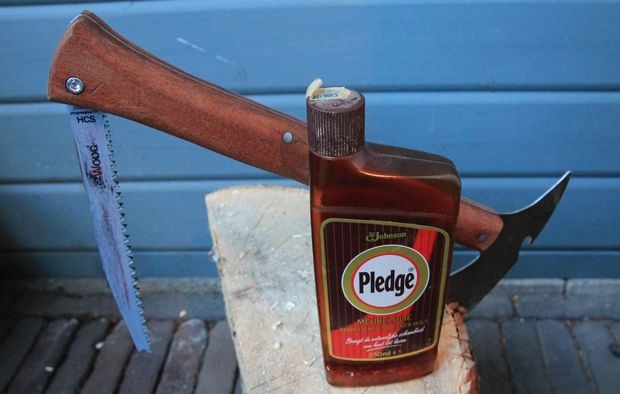
I finished the fabrication by applying polishing oil and installing the saw blade. The ax weighs 300g in total, making it easy to carry. In the future I would like to make a leather case for it.
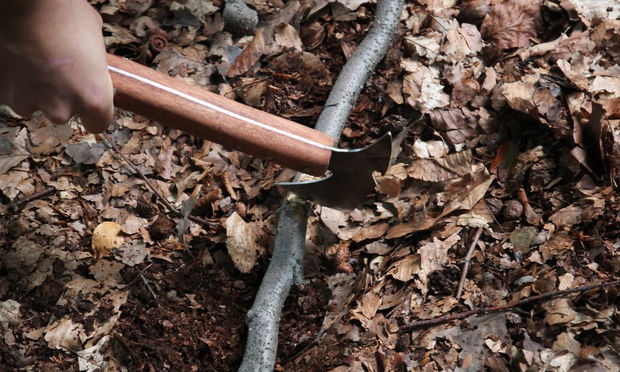
I haven’t had a chance to take it on a hike yet, but I tested it on my next trip. You can use a saw to cut branches, and use an ax to prepare them for making a fire. The opener works, so the project can be considered a success :).
I hope you enjoyed reading this tutorial.
Original article in English
