Materials for candle making are quite accessible, and the tools and containers for this fascinating hobby are always at hand, so beginning craftswomen should not have any difficulties.
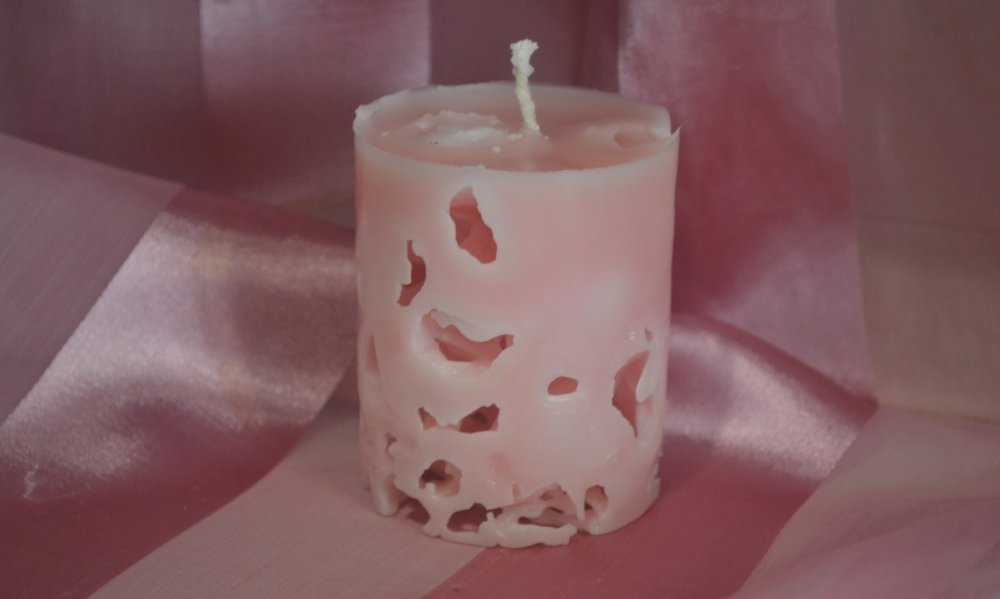
So, today’s master class will be devoted to creating an air candle “Pink Mirage”. Despite the apparent complexity of making a candle, the process of creating it takes no more than 30 minutes, taking into account the preparation of the material.
Materials and tools that will be required for work:
- candle or ready-made paraffin mass;
- dye (wax crayon) of one color;
- container in which we will melt the wax;
- water bath pan;
- wick;
- mold for pouring candles;
- ice cubes;
- wick holder;
- vegetable oil.
Let's start creating a candle
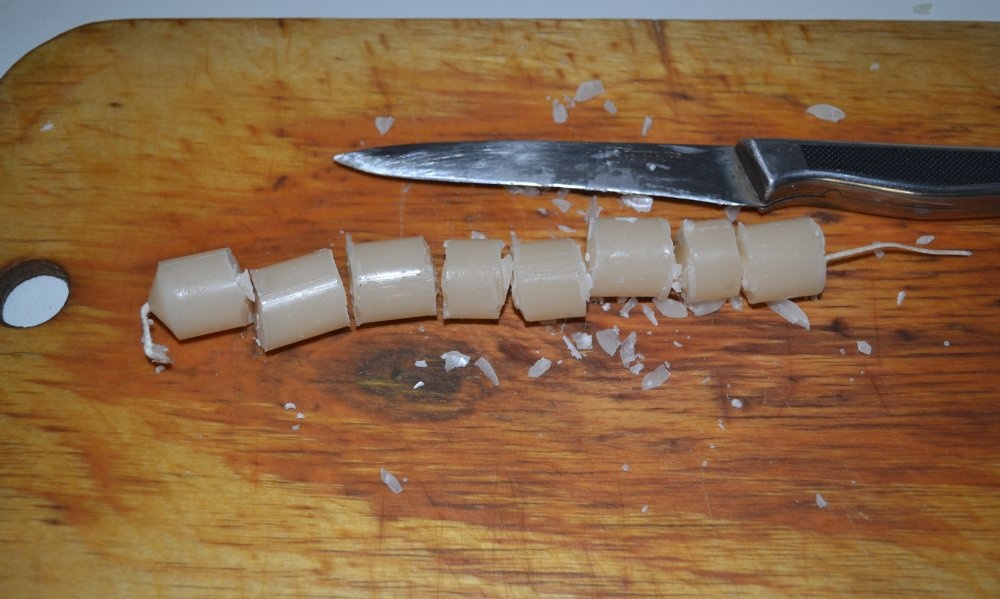
The very first stage, from which we actually begin to create, is to cut the finished candle into small, neat pieces.Carefully cut the candle, avoid damaging the wick, it will later be used in the finished product.
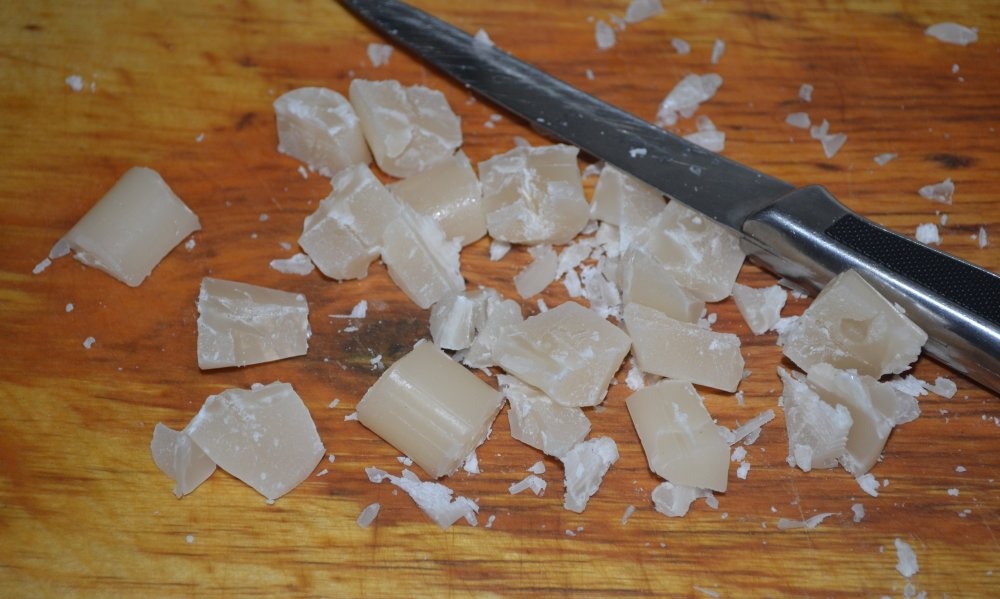
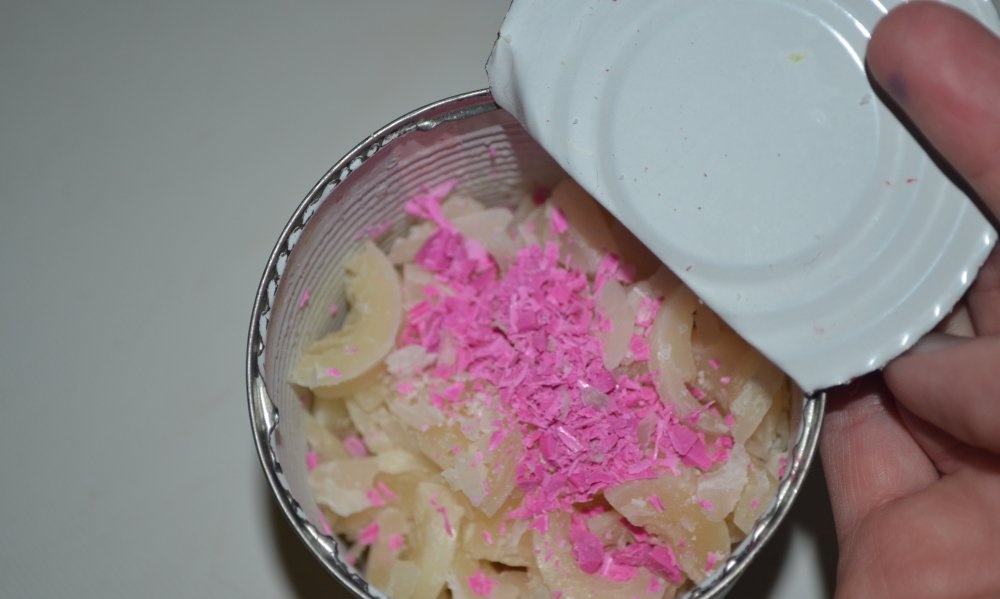
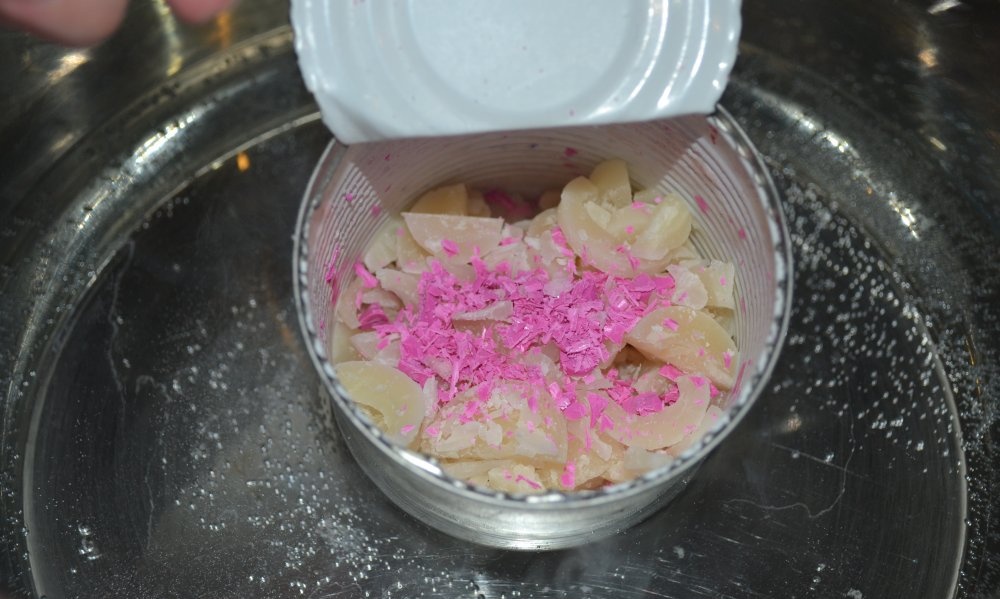
We carefully chop the candle pieces: cut them with a sharp knife or chop them on a coarse grater and put them in a container for melting. Fill the pan 1/4 full with water and put it on the fire.
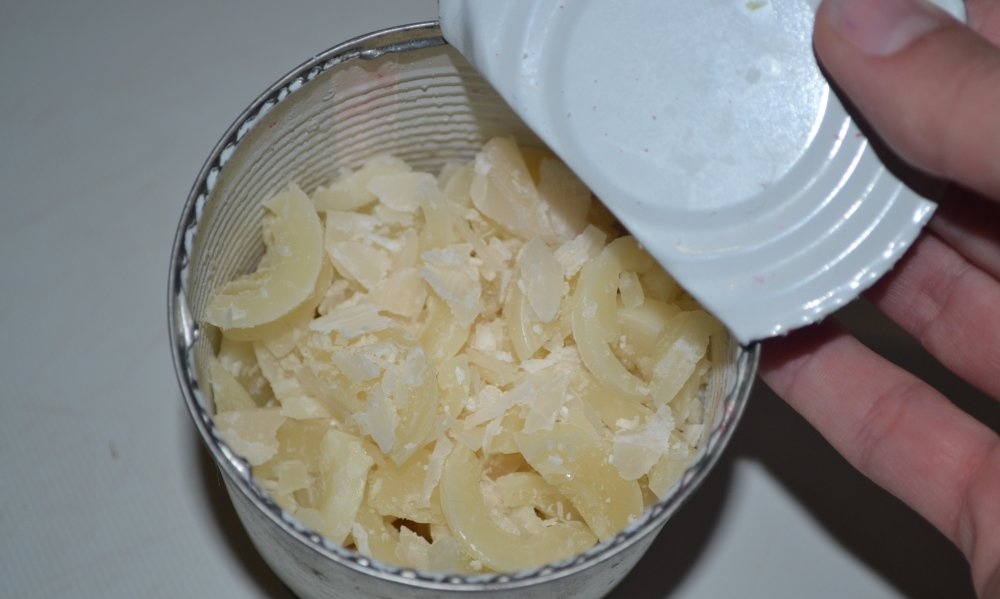
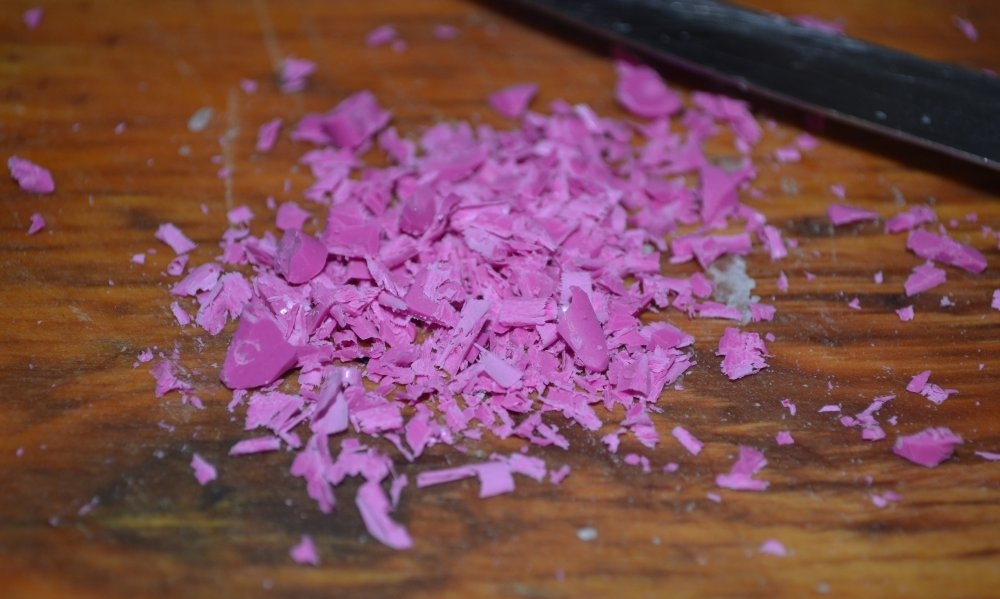
While the wax is heating up, let's work on the dye. We take a wax crayon and chop it very finely with a knife. Add the crushed wax crayon to the paraffin shavings and place the melting container in a pan of boiling water.
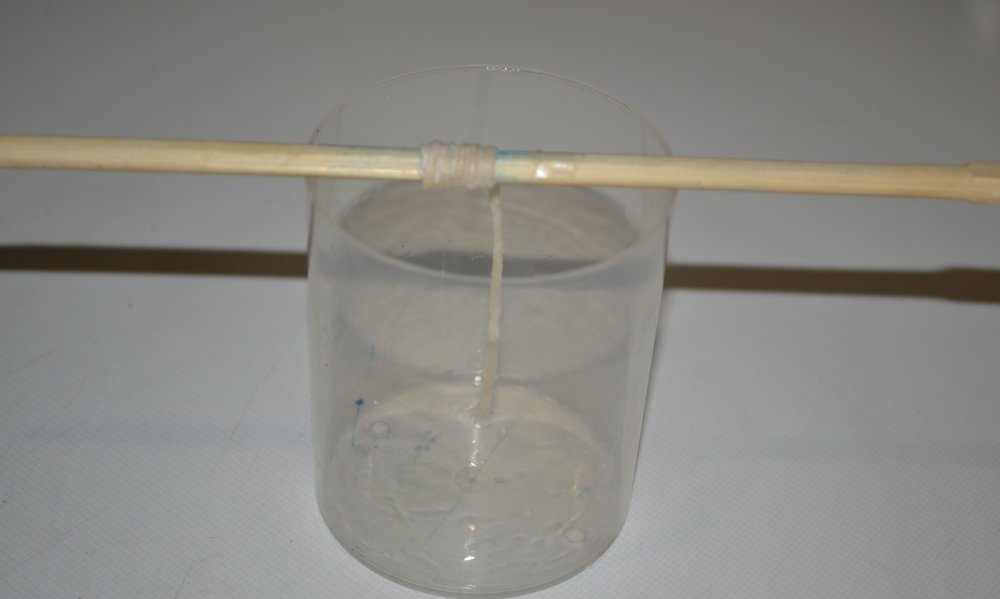
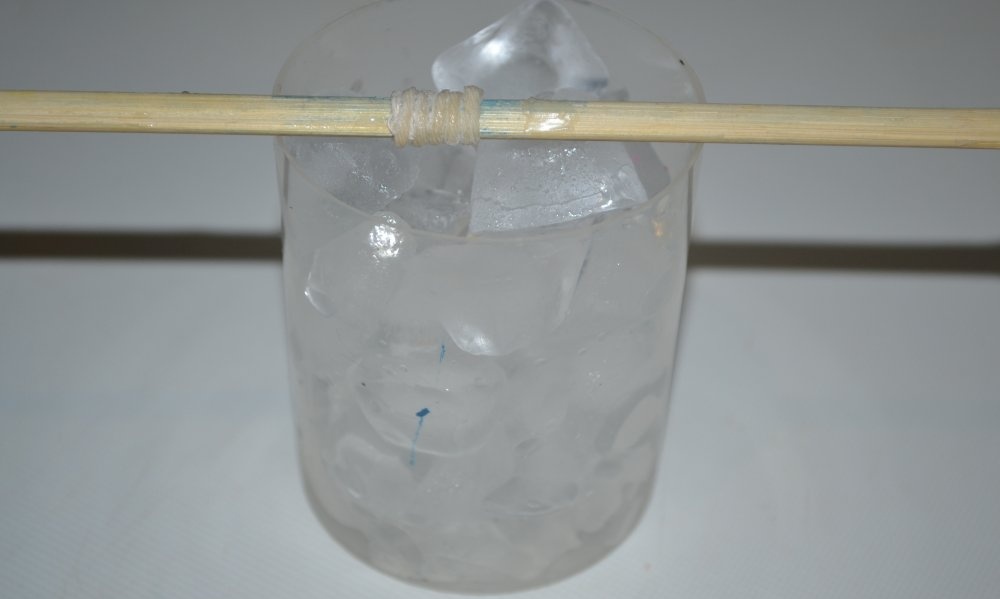
Let the wax and dye melt and proceed to forming the base of the “Pink Mirage” candle itself. We take the mold into which the candle will be poured and thoroughly lubricate it with vegetable oil, and then fix the wick in it. We lower it to the required length into the mold, wind the excess cord onto a holder (this can be a pencil or a skewer) and secure it, for example, with a clothespin.
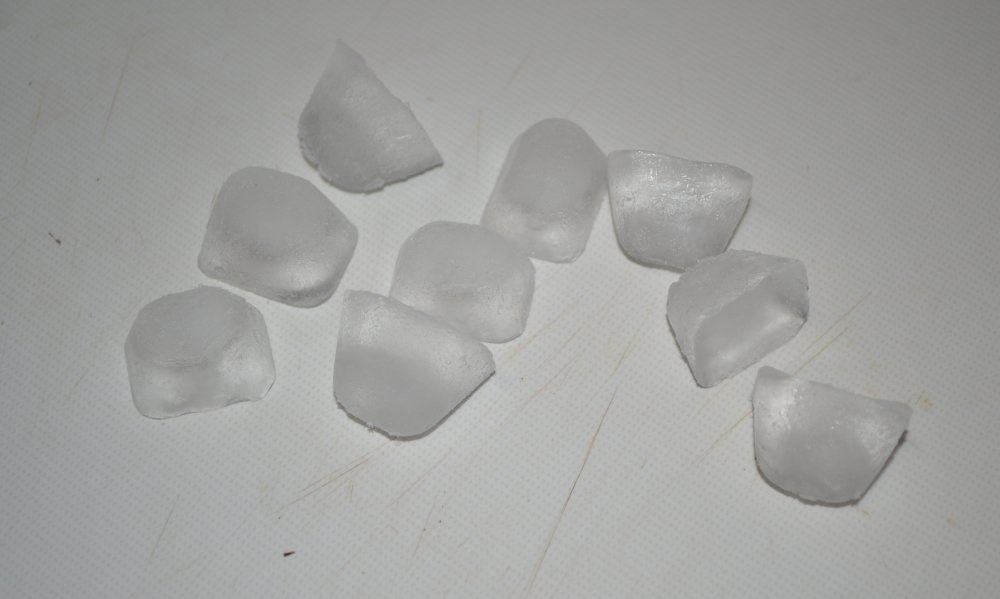
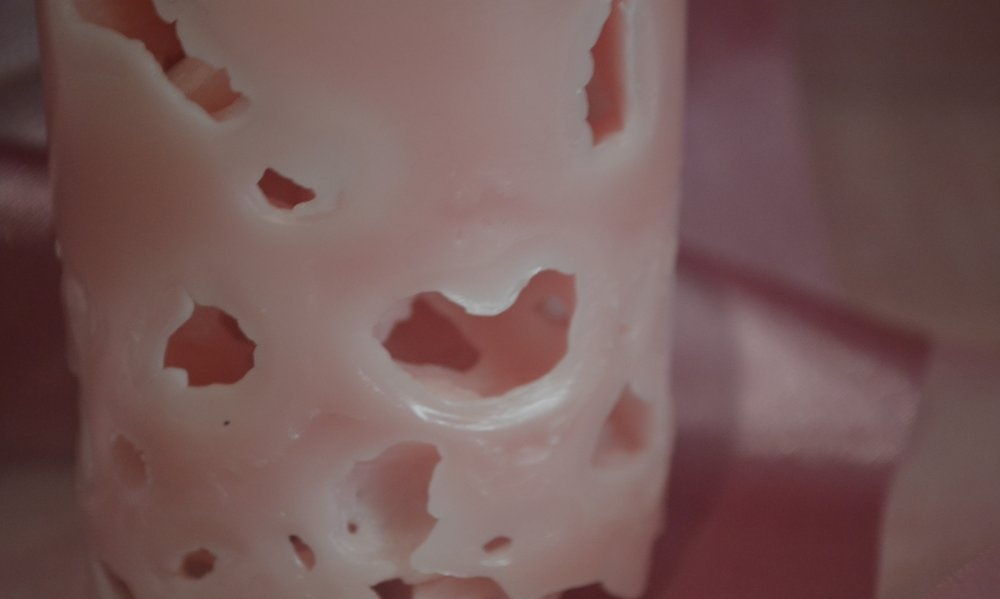
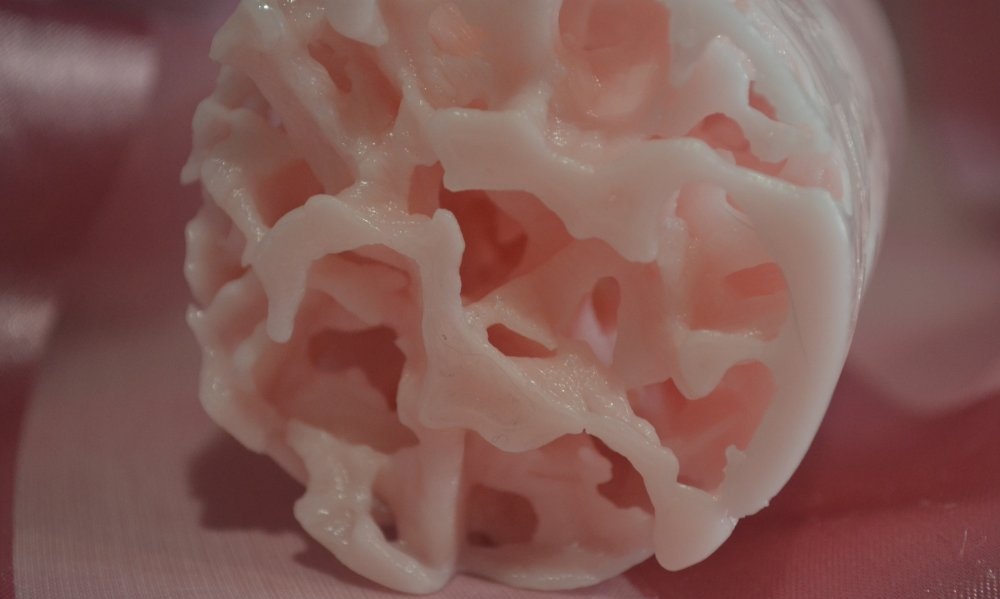
Now fill the mold with ice cubes. If you want to get small and often repeating cavities on the surface of the candle, then you need to fill the mold with chopped ice. To do this, simply chop the ice cubes with a sharp knife. If the cavities on the surface of the candle should be large, fill the container with whole cubes.
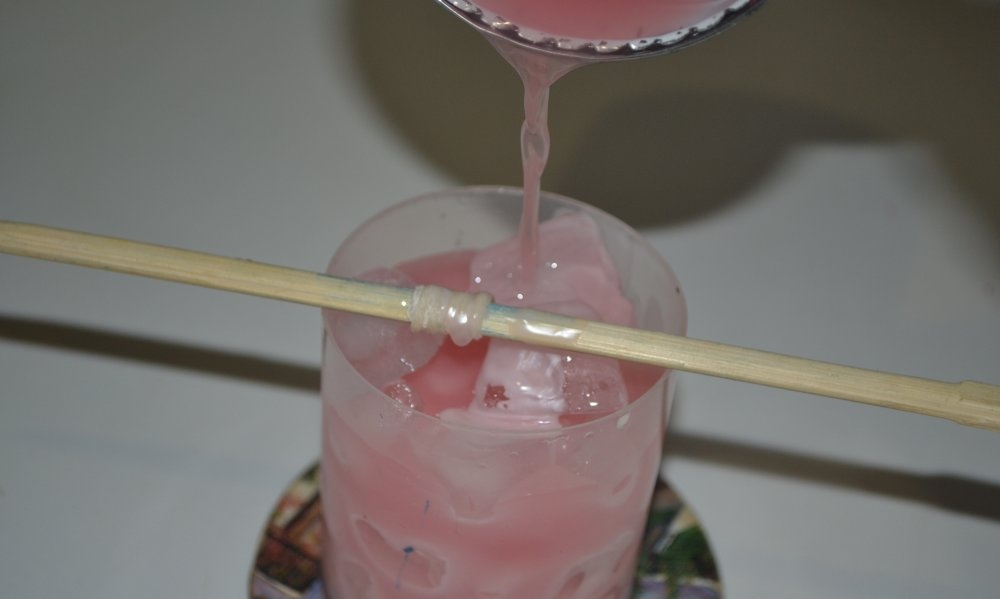
All that remains is to fill our ice base with hot colored wax. Very carefully, slowly pour the wax into the mold, making sure that there are no air cavities left in it.
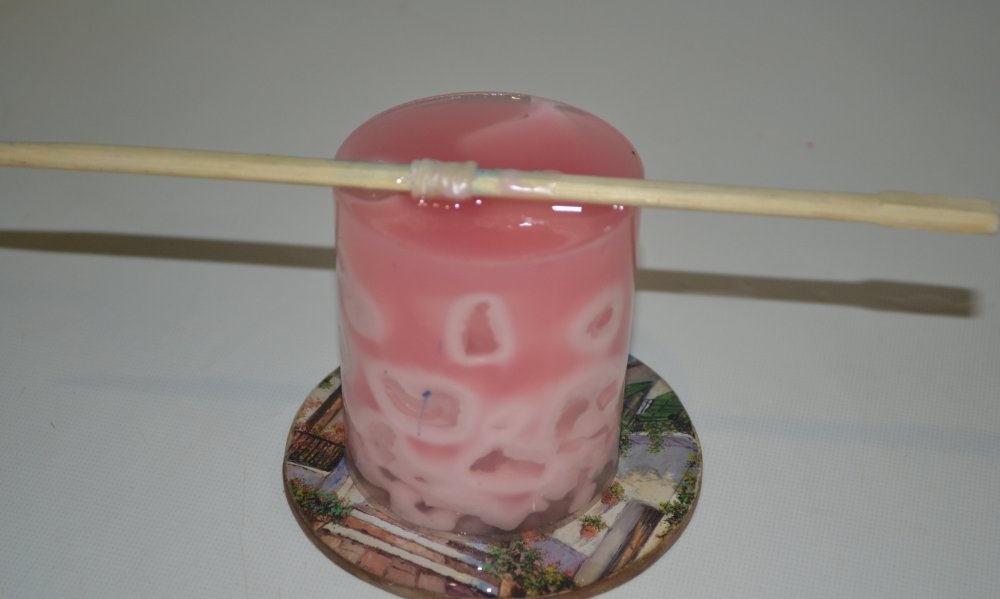
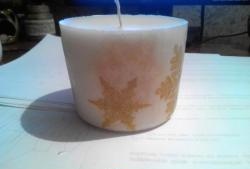
That's it, the candle is ready, leave it for 45-60 minutes to cool, and then drain the water that is in the mold. Carefully, without removing the candle from the container, pour water over the edge and leave the candle for 4-6 hours to completely harden.
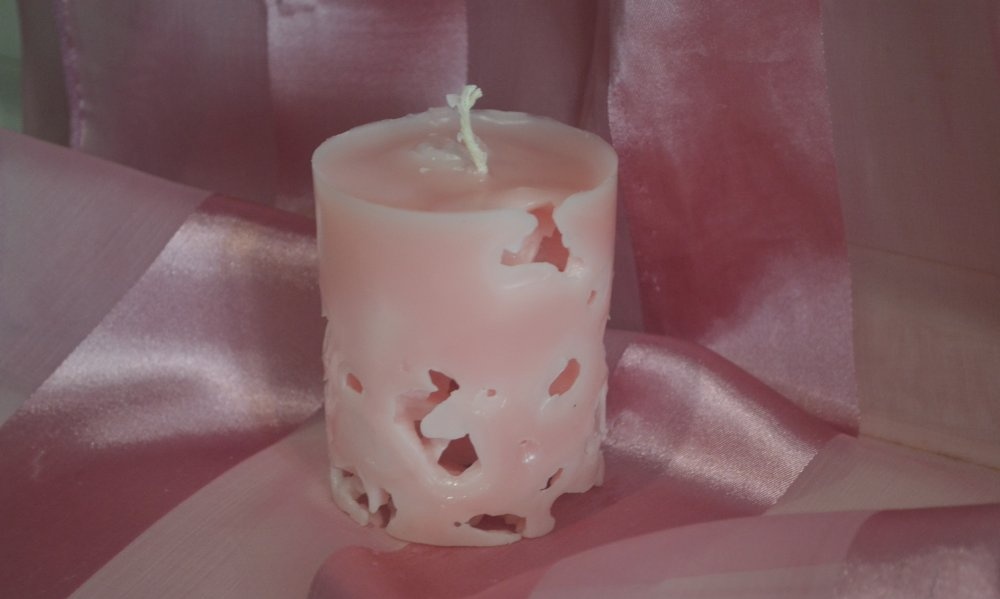
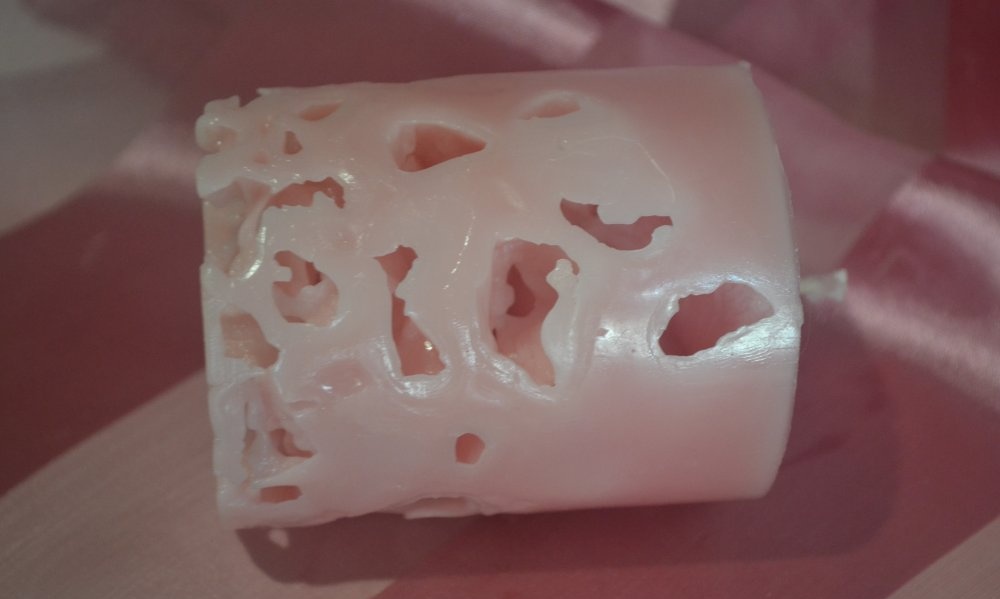
Then we release the wick, remove the holder and trim off the excess cord.Carefully remove the finished candle from the mold. That’s it, our “Pink Mirage” candle is ready!
Experiment, look for something new! Happy creativity!