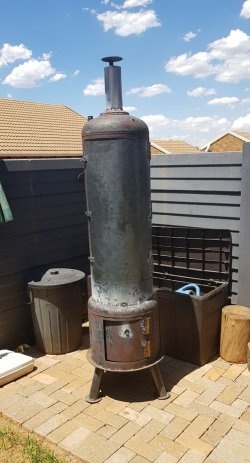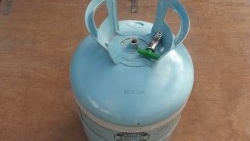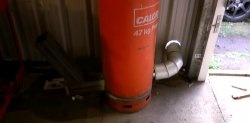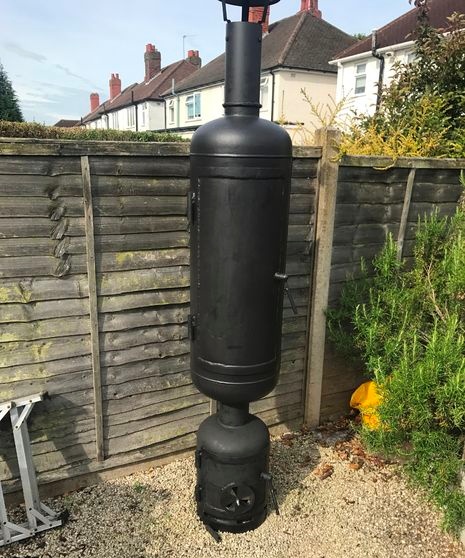
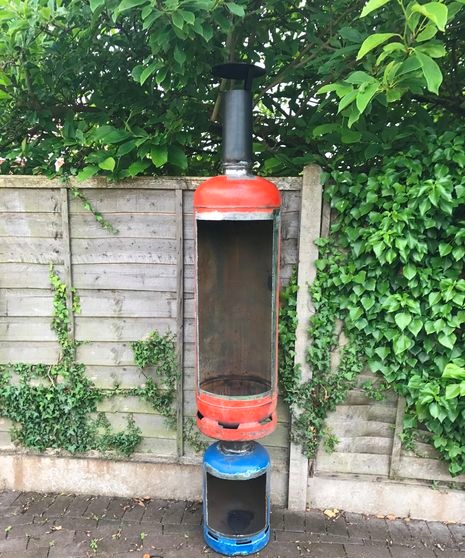
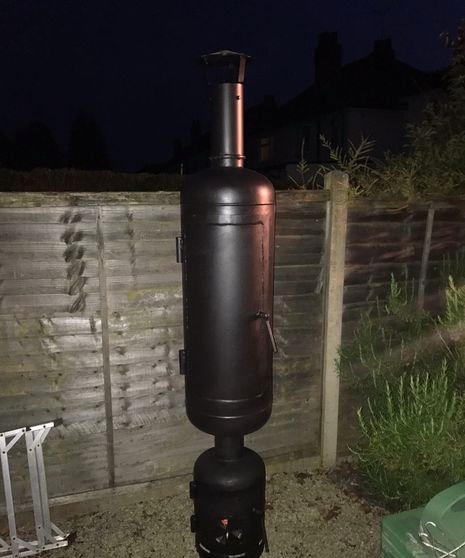
For several years now I have wanted to get a spacious smokehouse. I couldn't afford it due to the high price, so I finally decided that the most affordable way would be to make it myself. As the main material I chose a couple of old gas cylinders.
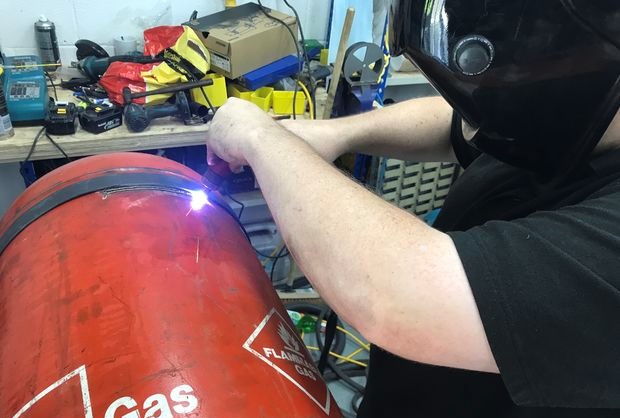
Neither I nor my friends who helped me are professional welders, but with a little time we created something absolutely beautiful.
Edit: Later I was told that in some countries it is illegal to use gas cylinders for this purpose, since they belong to gas companies. In such a situation, as an option, you can use the air receiver of an old compressor or other suitable reservoir.
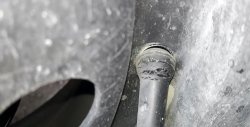
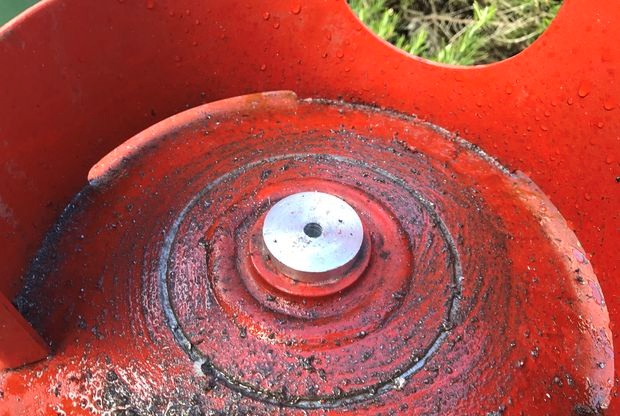
Removing the smokehouse valve
Hands down, the hardest part of building a smoker is unscrewing the valve. Before starting work, I made sure that there was no gas left in the cylinder and after that, turning off the valve, I left the cylinder outside for a couple of days. You may be lucky and solve this problem with a pipe wrench. I didn't succeed, so I had to unscrew the valve nut.Some things come out easier, and some things are more difficult. In this case, I had the opportunity to make a large ring wrench with a handle of almost two meters. When unscrewing, the cylinder was secured on the workbench with tightening straps.
Checking for the absence of gas in the cylinder
After removing the valve, fill the cylinder with water to displace any remaining gas. To finally make sure there was no gas in the form of bubbles, I filled and emptied it 3 times. Since the cylinder filled with water is very heavy, I drained the water using a hose.
Cutting a hole for the chimney
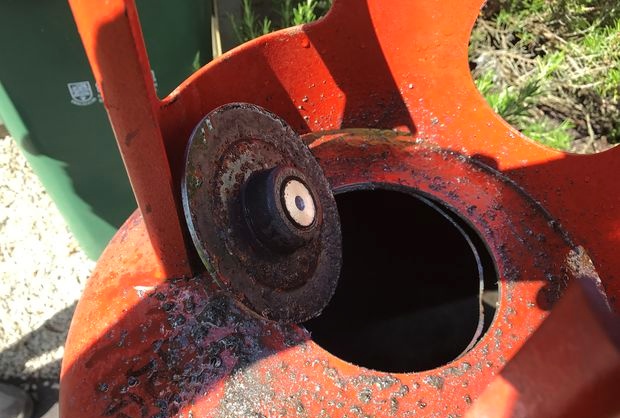
The next step is to cut a hole to connect the chimney to the two cylinders. I worked with a hole saw. To ensure that the hole was centered relative to the valve axis, I inserted a bushing, which helped make a preliminary hole. The whole cutting process was quite difficult, since a hole saw of this size regularly jumped out. If I had to do this again, I would use a plasma cutter, or if I don't have one, a jigsaw.
Cutting an opening for the door
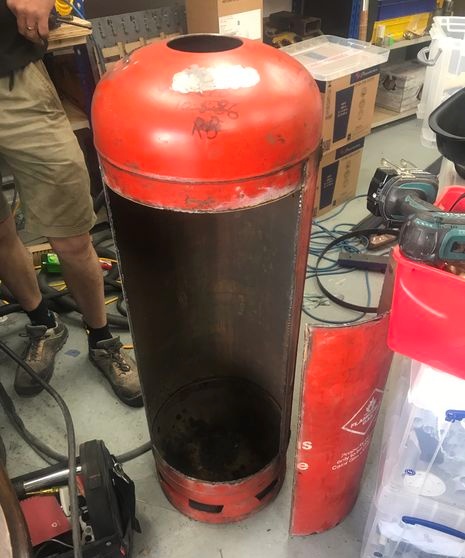
Since I have a plasma cutter available, I used that. For even cutting along the cylinder I used an iron angle, for a cross cut I used a metal strip pressed with a tightening belt. If you don’t have a plasma cutter at hand, you can use a grinder or jigsaw with an appropriate blade.
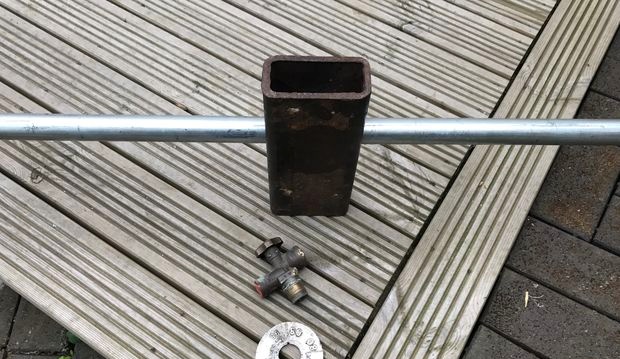
Making a chimney draft regulator
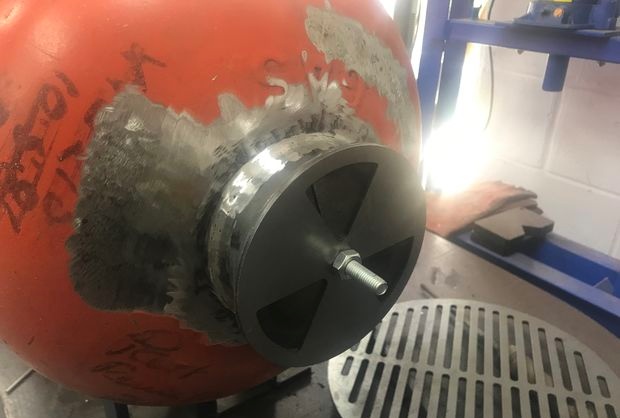
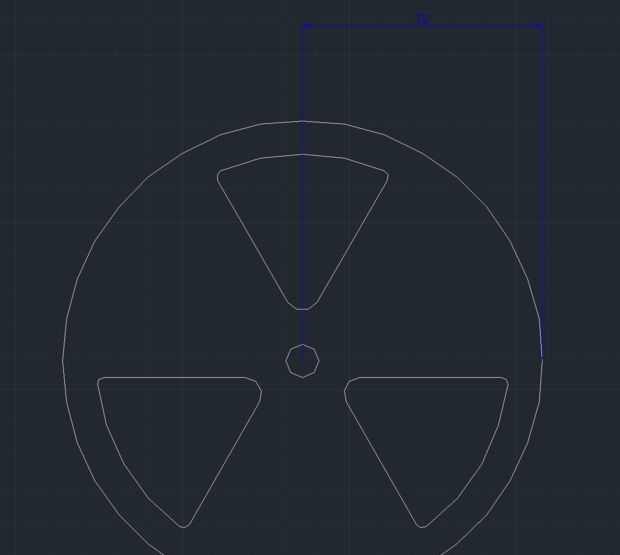
We need to control the force of air/smoke flow through the chimney. We came up with the idea of making a couple of plates with triangular cutouts in them. One plate is welded to the chimney and the other is attached to a short pipe that leads to the top of the main smoke chamber.The plates rotate around an axis, so the slots in them may or may not coincide. We covered the pipe with a canopy. This detail is more for visual appeal, unless, of course, you are going to smoke something in the rain.
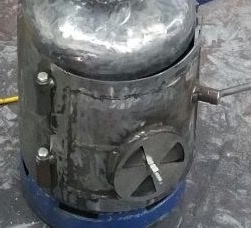
Since I also needed a plasma cutter for other work, I decided to do everything together. That's why the grill grate is still visible in some pictures. It could, of course, be made from rebar.
We placed a similar regulator on the oven door to control air draft.
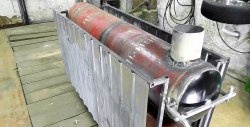
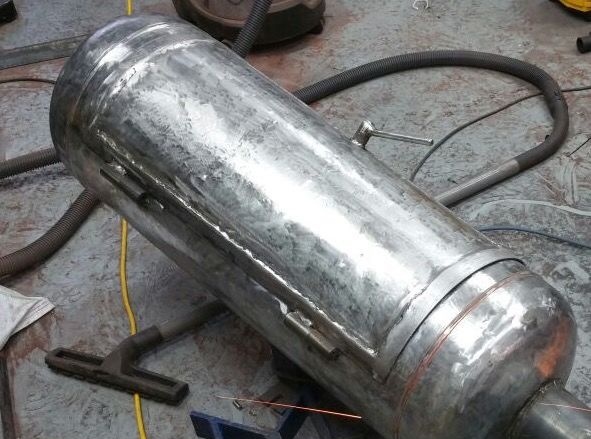
Connection of the smoke compartment to the furnace
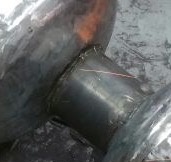
Between the stove and the main smoke compartment I added a 125 mm long pipe. This pipe and the raised baffle help prevent flames from entering the smoke compartment. But I installed it so that there was enough space for my welding gun.
Door installation
We welded 35mm steel strip around the edge of each door so that when closed they sealed the openings fairly tightly. We planned to add seals to better seal the smoke chamber, but this was not necessary. But since I already bought them, I may install them in the future.
The hinges were made from steel reinforcement that was drilled to accept the bolt pin. They were welded to the steel frame and base of the smokehouse. The door handles were made from improvised materials in the form of a simple lever.
Maybe in the future I'll wrap them in insulating material if they get too hot. Maybe I'll use a steel spring.
Removing old paint
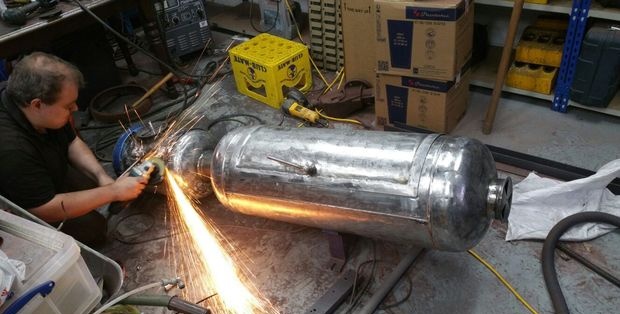
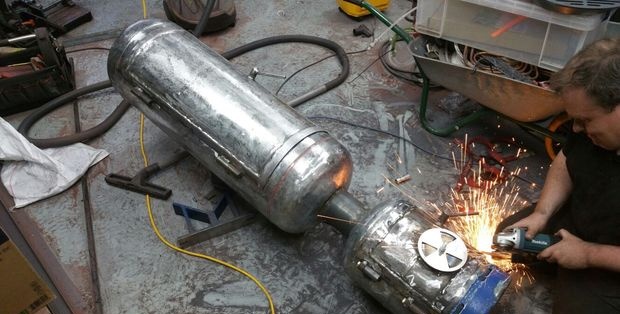
Since I planned to leave the smoker outside all year round, it needed painting. Due to the high operating temperature, it was necessary to remove the remaining old paint.I did this using an angle grinder with a roughing attachment and a hand-held surface sander.
Finishing touches
I welded small iron angles at 120 degree angles to install the grilles. Their number can reach up to four in the smoke chamber and one in the oven, as a grate. Before painting, I sanded it a little and degreased the smokehouse with solvent. If you paint yours, use heat-resistant paints. I only painted the outside parts with paint that is described as being for grills, and it seems to hold up pretty well.
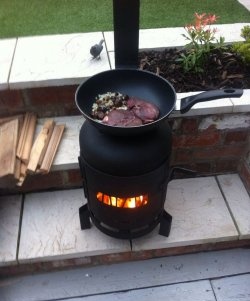
Using a smokehouse
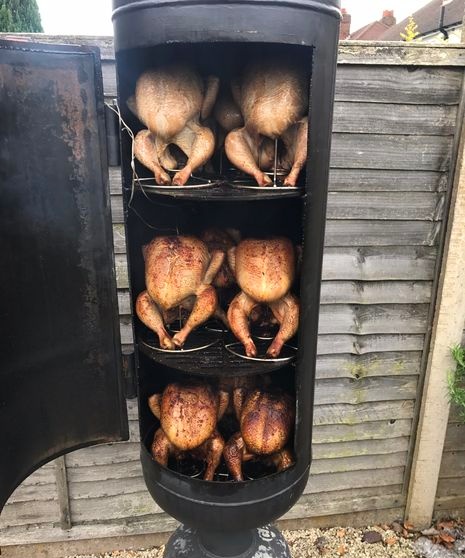
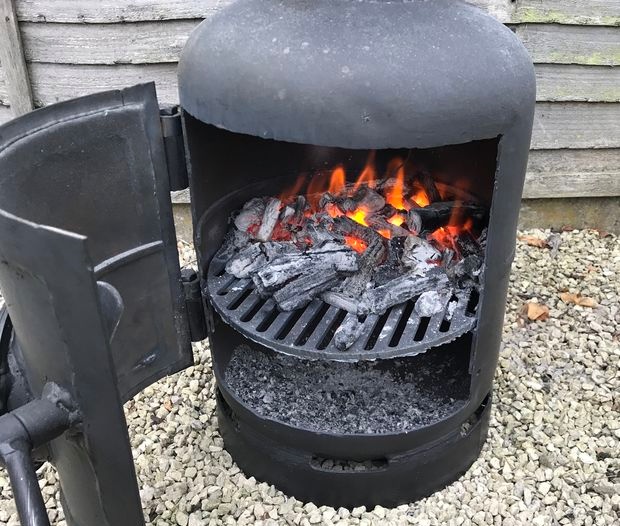
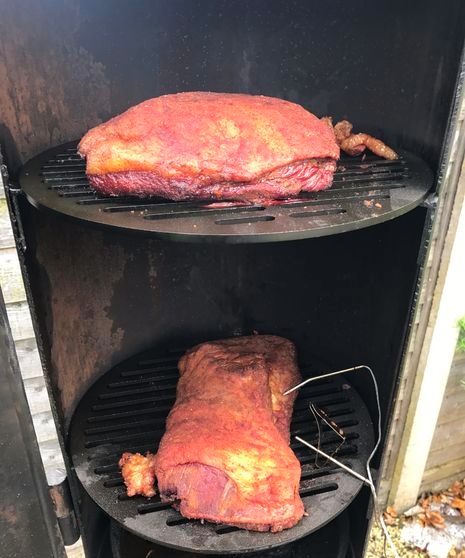
At the moment, I have only had the opportunity to use the smokehouse a few times, but I already call the work done a success. It only holds a small fire and seems to last forever, which is a good thing. But there are also a few lessons I learned:
1. To prevent fat from dripping into the fire, place a tray at the bottom.
2. As expected, the temperature in the lower part is significantly higher than in the upper part. When preparing the same products, you need to take this into account.
3. The handle gets very hot.
4. Perhaps for better stability it is better to use something wider as an oven, although I have not had any problems with this yet.
In the end, I'm happy with the smoker and look forward to using it again next summer.
Original article in English