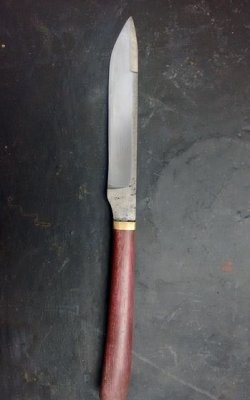
When making knives for the handle, I usually use textolite or wood, but sometimes I resort to weaving.
When people think of handle braid, they usually think of a single color cord wound in a circle. Boring!
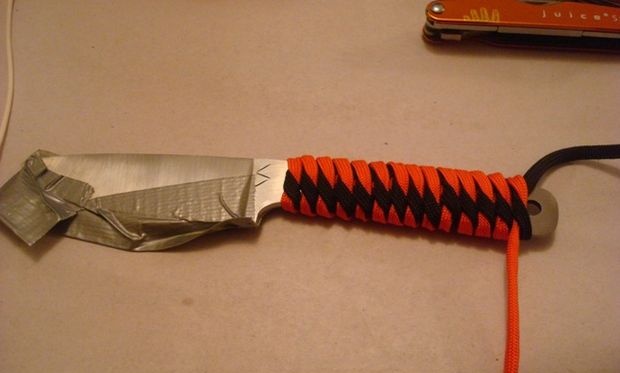
Therefore, I decided to come up with a beautiful technique using cords of two colors. This is the second knife whose handle I have decorated in this way. In the first case, I weaved with black and luminescent cord. I sat in front of the TV, holding a knife in one hand, and in the other I had a black and fluorescent cord. I started experimenting and this is what I came up with.
I hope you will enjoy.
Tools
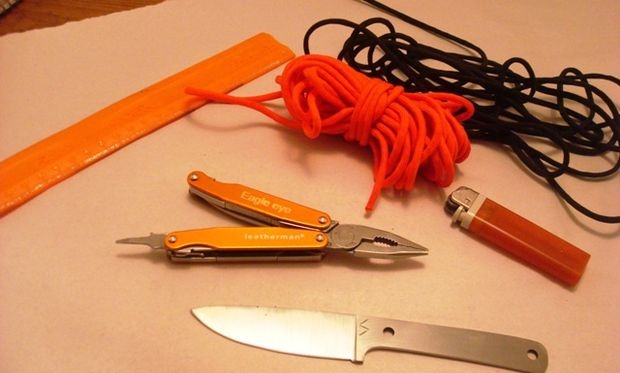
You will need:
- ruler,
- paracord (2 colors),
- lighter,
- multitool (you can use simple pliers and something sharp to cut the cord).
Cut and Gut

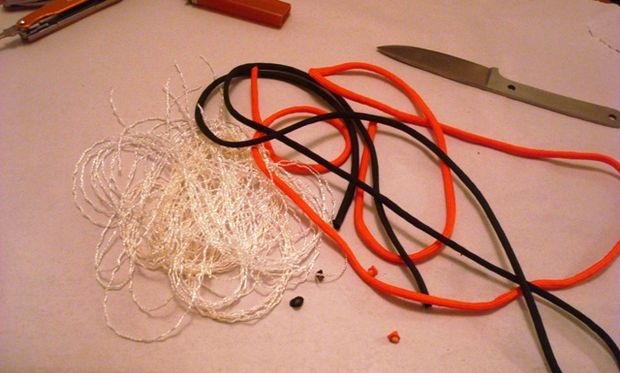
Cut the required length of paracord of each color, I do this with a margin. Remember that it is easier to cut off the excess than to build it up if there is not enough.
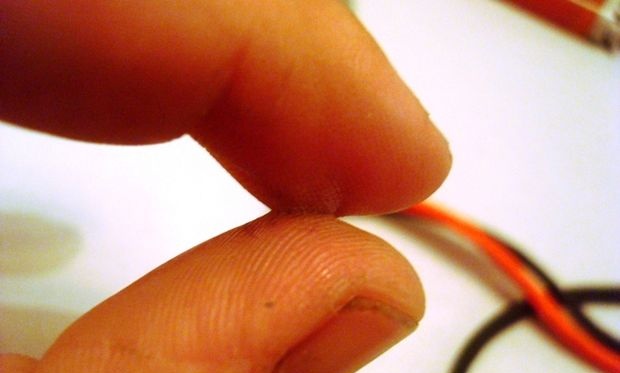
Go ahead and don't forget to remove the inner wires. To do this, you need to make sure that they are not soldered to the outer shell and pull them out.
Get ready to weave
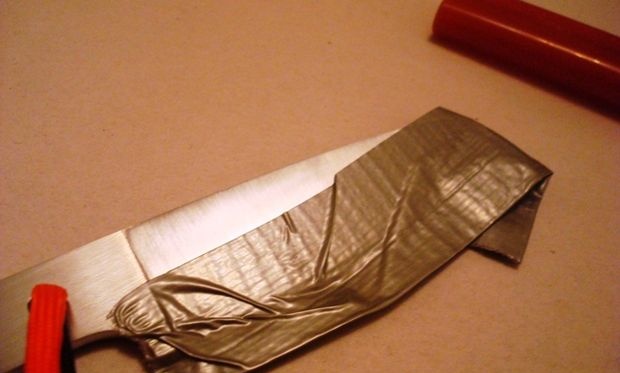
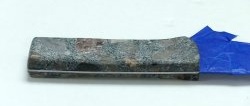
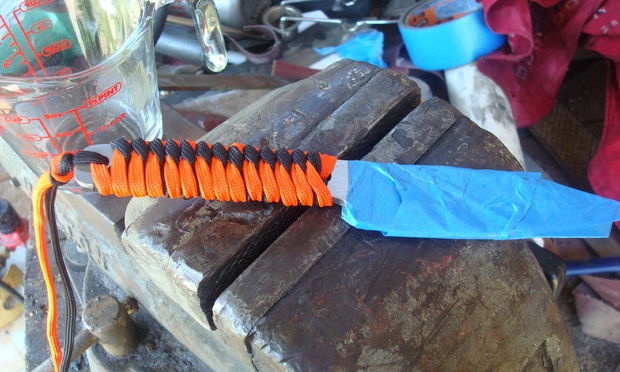
Wrap the cutting edge of the blade with electrical tape to prevent cutting yourself.
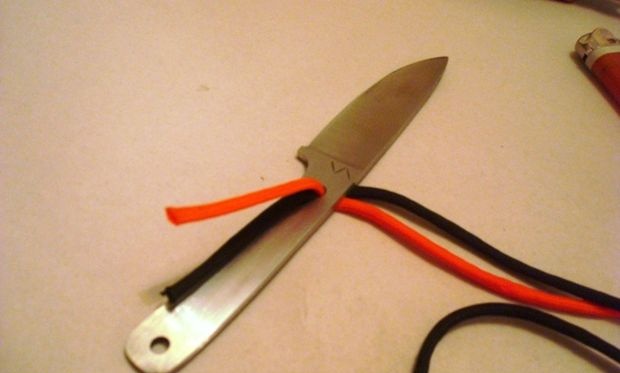
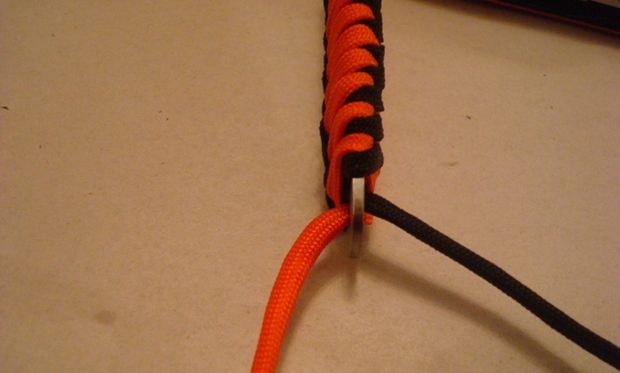
Thread the cords into the hole from which you start weaving a couple of centimeters. Now we need to think. No matter which side you run the cords on, they will leave a protrusion on it, so I always leave it on the inside of the handle. The inside is where your fingers fit into the handle, not your palm. If you do this, the knife will fit more comfortably in your hand.
In my opinion, there is logic in this.
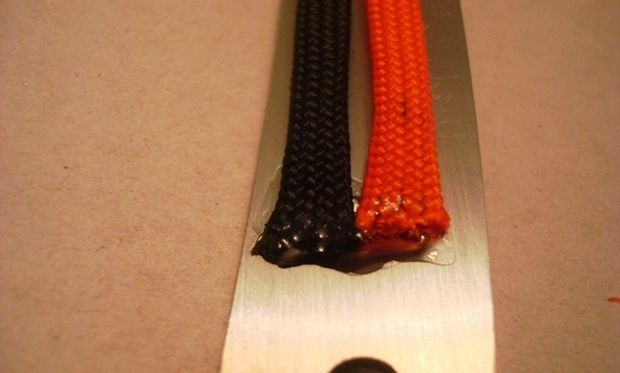
So, after threading the ends of the cord through the top hole, glue the ends to the metal of the handle. Then they will lie more evenly and will not interfere during weaving. Just don't glue your fingers together.
Weaving
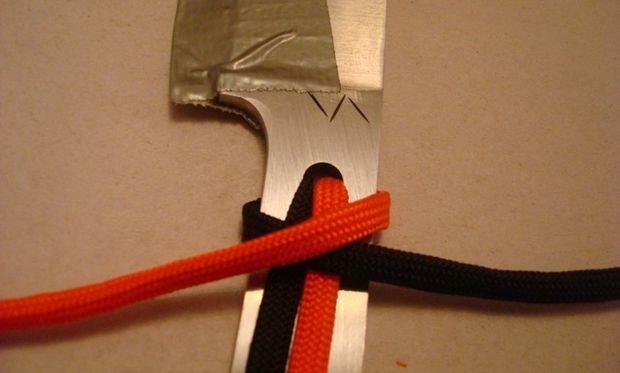

Do you know how the first knot is made when you lace your shoes? We will use this node.
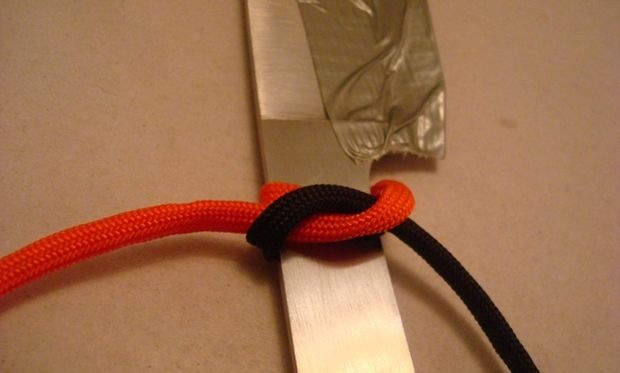
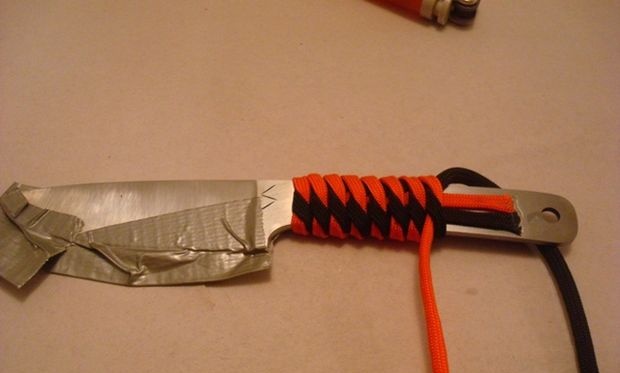
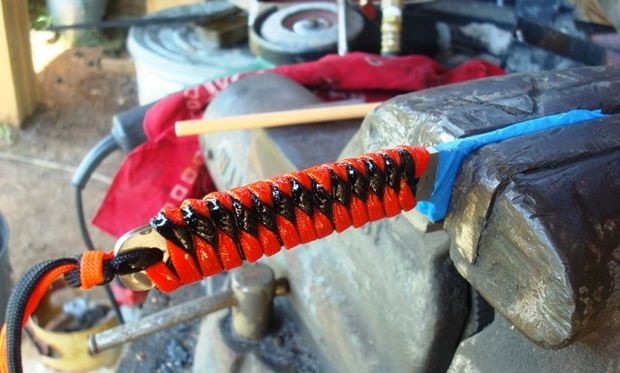
Place the cords over the side with the glued ends. The black should go under the orange, then drape it over the orange (just look at the photo and everything will become clear).
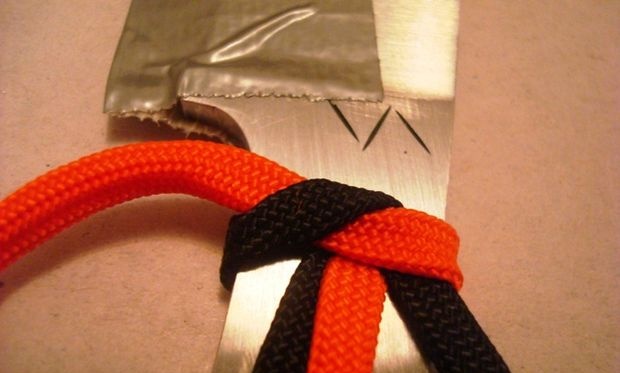
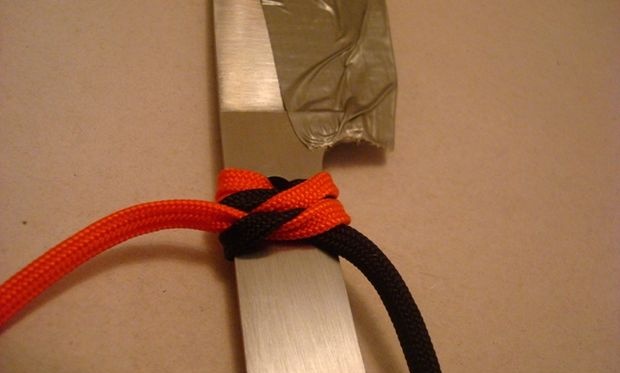
After this, turn the knife over to the other side and do the same actions now on it. The cord must be well tightened. Then turn the knife over again and repeat.
Entertainment
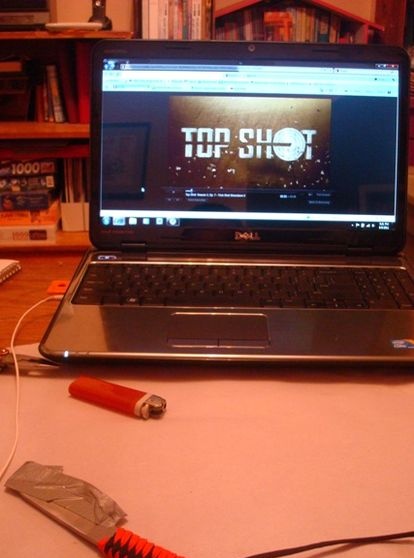
While weaving, I like to watch an interesting show. But don't forget to pay attention to what you are doing.
Ending

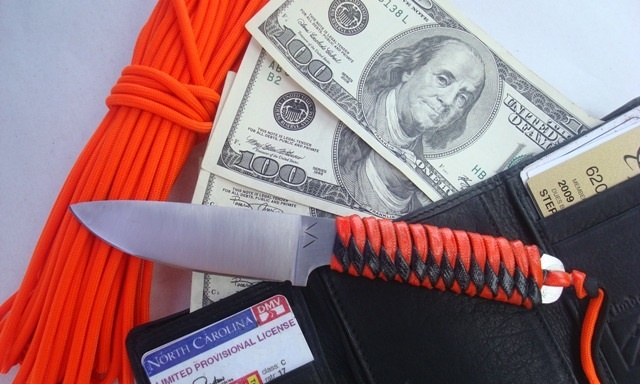
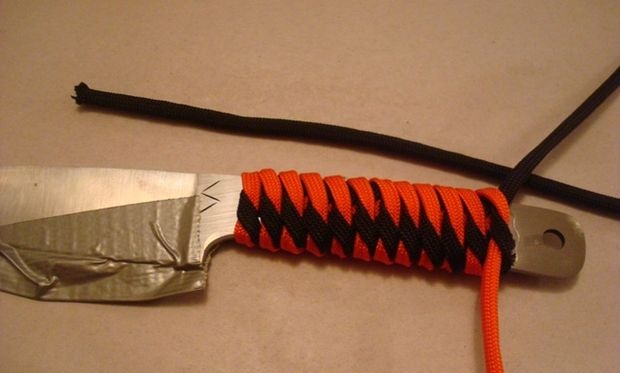
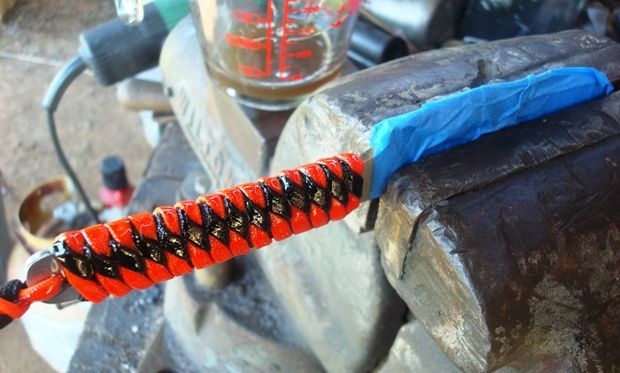
As the braid approaches the bottom hole, one cord will be closer to it, the other slightly to the side. In my case, black was closer. Pass the closest one through the hole, and continue to wrap the farthest one around the handle and thread it through the other side. Now tie a knot, and you can do whatever you want with the remaining cords. I usually hook on a funky bead and then tie the knot again. But I didn’t have anything on hand, so I just trimmed the edges a couple of centimeters below the knot.
Resin coating

Now you need to completely wrap the blade and other parts that should not have resin on it with electrical tape. You can, of course, remove it from steel, but why waste time on it.
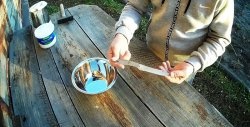
Mix a small amount of fiberglass resin. I used 30 ml, but half would have been enough for me. I just didn't have a smaller measuring cup on hand.
Take an inexpensive brush and use gentle strokes to apply the resin all over the lacing. Let it soak, if necessary apply the resin again. Then clamp the blade in a vice to dry the handle.
After a few minutes, remove the knife and turn it over so that the resin does not harden in a bead on the downward side of the handle.
Original article in English