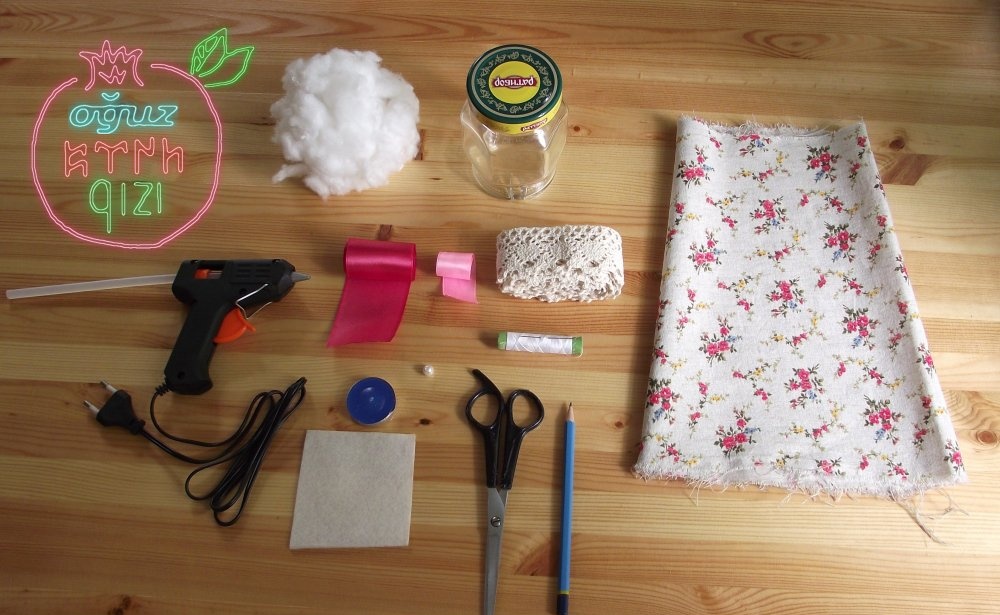
Materials for work:
1. A beautiful glass jar with a lid;
2. Fabric (the effect of antiquity is best created by linen or velvet);
3. Synthetic winterizer or holofiber (preferably both);
4. Satin ribbons;
5. Lace;
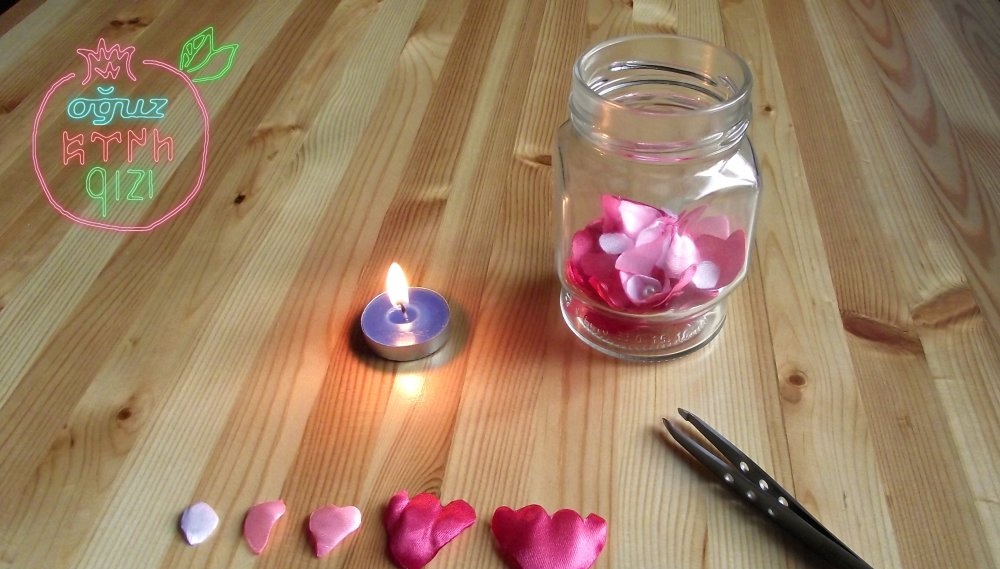
6. Candle;
7. Glue gun;
8. Thread with a needle;
9. A piece of felt.
Sequence of work:
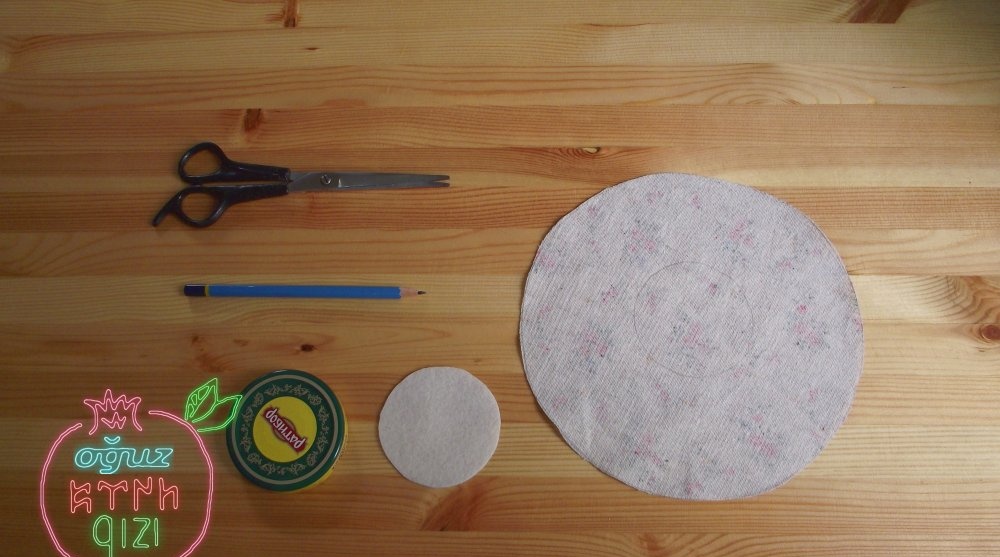
Unscrew the lid and cut out a circle of fabric approximately twice the diameter of the lid. Cut out the same circle from padding polyester. From felt, cut out a circle slightly smaller than the diameter of the lid (about 5 mm).
We apply the padding polyester to the wrong side of the fabric, bend it 5 mm, sweep it, slightly tightening the thread.
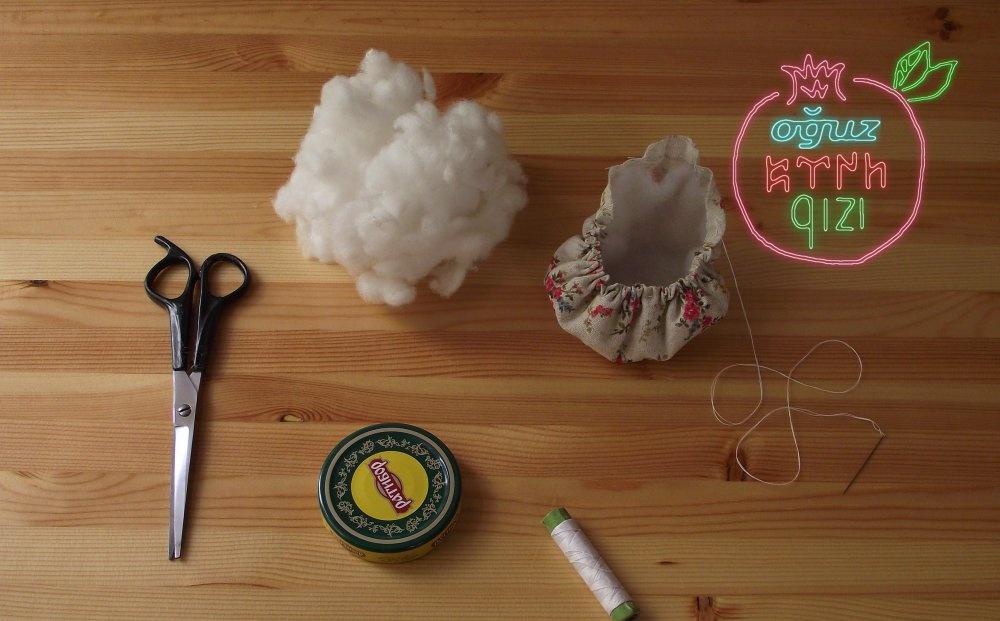
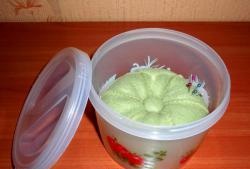
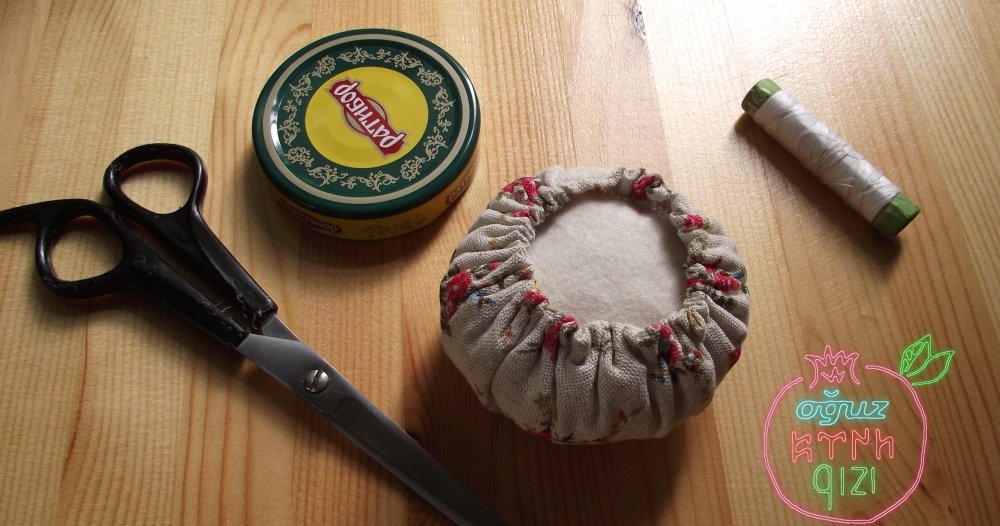
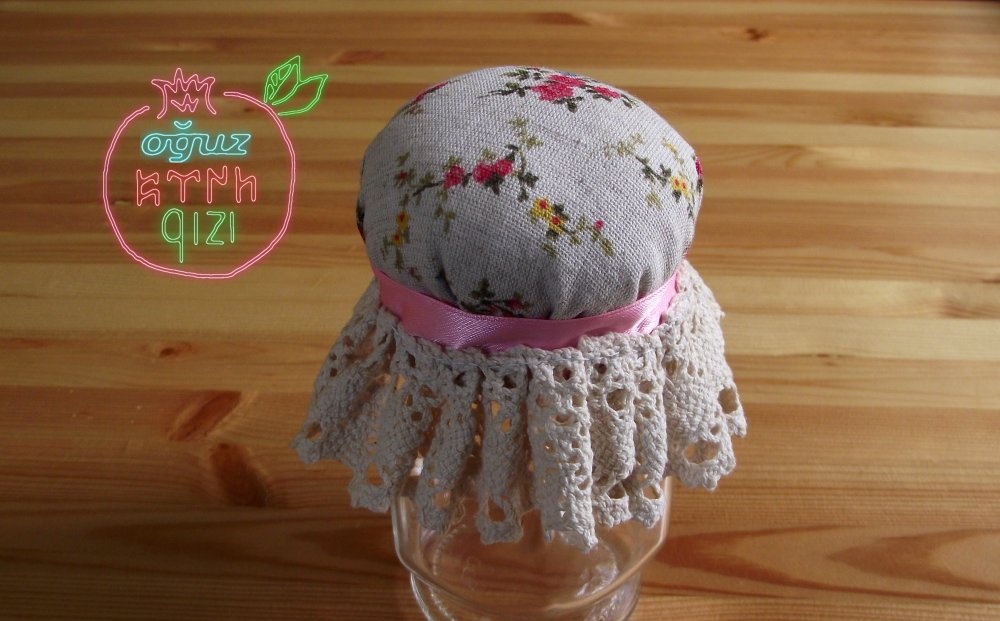
Fill the resulting cup evenly with holofiber. Insert a circle of felt into the pad and carefully tighten the thread to the end. We tie a knot and cut it. It turns out something similar to manta rays.
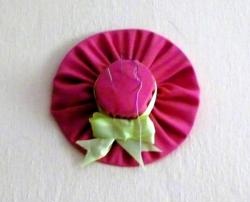
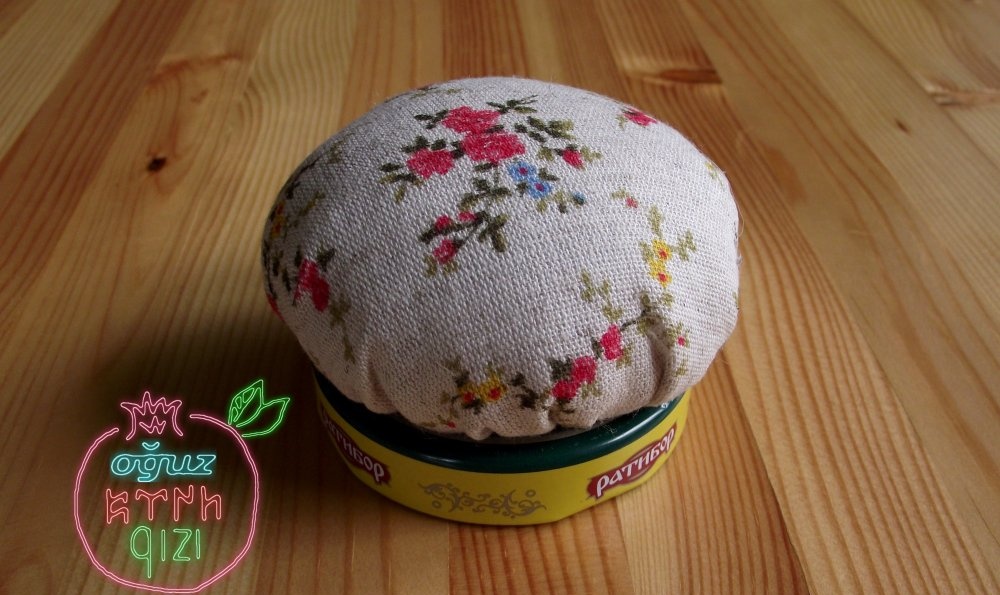
Prepare your glue gun, apply hot glue to the lid and press the pillow to it.
The thermal gun can be quite successfully replaced with “Moment” or “Titanium”.
We measure the circumference of the lid and cut off the required amount of satin and lace ribbon.
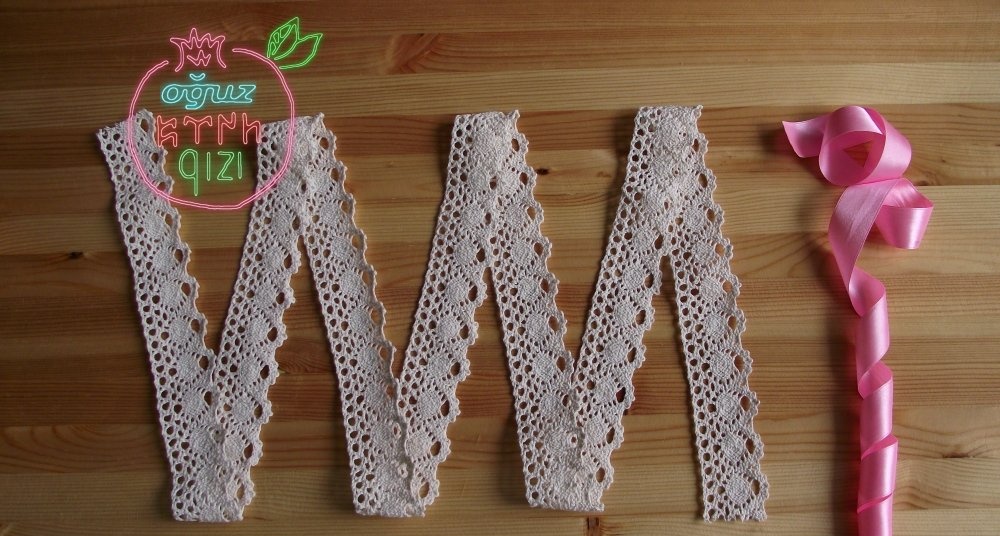
Folding the flounces, we connect the lace to the base.
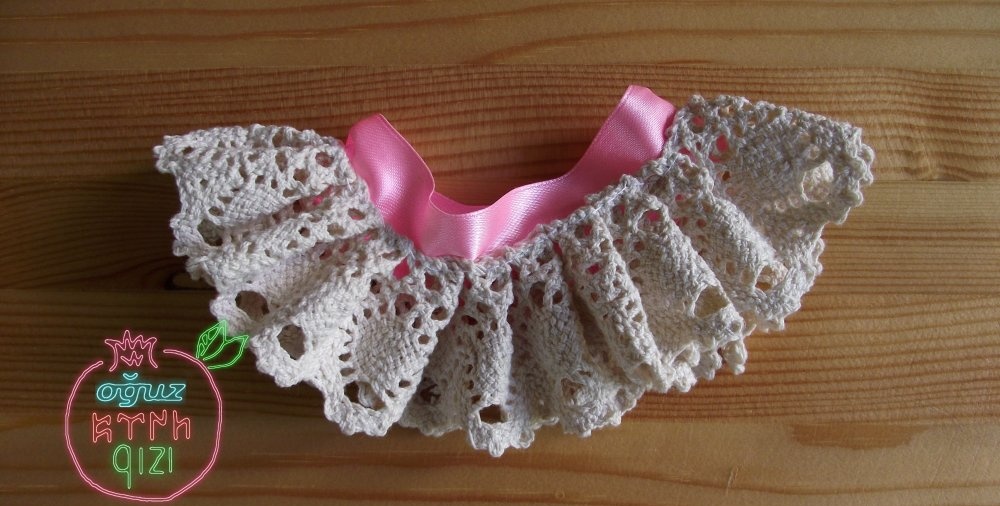
Using a glue gun, attach it to the side of the lid.
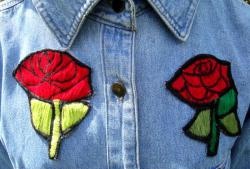
Let's move on to the decor of the jar. We cut out petals of different shapes from satin ribbons according to the template:
- No. 1 – white 12 pcs.,
- No. 2 – pink, 10 pcs.,
- No. 3 – pink, 8 pcs.,
- No. 4 – burgundy, 10 pcs.,
- No. 5 – burgundy, 8 pcs.,
- No. 6 – burgundy, 10 pcs.
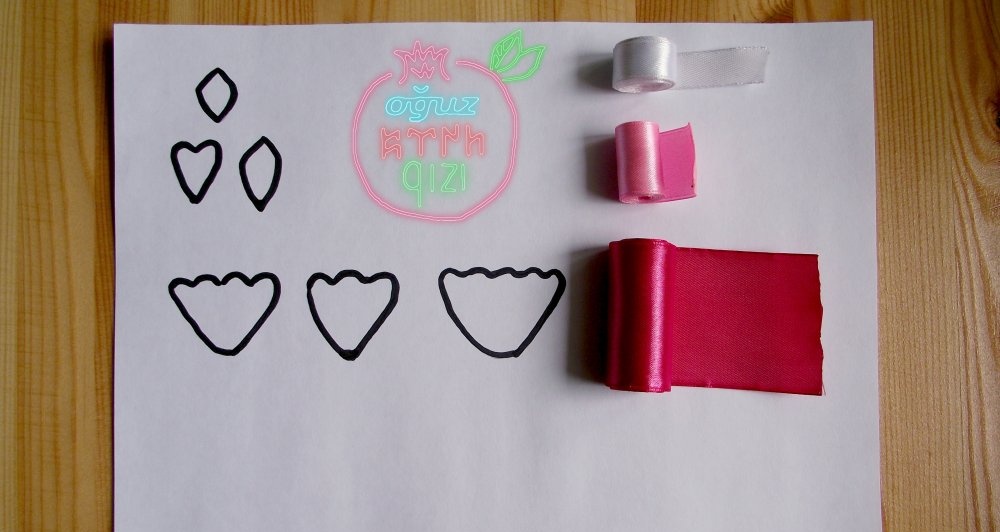
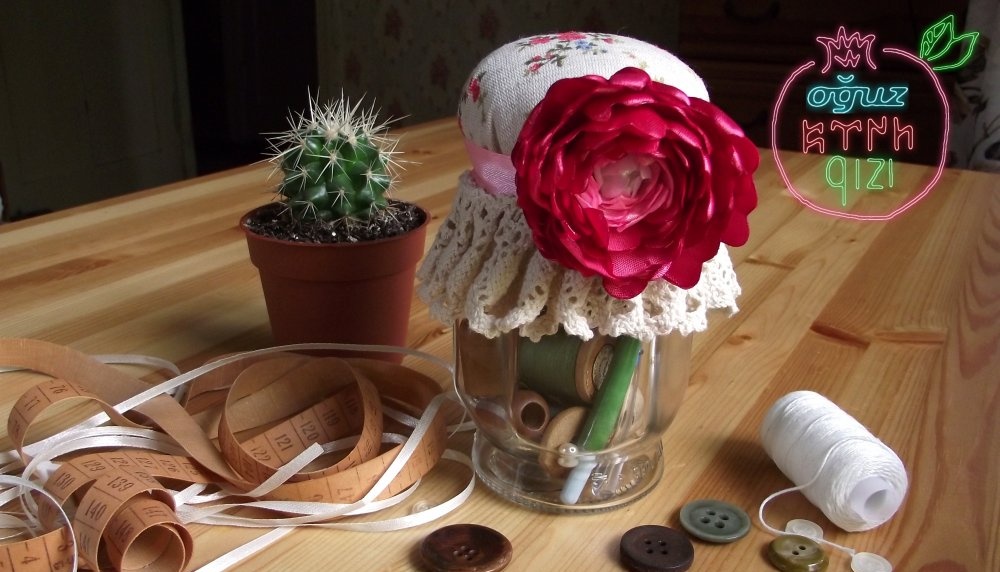
The petals of the same pattern may not turn out the same, but even in a real peony they differ in shape. We melt the edges with the heat of the candle so that they curl up a little; To do this, we bring the petals to the flame without touching the fire.
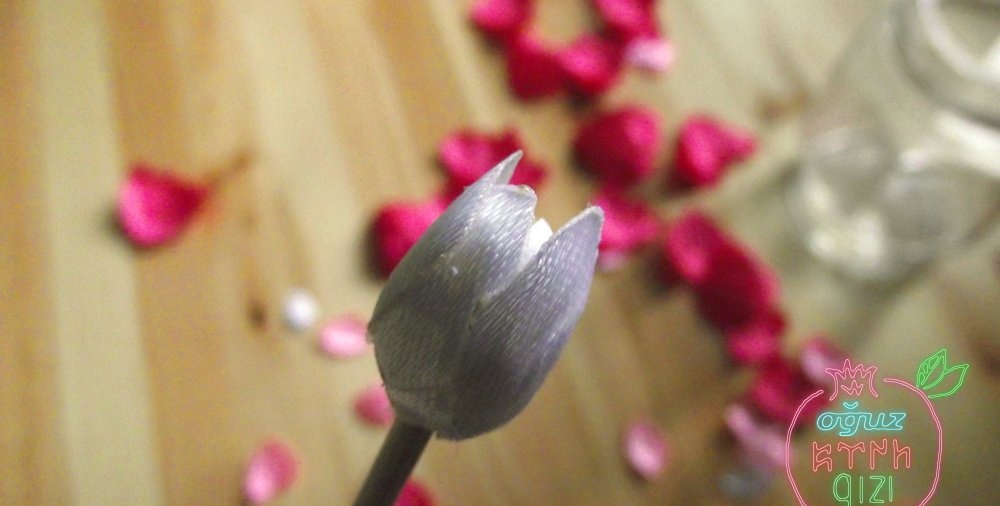
We wrap a small padding polyester ball on a stick and begin to create a peony bud. Glue the petal blanks in rows with the front side facing you, starting with the white ones.
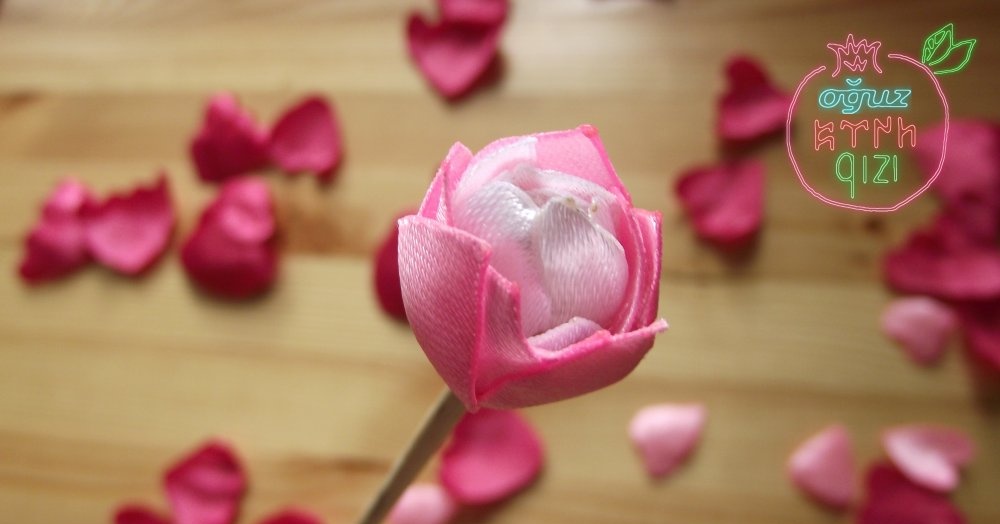
We continue to collect the bud with pink petals. Each new row should be glued 4-5 mm higher.
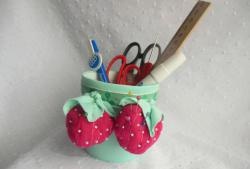
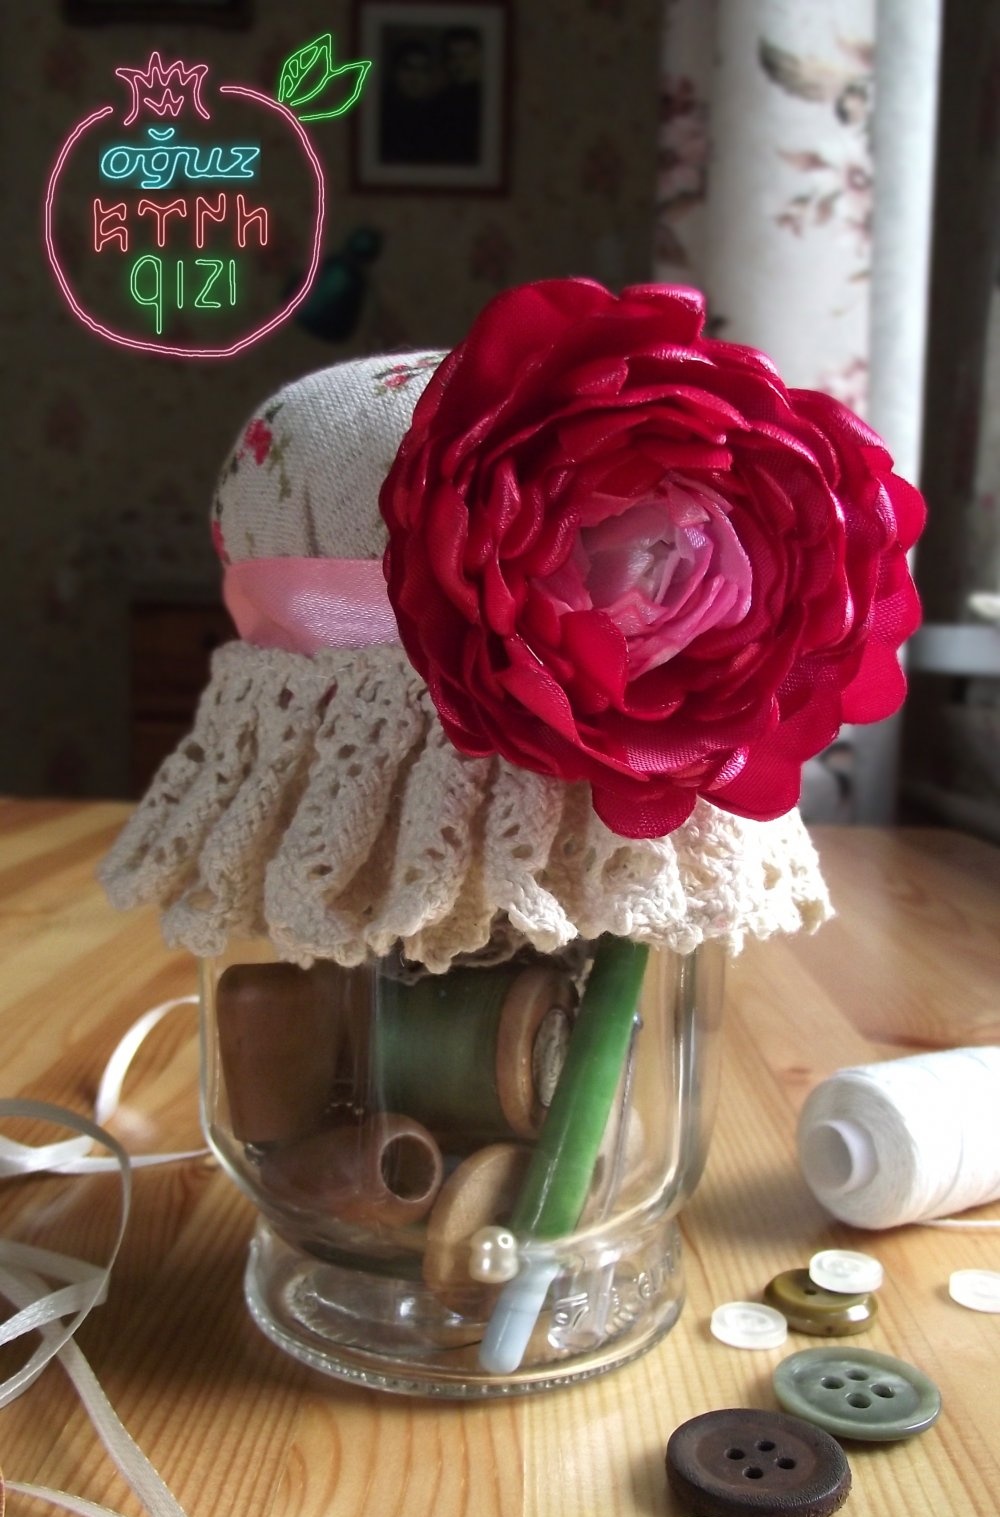
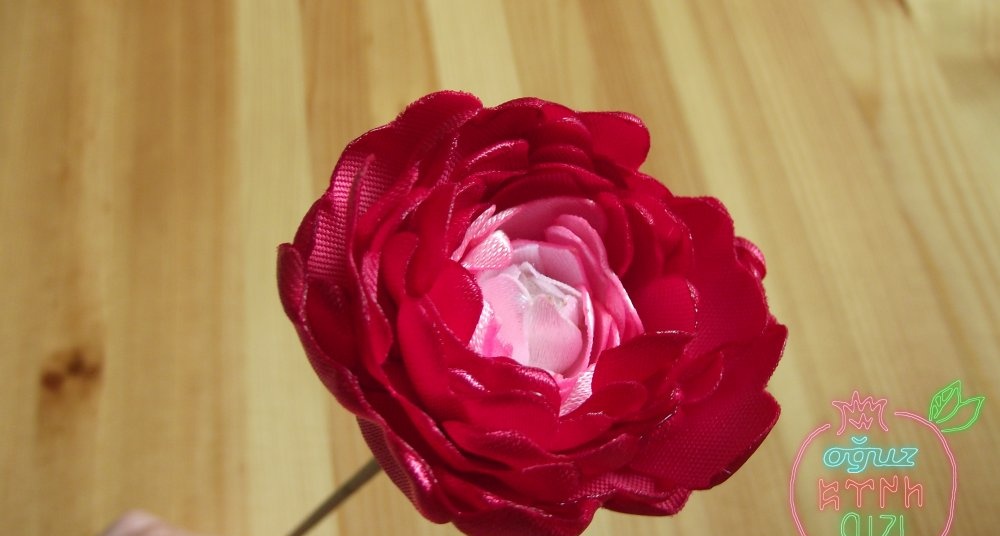
We finish the work with burgundy petals. Glue or sew the peony onto the middle of the jar.
All that remains is to put the handicraft materials at hand into it, and the pincushion box in the fashionable rustic style is ready!