Old Soviet furniture, such as walls, wardrobes, trellises, and other things, have long gone out of fashion and have not been produced for a long time. Nowadays, so-called minimalism is in fashion. But the above-mentioned furniture can still be seen in garages, dachas, and garden houses. And, to be honest, It still serves many people faithfully and in apartments, not the first, but where not even the fifth decade! When old furniture is completely dry, creaks, and is ready to crumble at the slightest touch, and you no longer feel like restoring and repairing it, then the temptation arises to send all this junk to a landfill. But it is precisely from such old furniture that sometimes the most interesting home-made household items and new, original interior elements are obtained. From an old wardrobe, for example, with certain skills in using an electric jigsaw, you can cut and assemble an excellent double bed. And other pieces of old furniture, if you have at least the rudiments of imagination, can always be given a second life! Today I want to make a large floor mirror.

The mirror itself, as you probably already guessed, I tore out from an old Soviet wall.
Will need
- Mirror of the size you need.
- Plastic profile, 8 mm, edging.
- Fiberboard sheet (for the mirror area).
- Epoxy adhesive, two-component.
- Two wooden blocks 15×30×250 mm.
- One wooden block 15×30×70 mm.
- Metal tube 10×1500 mm.
- Two metal tubes 10×200 mm.
- Metal strip, 1×10×60 mm.
- Metal hinges for furniture.
- Wood screws 3.5×16
- Screwdriver with a shaped bit.
- Drills, 10 mm and 4 mm.
- Knife.
- Bolt with nut, 7.
- Hacksaw.
- Pencil or marker.
- Spray can with white paint for wood.
- Glass cleaner and cloth.

Floor mirror assembly
Let's start by preparing the back side of the mirror. Namely, we will make a backing from fiberboard, to which a holder with a furniture loop for the leg will be attached, as well as a hook for fixing the leg. The substrate will be equal in area to the mirror. To cut out a more accurate copy from fiberboard, place the mirror on a sheet and draw a marker around the perimeter. Then, cut out the desired fragment with a hacksaw.

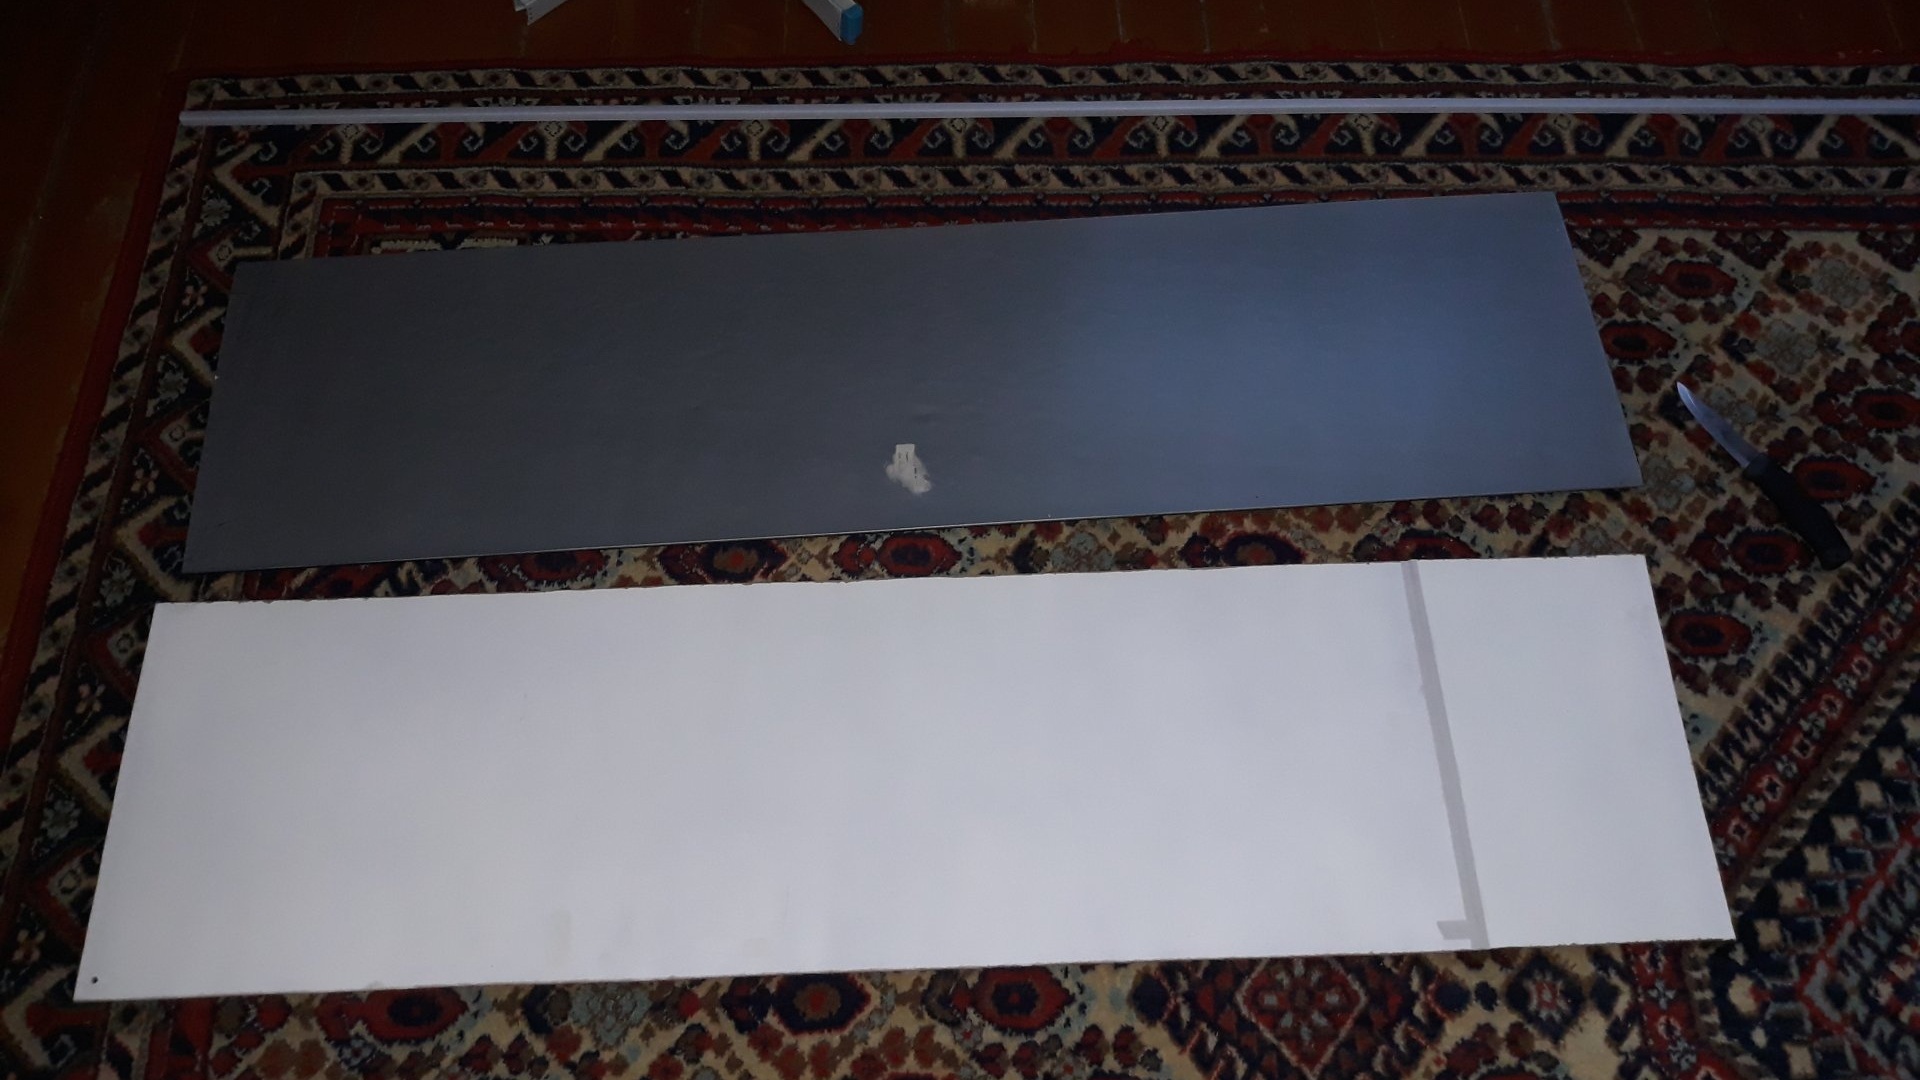
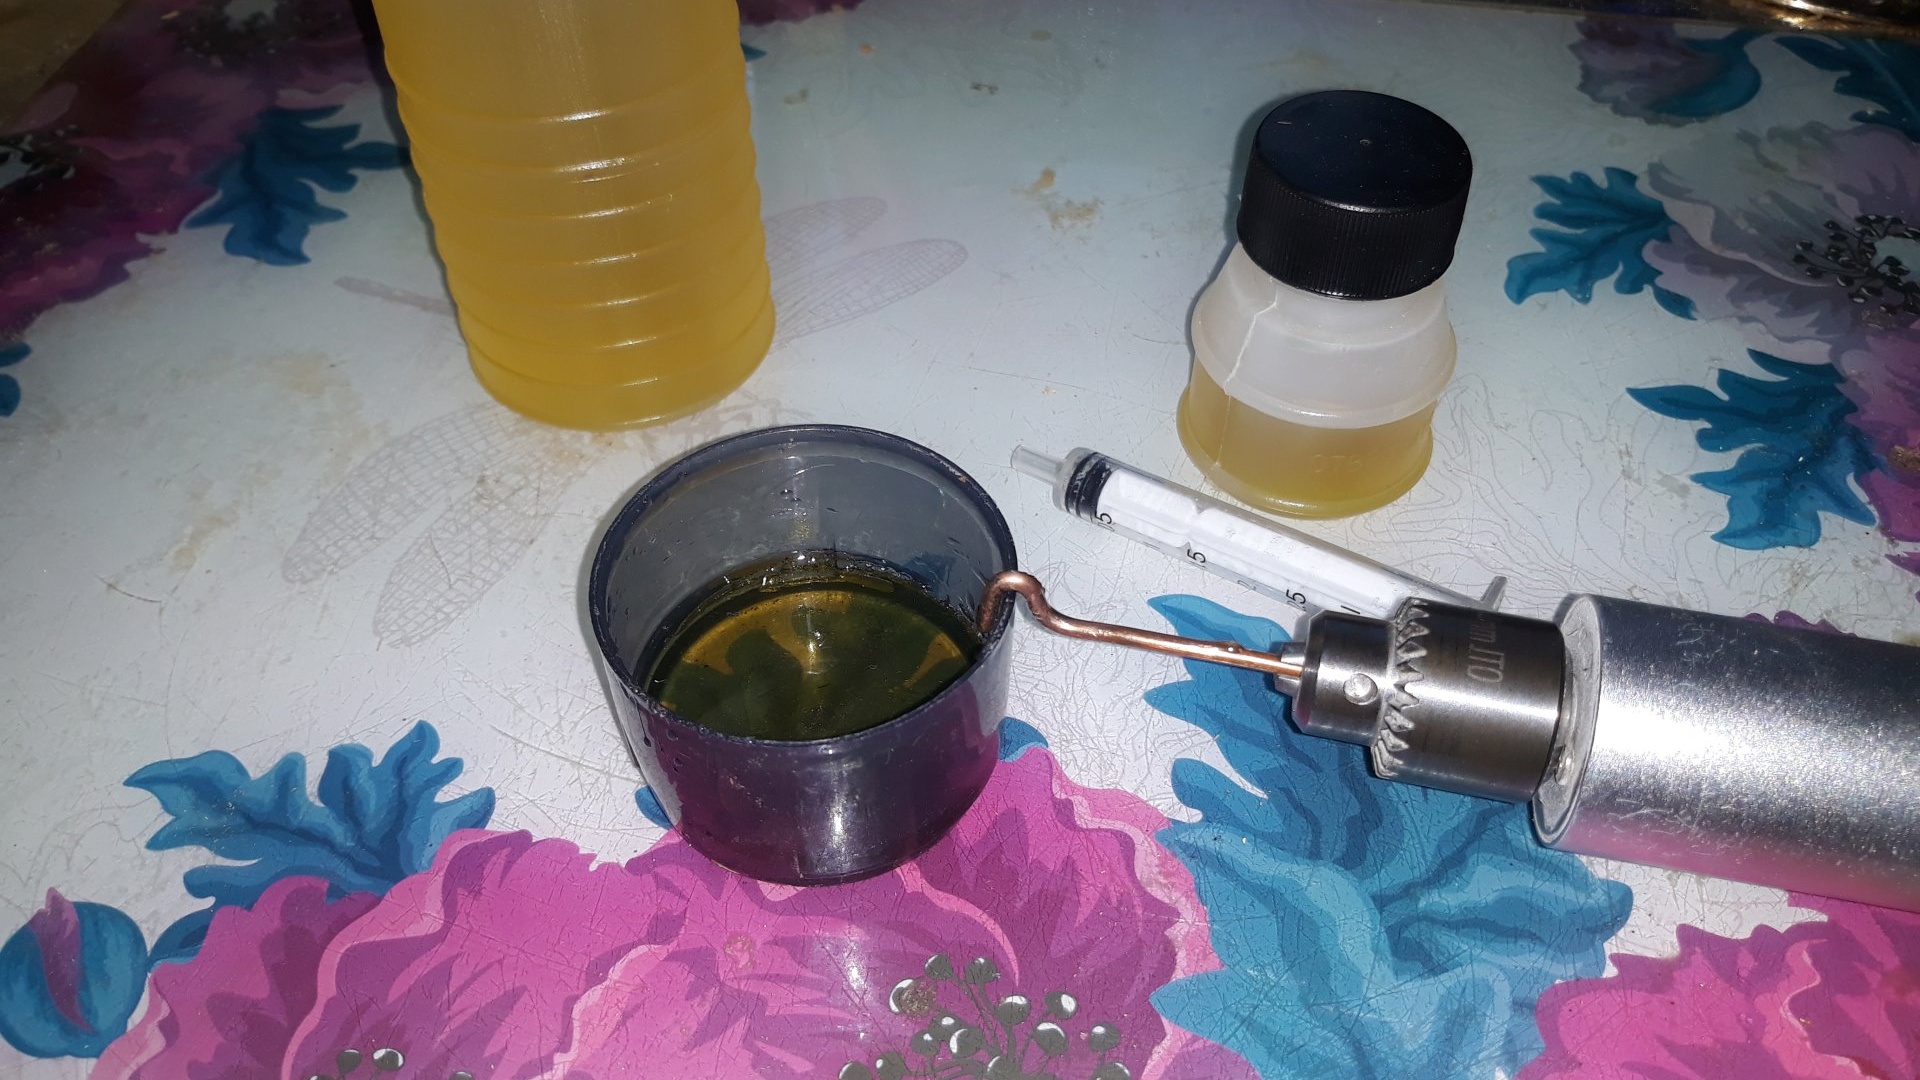
There is no need to bother with a tape measure, corners, rulers and remembering numbers! You can paint the sheet with your favorite color. Now let's prepare two-component glue, according to the instructions on the package.
Next, we will prepare the loop holder for the leg, and the leg itself. We bend the previously prepared 10x1500 mm tube into the shape of the letter “P”. If you don’t have a pipe bender, you can bend the tube without breaking it by filling it tightly with sand. Then we take one of the bars, 15 × 30 × 250 mm, retreat 20 mm from each edge, and make ten recesses with a drill. 10-15 millimeters deep. Like this:
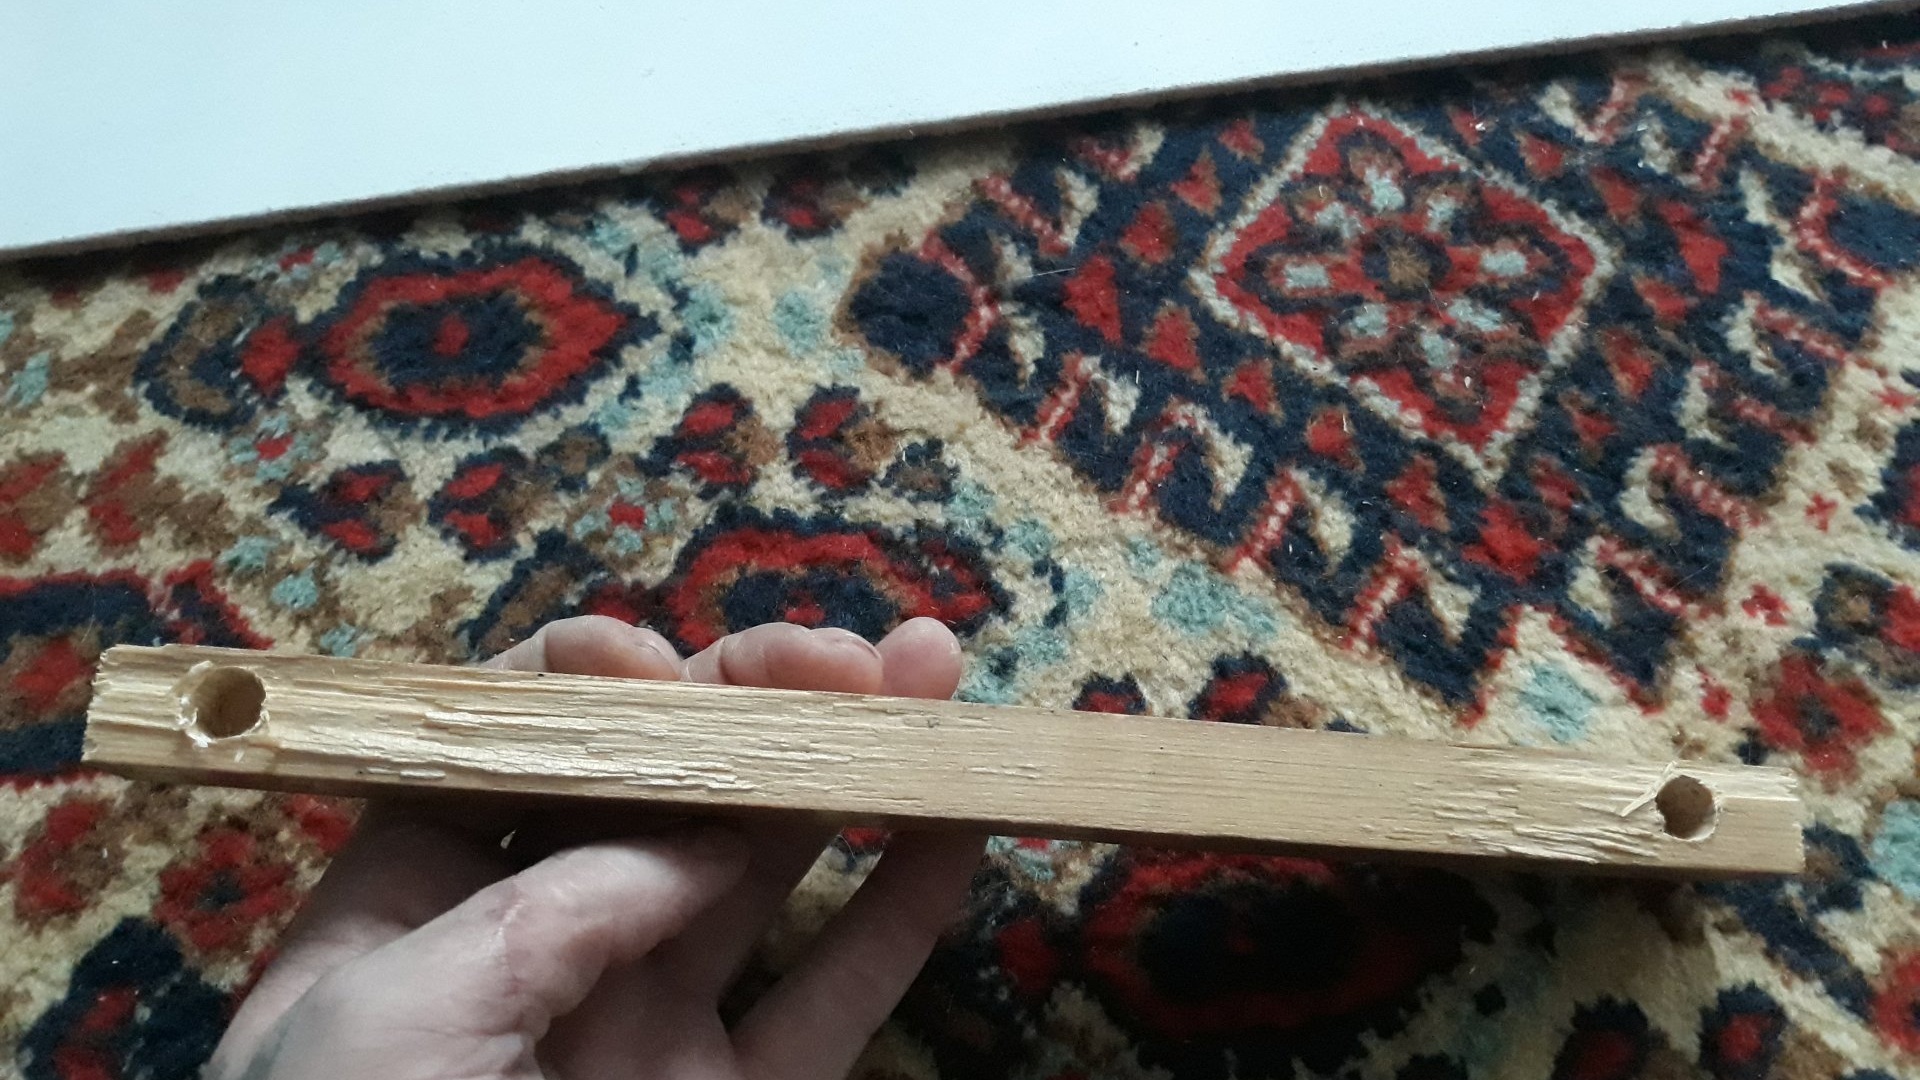
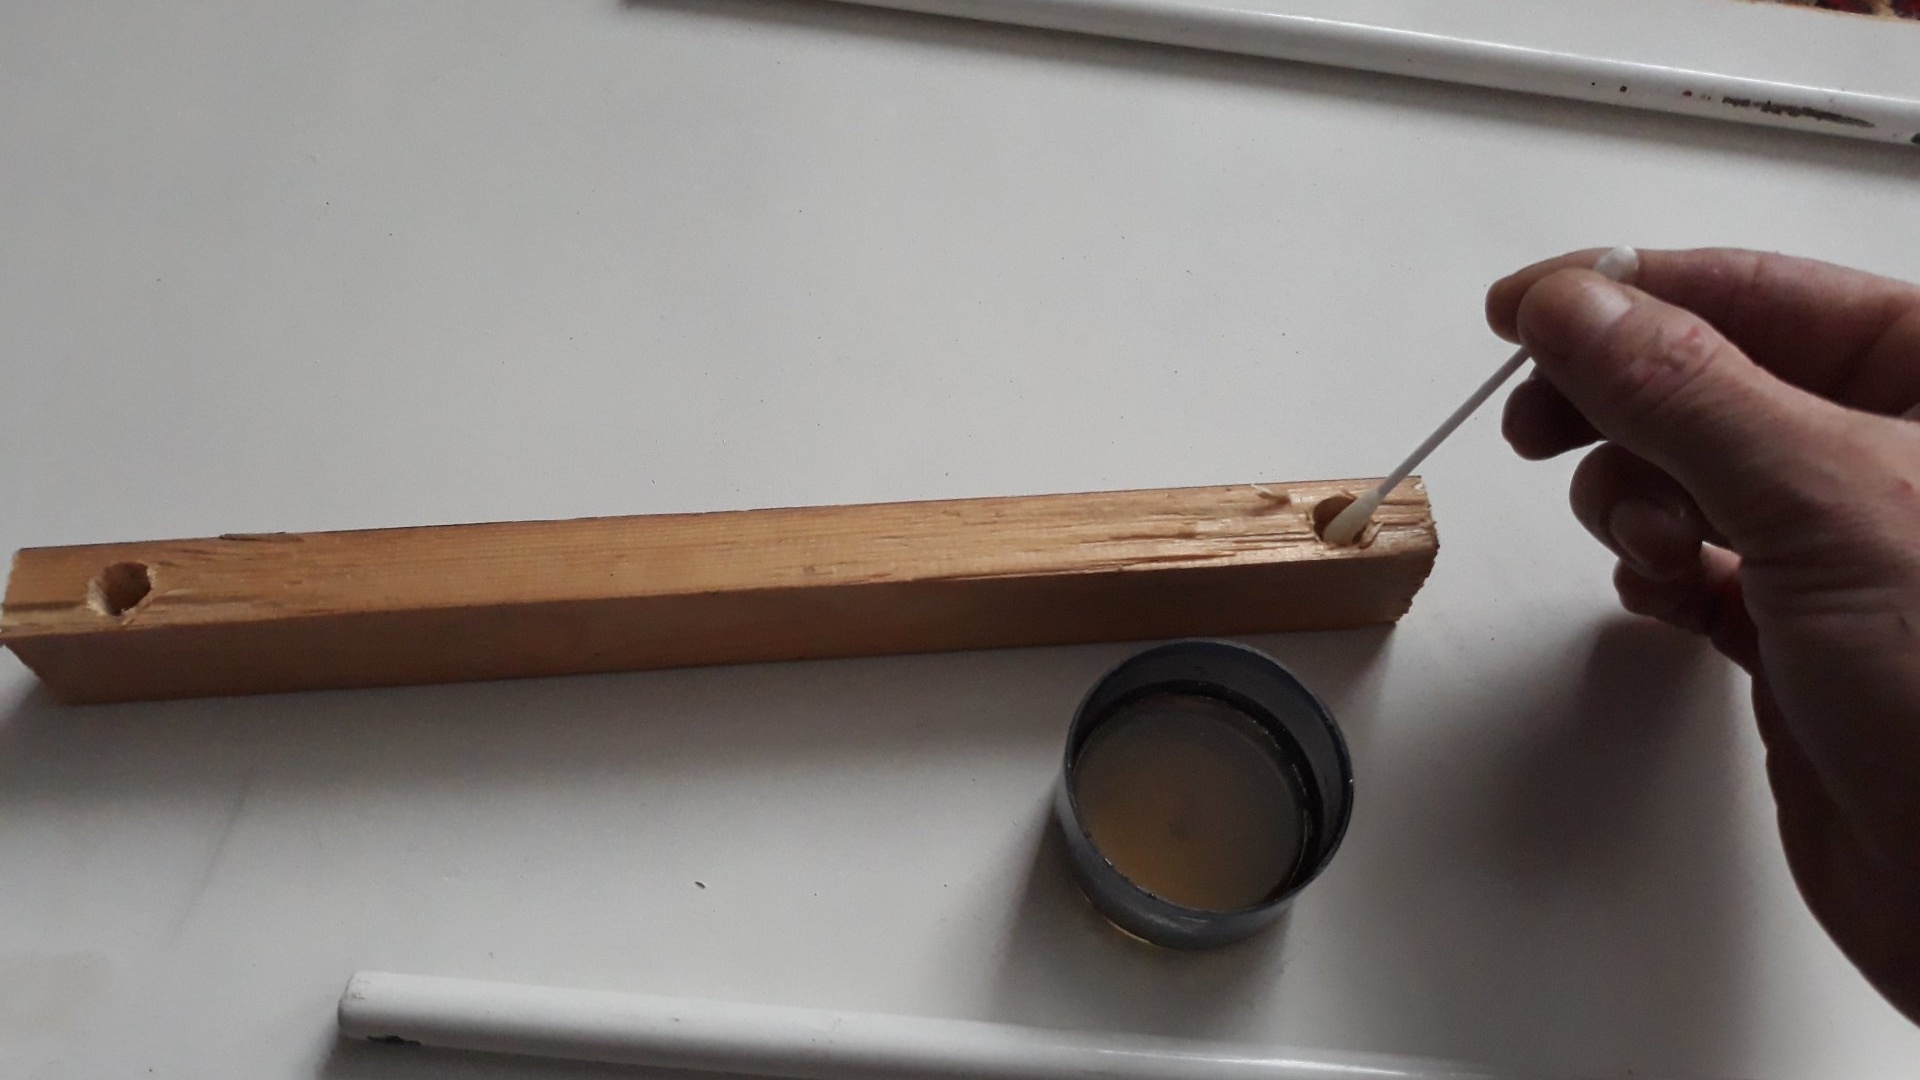
Lubricate the ends of the tube and the recesses in the block with glue, and install the ends of the tube into the recesses.
Next, we connect the second block 15x30x250 to the first using a furniture hinge and self-tapping screws, and screw the entire structure with self-tapping screws from the inside. This is what it should look like:

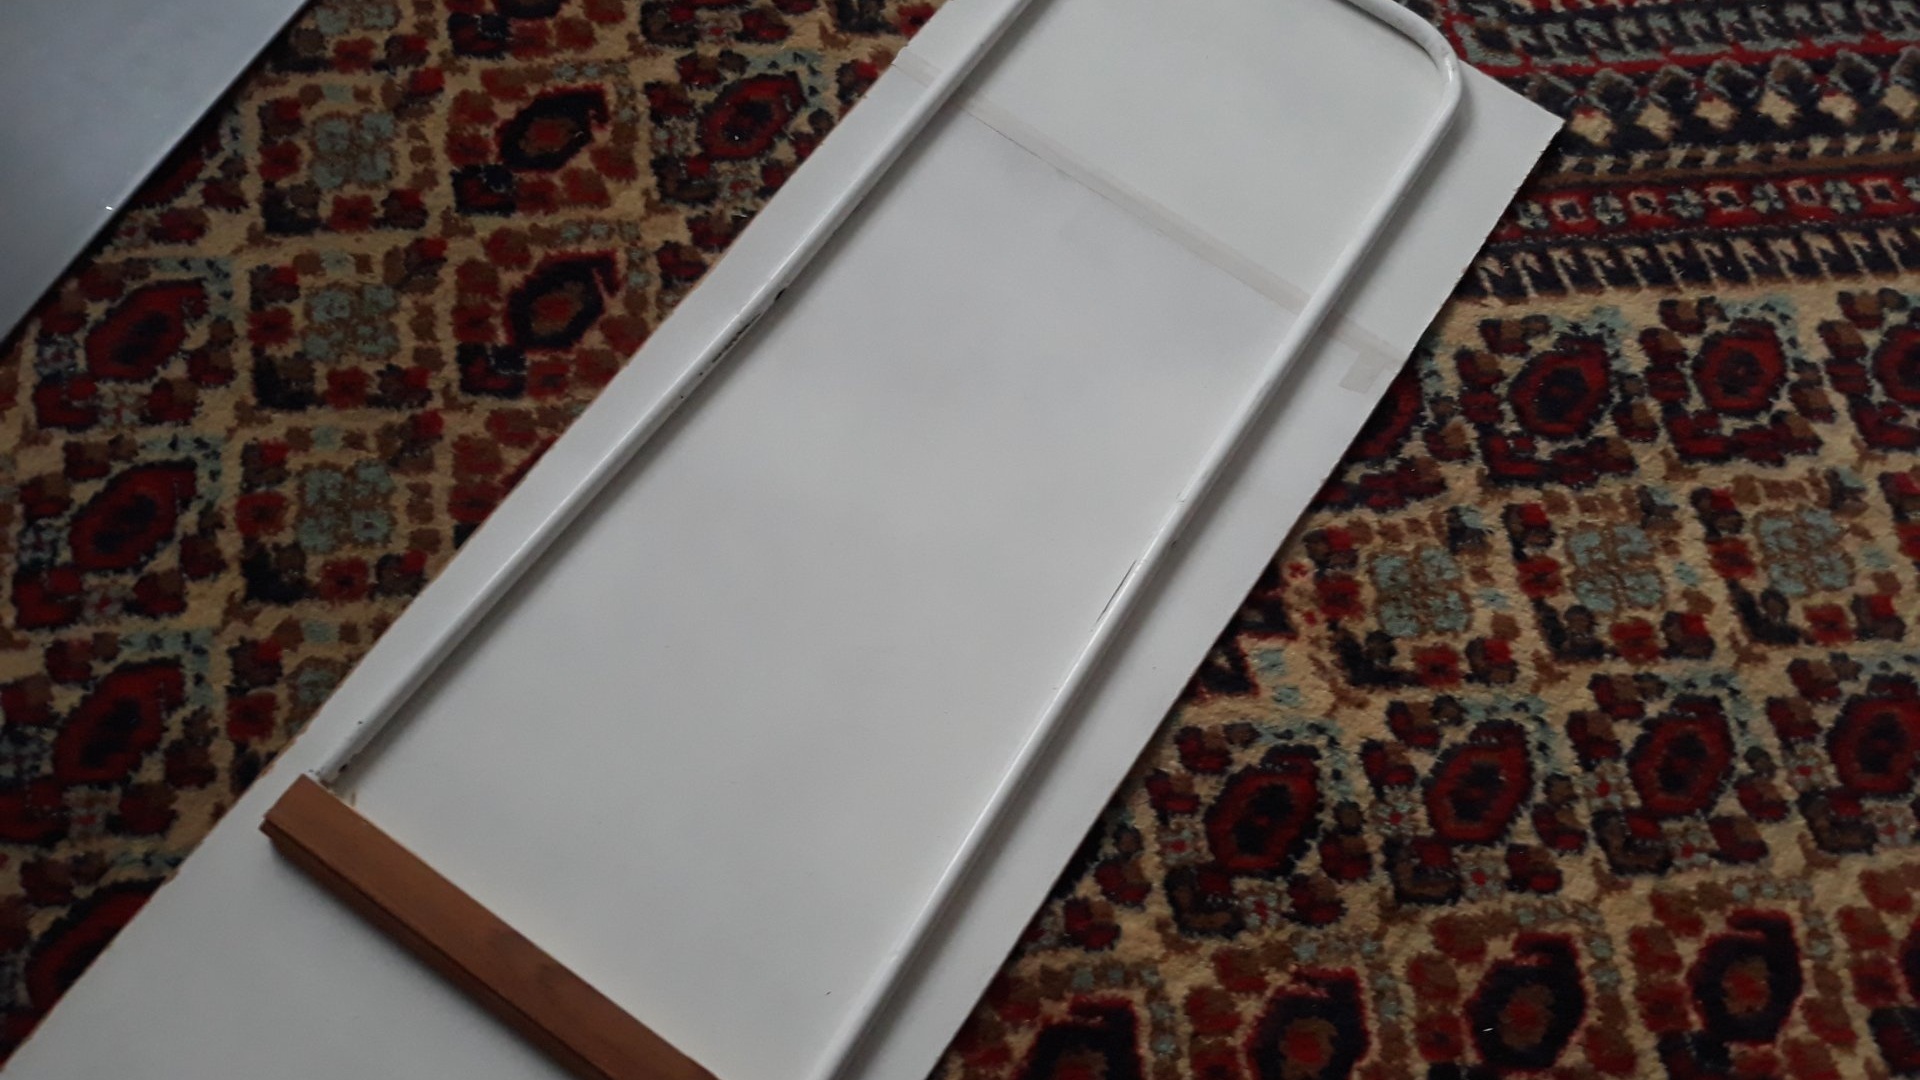
Now you can glue the sheet with the leg to the back of the mirror. We apply epoxy resin around the perimeter of the mirror, and lay the sheet with the leg on top as evenly as possible.


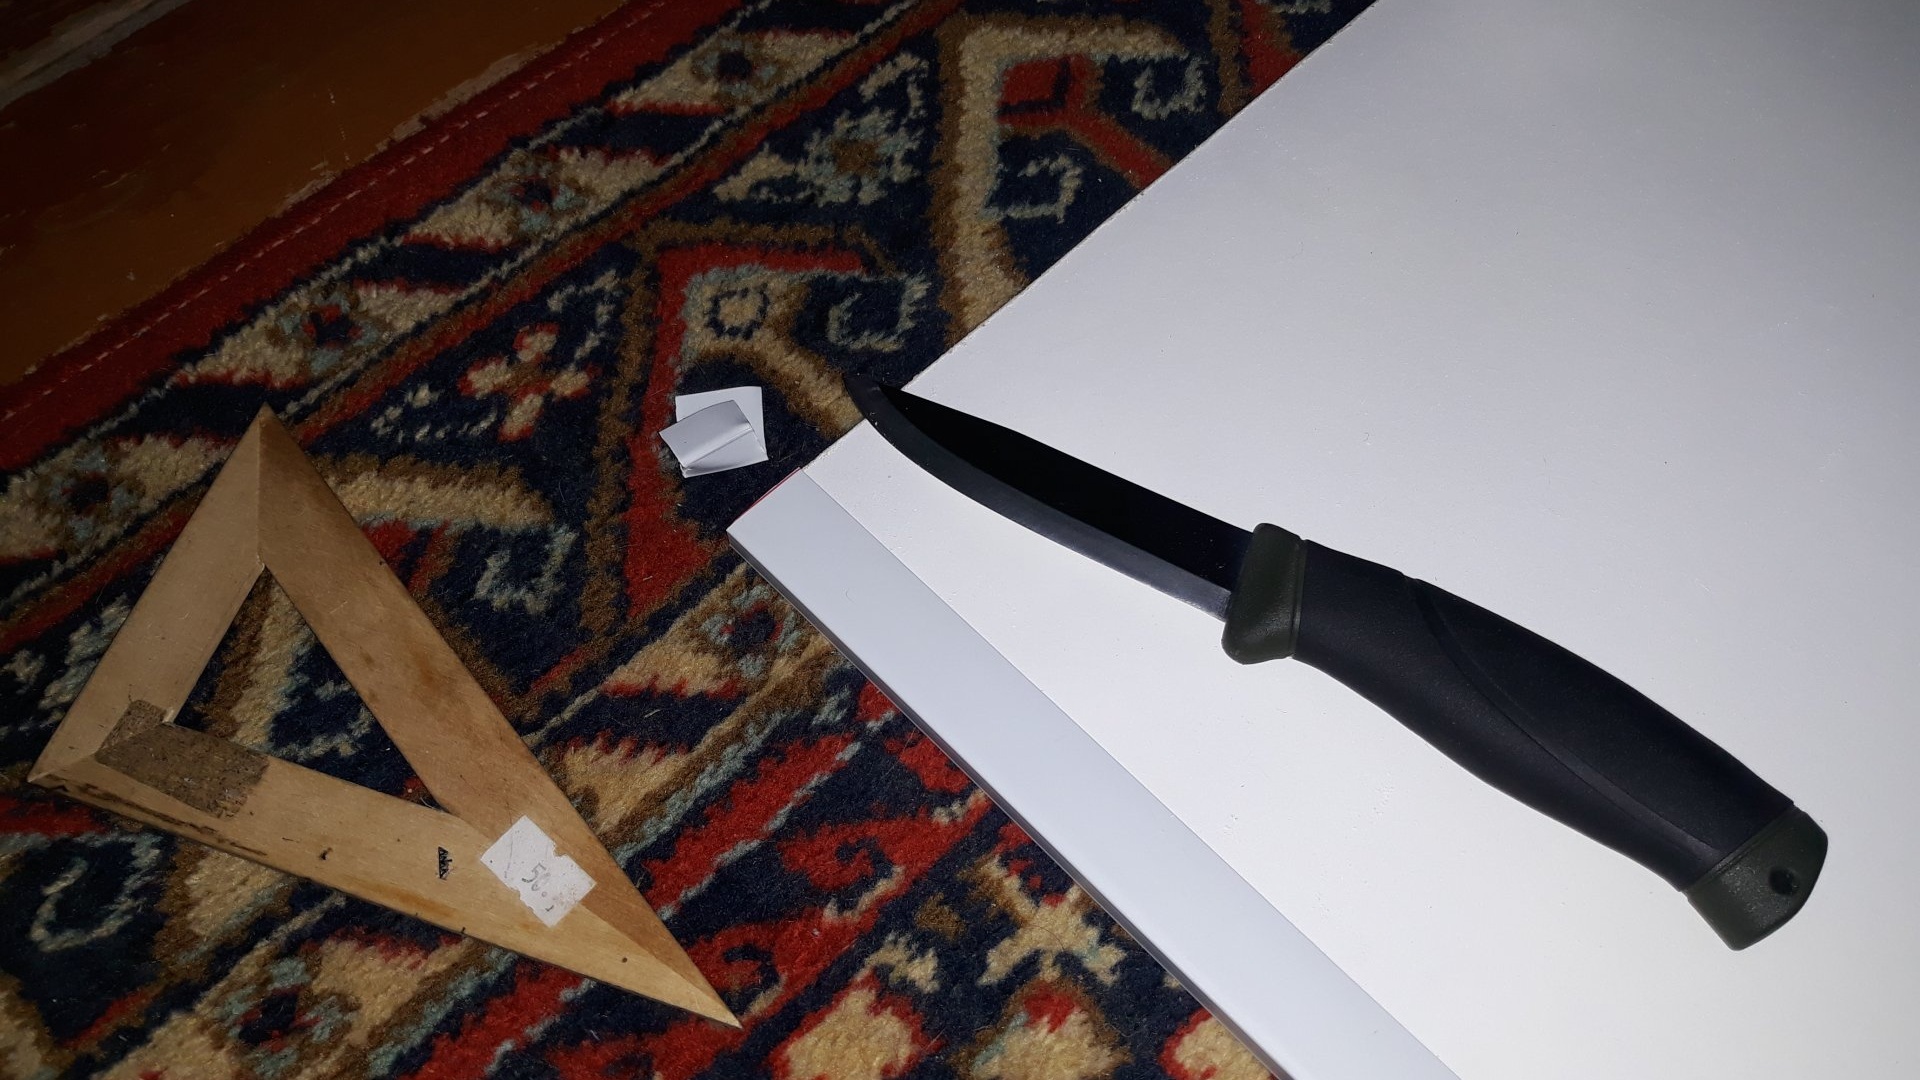
If you don’t have the time or desire to wait several hours for the glue to set, you can secure the glued parts with tape around the entire perimeter. When the glue adheres well to the two glued parts, you can install the edging. An 8 mm plastic profile is well suited for this purpose. We apply glue to the edges of the fiberboard and install the profiles. Remove any remaining profiles sticking out from the edges with a knife.
We repeat the procedure on all sides of the mirror.

Next, we will strengthen the leg with an additional jumper, for greater reliability. In addition, this jumper will later serve as a support for fixing the leg. So, we drive wooden choppers into one of the 10x200 mm tubes on both sides.

We drill through holes in the leg, in the middle, on both sides, and screw the jumper onto the screws. Like this:

Now let's work on the leg lock. We place the 15×30×70 block with glue and screws above the jumper, in the middle.
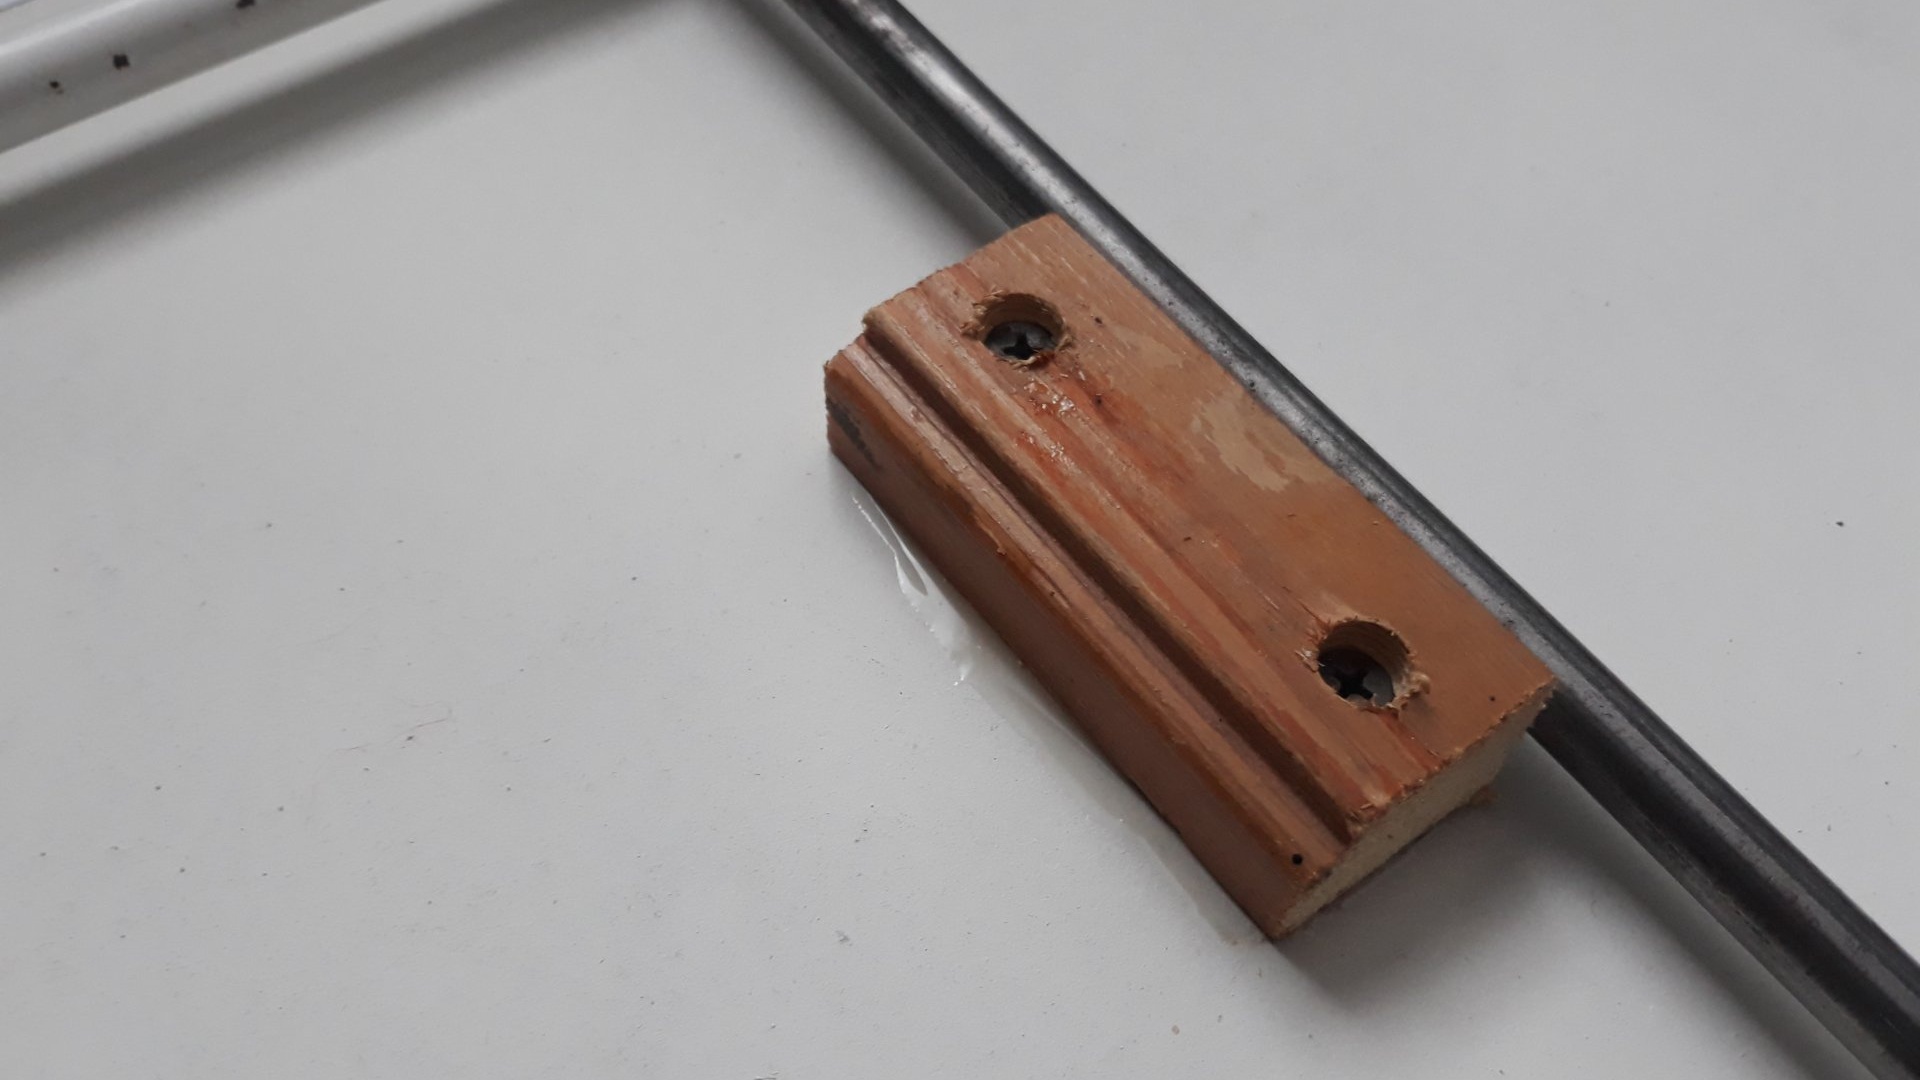
Next, from a strip of metal 1×10×60, we bend the following squiggle:
Use a 4 mm drill to drill holes in it like this:

We screw the resulting corner to the block.

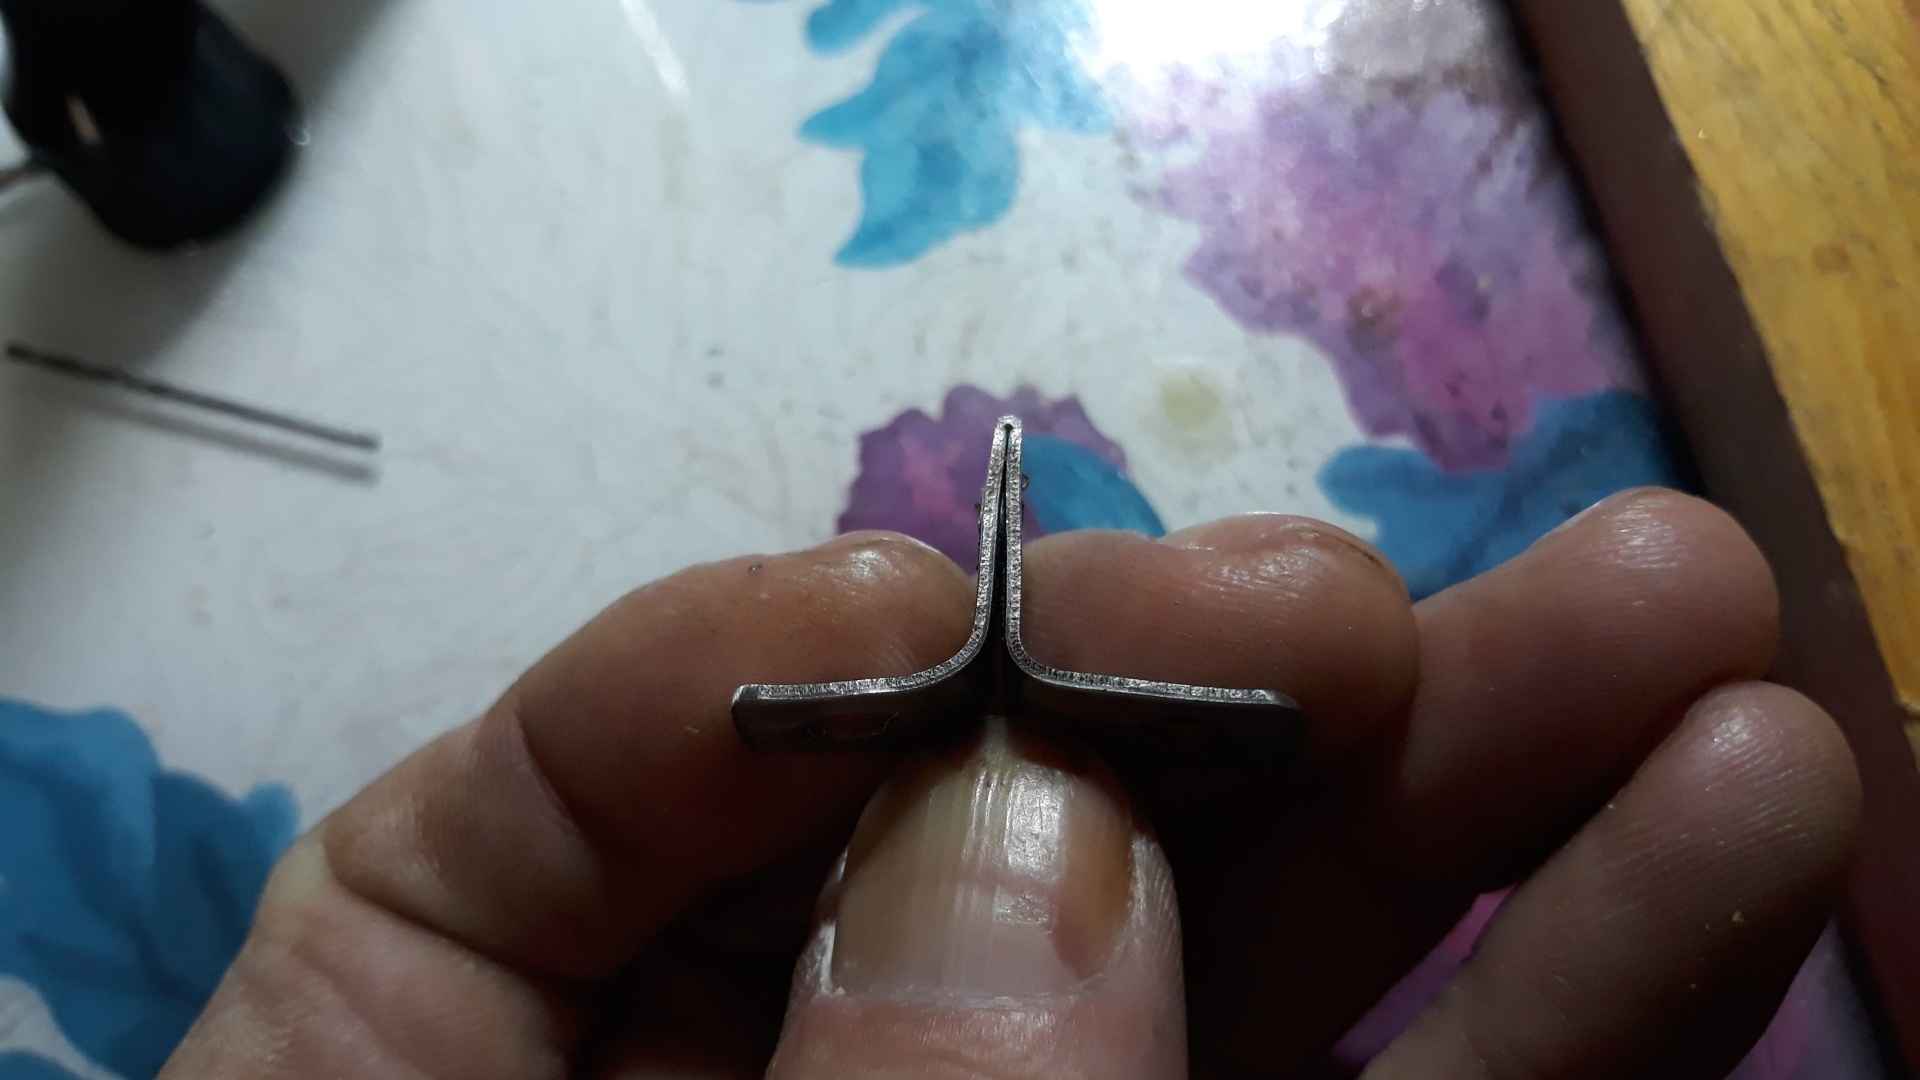
On the second prepared 10×200 tube, we make a small cut along one end, 15 millimeters, and drill a hole for a 7 bolt, like this:

At the other end we make a long cut, about 50 millimeters, and bend the cut edges into a kind of double hook.


We secure the resulting hook with a bolt and nut to the base of the holder.
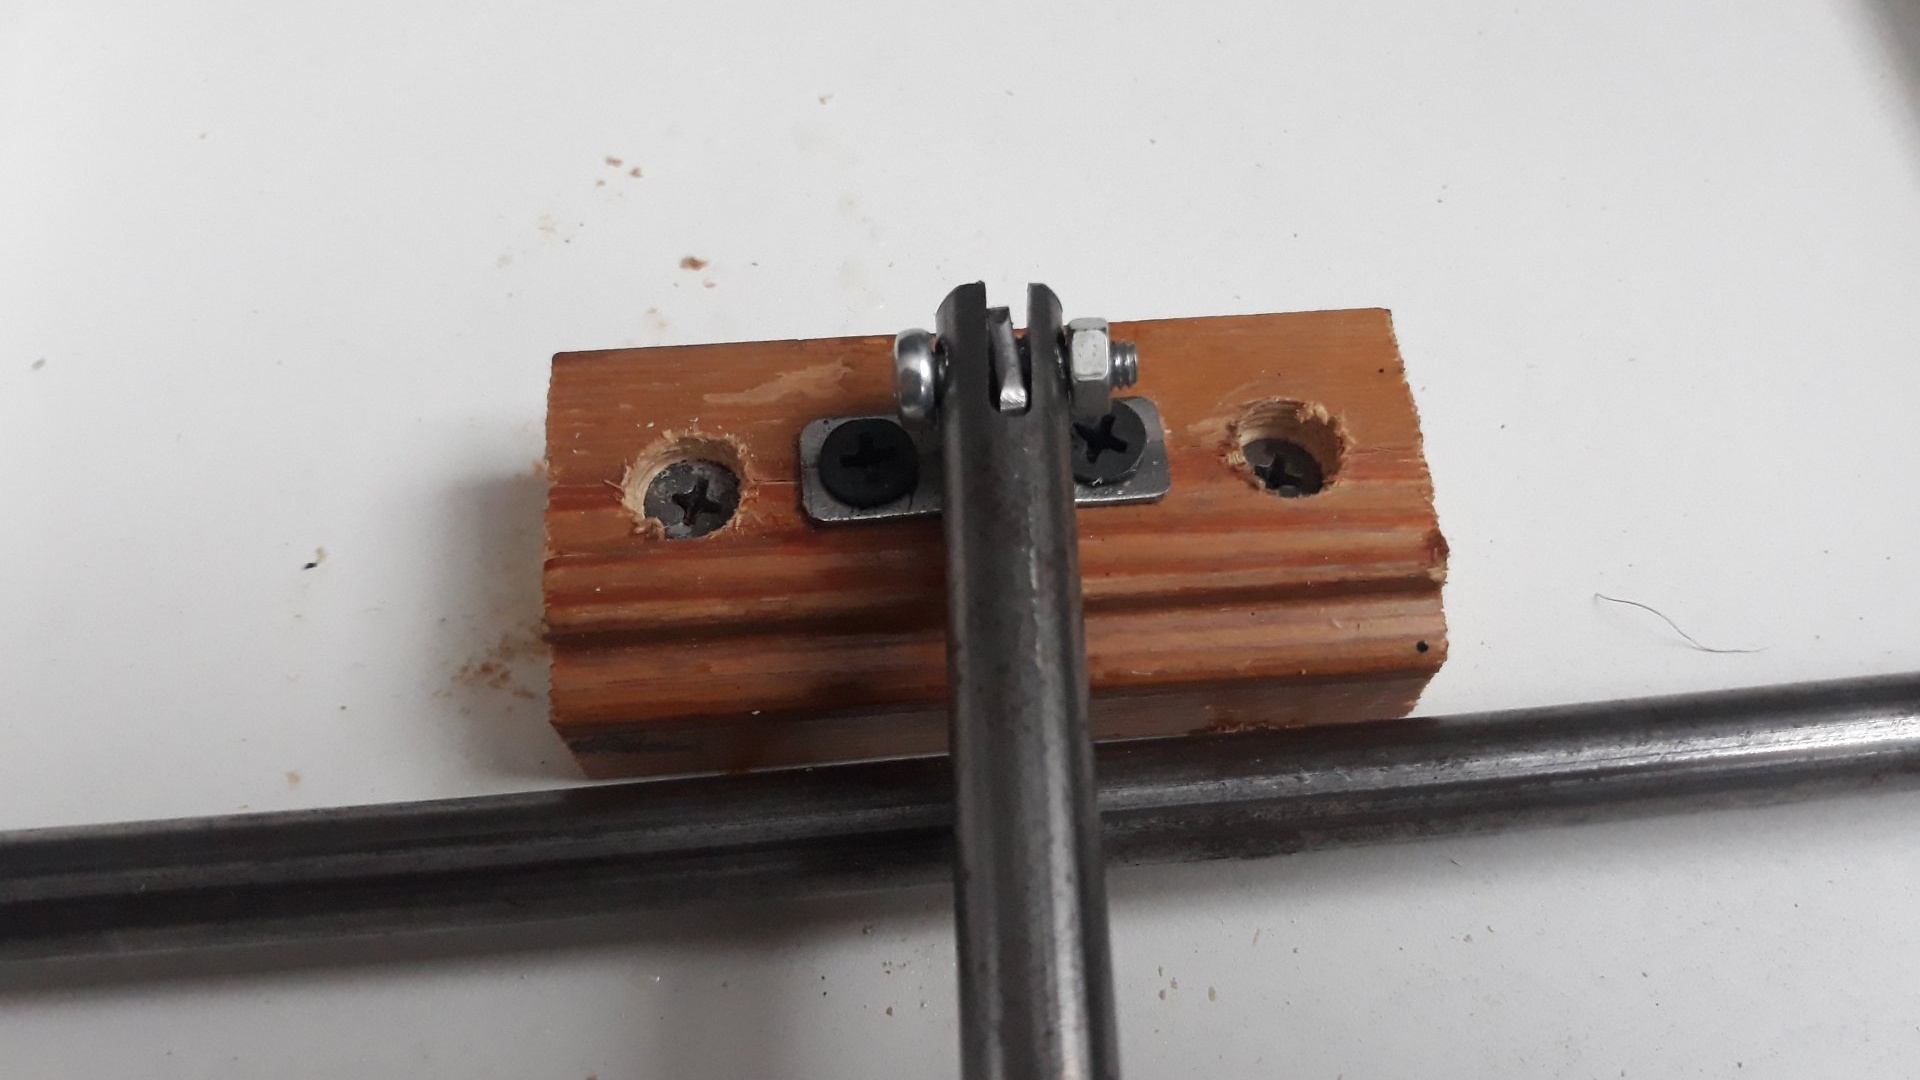
This is what it should look like:

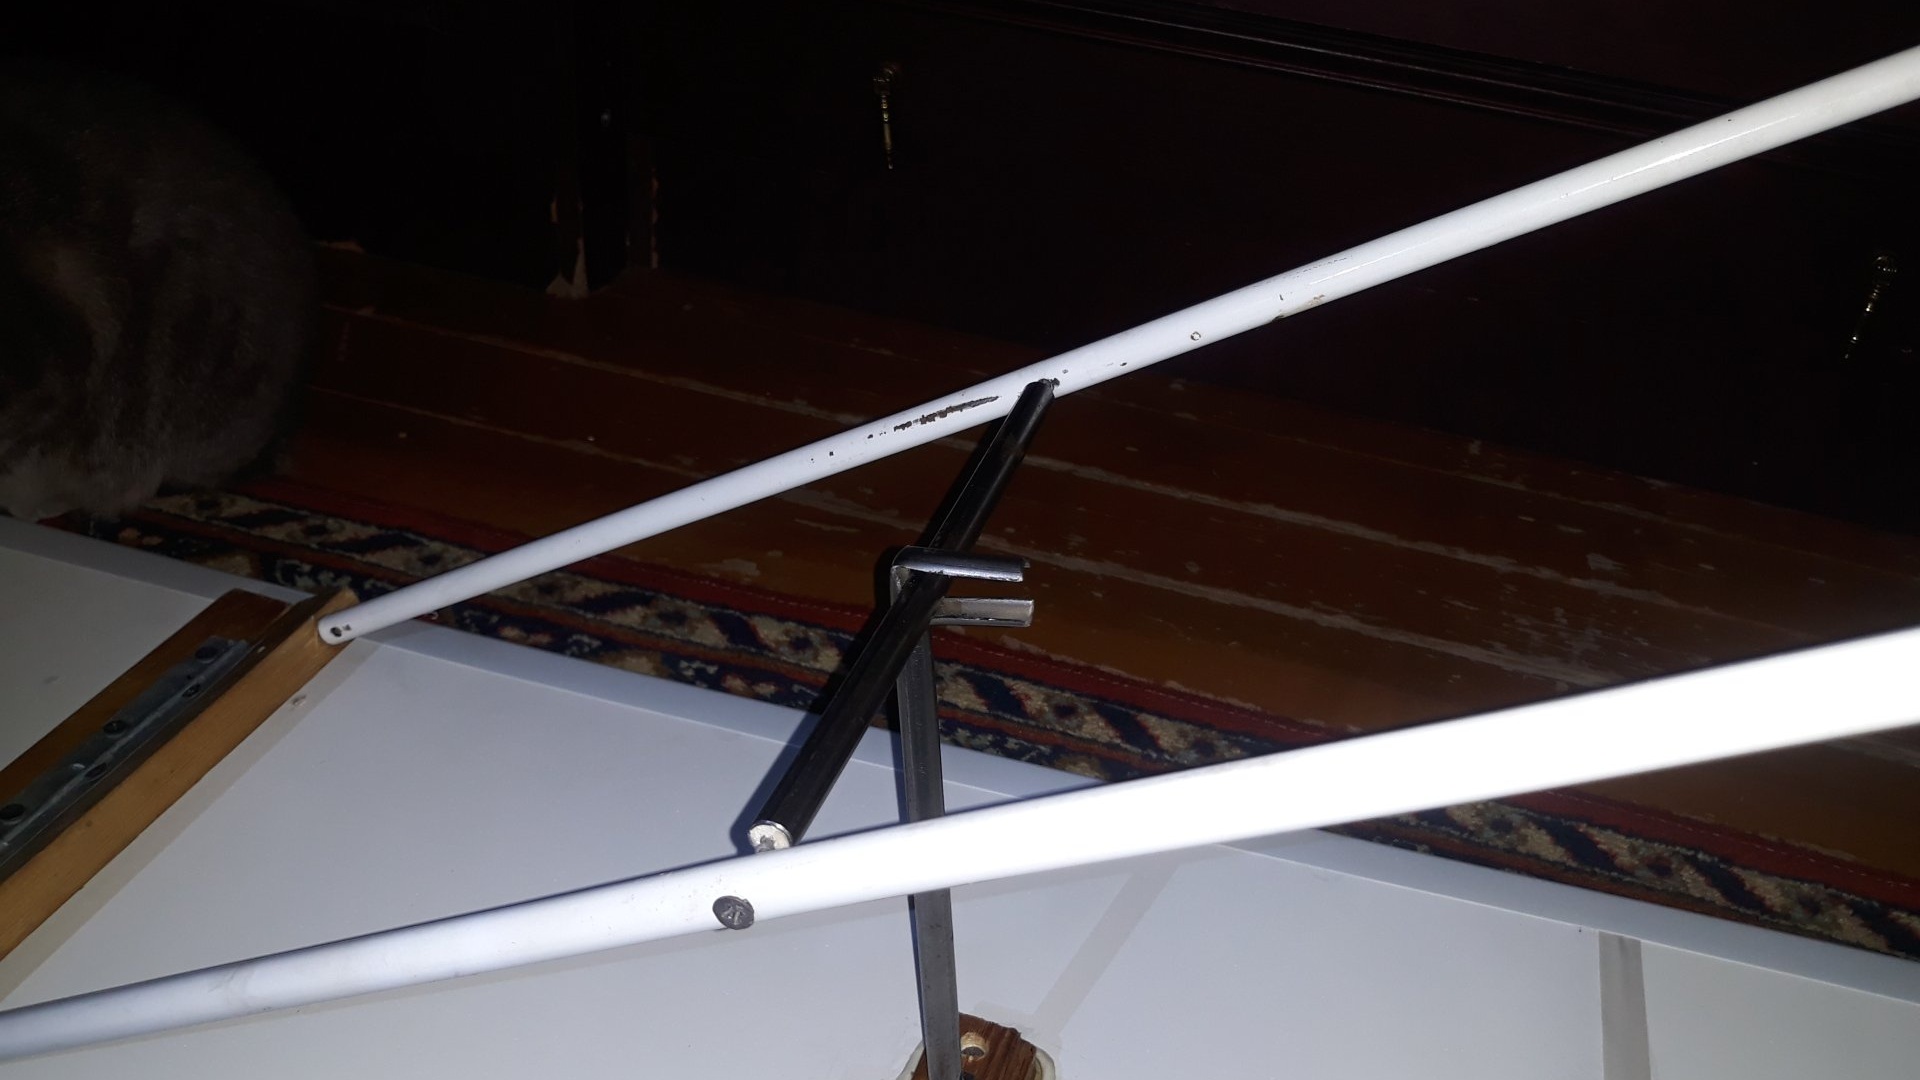
And this is how the holder will fix the leg:
This completes the assembly of the mirror. You can, just in case, additionally strengthen the base of the holder by cold welding. Until the next morning, it is better to leave the mirror lying flat on the floor so that the epoxy glue sets evenly, without smudges. This is the kind of mirror we will get.

In a store, such a mirror has an average price of 5,000 rubles. It cost me 79 rubles - the price for 2.5 meters of edging (49 rubles), and a bag of self-tapping screws (30 rubles). Everything else was collected from scraps and supplies already available.