I decided to upgrade the old flashlights from a lead-acid battery to Li-ion.
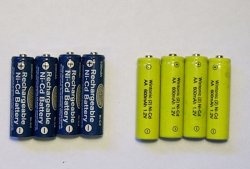
The batteries were taken from the popular 18650 size, taken from an old laptop battery.
To complete this we will need:
- - lanterns;
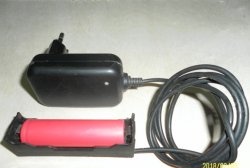
- - 18650 batteries;
- - charging controllers;
- - BMS boards;
- - wires;
- - hot glue, soldering iron, tools.
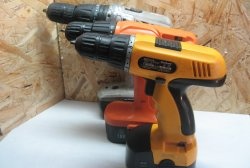
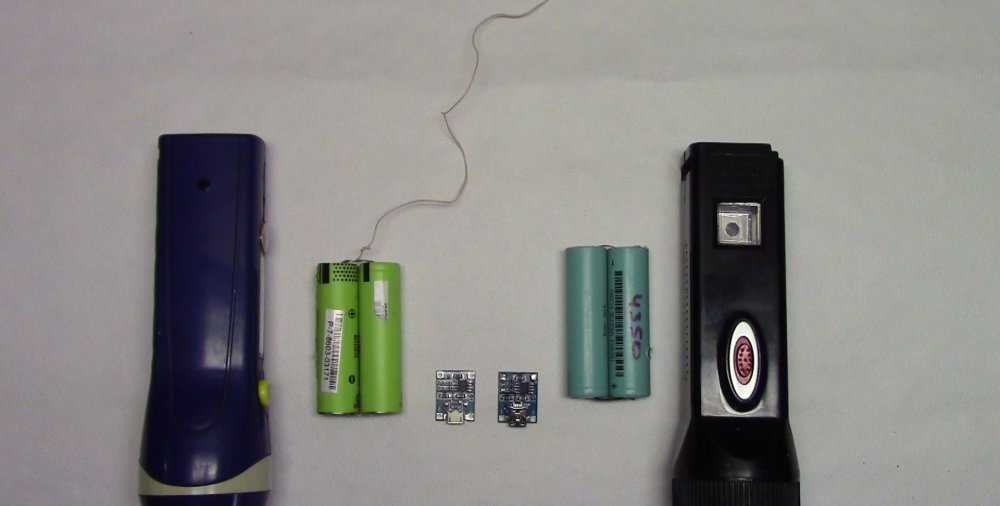
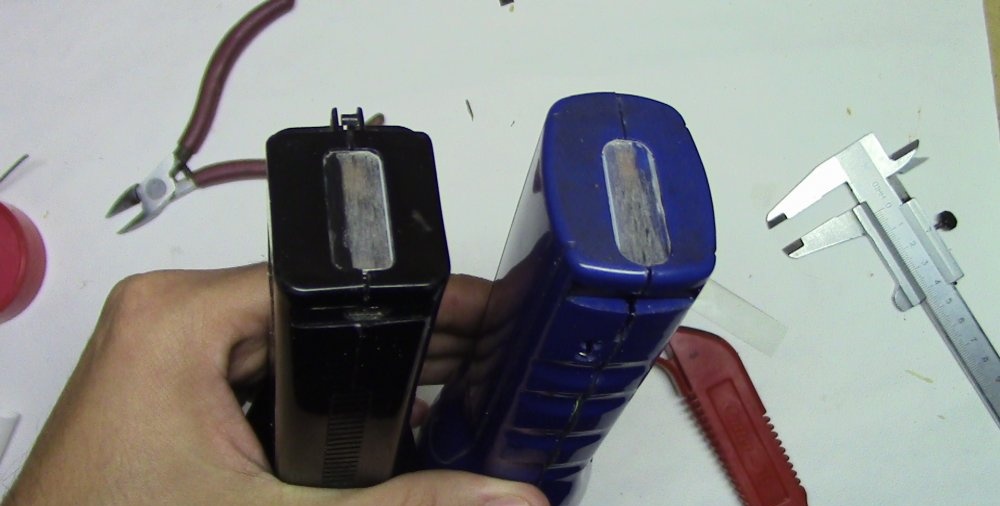
We disassemble the flashlights and take out the filling (old battery, charger). I had them on LEDs, although they are still sold on incandescent lamps.
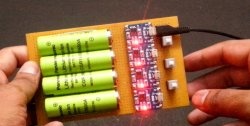
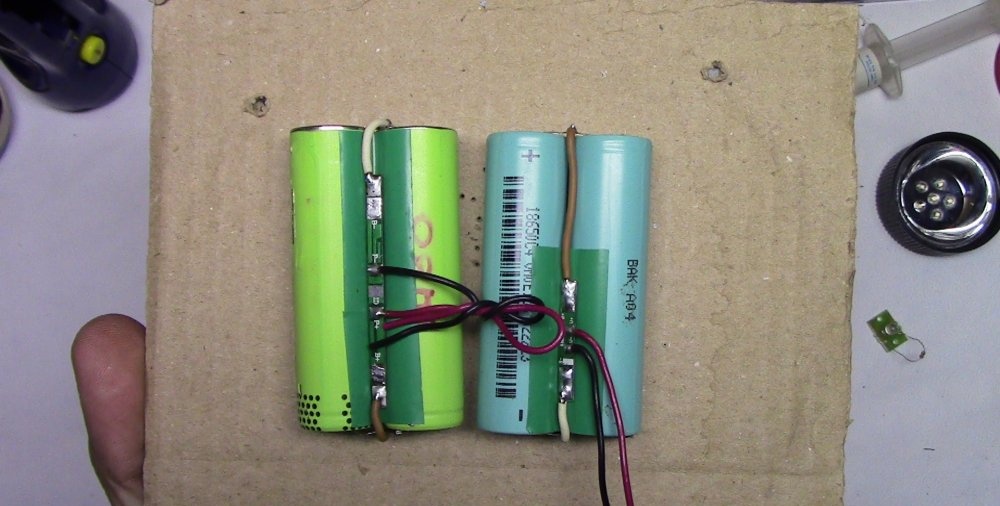
My flashlights turned out to be just the right size for a pair of 18650. We solder them into pairs, my pairs were welded initially. Lithium batteries cannot be soldered, so when disassembling, try to leave part of the tape, it can be soldered later. I previously measured the capacity and it is quite enough for hours of work.
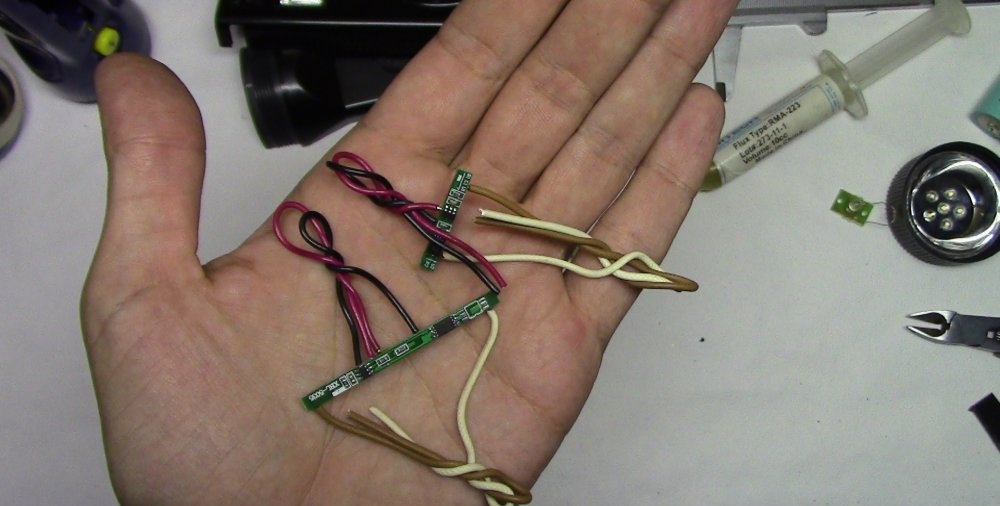
I removed the BMS boards from old mobile phone batteries. These boards will protect against battery discharge below the permissible level.Solder the output wires and set them aside.
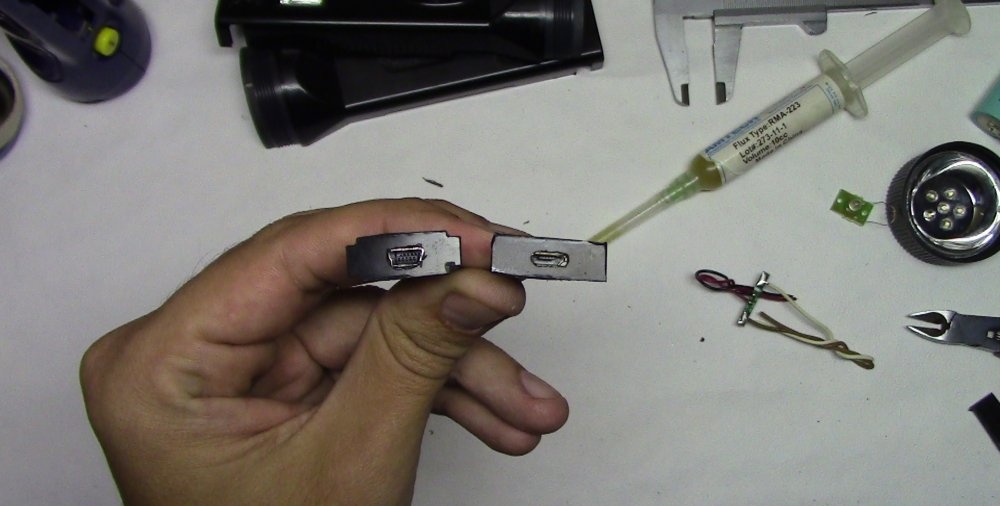
I mounted the charge controller boards into plastic inserts. Later I will install them in the place where the retractable power plug used to be. I made holes in the plastic blanks and the board connectors fit into them as if in their original place, without even gluing them. The boards were taken with different connectors that were available.
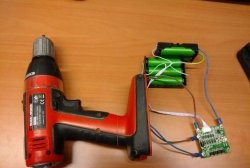
Now we take the BMS boards and solder them to our 18650 batteries. Although the elements on the boards heat up slightly, I laid a layer of electrical tape, so to speak, just in case.
We solder the charge controller boards. We install the batteries into the case. I used a piece of wine cork as a spacer. For reliability, the board was glued with hot glue.
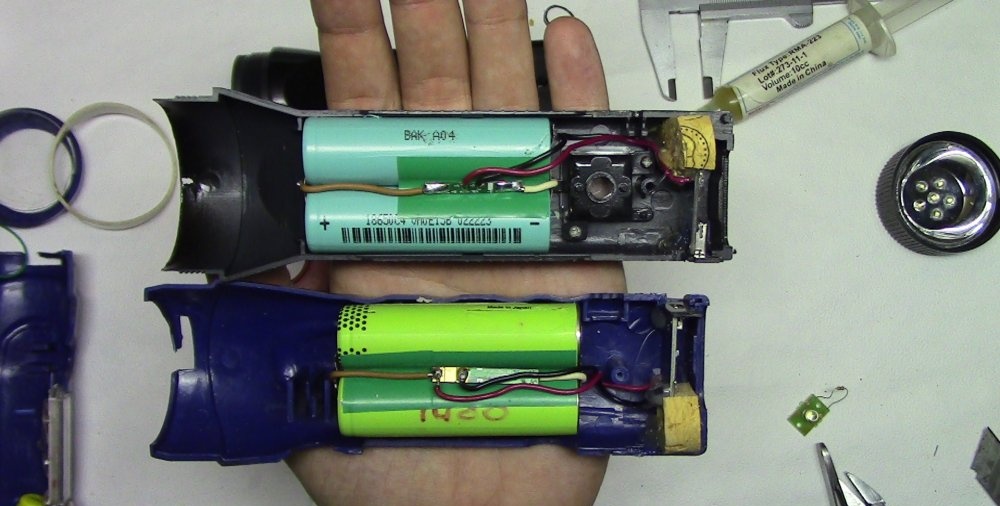
Now we solder the output wires from the batteries (from the BMS board) to the buttons. I also thought about removing the single one on the black flashlight Light-emitting diode, but still decided to leave it. There is room for one and a switch allows you to turn it on separately.
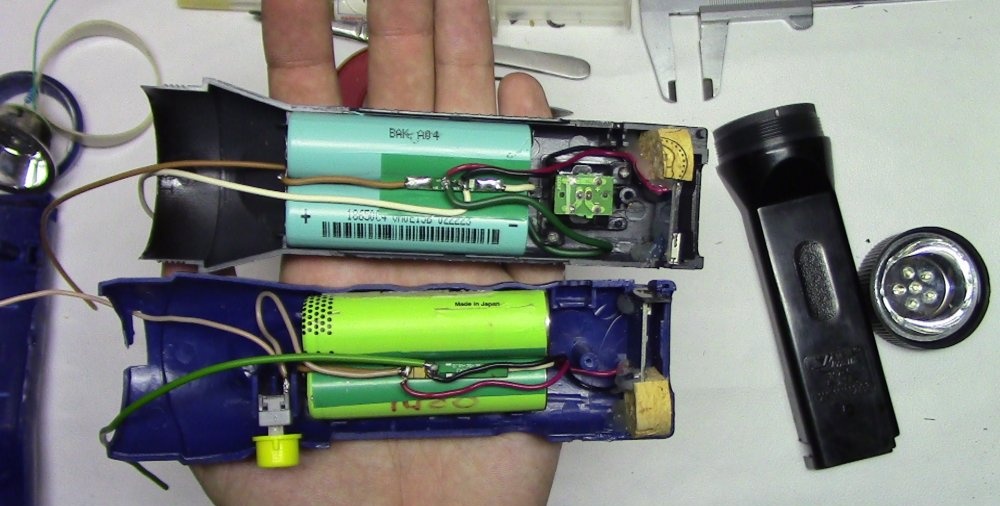
Pre-assemble the lanterns
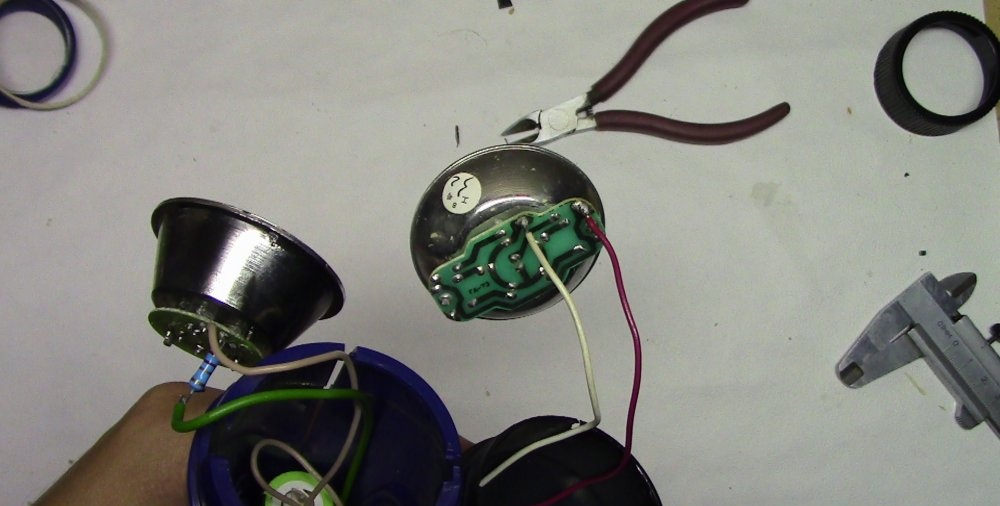
The boards on the reflector with LEDs had different connections. On a blue lantern LEDs connected in parallel, there is only one current-limiting resistor. This connection is incorrect, but I decided to leave it because I didn’t have that many resistors. On a black flashlight for every Light-emitting diode a current-limiting resistor is connected, all these assemblies are connected in parallel. This connection is correct.
Assembling a flashlight
In the place where there was a slider that pulled out the power plug, I cut out insert windows from plexiglass and wiped them with sandpaper to give them a matte surface. I glued the inserts with superglue, you need to glue them to one half, in case you need to disassemble the flashlight.
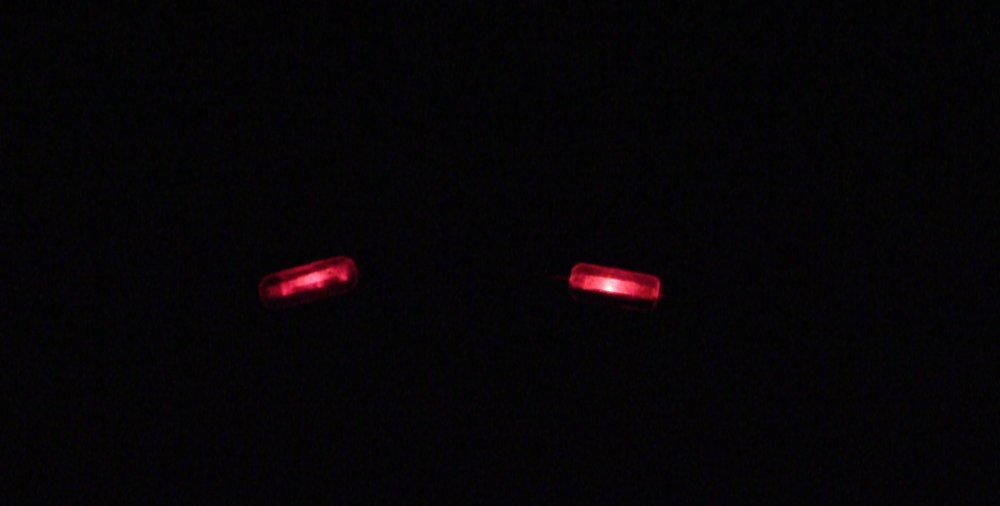
The charging process is very clearly visible through the insert window. The red color indicates the charge, when the blue light turns on, the charge is complete.
This is how you can easily modify almost any flashlight. I have modified a large number of flashlights using this method. They have been working for more than one year, why shouldn’t they work?