I decided to replace the LED flashlight with three AAA batteries. The question arose about charging them.
After digging around on the Internet I found a bunch of diagrams, but details are a little tight in our city.
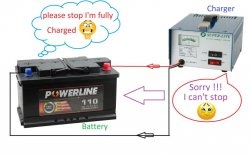
I tried charging from a cell phone charger, the problem is in charge control, you need to constantly monitor the heating, it just starts to heat up, you need to disconnect from charging, otherwise the battery will be damaged in the best case, otherwise you can start a fire.
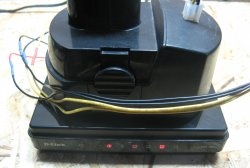
I decided to do it myself. I bought a bed for the battery in the store. I bought a charger at a flea market. To make it easier to track the end of the charge, it is advisable to find one with a two-color LED that signals the end of the charge. It switches from red to green when charging is complete.
But you can also use a regular one. The charger can be replaced with a USB cord and charged from a computer or charger with a USB output.
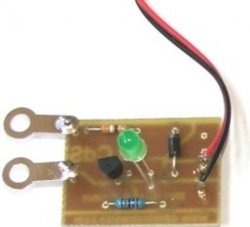
My charger is only for batteries without a controller. I took the controller from an old cell phone battery. It ensures that the battery is not overcharged above a voltage of 4.2 V, or discharged below 2...3 V. Also, the protection circuit saves from short circuits by disconnecting the bank itself from the consumer at the moment of a short circuit.
It contains the DW01 chip and an assembly of two SM8502A MOSFET transistors (M1, M2). There are also other markings, but the circuits are similar to this one and work similarly.
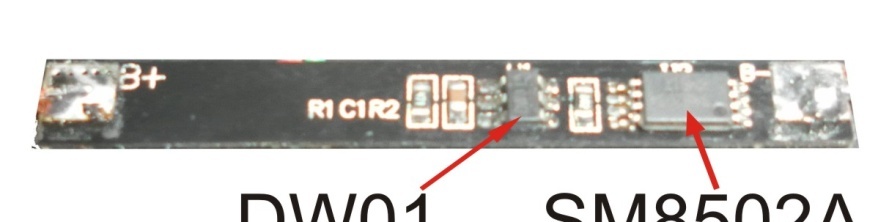
Cell phone battery charge controller.

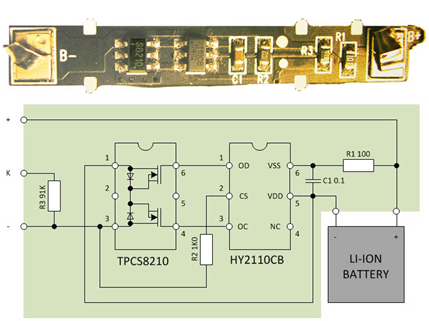
Controller circuit.
Another controller circuit.
The main thing is not to confuse the polarity of soldering the controller to the bed and the controller to the charger. The controller board has “+” and “-” contacts.


It is advisable to make a clearly visible indicator in the bed near the positive contact, using red paint or self-adhesive film, to avoid polarity reversal.
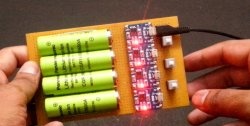
I put everything together and this is what happened.
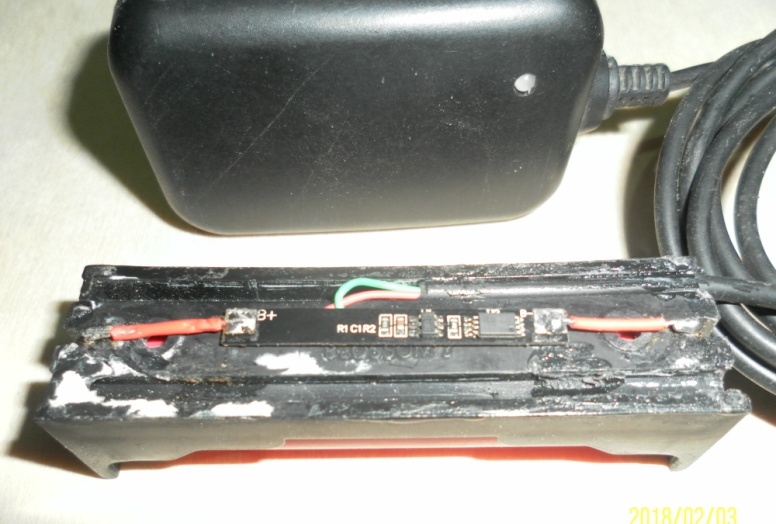
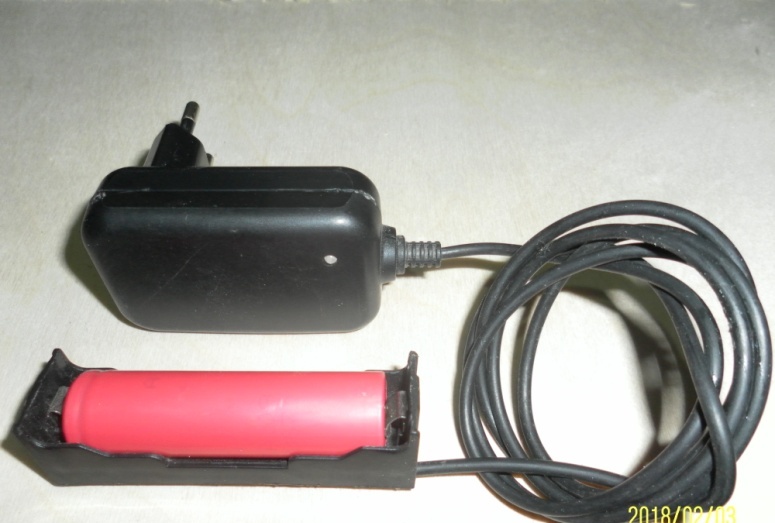
Charges great. When the voltage reaches 4.2 volts, the controller disconnects the battery from charging and switches Light-emitting diode from red to green. Charging is complete. You can charge other Li-Ion batteries, just use a different bed. Good luck to all.