People seem to have completely opposite opinions about the gallery wall. It can cause skepticism due to its simplicity, and vice versa, make a person abandon the idea due to uncertainty that something worthy will come out. In fact, the truth is somewhere in the middle. Absolutely anyone can do it, but it requires some effort and some ideas. We have divided the entire process into six stages. We will try to describe all the work in detail here.
For this project you will need:
- Level.
- Hammer.
- Roulette.
- Nails with a narrow head.
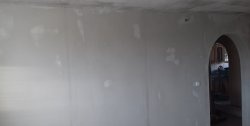
Wall measurement
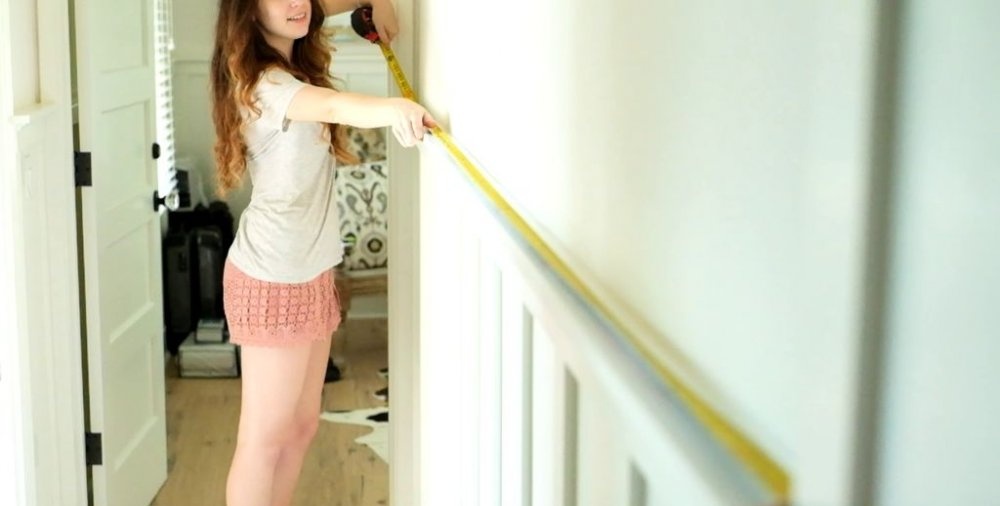

There are several ways to design a gallery wall, but we believe the easiest is to measure the wall, transfer these measurements to the floor and build frames directly on it. Therefore, first we need to know the dimensions of the wall. We measured the wall and the space that the frames will occupy.
Sketch the location of the frames on paper
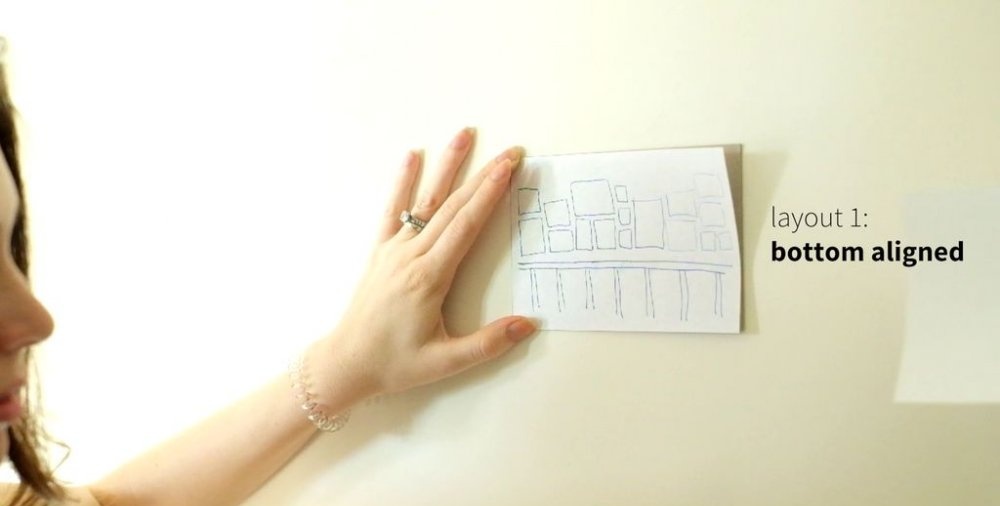
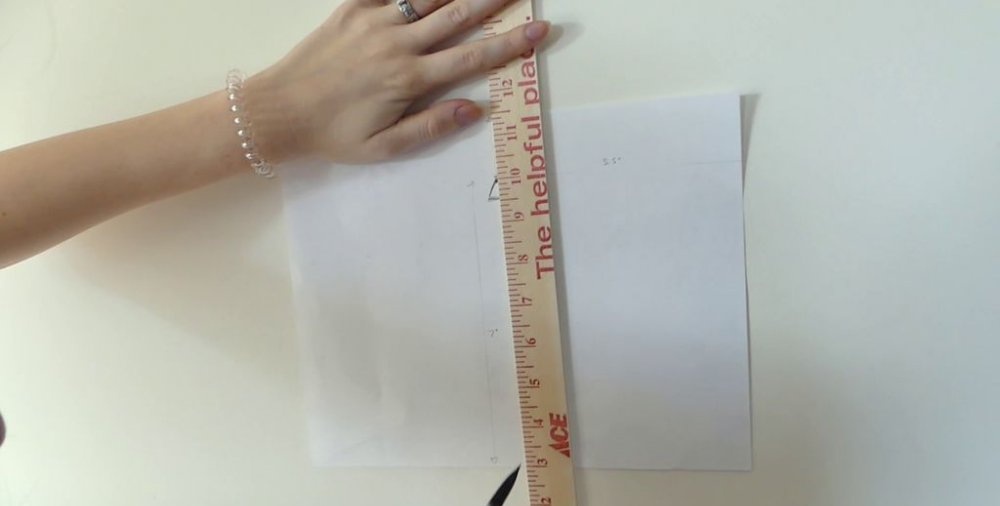
You can skip this step, but I like to have an idea of where the frames should go before I actually start laying them out.This will help to more fully take into account all the features of the wall when arranging the frames, for example, the presence of slats to protect the walls from damage by the backs of chairs.
There are many ways to arrange frames, and if you have a creative eye, your intuition will probably tell you how to do it. But if you don't know where to start, here are some options.
Option 1: Bottom Align
The bottoms of the frames are aligned along one line, while the tops can be staggered. We settled on this option, since it allowed us to leave an even space between the rail and the edge of each frame.
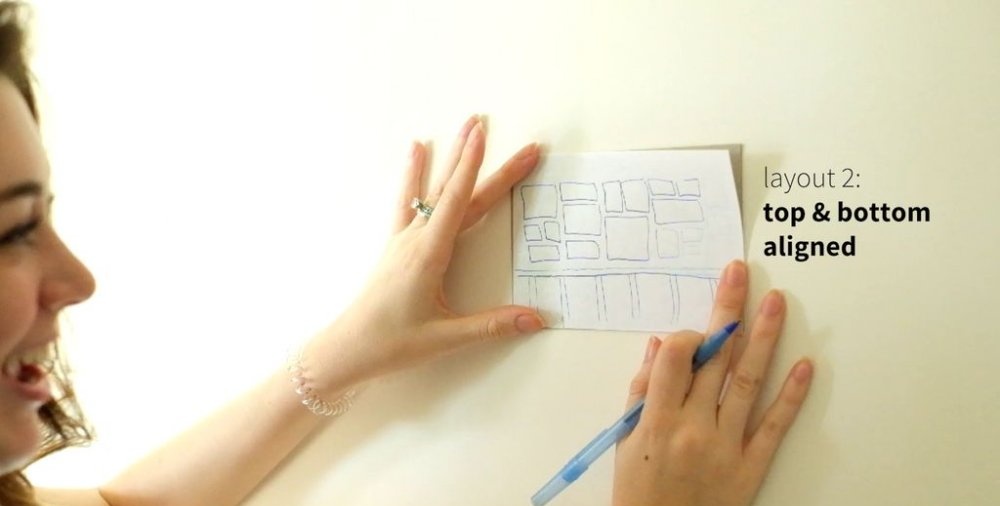
Option 2: Bottom and Top Alignment
This is quite difficult to do, since you will need frames that fit perfectly together. The easiest way to do this is if you buy them in 1-2 sizes to work with.
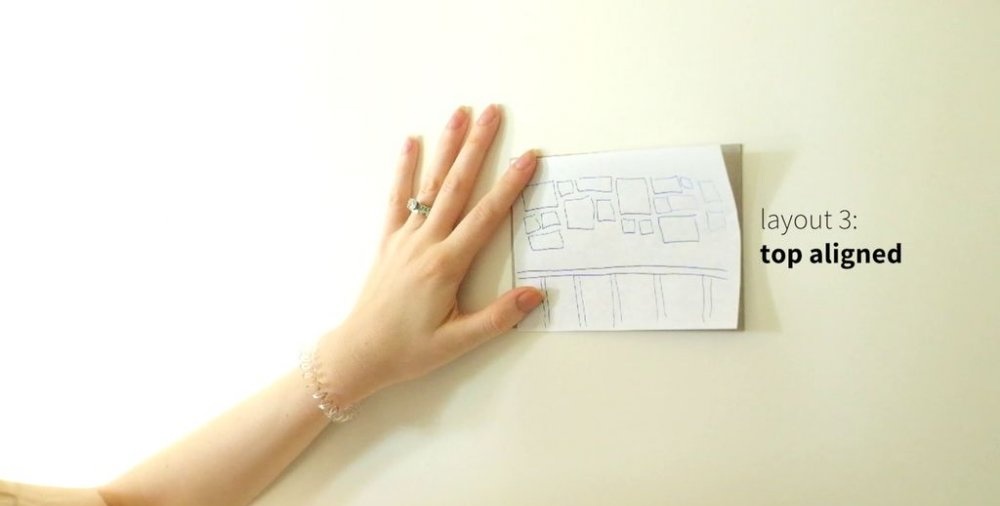
Option 3: Top Align
We usually use this style. The upper parts of the frames are aligned on the same level, while the lower parts are located differently.
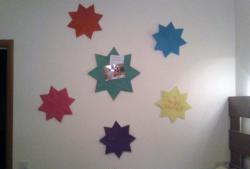
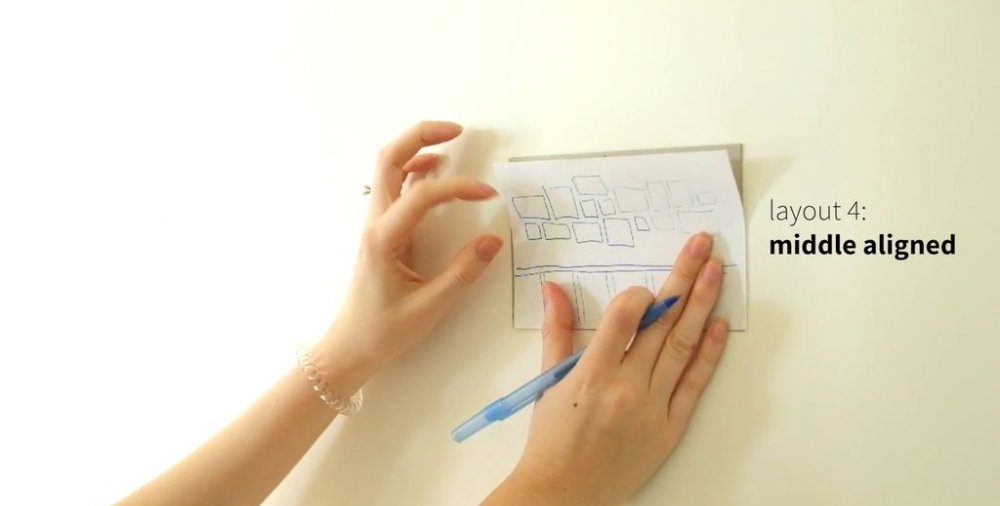
Option 4: Center Align
This option looks more natural, but as a result it can create an impression of chaos. There is an imaginary line that runs down the center of the gallery. Some frames go a little above this line, others a little below, but the line itself remains at the same level.
Again, you can always arrange your frames randomly (based on some alignment), but if you don't know where to start, you can use the options above.
Note: We like to keep the space between frames as equal as possible.For this gallery wall we chose a distance of 3 cm, but if the frames were larger, it could grow to 5 cm.
Marking space on the floor
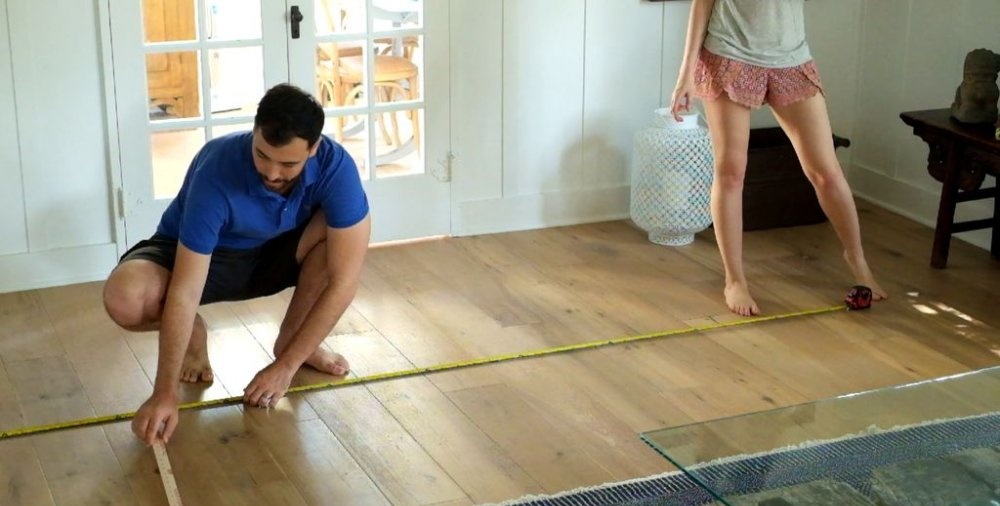
Make marks on the floor according to your wall measurements. We used a tape measure for the bottom edge and marked the edges of the gallery.
Laying out frames
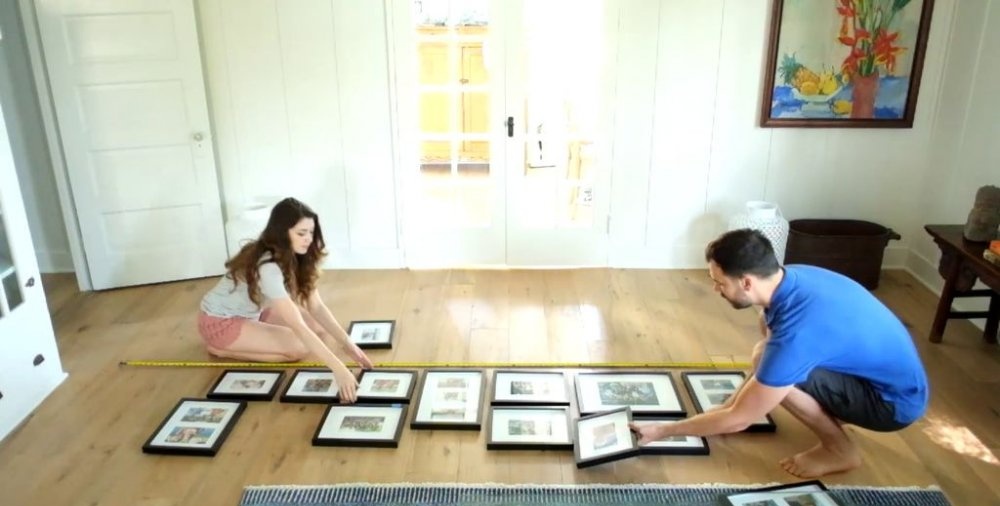
This part of the work is the most interesting. Place your frames in relation to the marks left on the floor. We aligned their bottom edges with a tape measure, placing the frames 3cm apart as much as possible, taking care to balance the large and small size frames without creating obvious symmetry.
Perhaps the result that suits you will not come out the first time.
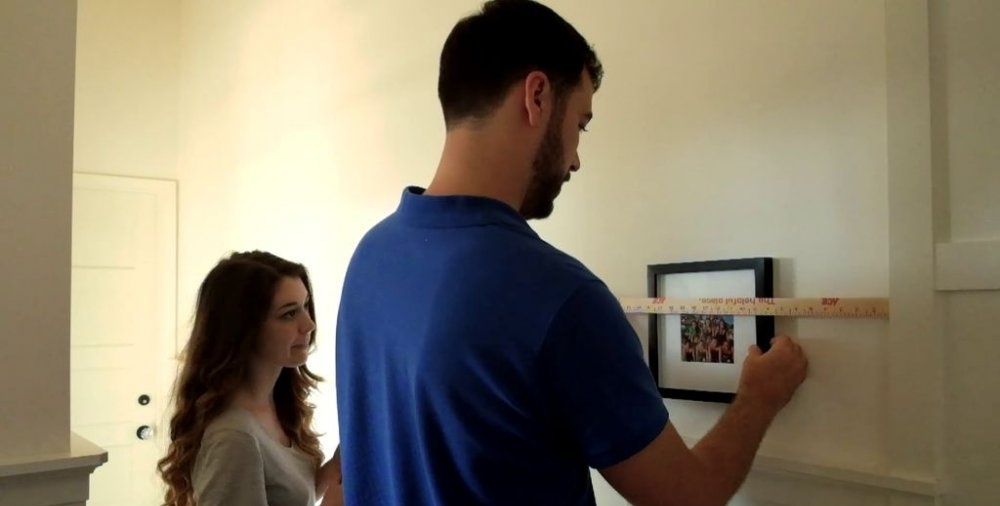
Measurements for attaching frames
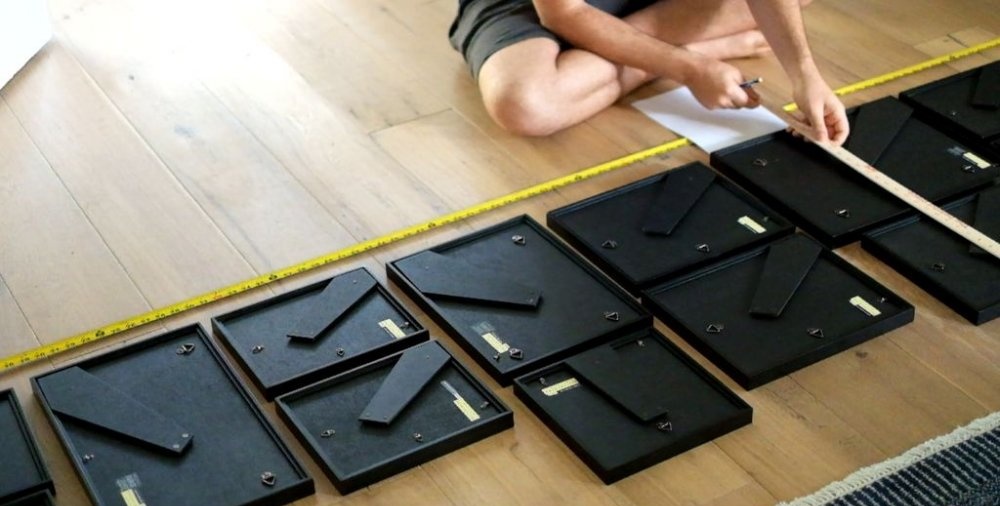
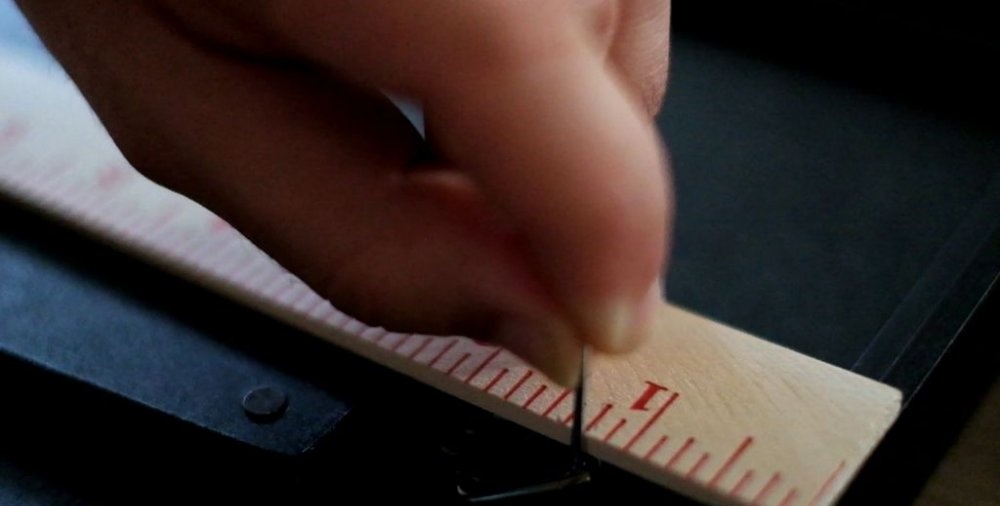
Then turn all the frames over, leaving them in the same places. You will have to find out the dimensions of each frame, and also make a mark where the nail will be located in the wall to attach it. In our case, several frames had the same dimensions, so we had to measure only those that differed (for example, 4 cm below the top edge, 12 cm from the edges).
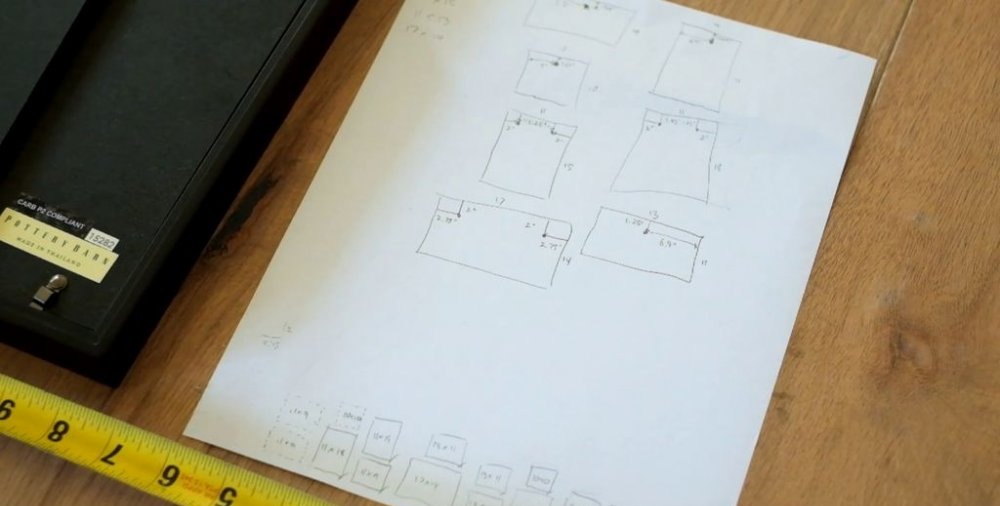
The simplest option is to draw a diagram of the location of the frames and write on each one its dimensions and the location of the nail. This may seem tedious, but this approach will make the job much easier when it comes to making holes in the wall.
Hanging frames
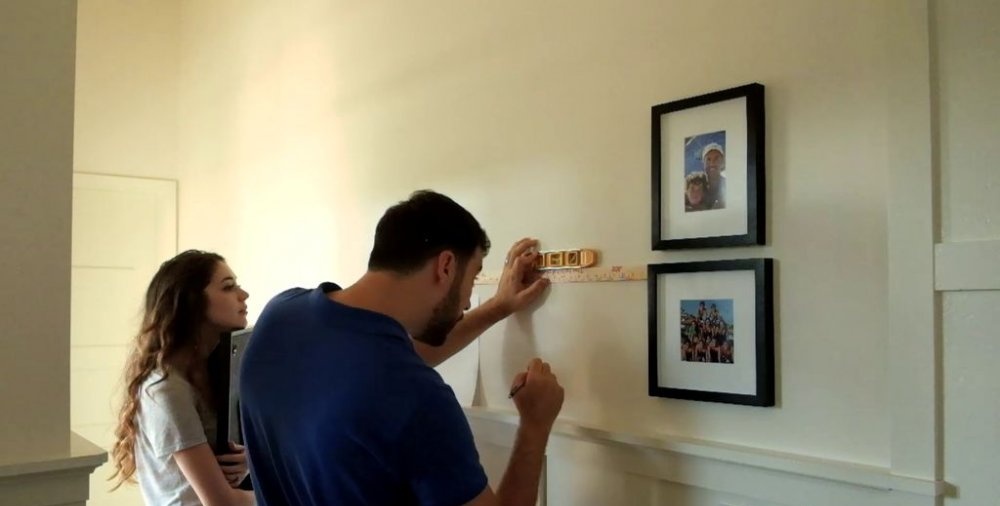
Now that you have recorded all the measurement results, the next part of the work will not cause many difficulties. It's easiest to start with a frame that is positioned relative to the alignment line (in our case, this is the bottom frame, since the entire gallery will be aligned to the bottom edge). We started at the bottom right frame and continued to the left. You need to know the general dimensions of the gallery layout, so the entire composition will be in the middle.
Here I will tell you in more detail. Let's imagine that the nail should be 12 cm from the edges of your frame and 18 cm from its bottom edge (here I give the location relative to the bottom, since the alignment is at the bottom). To determine where to drive the nail, you will have to add additional distances where the gallery should be located from the edge of the wall (or from the lath, in our case). Therefore, if you need to place the frame 22 cm from the edge of the wall, then the nail needs to be driven in 34 cm from its edge. We wanted the distance between the frames and the rail to be 8cm, so we added 8 and 17cm together to get 25cm from the rail. So the first nail was driven in at a distance of 35 cm from the edge of the wall and 25 cm above the lath.
Other tips:
Once you've marked the location of a couple of frames, you'll have to take other frames as your reference point, rather than things like the edge of a wall or the edge of a batten. Don't forget to add any extra space you want between frames.
Do not drive all the nails in at once. Hang one frame in the prepared area, and then move on to the next. This way, if you mess something up, you will have to change the location of one nail, not all of them.
Finally, choose nails that are small but strong enough.
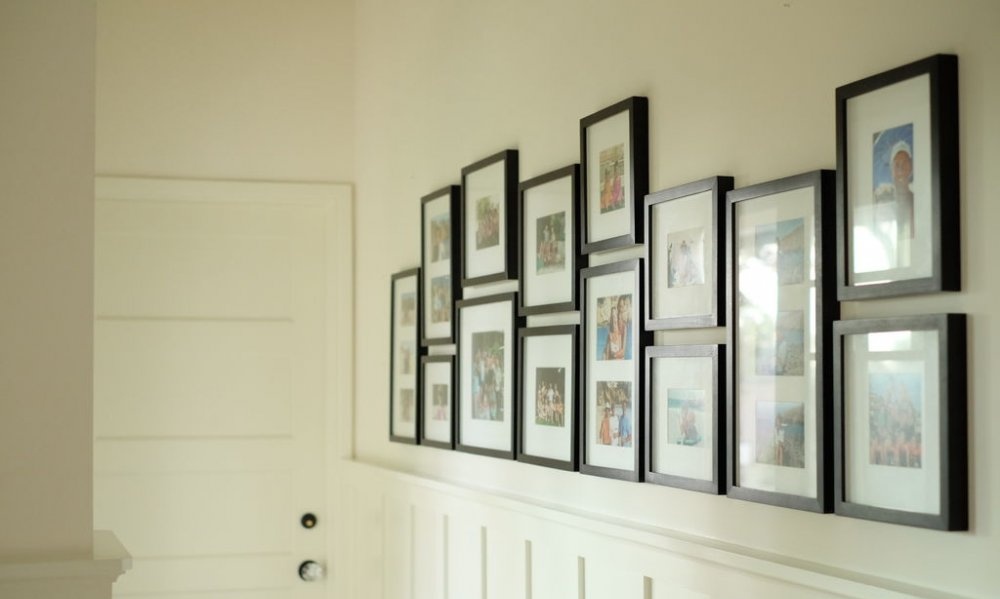
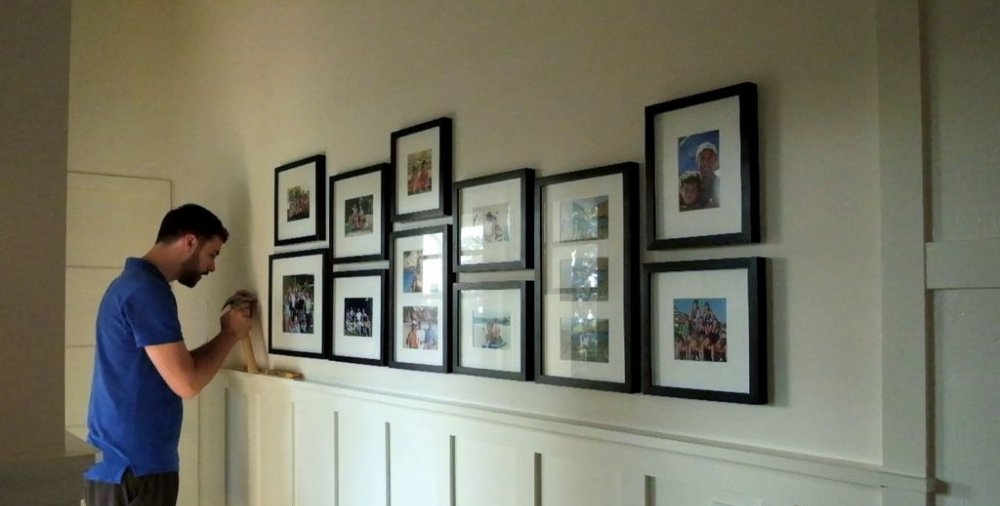
All is ready!
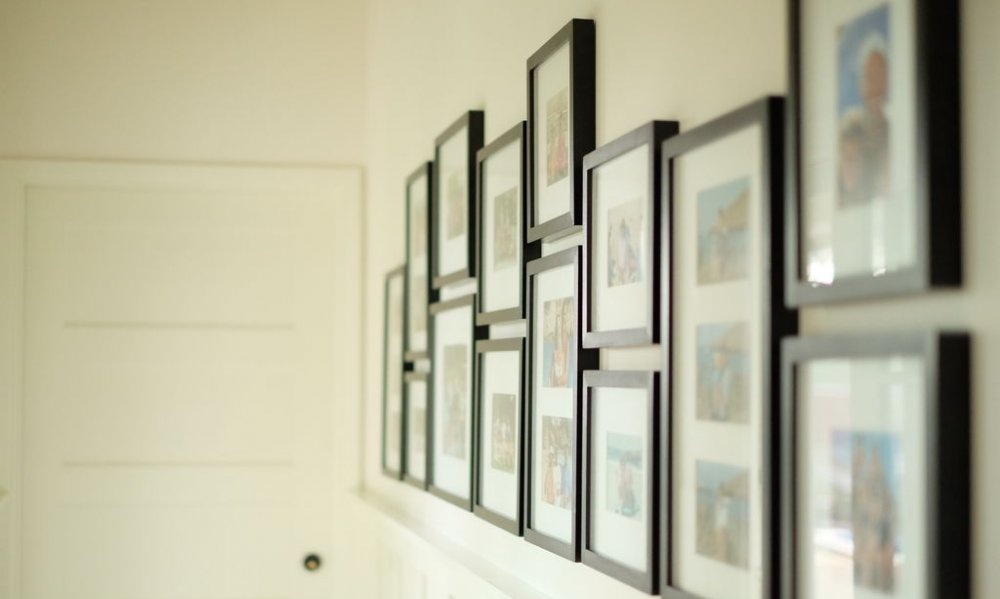
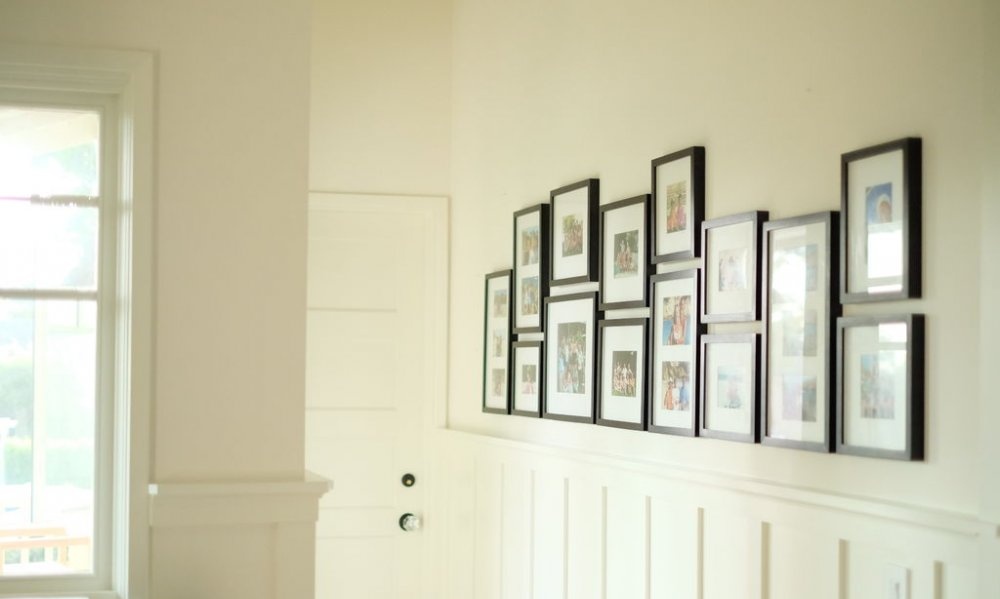
Enjoy the result. Once you understand how this method of creating a gallery wall works, you can handle any kind of gallery wall decor: a combination of fine art and photography, different arrangements, etc. We now have 5 or 6 gallery walls in our house - we love it !
Original article in English