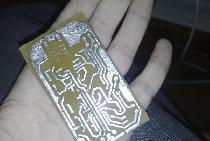
It’s very simple to make devices for drilling circuit boards without using purchased cartridges or other parts. Over the course of my time, I have drilled hundreds of holes in homemade circuit boards with this motor drill. The time spent on making this device will take no more than 10 minutes.
Of course, you can drill not only textolite boards, but also plastic, thin metal such as aluminum, etc.
Before this, I used hand tools, spending enormous time and effort on drilling several holes.
Now all this is done in a matter of seconds, and without any effort or strain.
Necessary materials
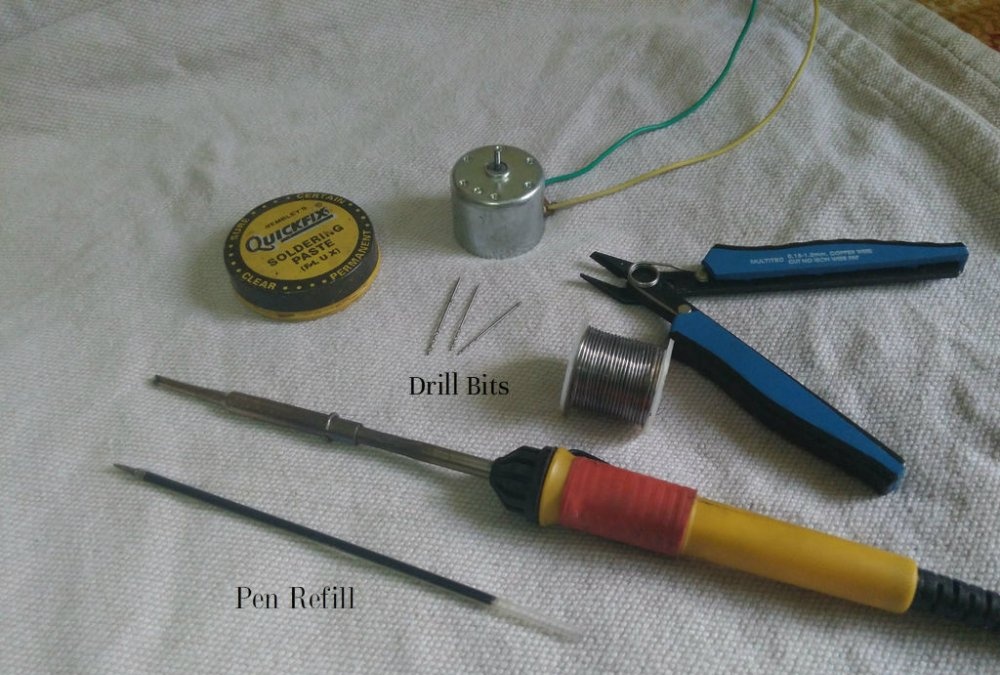
Everything can be made from junk, and, in fact, you don’t have to buy anything. What is needed for production:
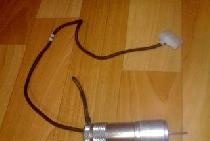
- Electric motor 6-18 V. I took it from an old tape recorder.
- DC power supply to the motor 5-20 V, in accordance with the voltage of the motor. If there are differences in one direction or another by 5 volts, then it’s okay.
- Drill 0.5-0.9 mm. If not, you can buy it at your local store.
- Ballpoint pen paste.
Tool:
- Cutter or nippers.
- Wires.
- Solder paste or flux with solder.
- Soldering iron.
- 10 minutes of your precious time ;-)
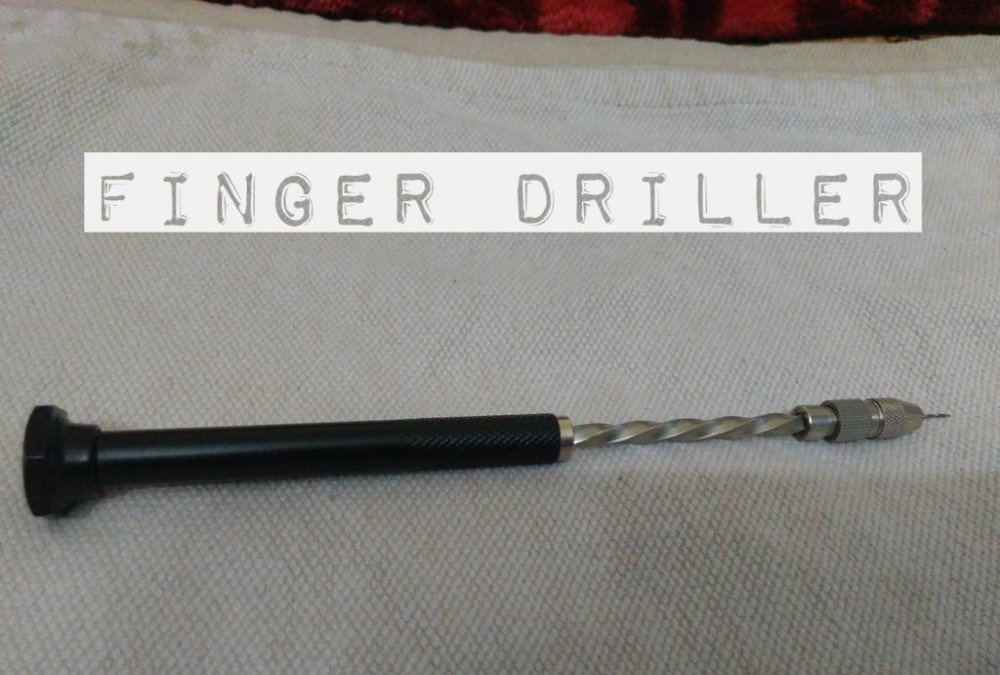
Beginning of work
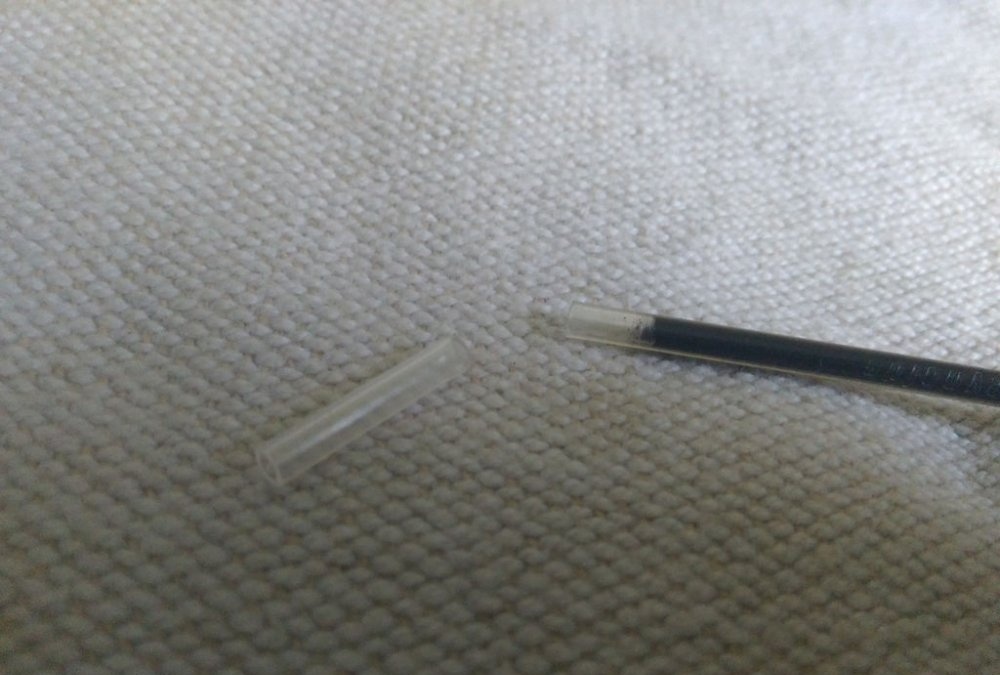

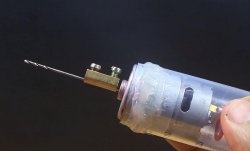
The first thing to do is cut off a piece of pasta, about 2 centimeters. The inner diameter of the paste matches the motor shaft diameter very well. Therefore, the paste fits very tightly onto the shaft and holds perfectly. If the pasta is easy to put on, find a friend, they are different. Usually everything fits as it should.
Next, remove the tip with the ball from the paste, with which I write. To avoid getting stained with ink, wash this tip with alcohol or cologne.
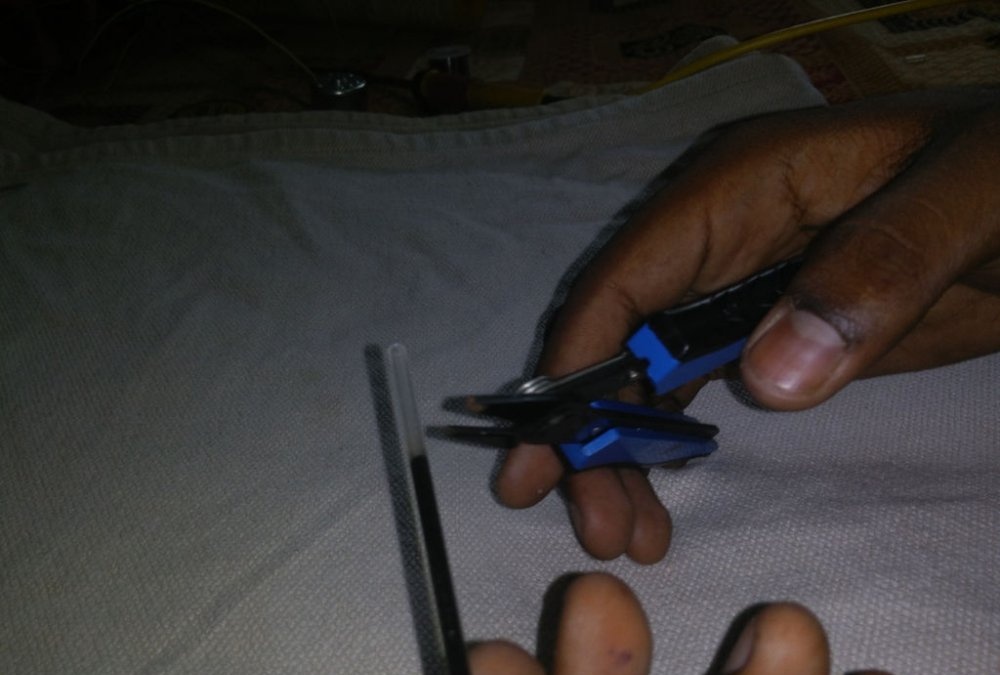
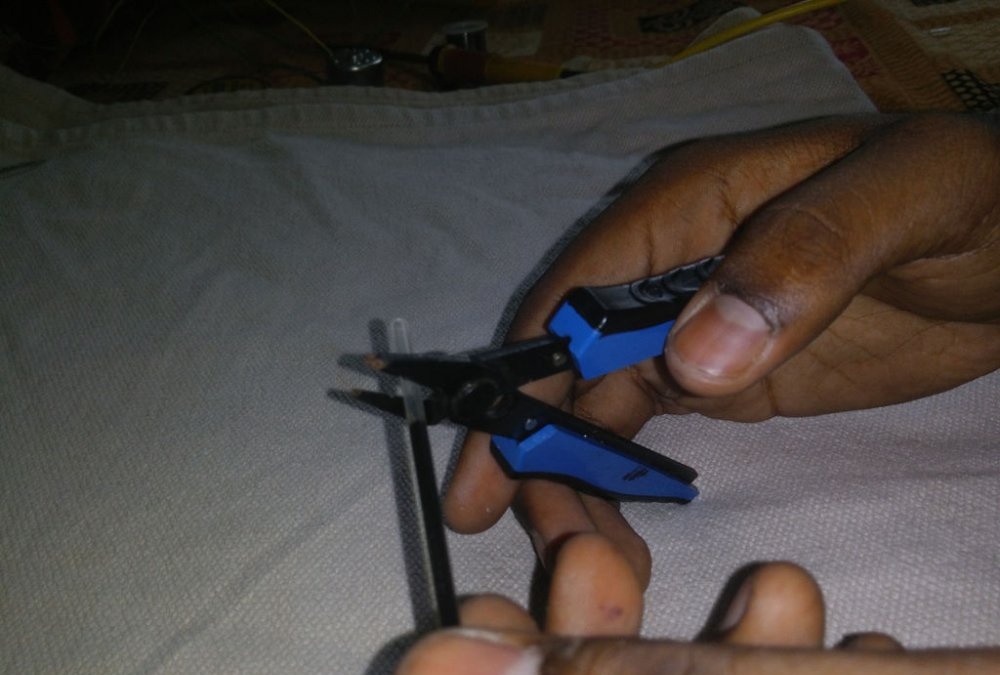
Then use a knife or pliers to bite off the feather ball.
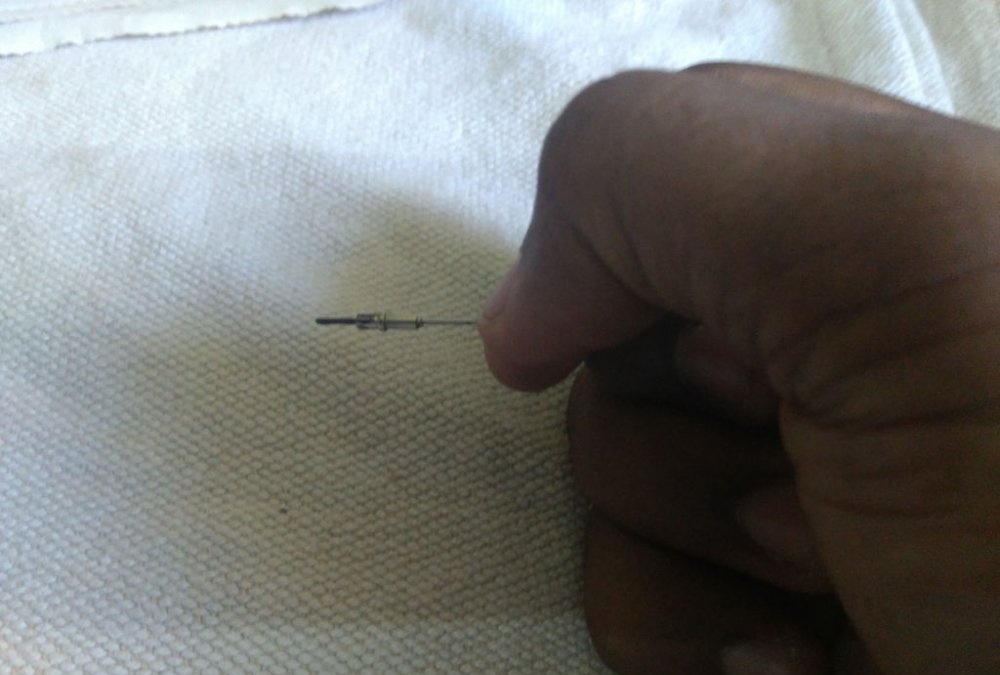
It turns out to be a kind of tube. We insert the drill, it should pass freely.
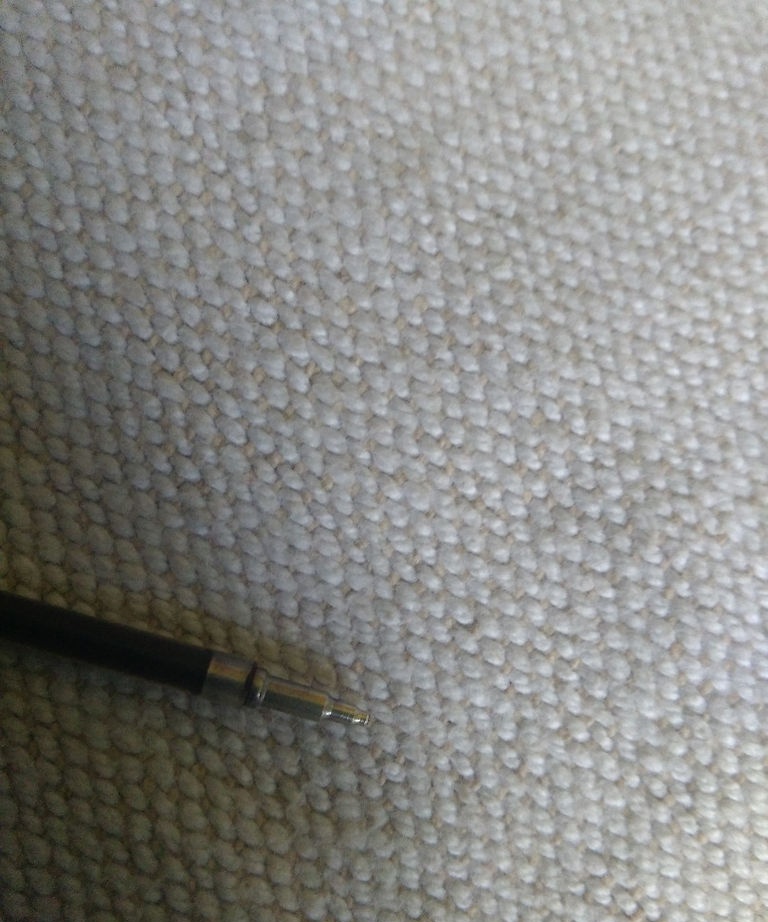
Now, in order to fix the drill, you need to solder it.
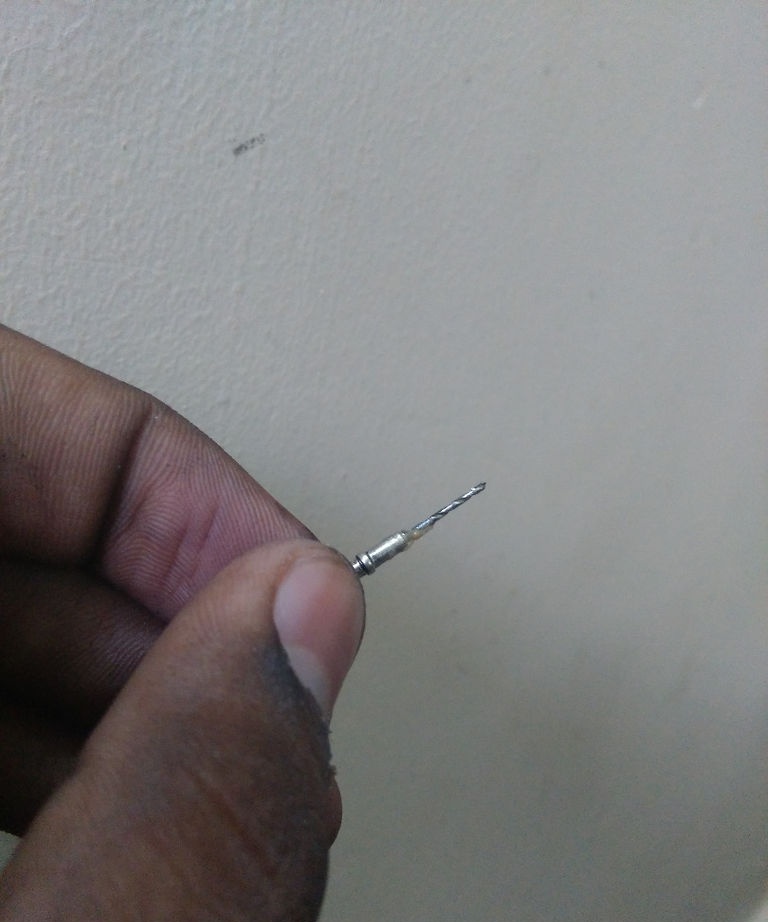
The cutting part of the drill should not be protruded too much. We wet it with flux and seal it with solder. Everything is soldered very well, regardless of the metal of the drill and pen.
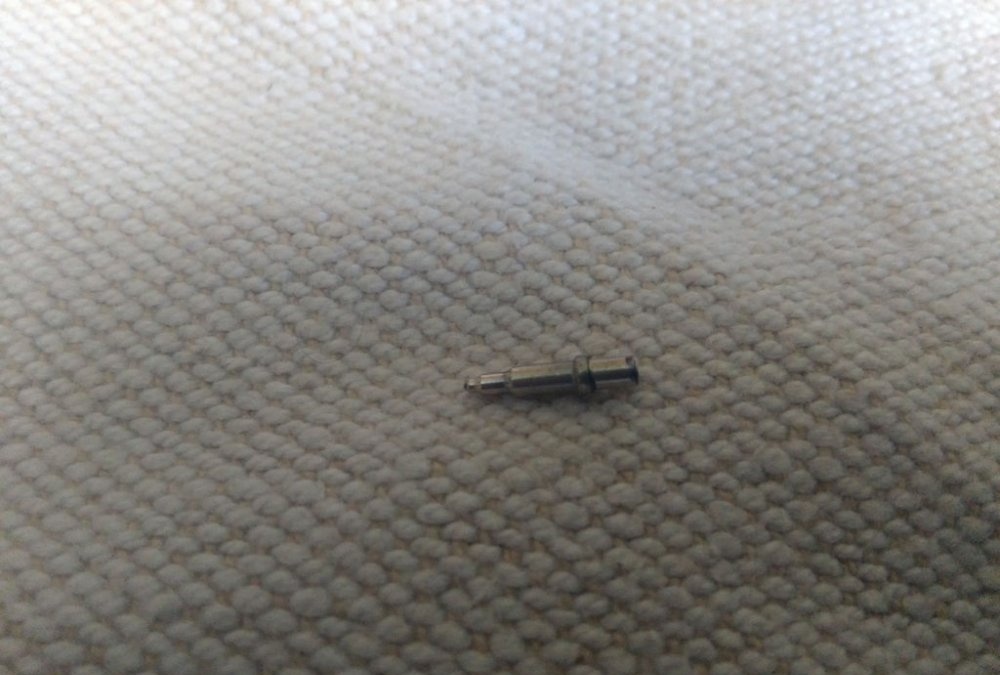
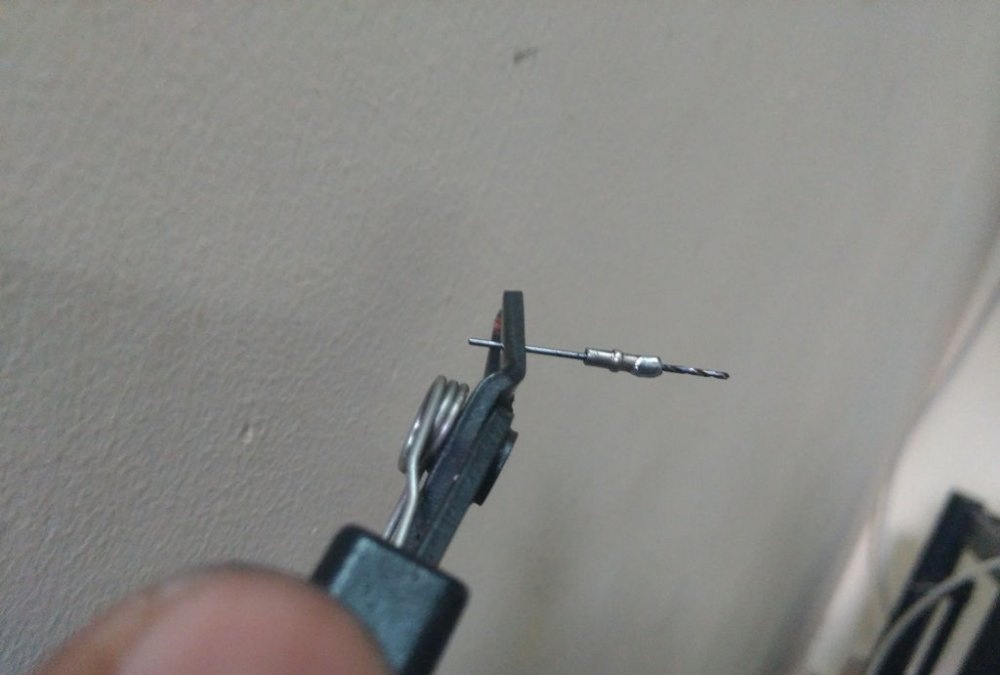
We bite off the excess tip of the protruding drill with wire cutters.
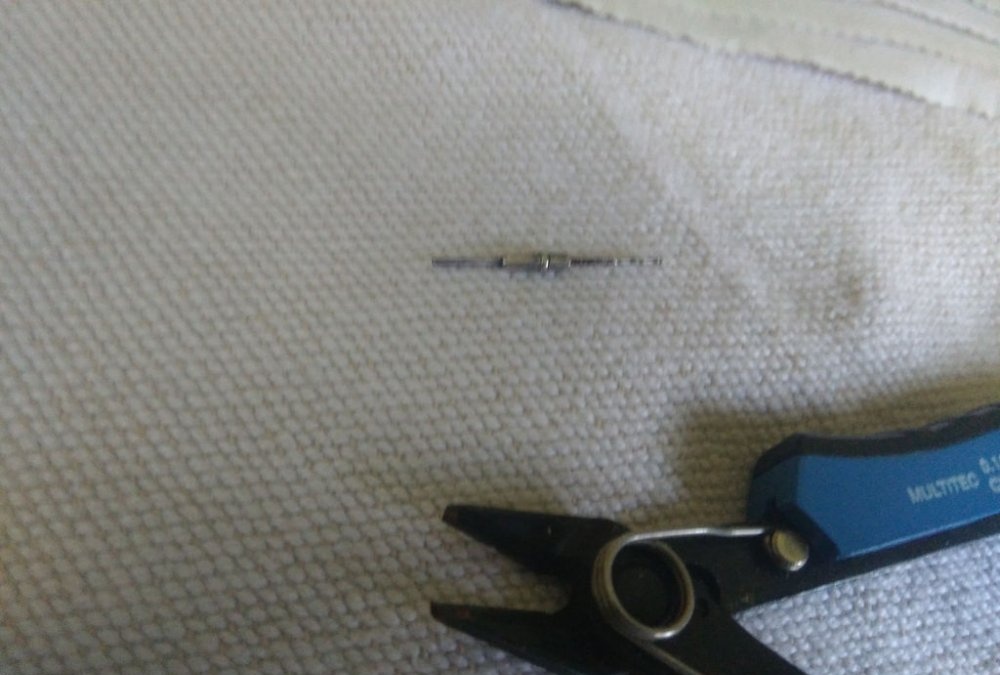
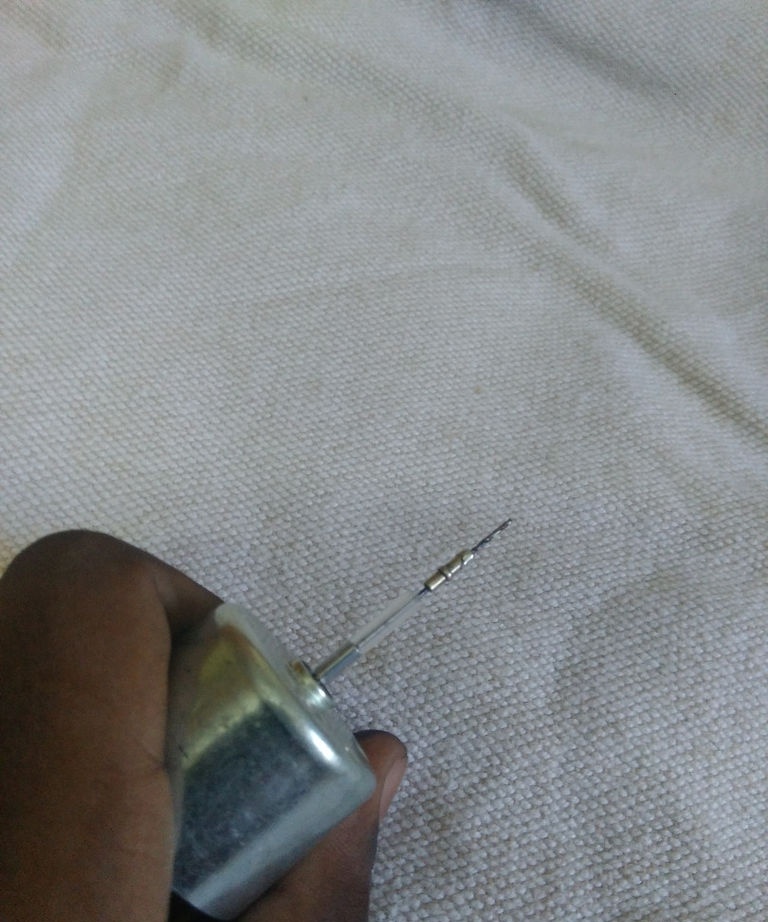
We put the pen on the paste and have a homemade drill chuck at the ready.
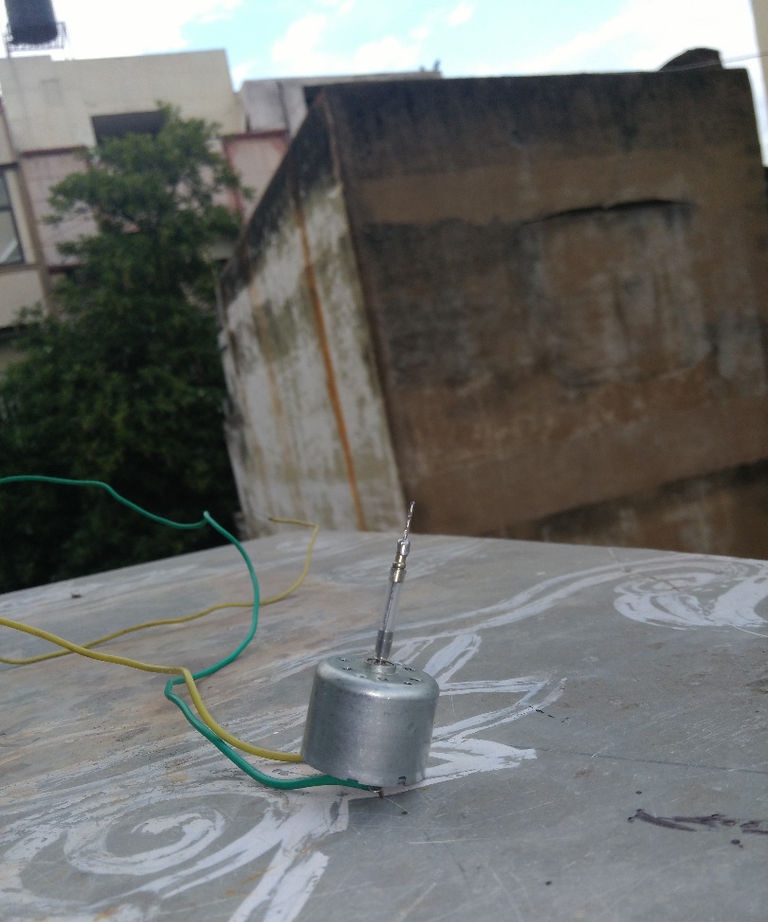
We connect to the existing power supply and drill. When connecting, look at the direction of rotation of the drill so that it rotates in the desired direction and not in the opposite direction.
For power, you can use not only the adapter, but also batteries.