The design will have height adjustment. There is no need to make it particularly high.
Everything is made from available, not rare parts.
For production we will need:
- - axis from the printer;
- - halogen lamp;
- - a piece of LED strip;
- - two-wire wire;
- - pin;
- - single-core copper wire;
- - plywood or chipboard;
- - epoxy adhesive;
- - drill, soldering iron, self-tapping screws.
Making a backlight for a computer keyboard
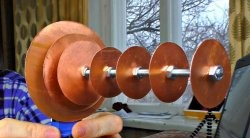
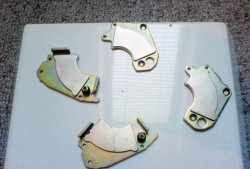
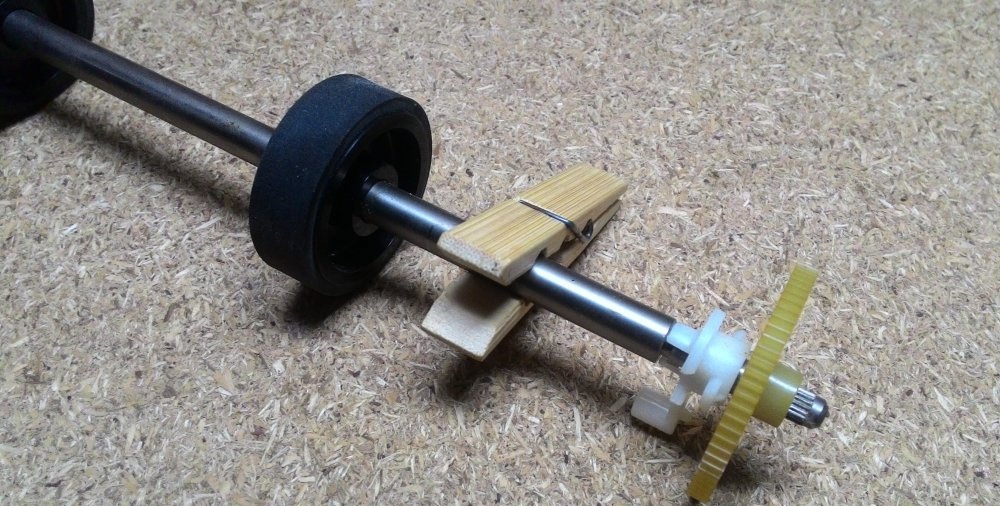
To begin with, the printer axis needs to be freed from the rollers. They fit very tightly, but if you help with a hammer, they come off quickly. As a last resort, you can cut it down. The main thing is not to damage the axle coating; it will quickly become covered with rust.
On a single-core copper wire, mine is a 2.5 square mm mounting wire, we make a ring for a 4 mm screw. Set aside at this stage.
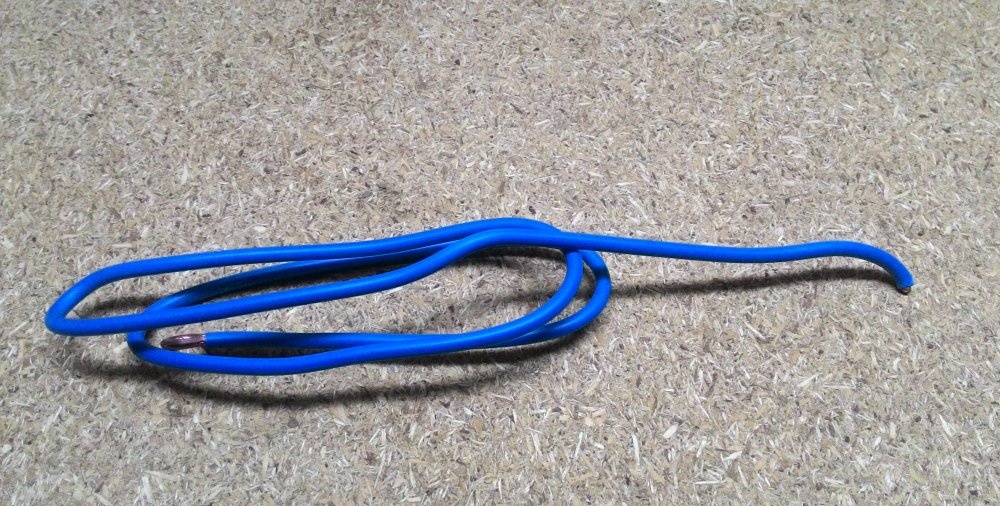
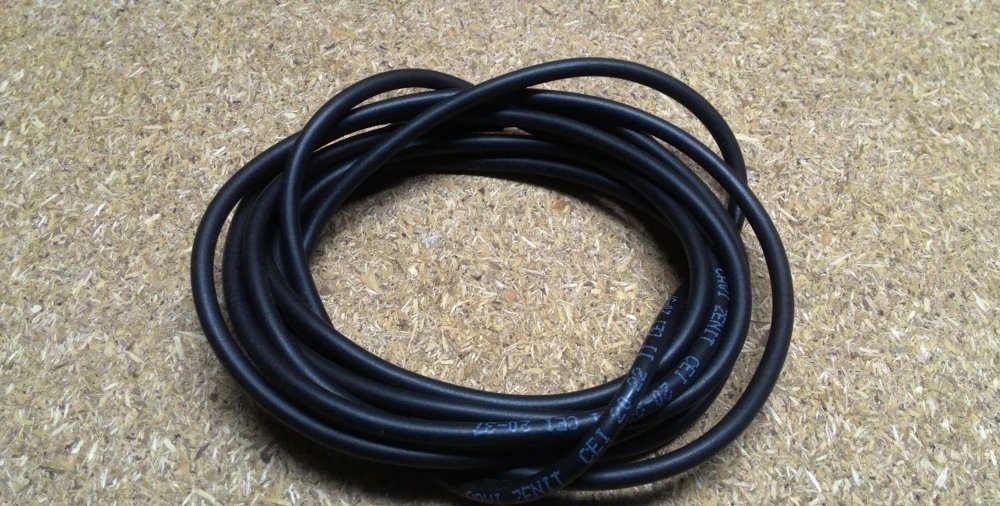
I took the power cord about one and a half meters. A large cross-section of wire is not needed, the current is small.I have a double wire with a core diameter of about 0.25 square mm. I applied what I have, maybe thinner. The backlight is powered by 12 volts taken from the computer power supply. The wire is simply inserted into any hole in the system unit and connected to the black and yellow wires. You can also power it from an external power supply of 12 volts and current for a lamp or LED strip.
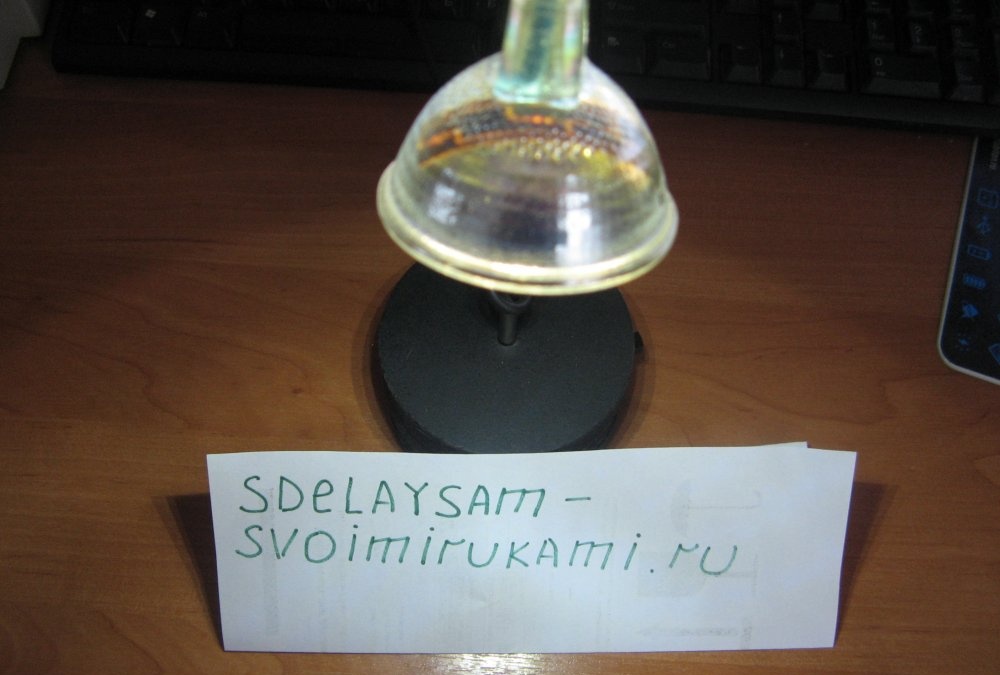
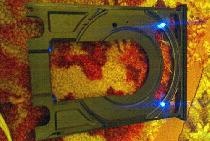
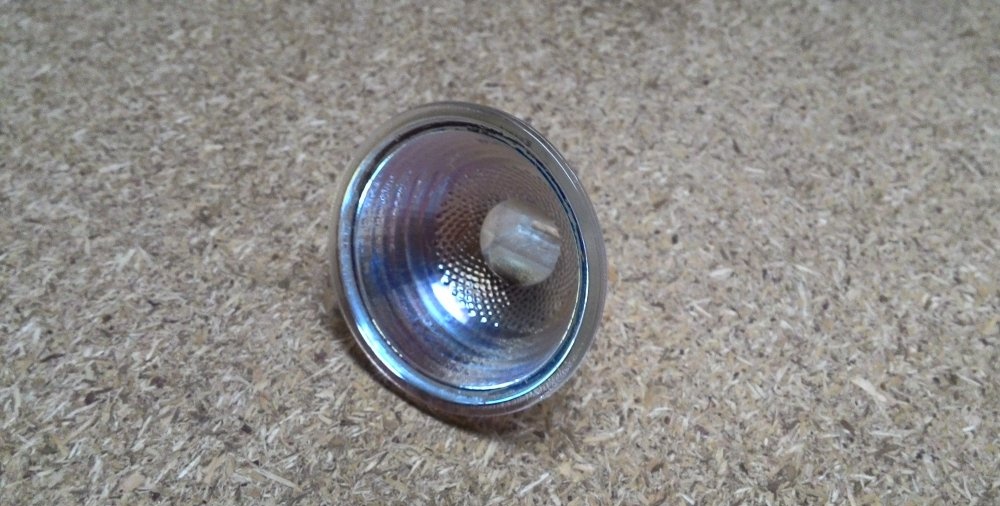
The reflector of this design is very convenient. We take a burnt, or maybe a new, halogen lamp and carefully knock out the glass. Be careful, the glass may bounce into your eye, follow safety precautions.
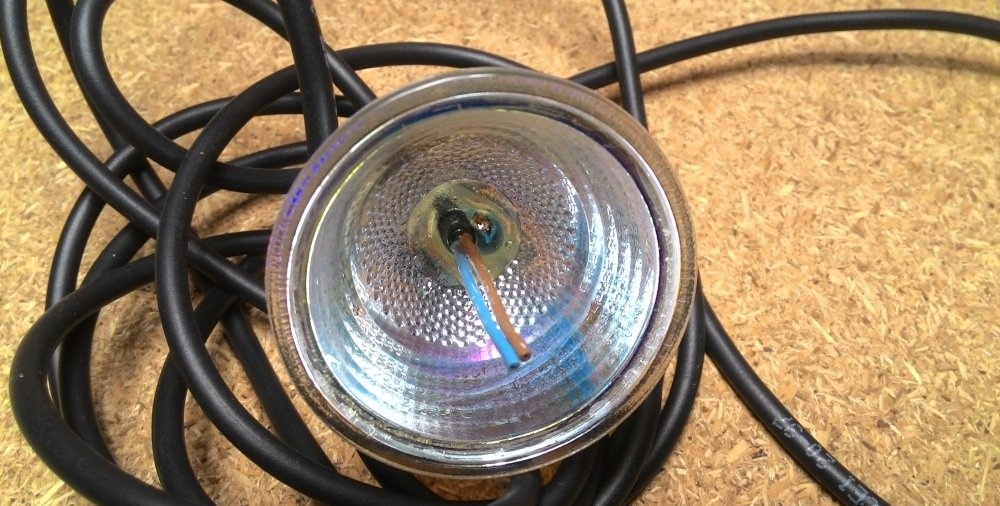
Cut a piece of 40-60 mm from a single-core wire. We make a bend at the end and insert it into the reflector. We also insert the power cord there. Fill all this with epoxy glue. Once frozen, the wires sit securely and will not fall out.
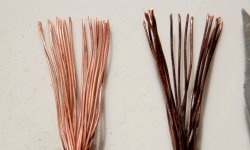
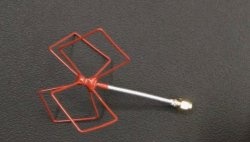
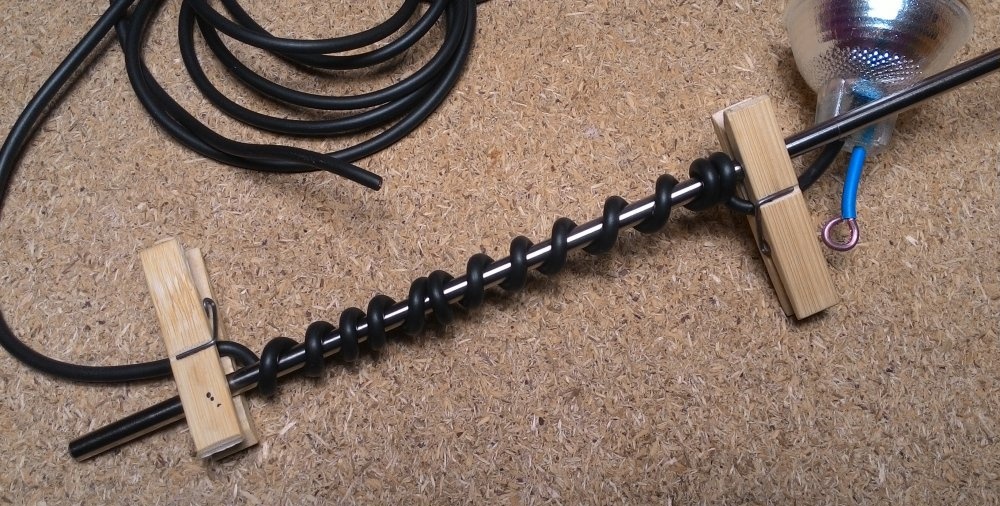
For aesthetics, we will make a twisted wire. I will have it hanging around the lighting stand. During the manufacture of the structure, another axis was taken from the printer; it had diameter transitions. Cutting them off exposes the axle to rust. So I took another axis.
To make a twisted wire, you need to wrap the wire tightly around the axle and heat it up. I did this with an industrial hair dryer, you can heat it over a gas stove. Set aside the wire to cool.
We glue a piece of LED strip into the reflector. We protect the wires and solder them. The double-sided tape turned out to be bad, so I glued the tape with super glue. Holds up great.

I make the basis of the structure from various chipboard scraps. It can be made from anything: plywood, OSB, etc. I make it in a round shape. I cut with a crown on plywood and drywall.
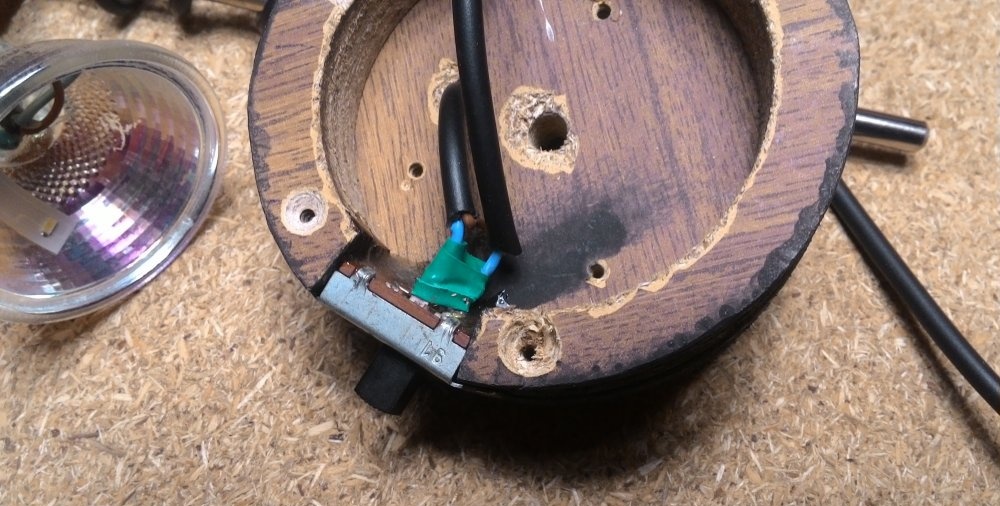
The middle ring is in the shape of a donut; a switch and some wires will be installed there.
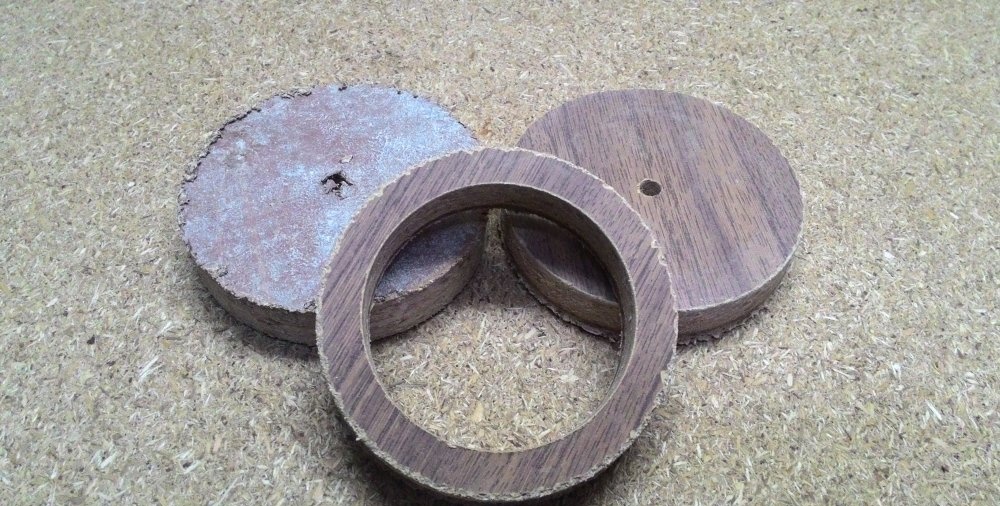
I processed the base blanks and twisted them together.At the end of the middle piece, a donut, I made a slot for a switch.
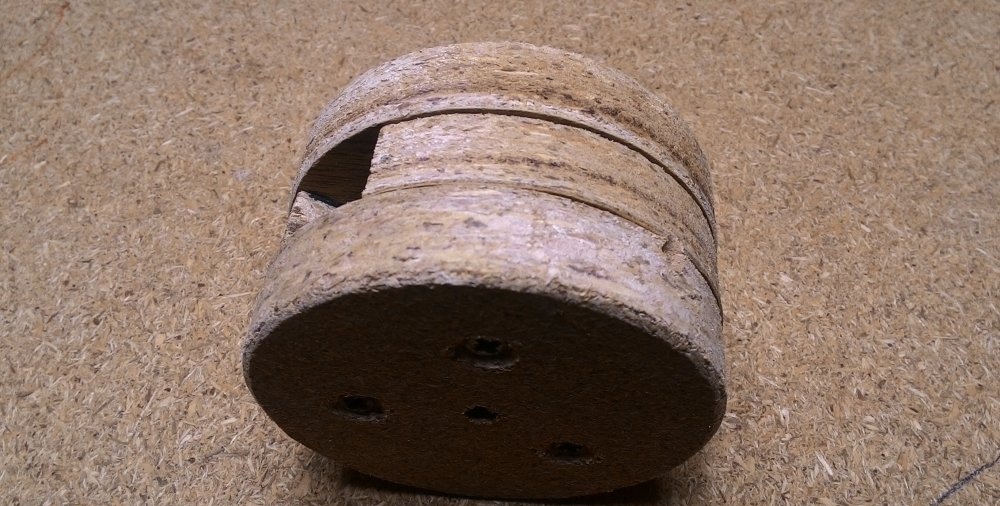
I made a hole in the top circle; the power wire will be inserted there later. Between the lower and middle circles I drilled a hole for the wire. Drilled at an angle.

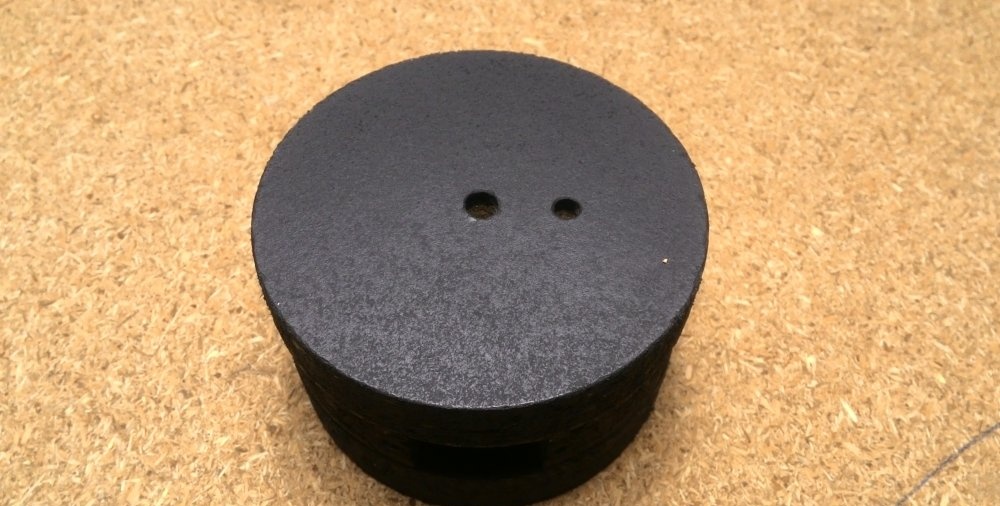
I was thinking about painting. I decided to paint it matte black.
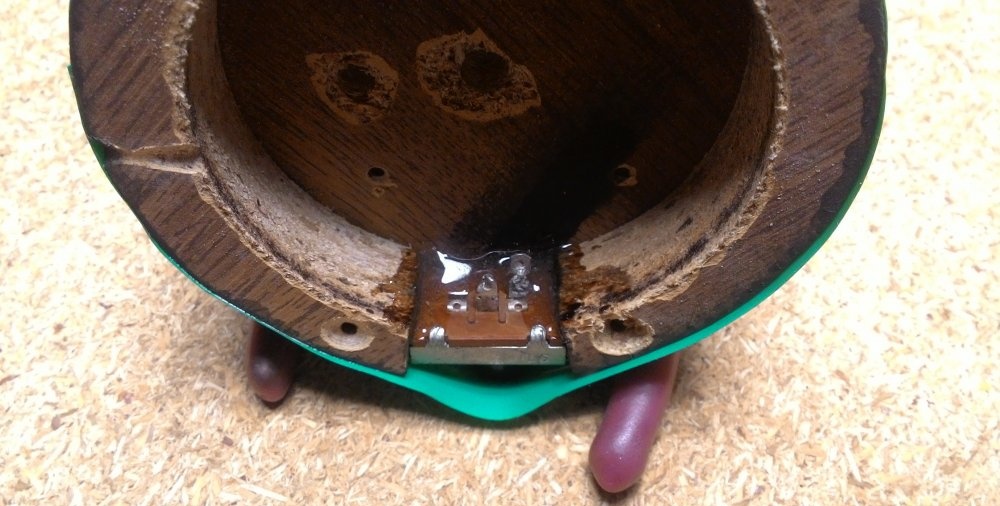
I attach the power switch with epoxy glue. You don’t need a lot of it, if the glue is good, it will stick with a small amount.
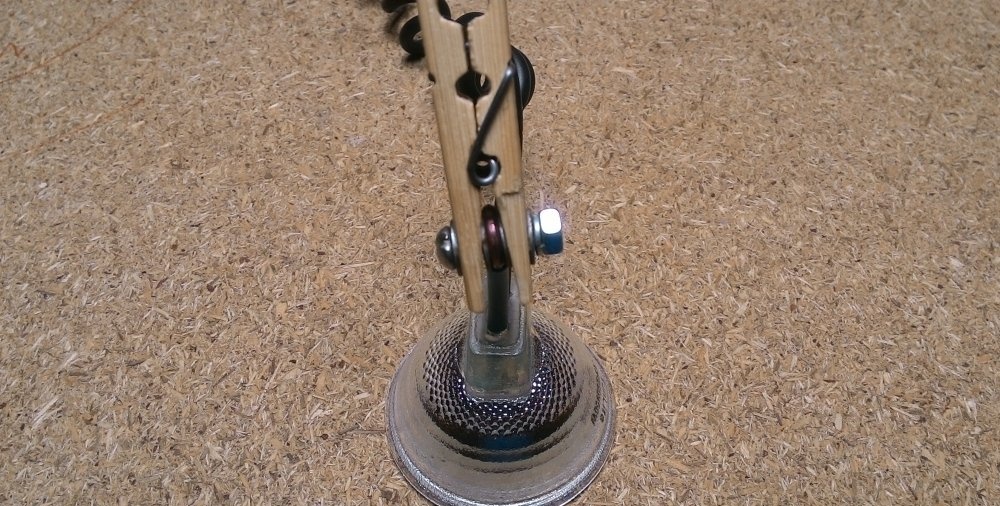
While the glue hardens, we proceed to assembling the reflector. I drill a through hole in the clothespin. Using a 4 mm screw, we twist everything into one, not forgetting about the grower.
We pass the wire into the hole, having first screwed the wire onto the axle. We strip the wire insulation and cut one wire. We solder the resulting wire break to the switch. Let's isolate.
We twist the base into a single structure.

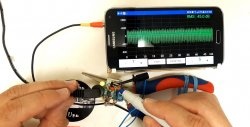
We test by temporarily connecting it to a 12 volt battery.
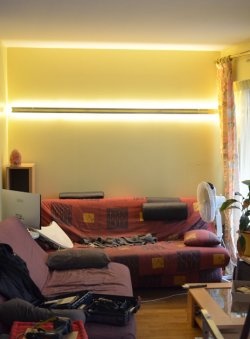
It turned out great. Adjustable in height to fully illuminate the keyboard.
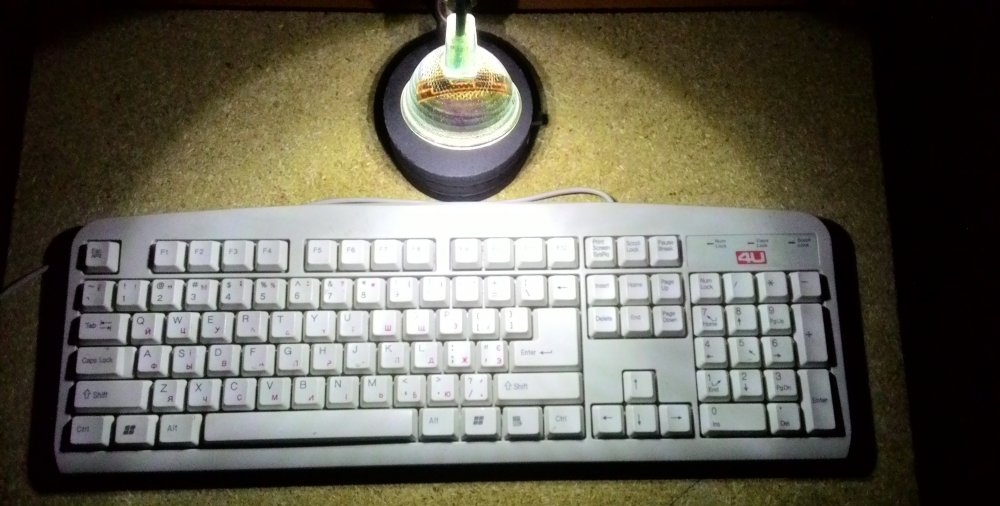
This is such an excellent backlight for the keyboard. There is more than enough light. In general, I advise you not to throw away such reflectors, which are very useful after they burn out.