Do you have children? Have guests come to you? A transforming hanger will help you out and there will be enough hooks for clothes for everyone. Moreover, for children the level of hangers will be lower; they will be able to hang their clothes themselves.
A transformable hanger is a great item for any family. Very comfortable, takes up minimal space, and has a modern design. In addition to this, it is quite easy to manufacture and does not contain scarce parts and materials.
To assemble the hanger you will need
- Plywood, 15 mm thick.
- 30x55x640 mm beams - 6 pieces.
- Aluminum tube 10 mm thick.
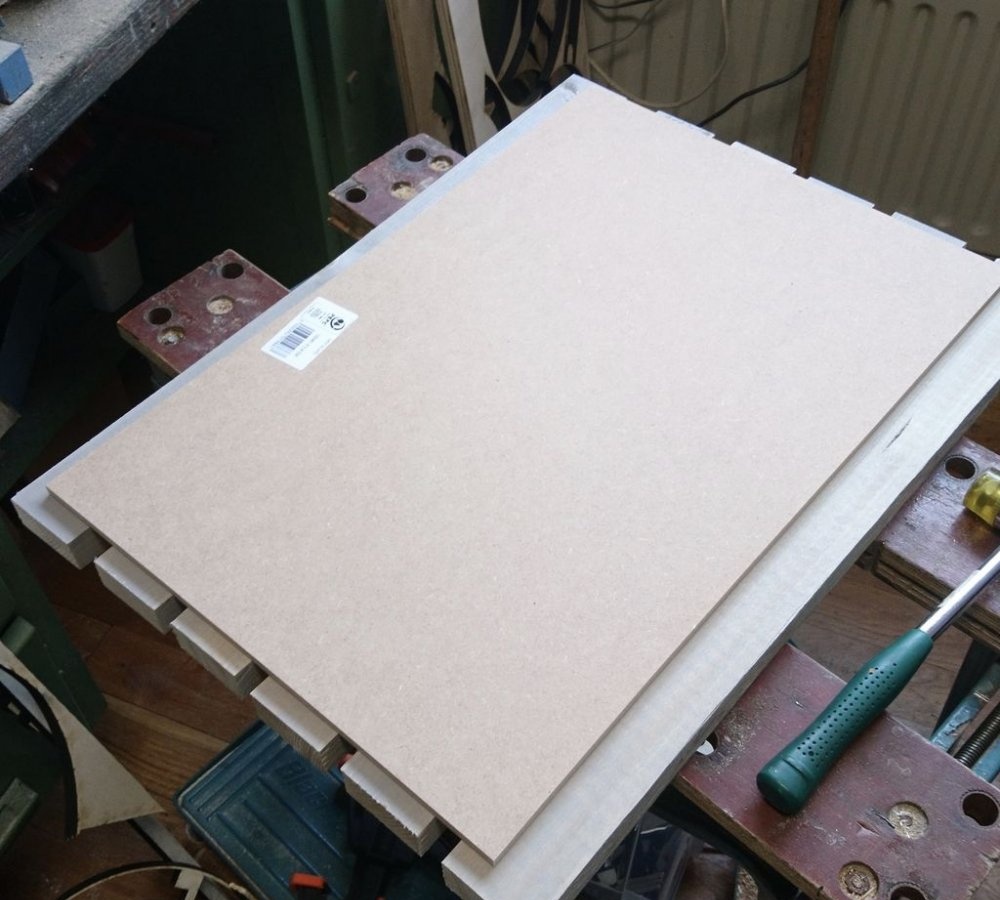
- Sheet 610x410 plywood or MDF.
- Screws 35 mm.
- Hooks or a device for attaching a hanger to the wall.
- Paints
Making a transformable hanger
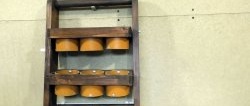
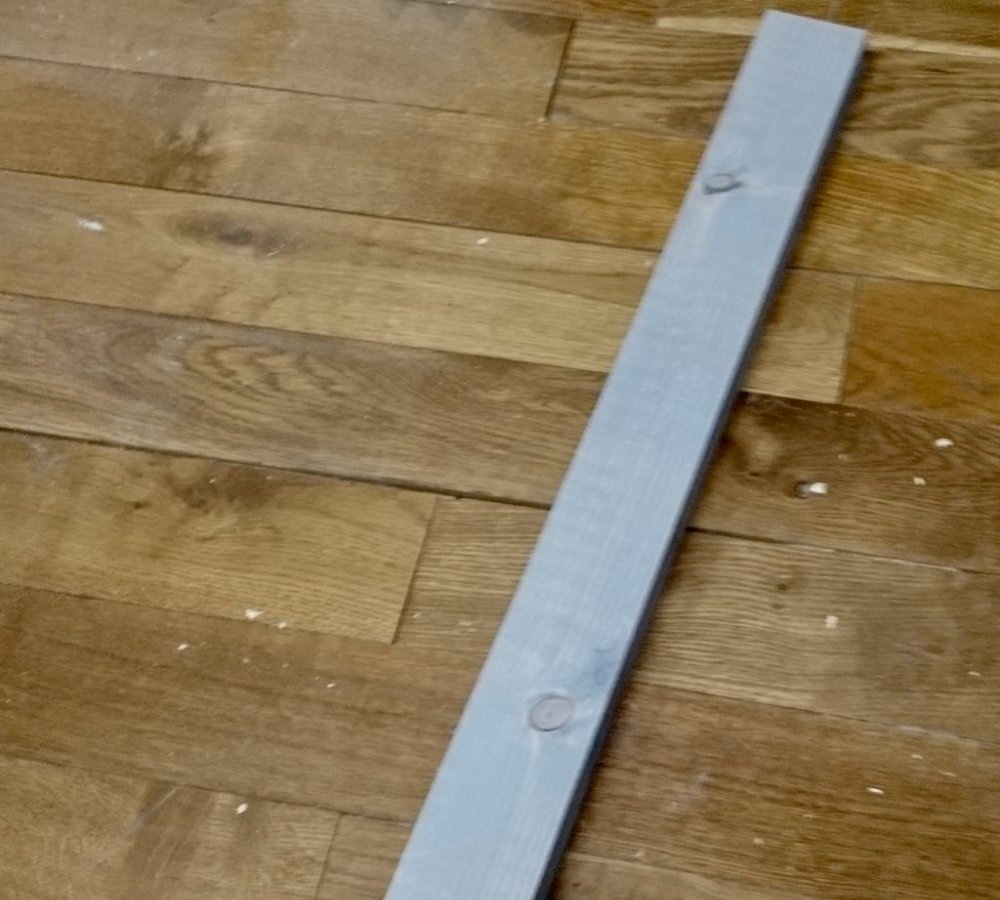
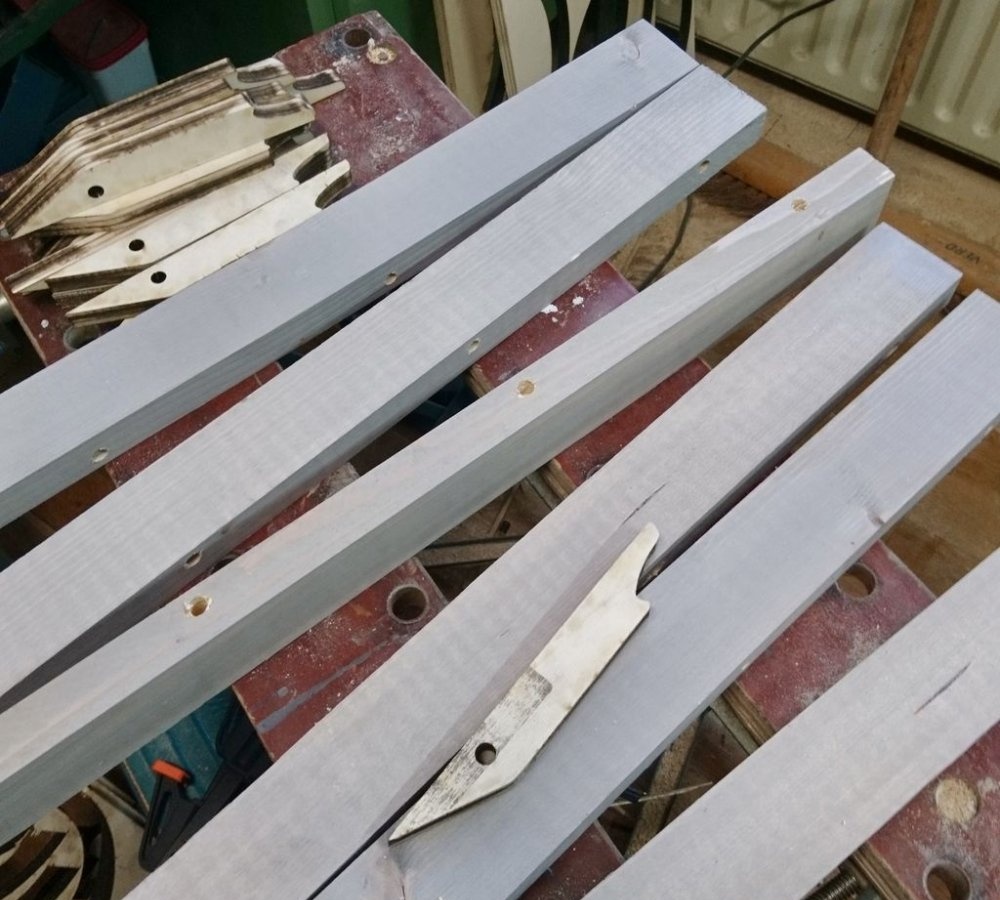
The beams were sawn and painted by me in advance. Then primed with wood primer and painted.
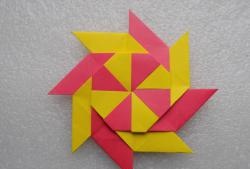
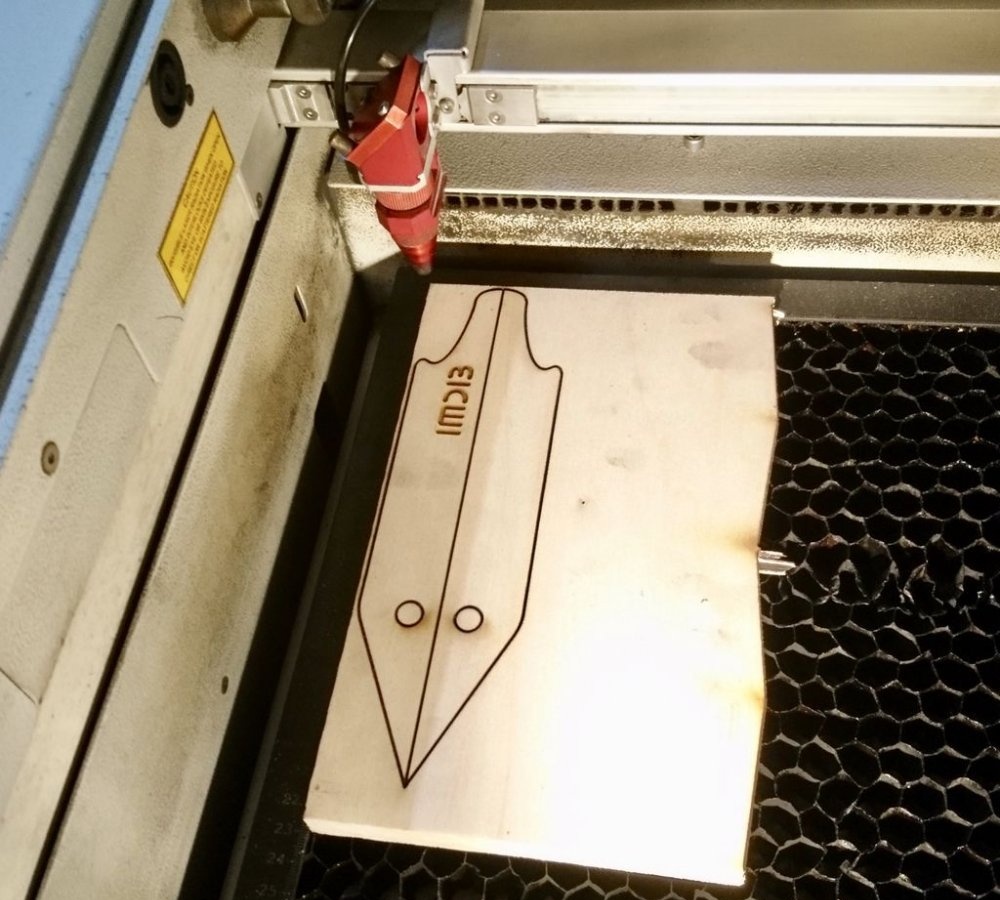
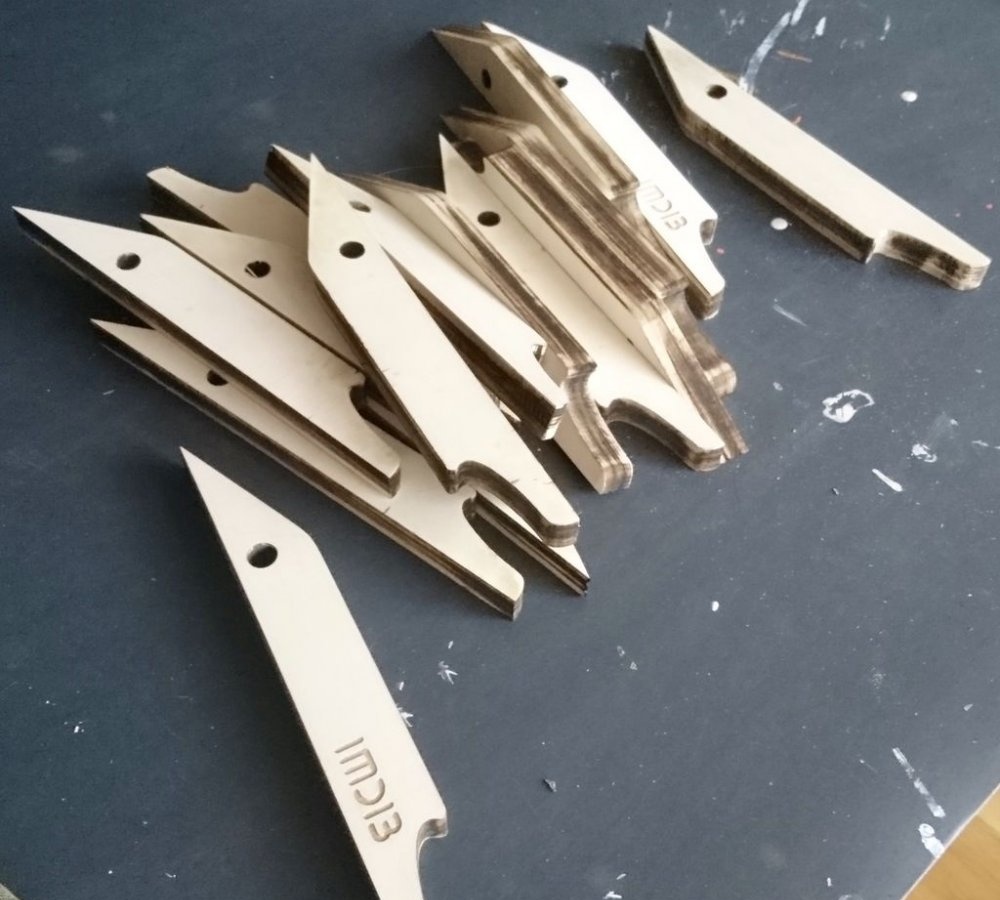
Next, I cut hooks for hangers from 15mm plywood. I did this on a CNC laser machine. If you don't have access to this, don't worry. Everything can be done manually, say, cutting out the outline with a jigsaw.
Now it's time to paint the hooks. But in order for the paint to last as long as possible, the surface must be primed with a wood primer before painting.
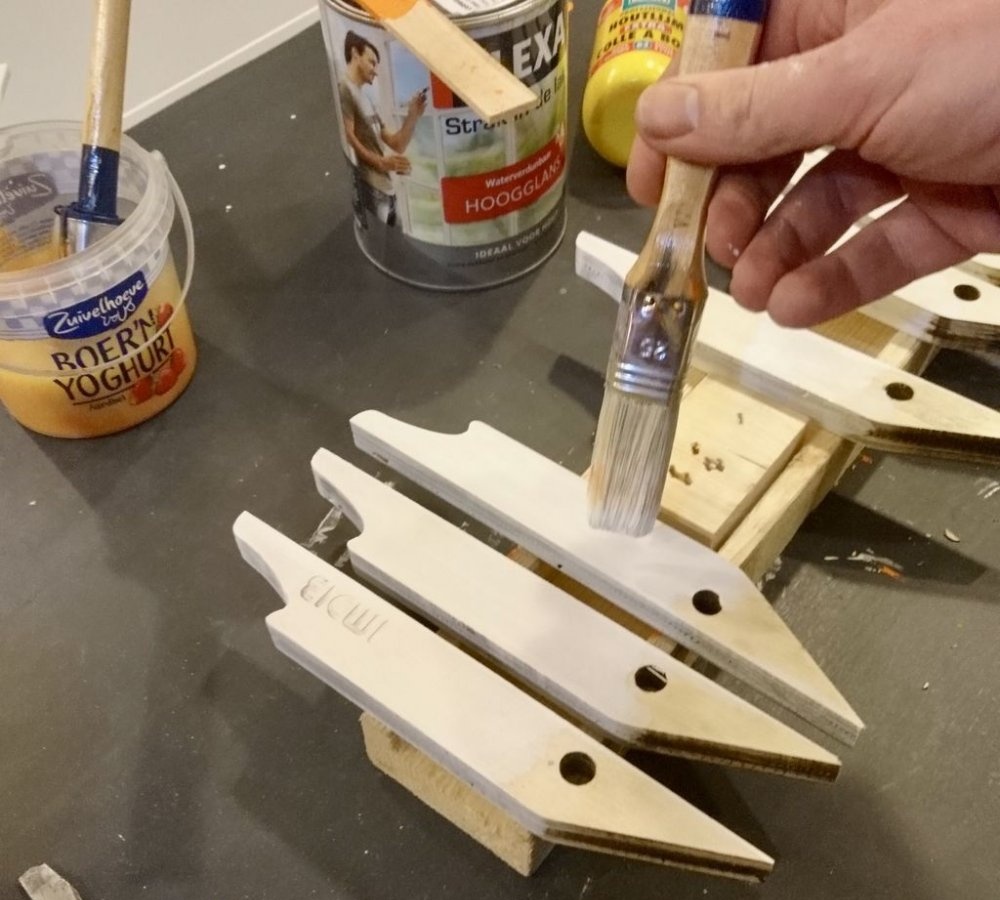
Let the primer dry.

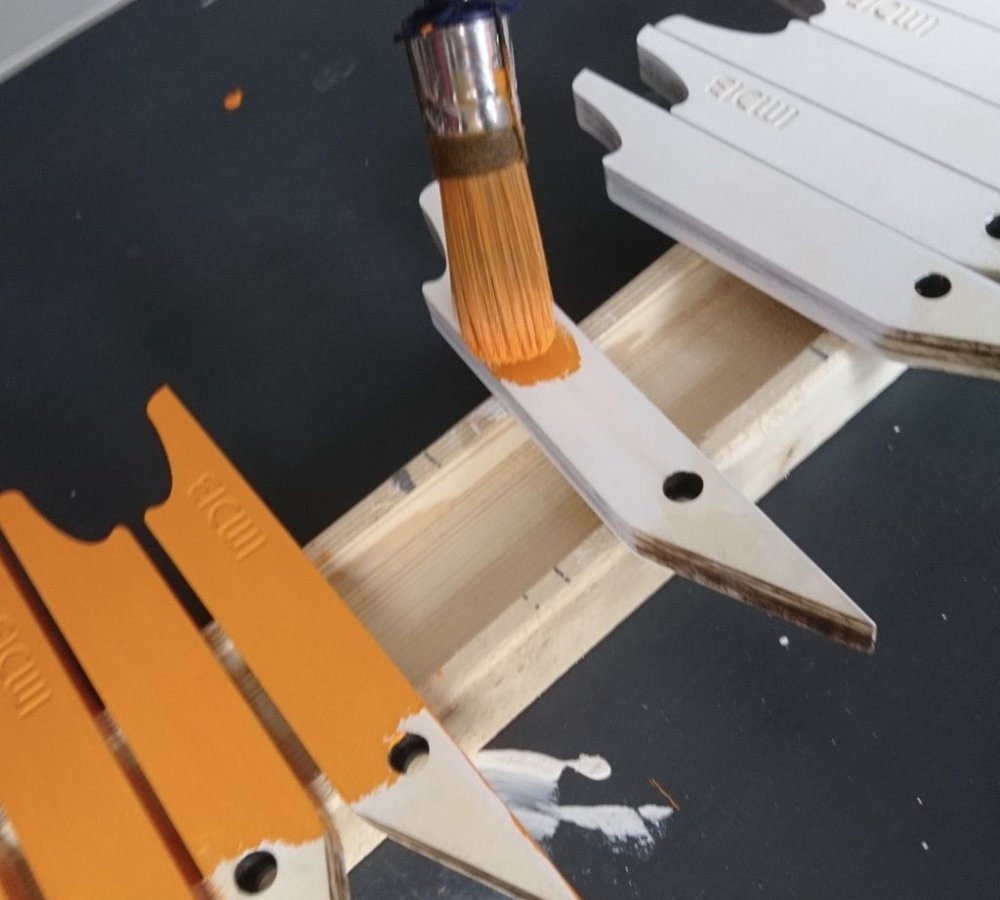
Then we paint it with bright paint.This will look very impressive and the hooks will be very visible.
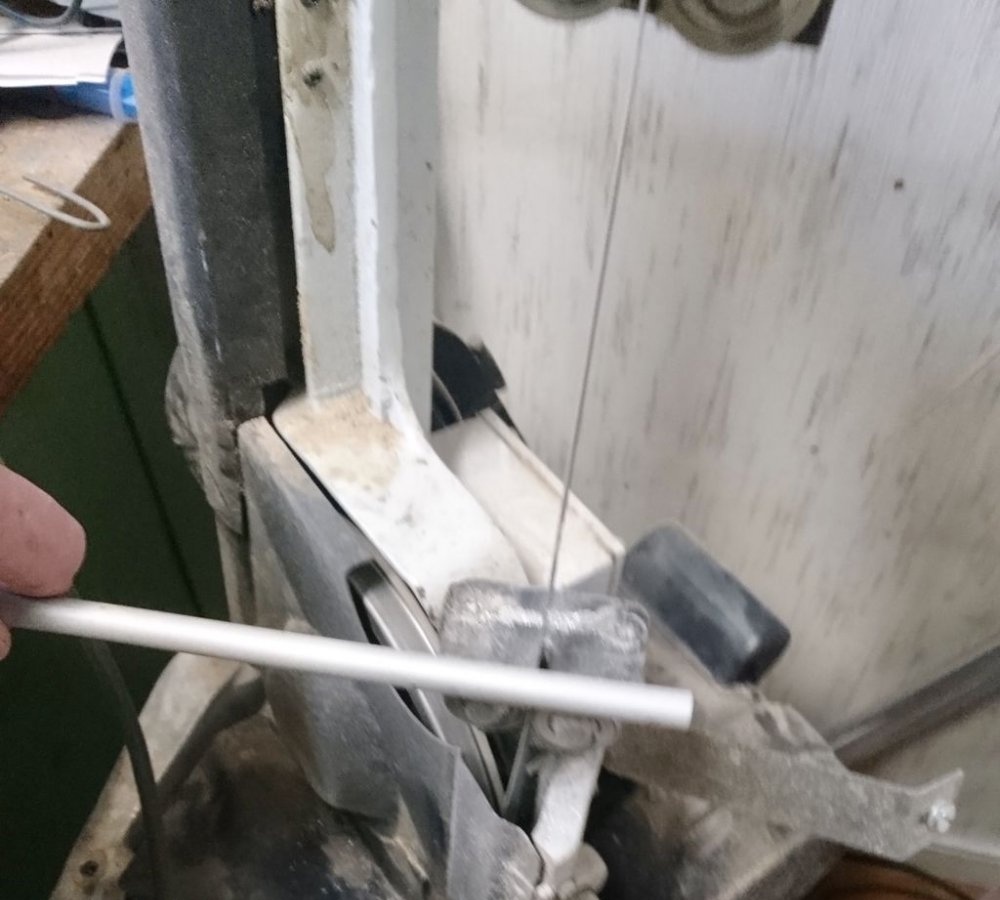
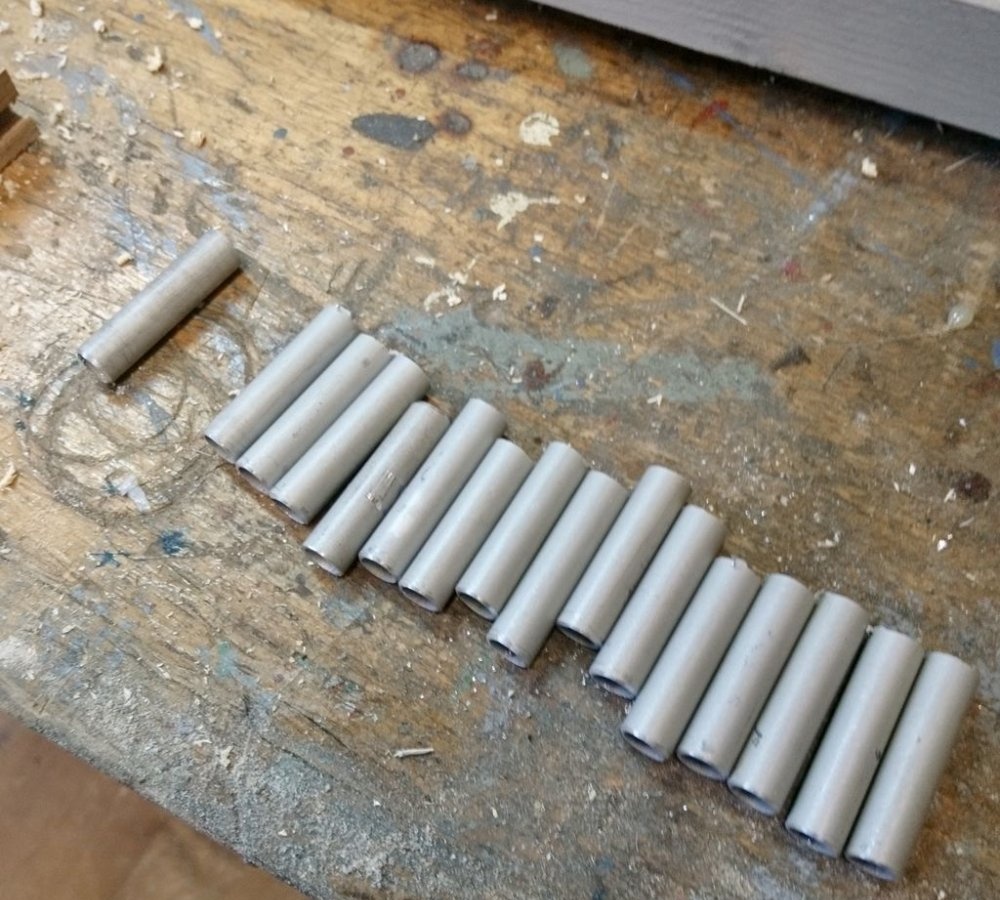
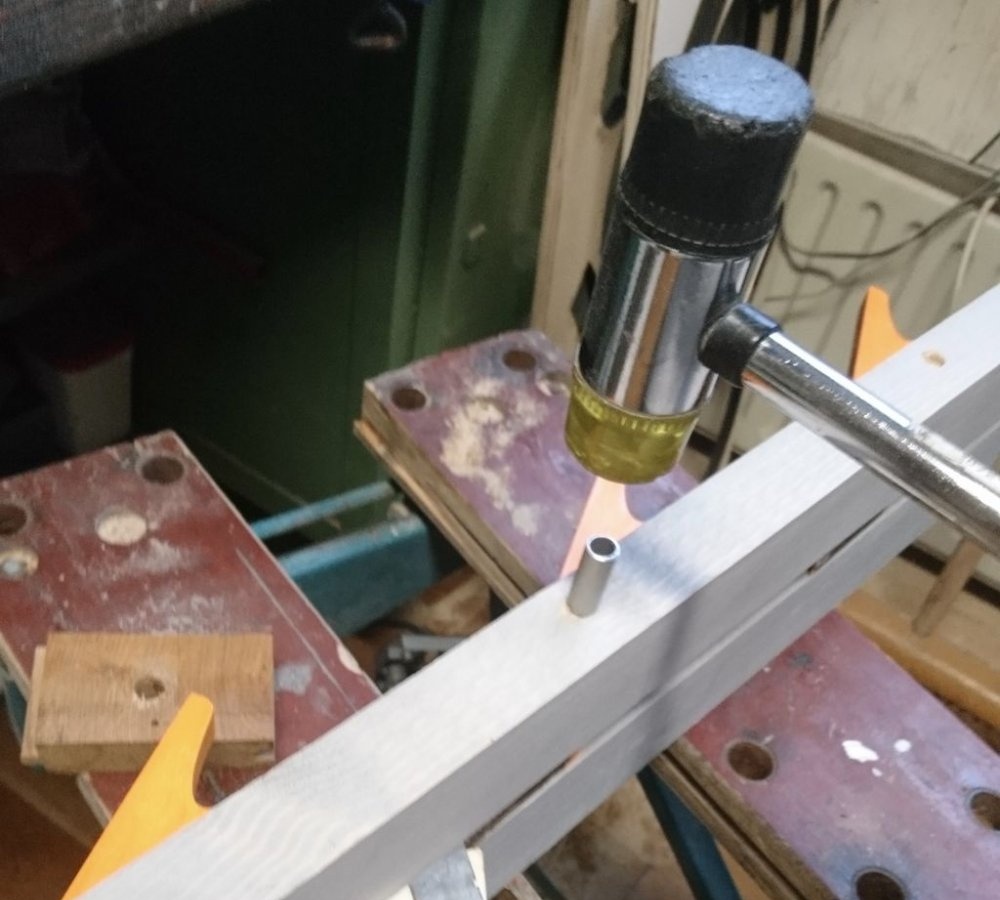
We take an aluminum tube and cut it into 50 mm pieces.
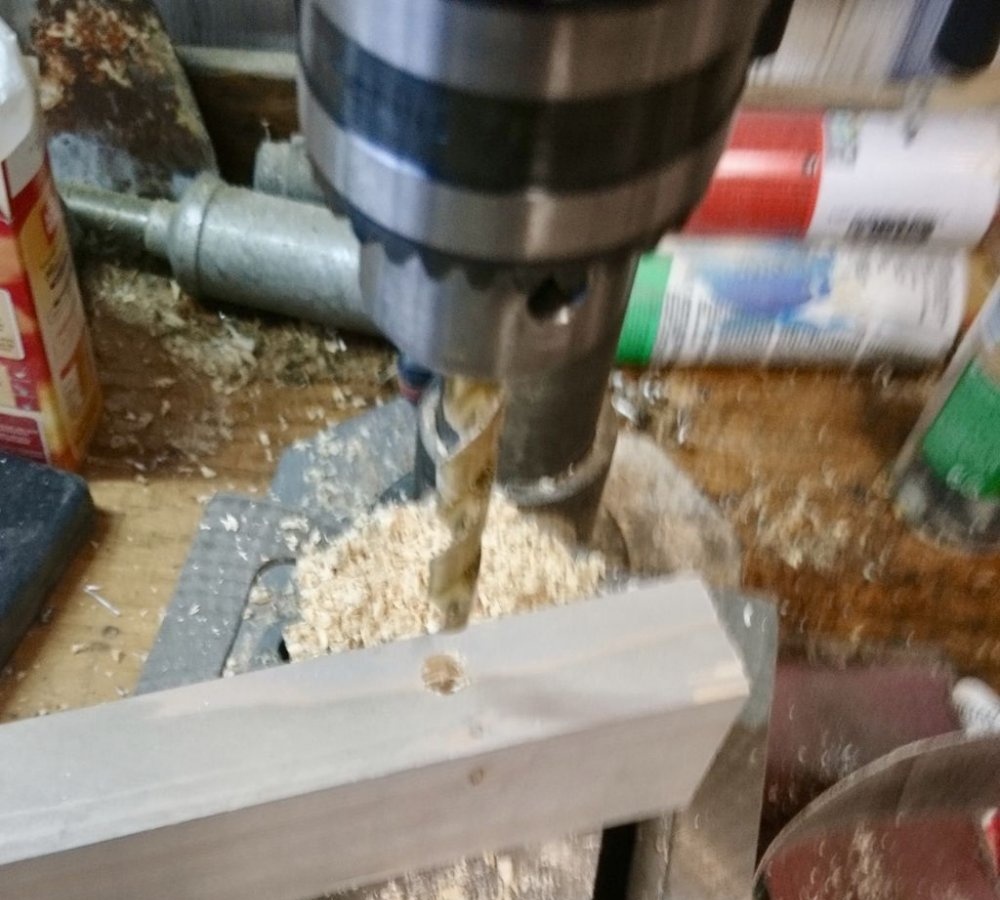
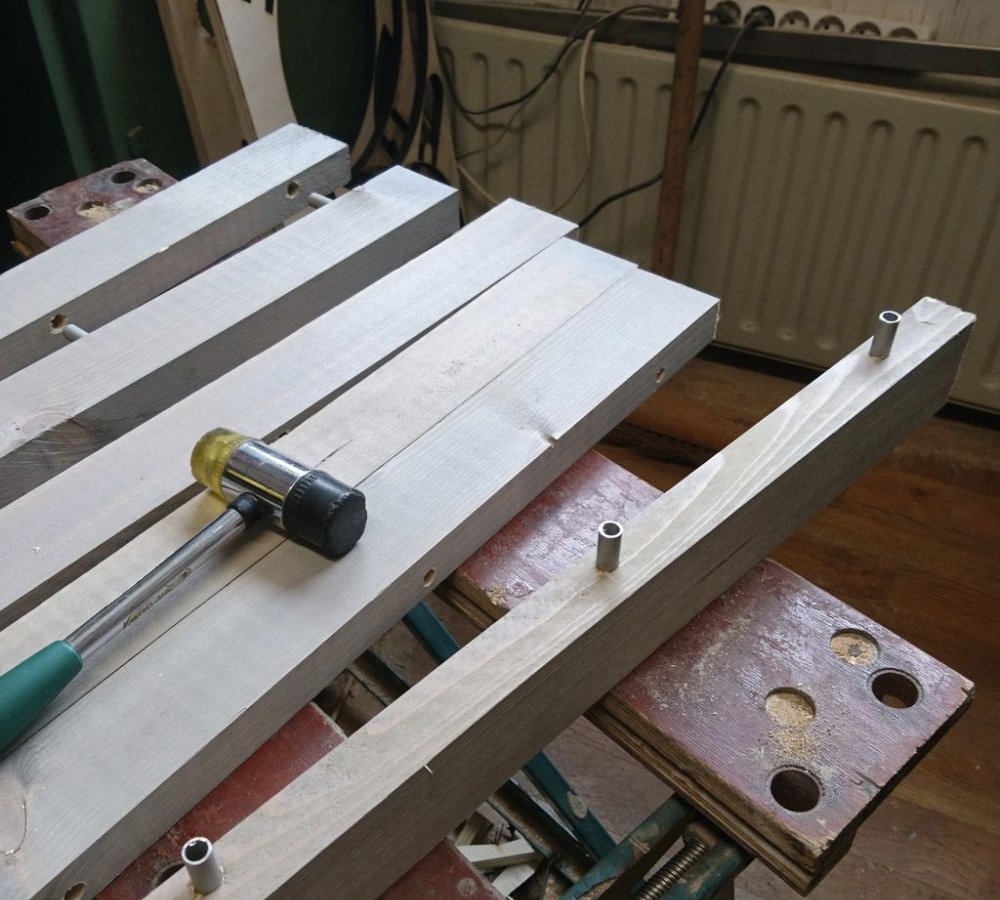
We drill holes in the beams with a 10 mm drill. Hole depth - 20 mm. But before that, of course, let’s mark everything out. In the outer beams, drilling is done only on one side.
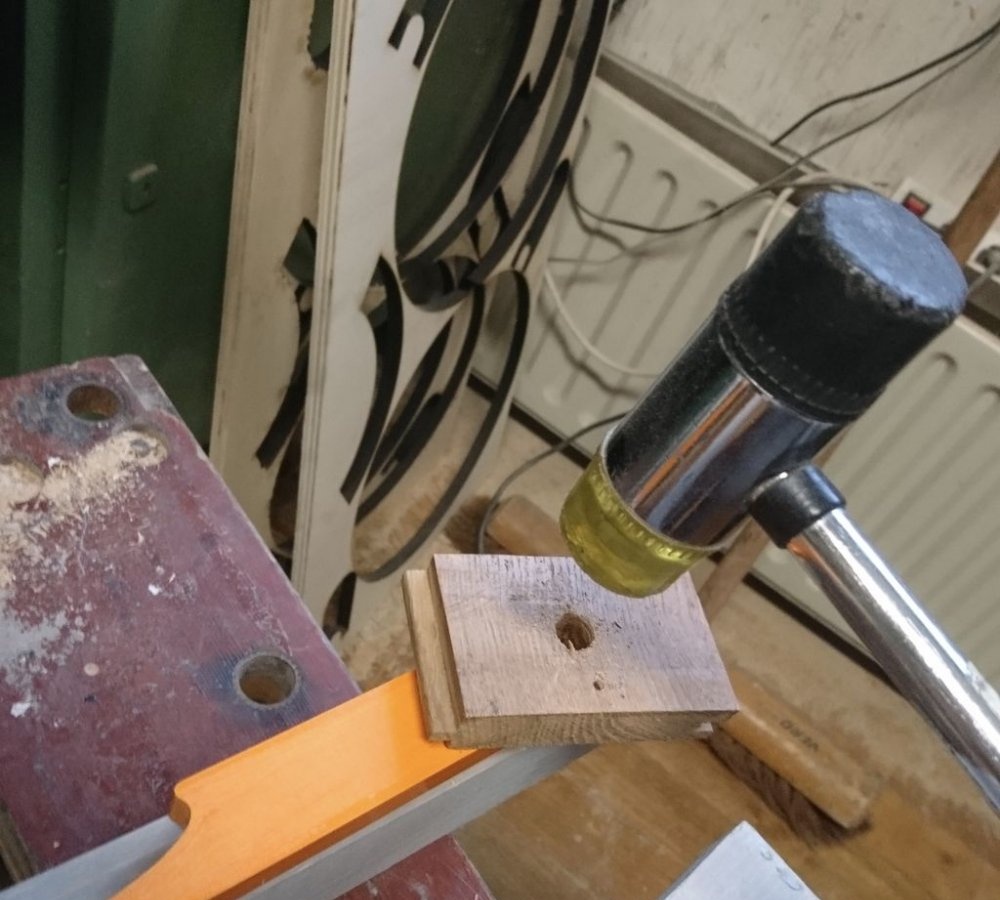
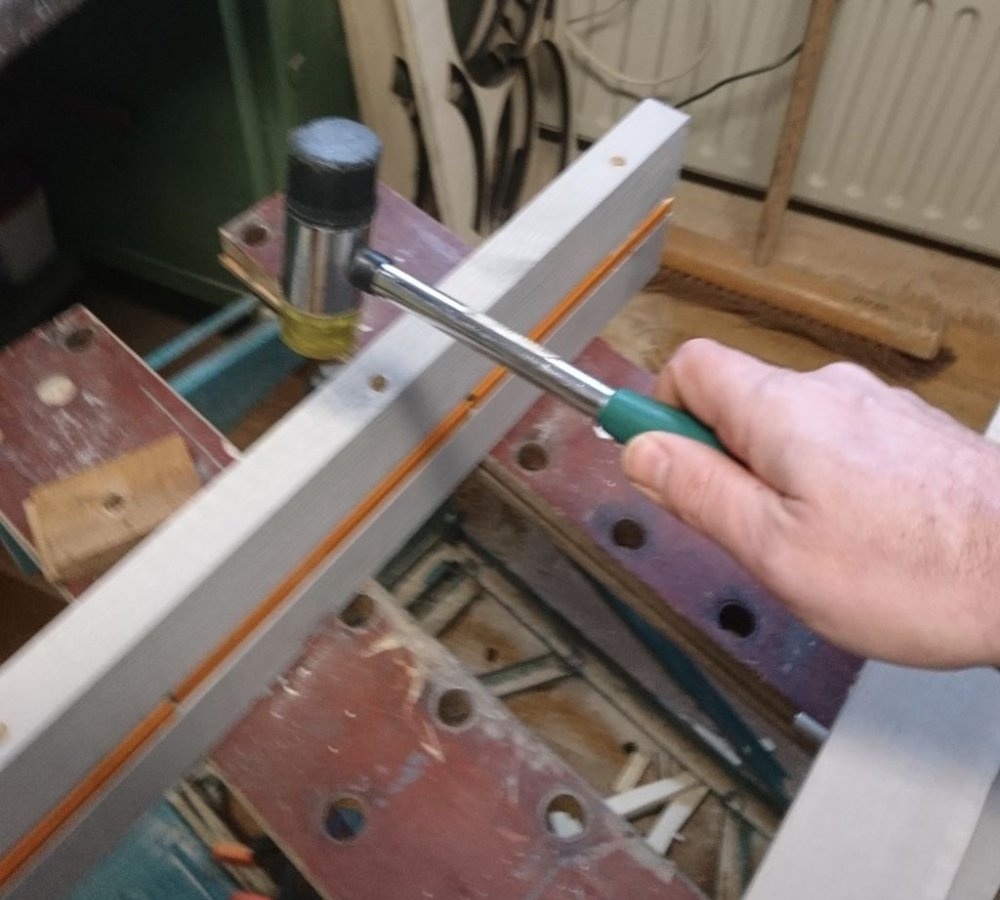
We hammer the tube with a hammer with a rubber tip so that the board does not crack if something happens.
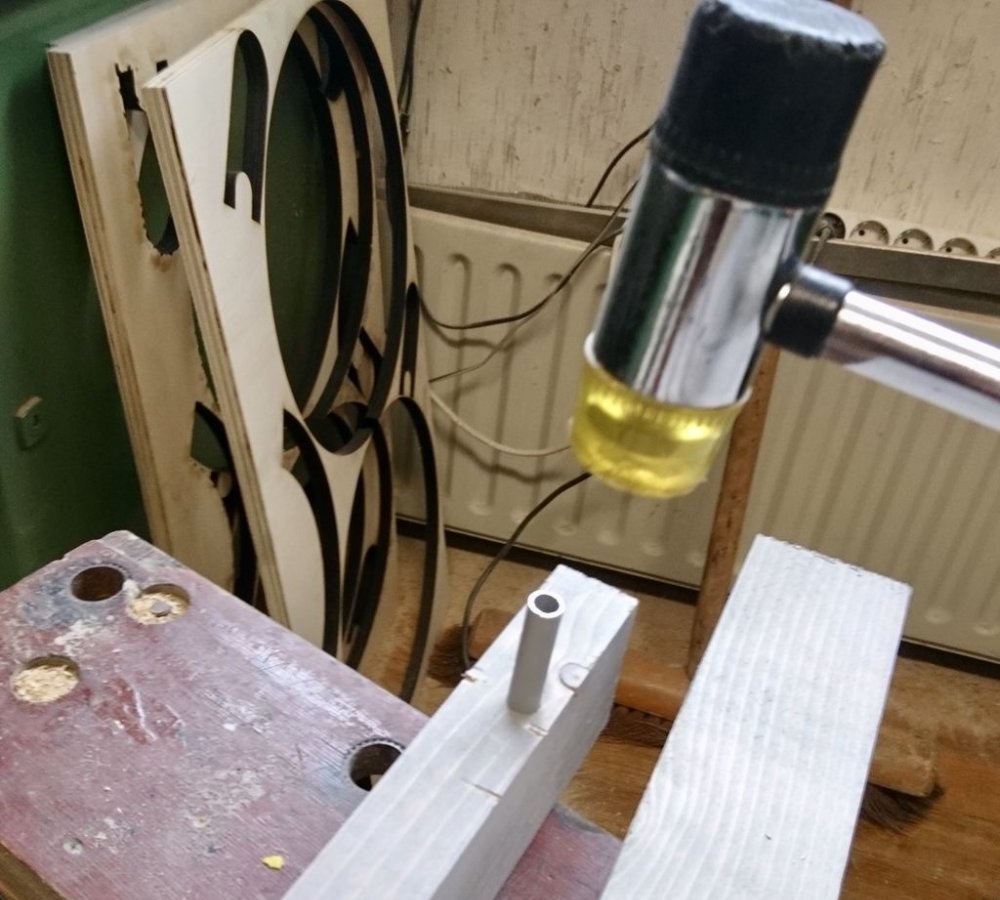
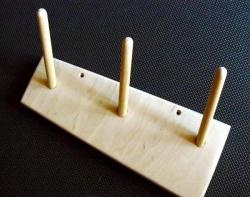
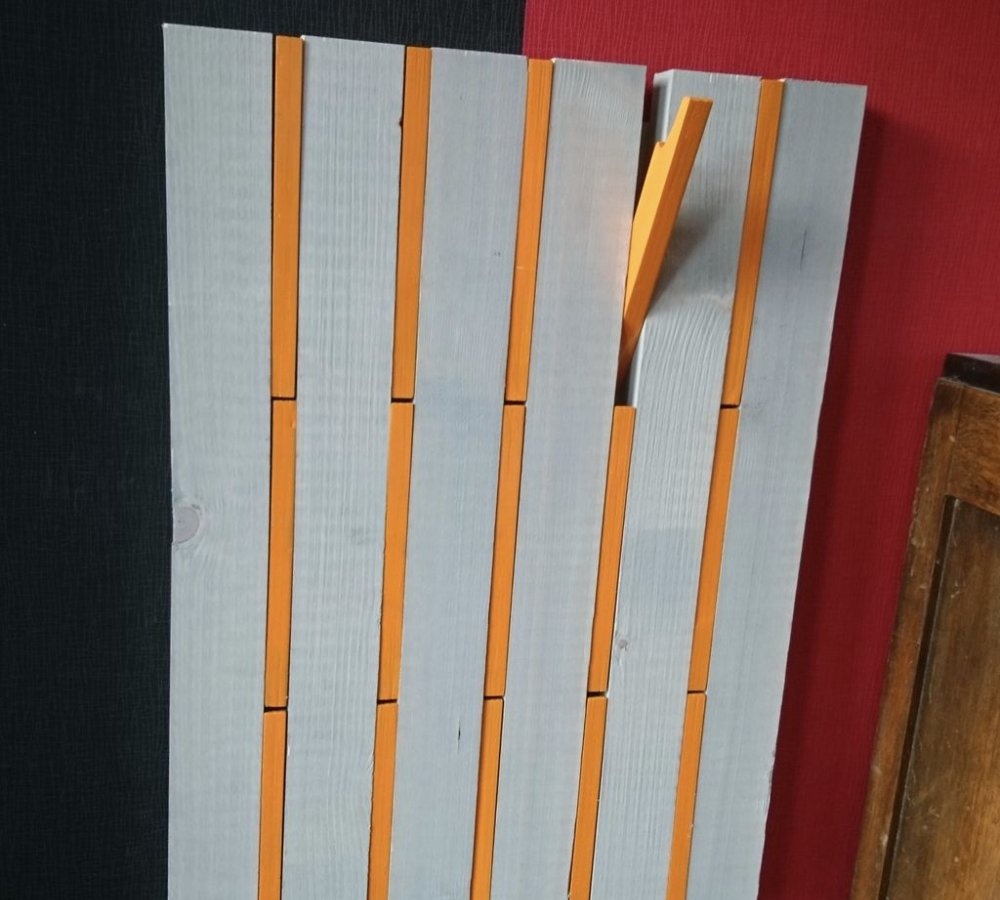
We install the tube sections and holes.
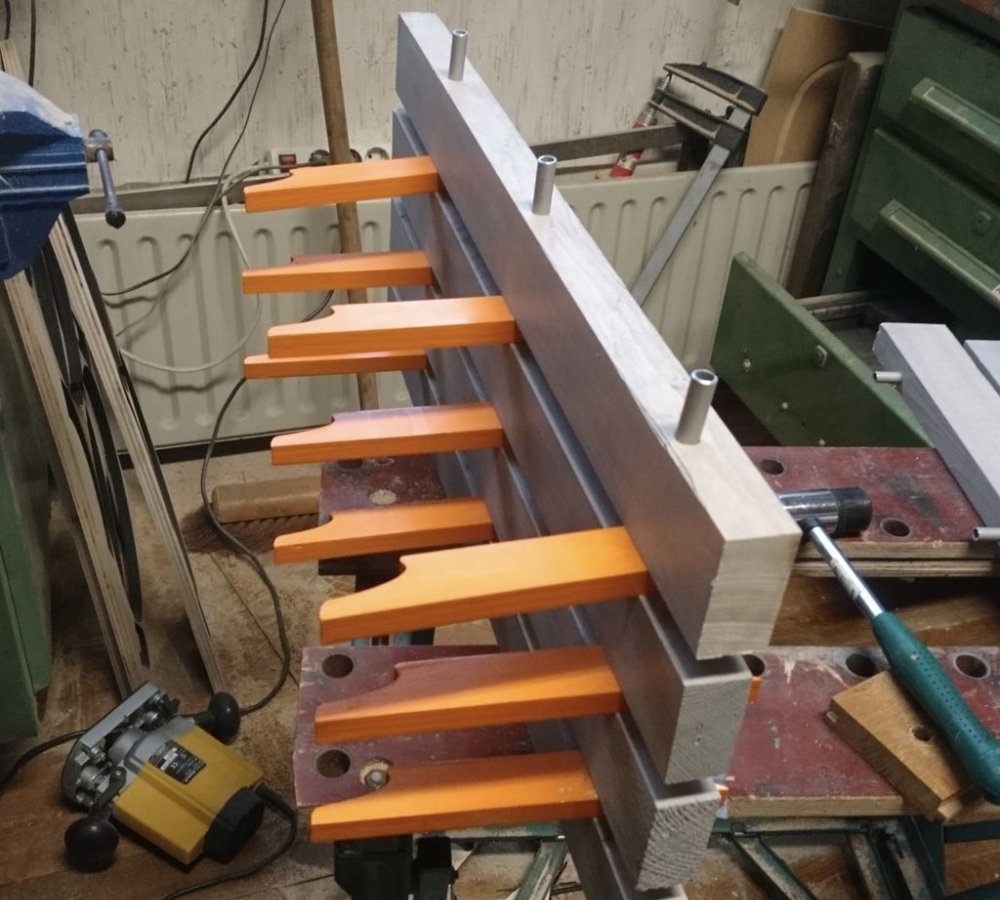
We install the hooks in place.
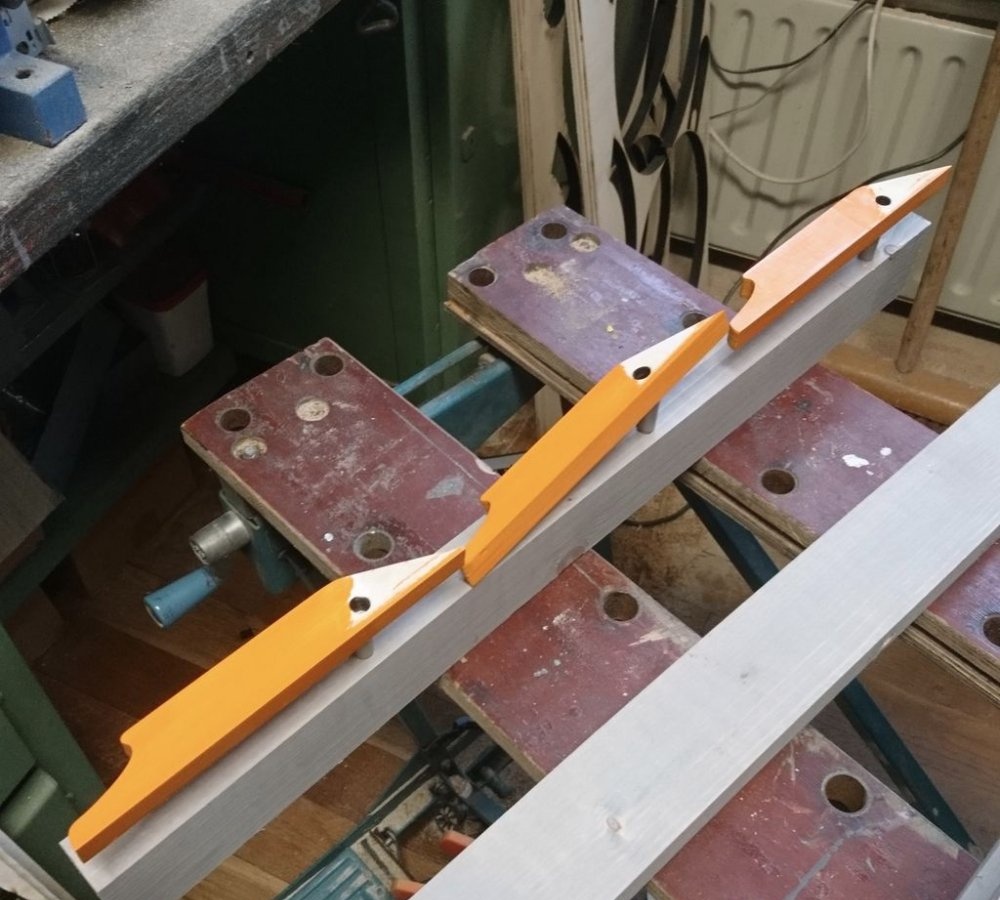

Assembling the first section of the transforming hanger.
The first section is ready. We check by pulling out the hooks.

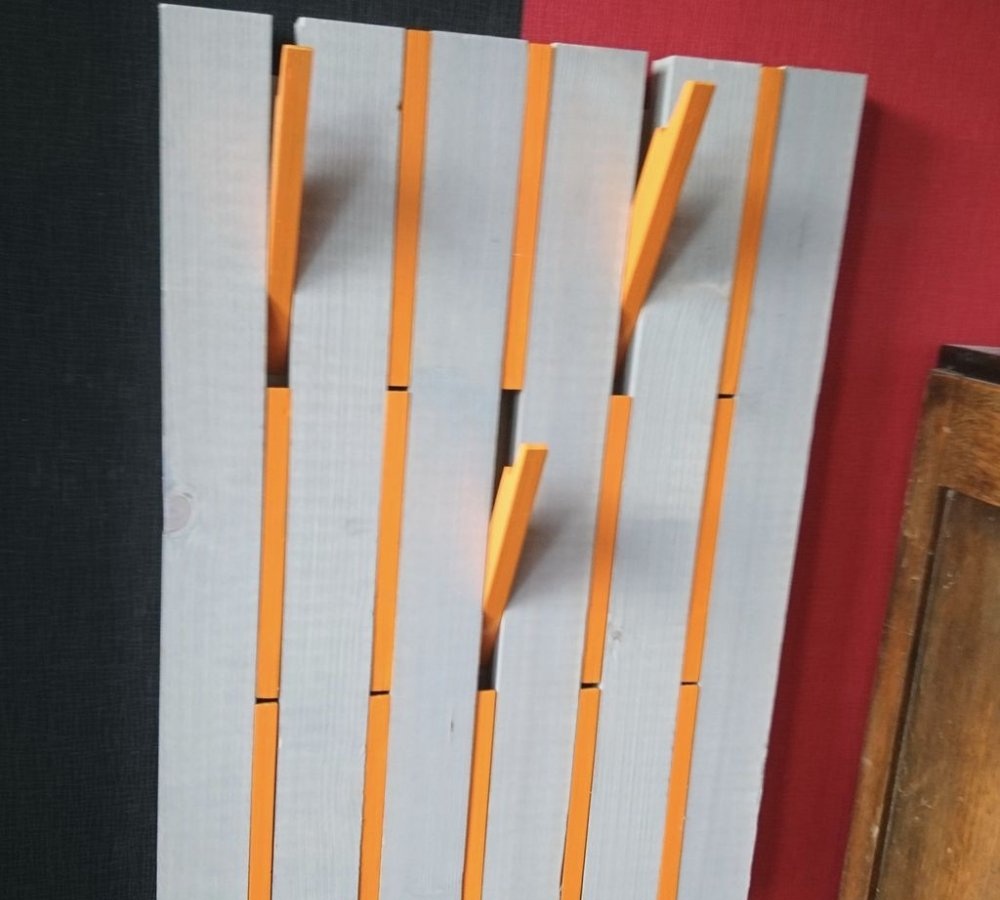
We continue the assembly in the same sequence.
Last row left.
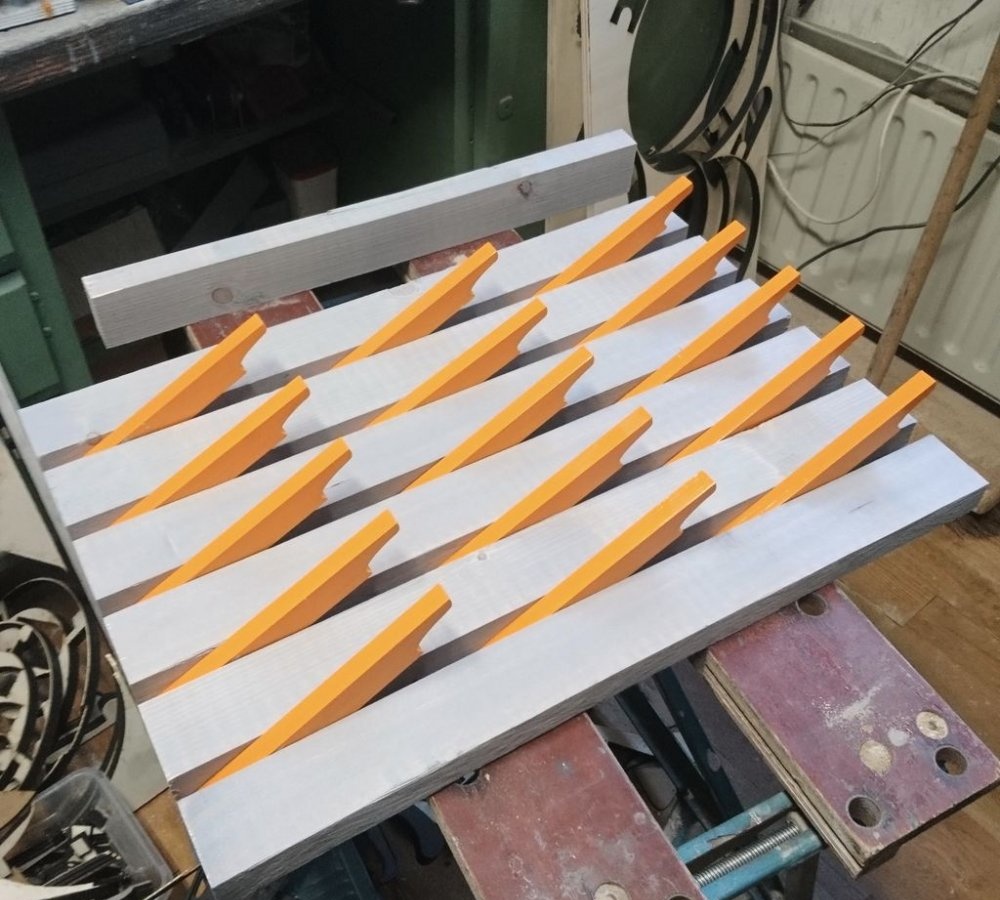
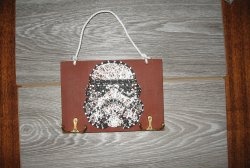
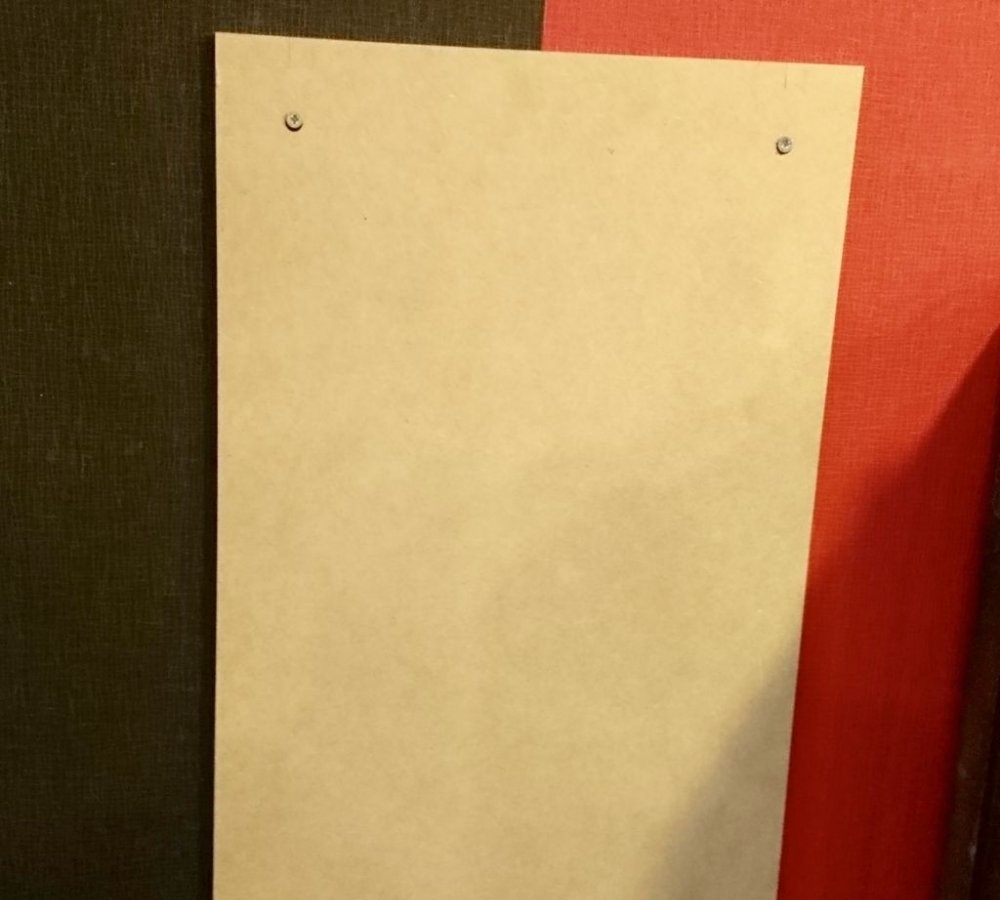
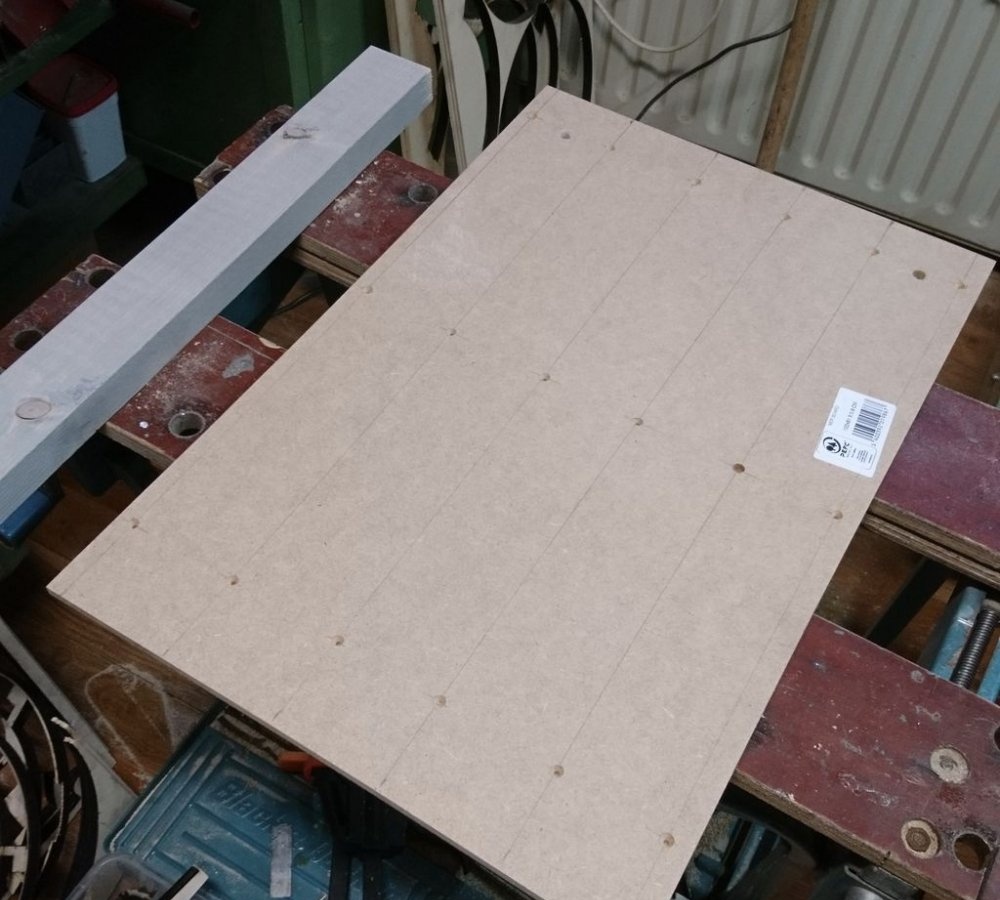
To keep everything in place, we attach a sheet of MDF to the back wall. This sheet not only holds the entire structure, but hangers will also rest against it during use.
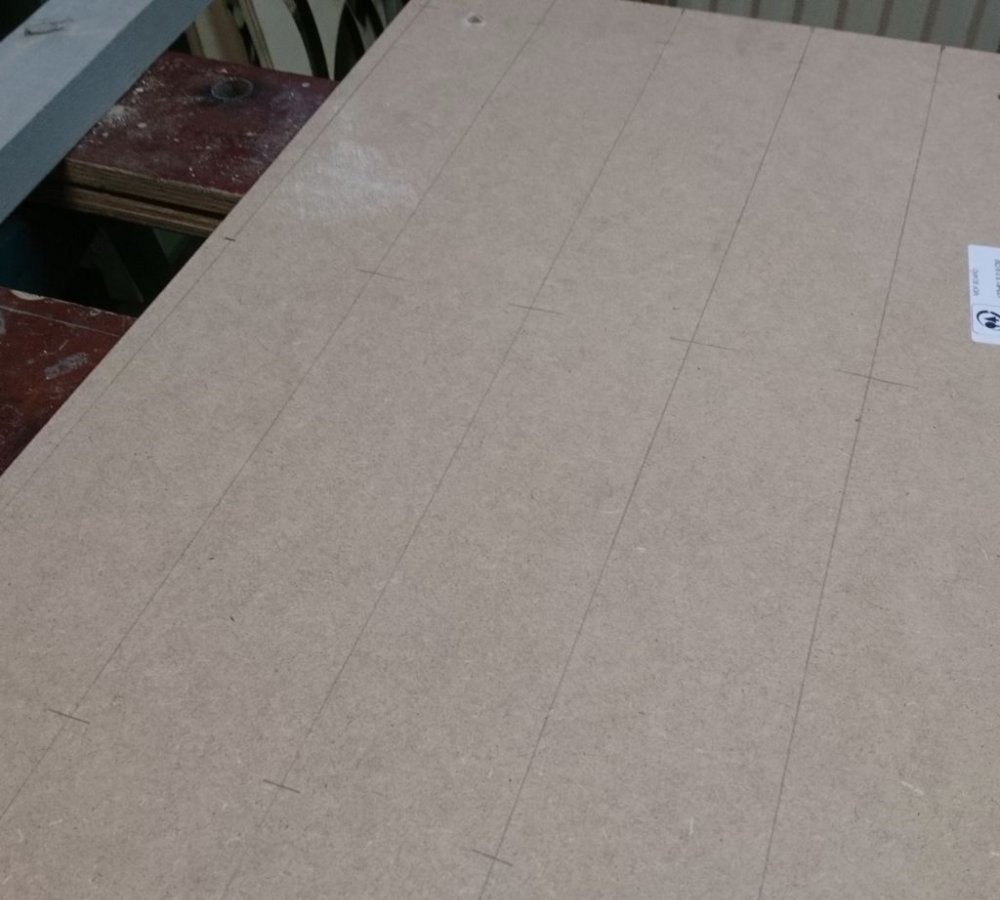
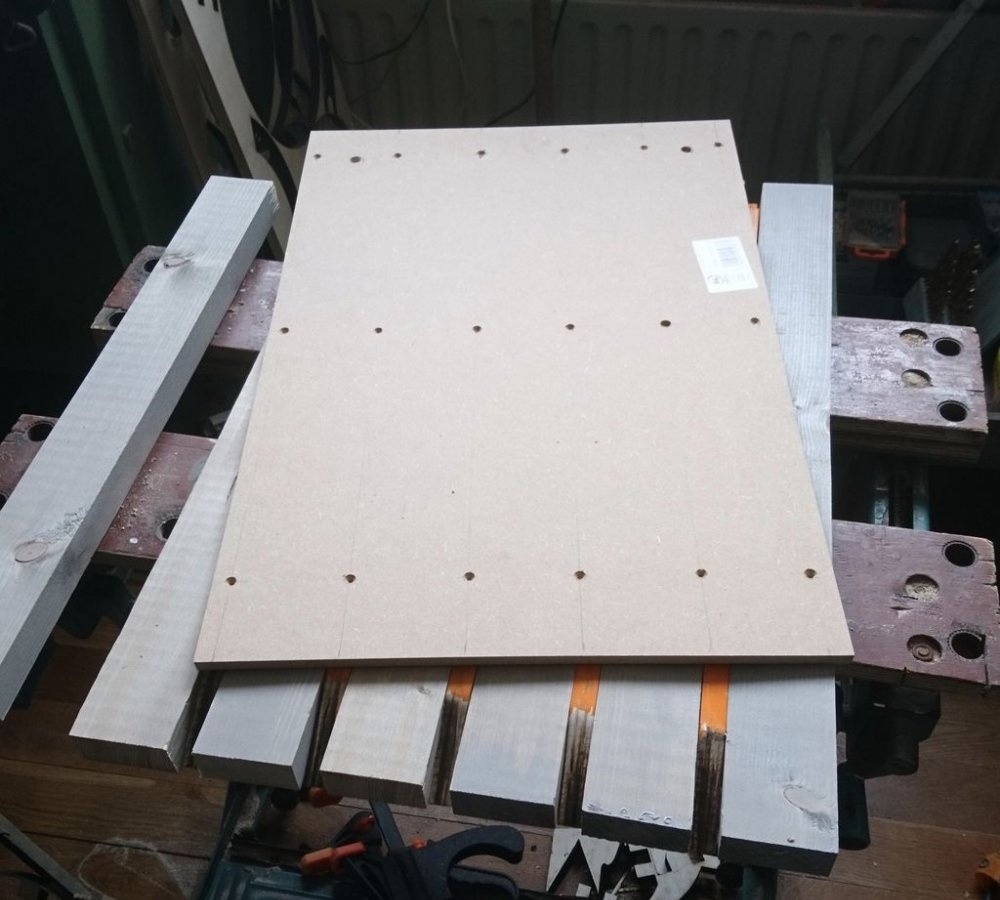
We mark the sheet. The sheet should be fastened not in four places as usual, but with a grid.

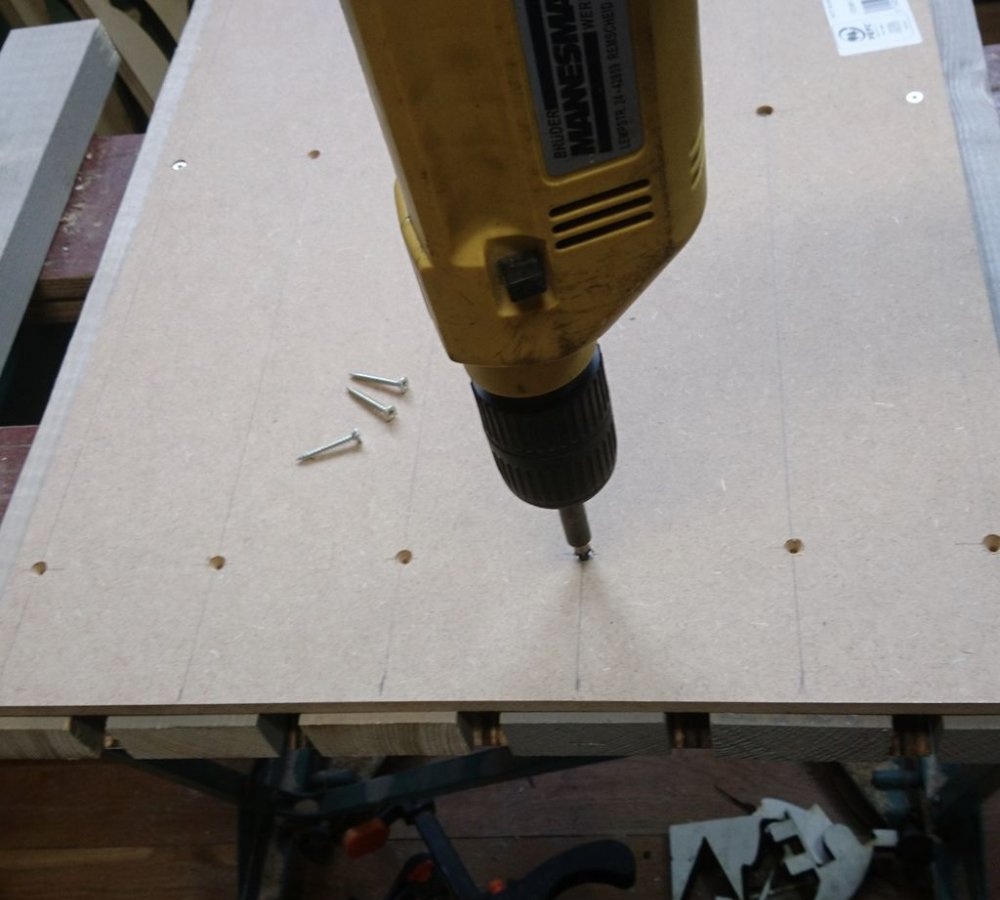
To ensure that the screws are screwed flush, we will make grooves.
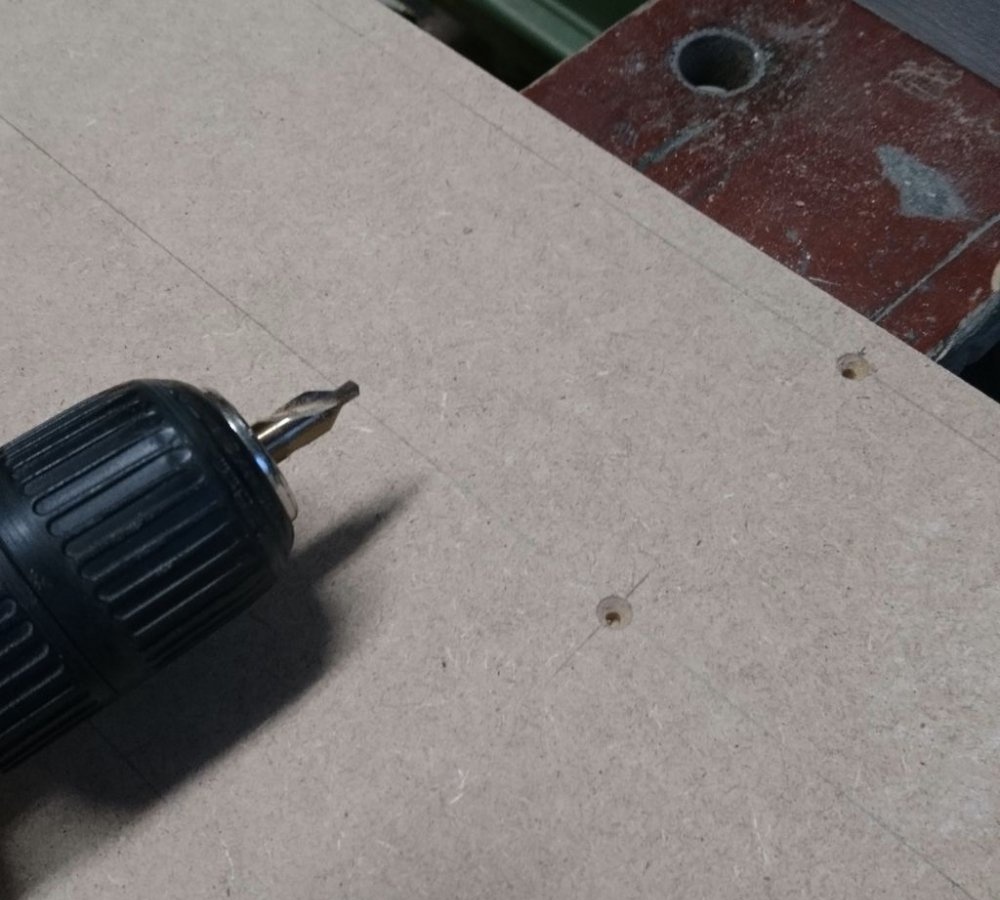

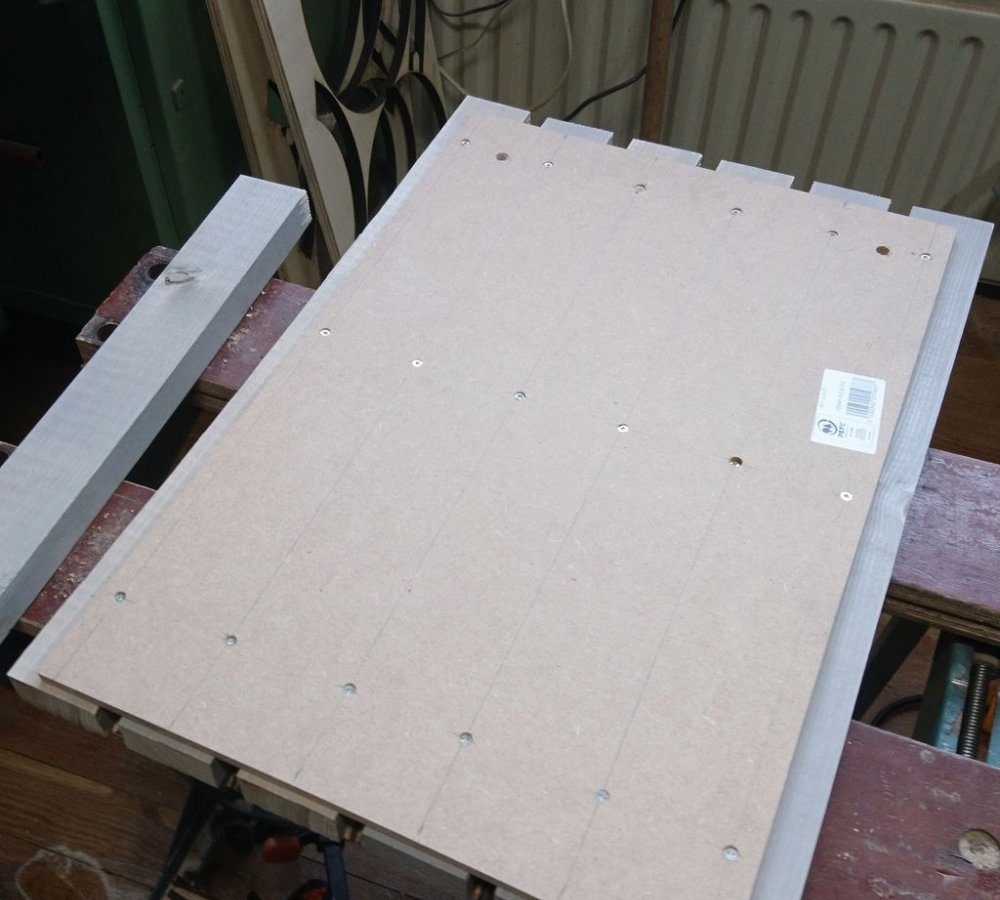
We screw in the screws. First on the sides, then in the center, and then all the rest.
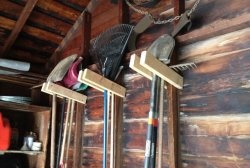
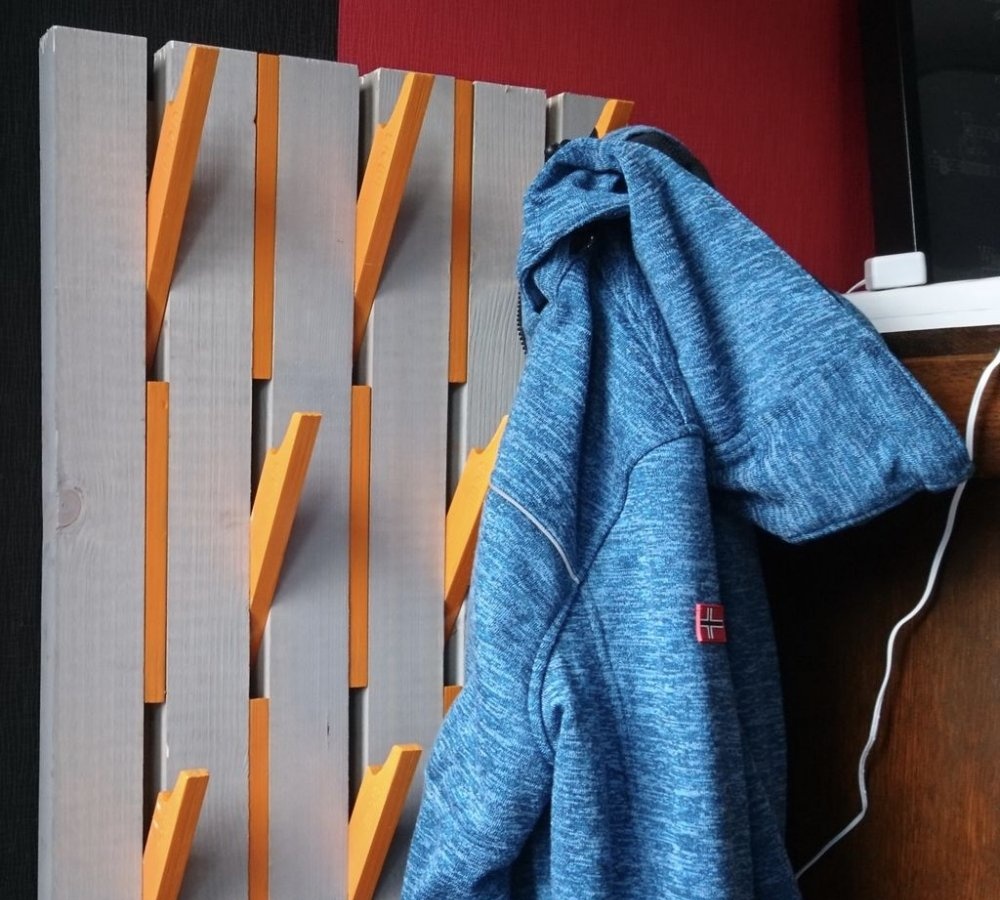
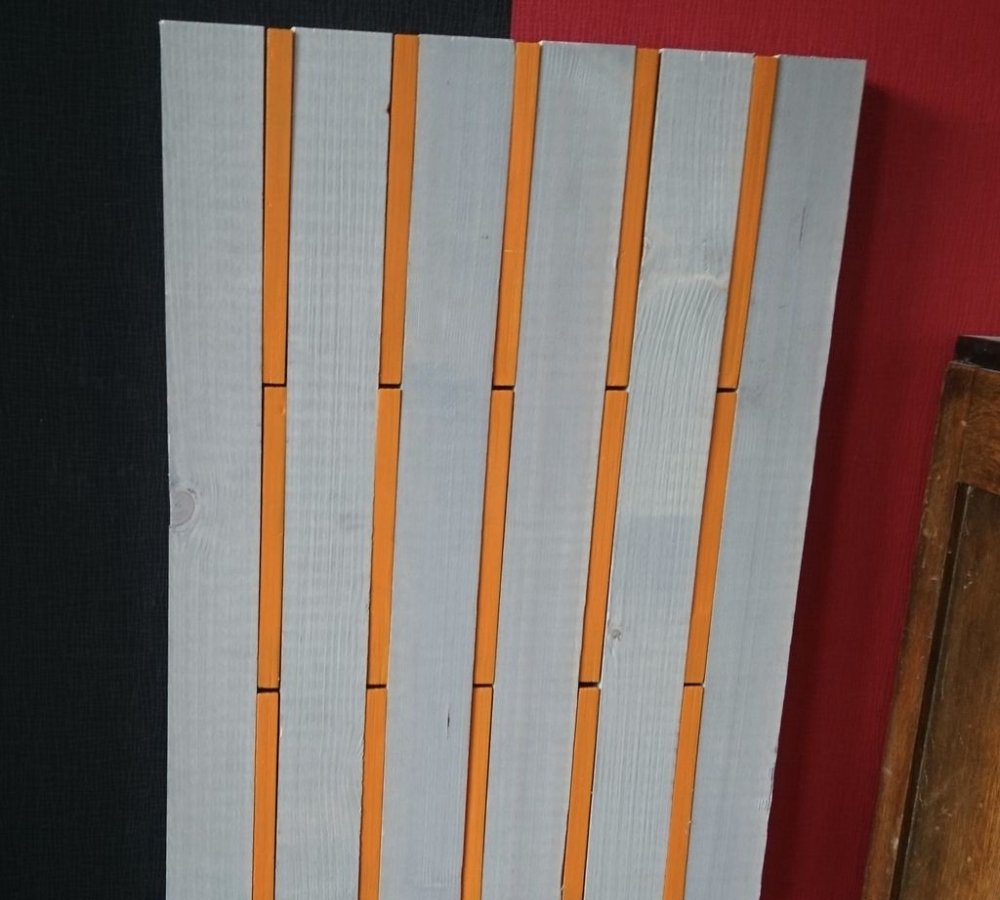
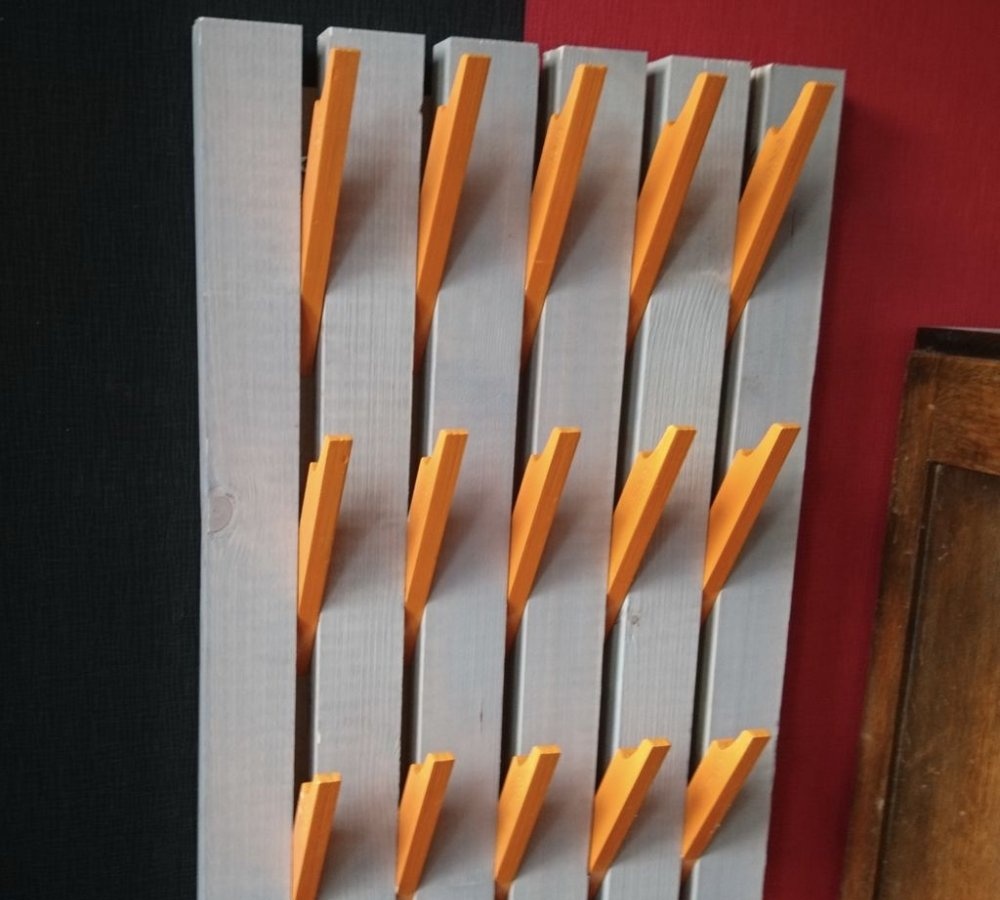
The hanger is ready.
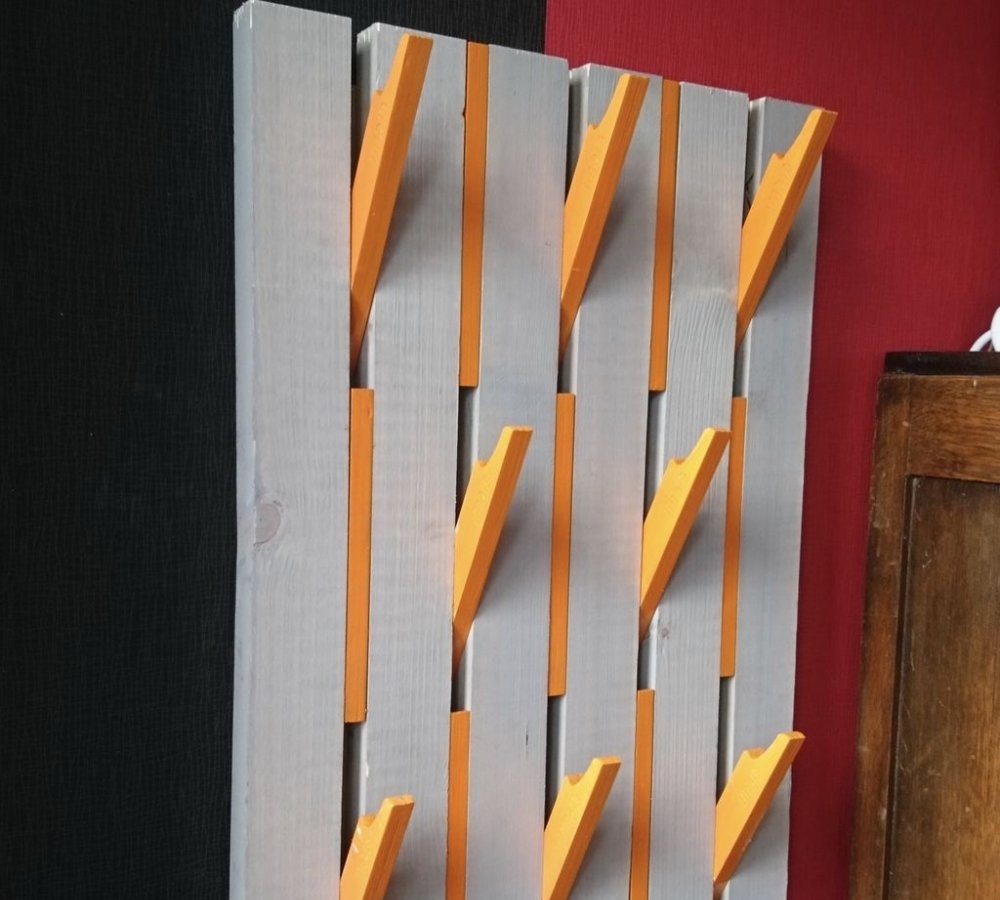
Looks very modern.
You can hang not only clothes, but also bags and handbags.
Original article in English