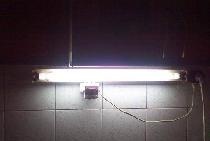
Sometimes situations arise when you need to turn on the lights in the room every day at dawn and turn them off at sunset, i.e. simulate daylight inside any enclosed space. This may be required, for example, when growing plants or keeping animals, where strict adherence to the day/night regime is necessary. Depending on the time of year, the time of sunset and sunrise constantly changes, which means that using daily timers to turn on the lighting will not cope with the task properly. A light sensor, or, more simply put, a photo relay, comes to the rescue. This device records the intensity of sunlight falling on it. When there is a lot of light, i.e. the sun will rise, a log will be established at the output. 1. When the day comes to an end, the sun goes below the horizon, the output will be log. 0, the lights will turn off until the next morning. In general, the scope of application of the light sensor is very wide and is limited only by the imagination of the person who assembled it. Often such sensors are used to illuminate the cabinet when the door is opened.
Light sensor circuit
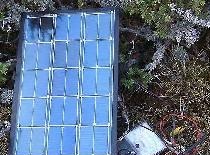
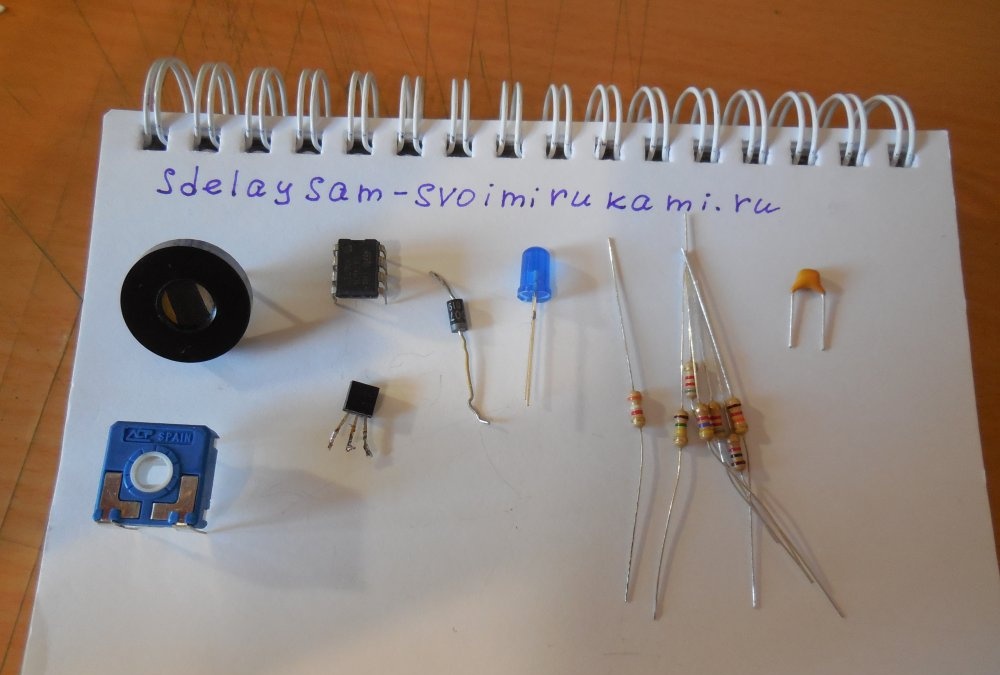
The key link of the circuit is the photoresistor (R4).The more light hits it, the more its resistance decreases. You can use any photoresistor that you can find, because this is a rather scarce part. Imported photoresistors are compact, but sometimes cost quite a lot. Examples of imported photoresistors are VT93N1, GL5516. You can also use domestic ones, for example, FSD-1, SF2-1. They cost much less, but will also work well in this scheme.
If you couldn’t get a photoresistor, but you really want to make a light sensor, then you can proceed as follows. Take an old, preferably germanium, transistor in a round metal case and saw off its top, thereby exposing the transistor crystal. The photo below shows just such a transistor with the cover cut off.
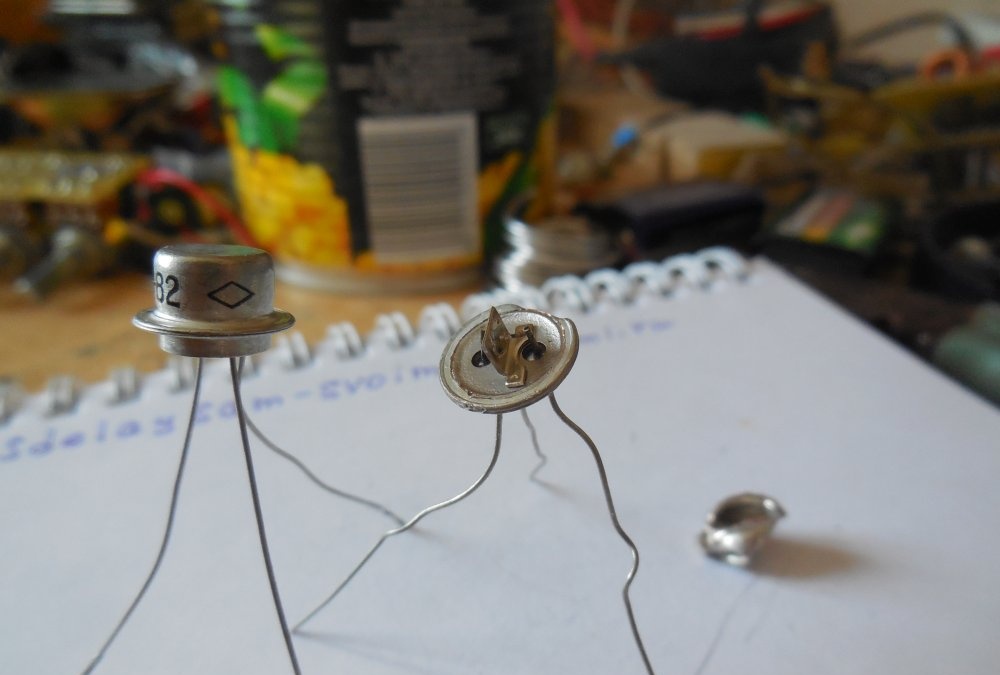
It is very important not to damage the crystal itself by tearing off the cover. Almost any transistors in such a round case will work; Soviet germanium transistors, for example, MP16, MP101, MP14, P29, P27, will work especially well. Because Now the crystal of such a “modified” transistor is open, the resistance of the K-E transition will depend on the intensity of the light falling on the crystal. Instead of a photoresistor, the collector and emitter of the transistor are soldered in, the base terminal is simply bitten off.
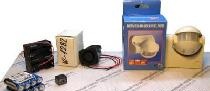
The circuit uses an operational amplifier; you can use any single one that is suitable for the pinout. For example, widely available TL071, TL081. The transistor in the circuit is any low-power NPN structure, BC547, KT3102, KT503 are suitable. It switches the load, which can be either a relay or a small piece of LED strip, for example. It is advisable to connect a powerful load using a relay; diode D1 is in the circuit to dampen self-induction pulses of the relay winding. The load is connected to the output labeled OUT.The supply voltage of the circuit is 12 volts.
The value of the trimming resistor in this circuit depends on the choice of photoresistor. If the photoresistor has an average resistance, for example, 50 kOhm, then the trimmer should have two to three times greater resistance, i.e. 100-150 kOhm. My photoresistor SFD-1 has a resistance of more than 2 MOhm, so I took the trimmer to 5 MOhm. There are also lower resistance photoresistors.
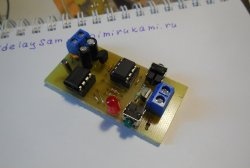
Light sensor assembly
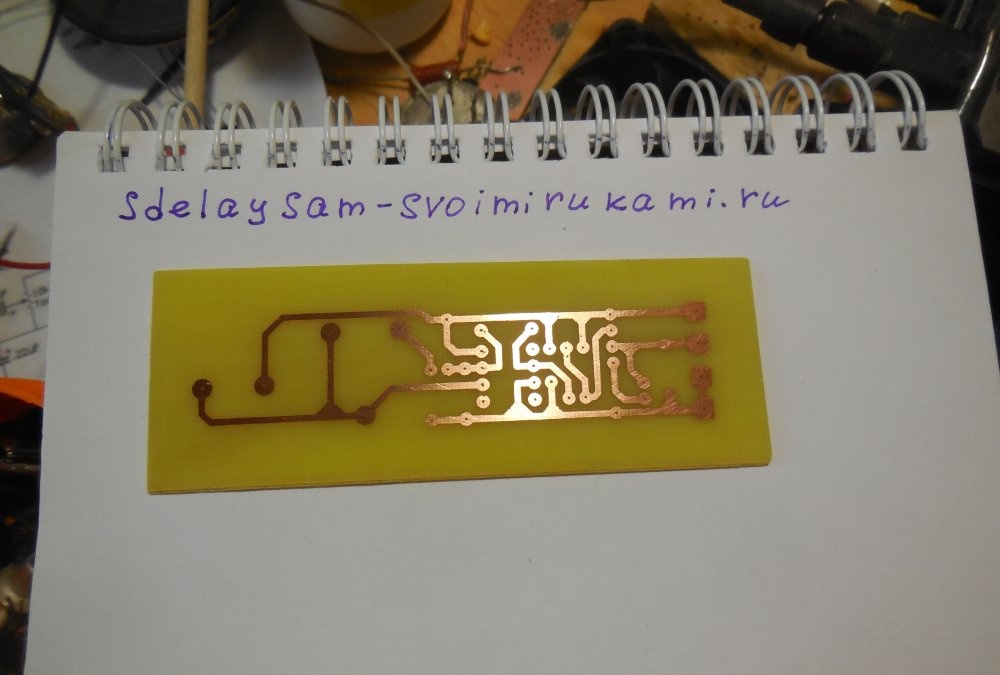
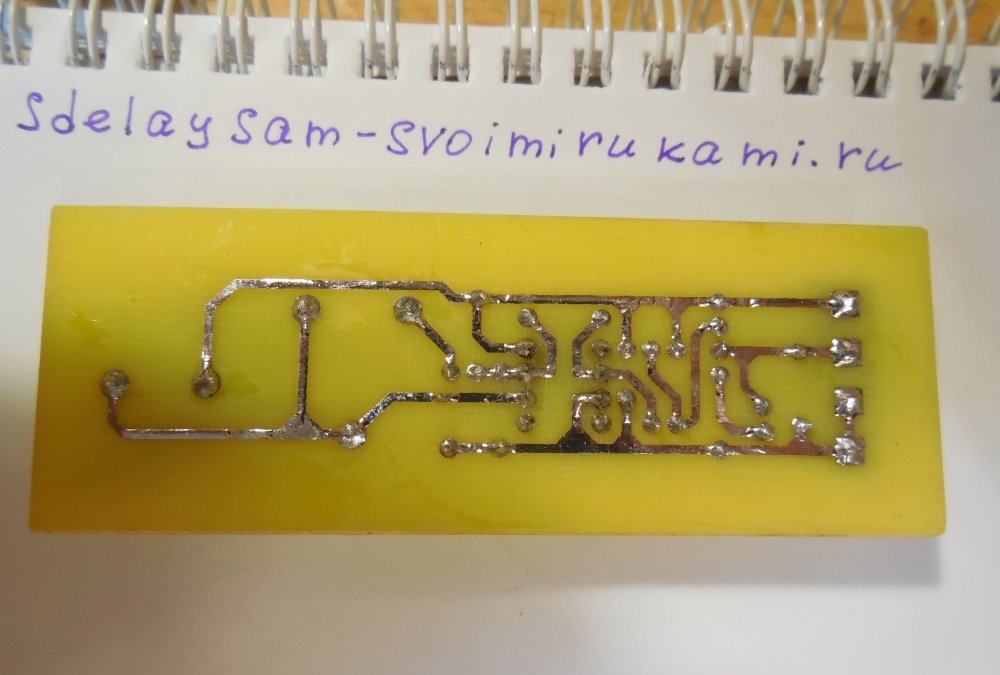
So, let's move from words to action - first of all, you need to make a printed circuit board. For this there is a LUT method, which I use.
The file with the printed circuit board is attached to the article; there is no need to mirror it before printing.
Download the board: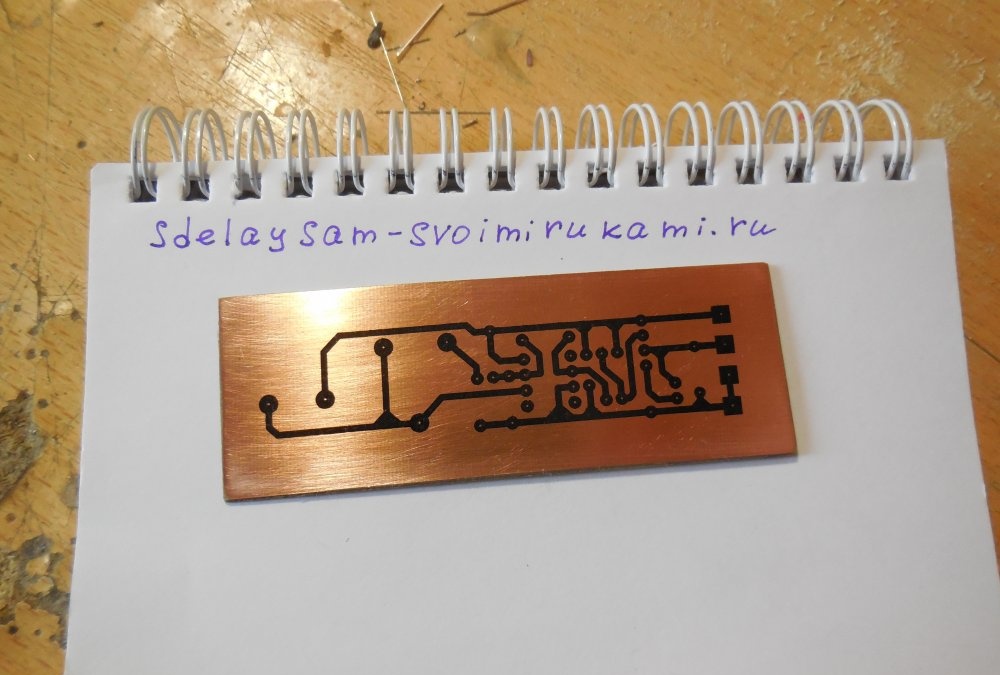
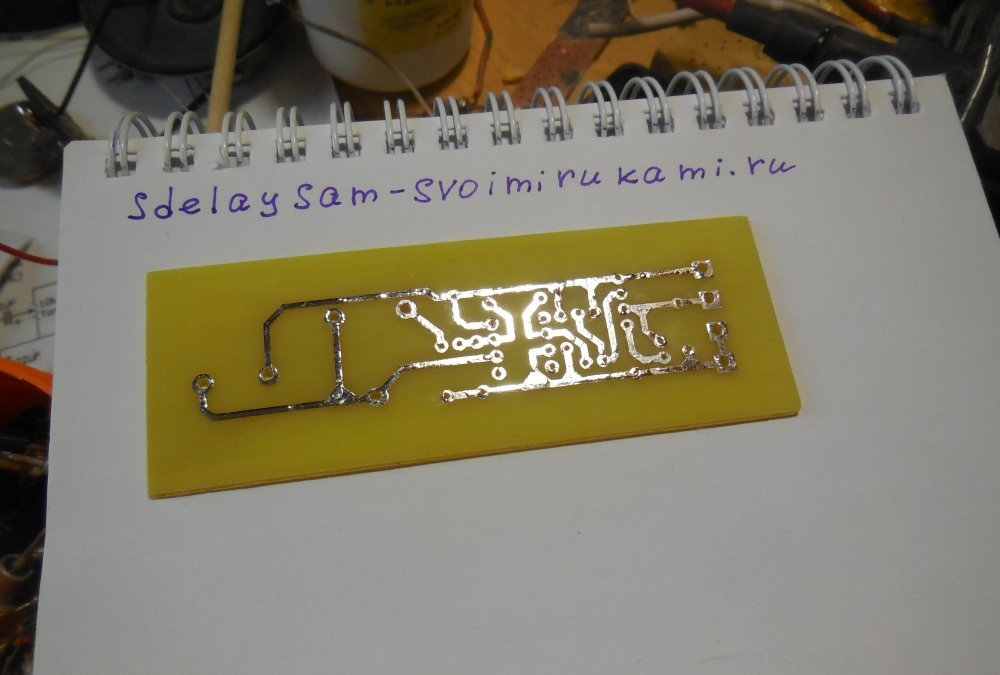
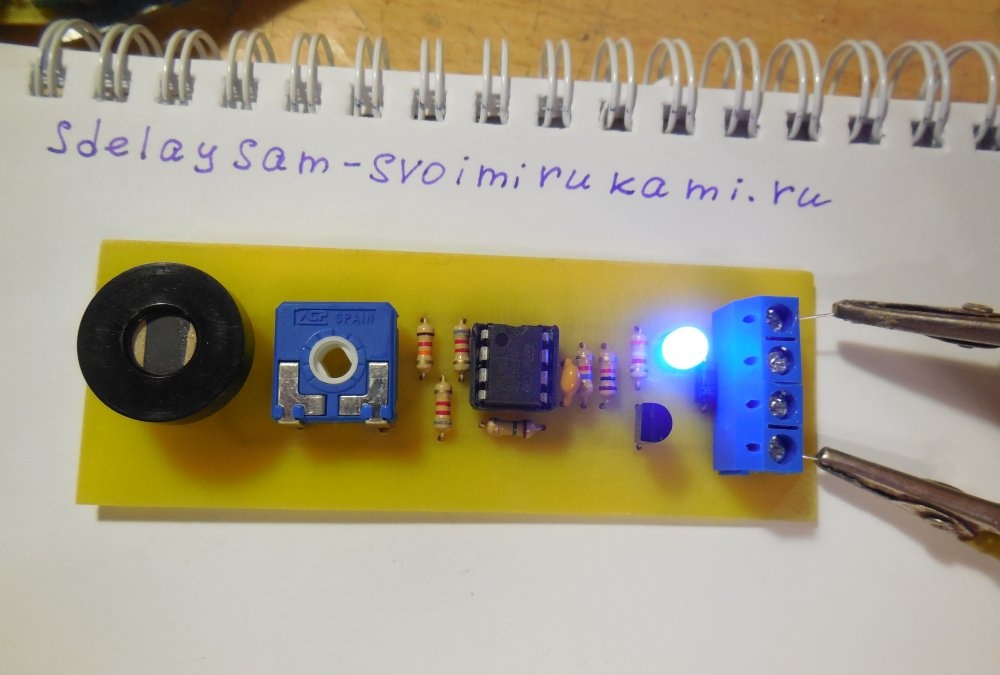
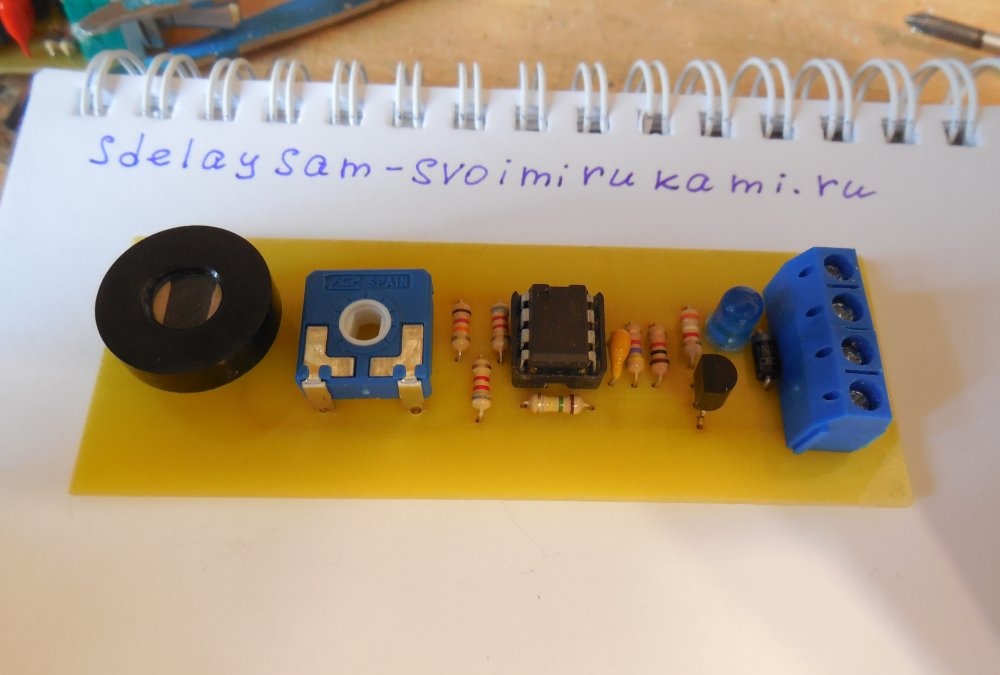
Now you can solder the parts. First, resistors and a diode are installed, then everything else.

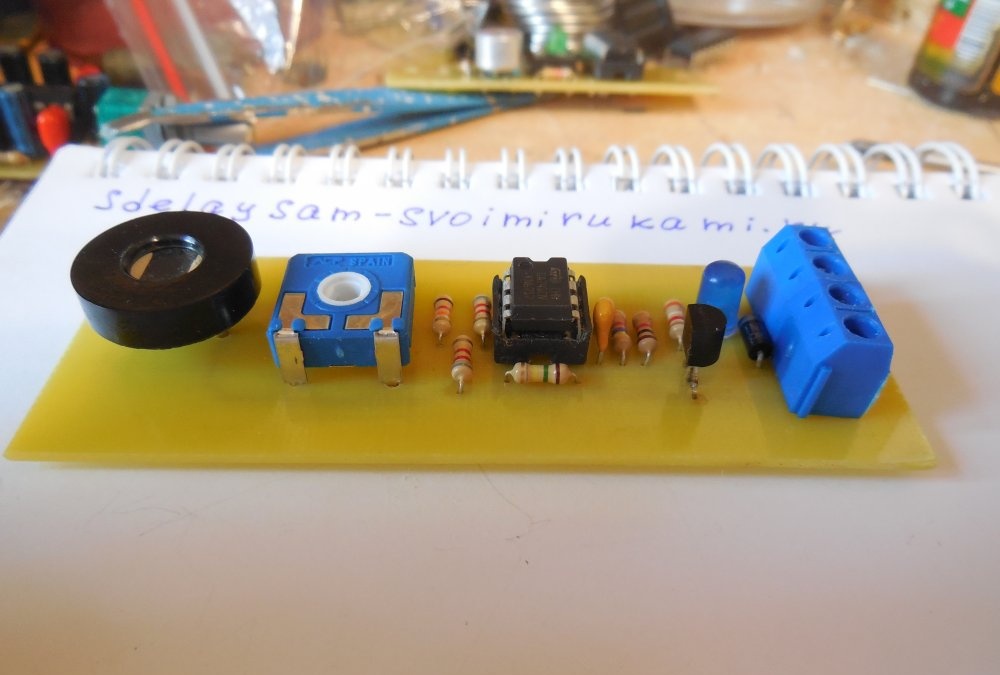
Lastly, the largest parts are soldered in - the photodiode and the tuning resistor; for convenience, the wires can be routed through the terminal blocks. After soldering is completed, it is imperative to remove the flux from the board, check the correct installation, and test adjacent tracks for short circuits. Only after this can power be supplied to the board.
Sensor setup
When you turn it on for the first time Light-emitting diode on the board will either light up or be completely extinguished. Carefully rotate the tuning resistor - in some position Light-emitting diode will change its state. You need to install a tuning resistor on this edge between the two positions, and by closing or, conversely, exposing the photoresistor, achieve the desired response threshold.
The operation of the light sensor is clearly shown in the video. A shadow is created over the photoresistor, the light intensity decreases, Light-emitting diode goes out. Happy build!