Do it yourself
Life hacks, master classes, useful tips, recipes.
home » Electronics » DIY electronics » Turning on and off the load according to a schedule

I propose for assembly another electronic device designed to automate human life. Its operation can be described as follows: at a given time it turns on the load, and at a specified time it turns off, and the next day the cycle repeats. Those. if there is a need, for example, to turn on the light every day at 10:00 and turn it off at 21:00, this device will cope with this task perfectly. In addition to turning on the light, you can use it, for example, to water plants once a day.

Device diagram

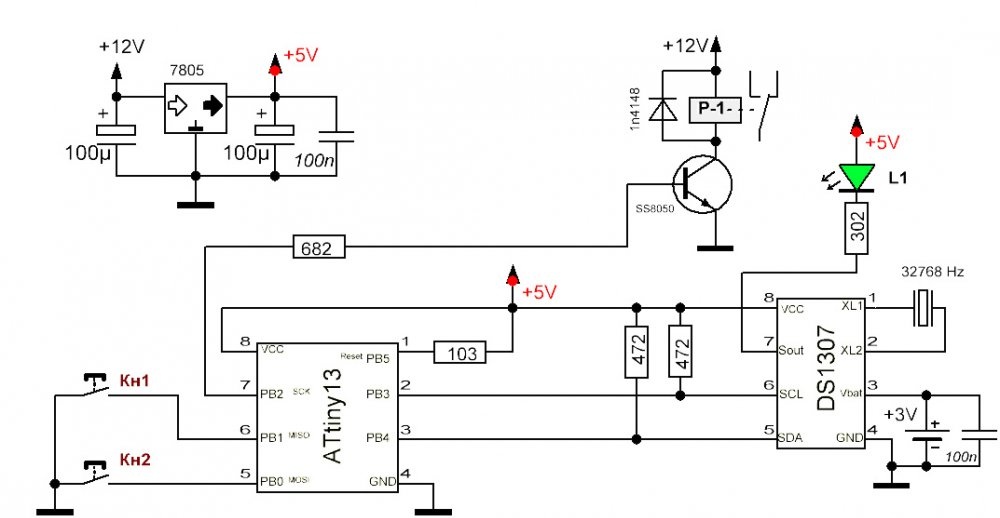
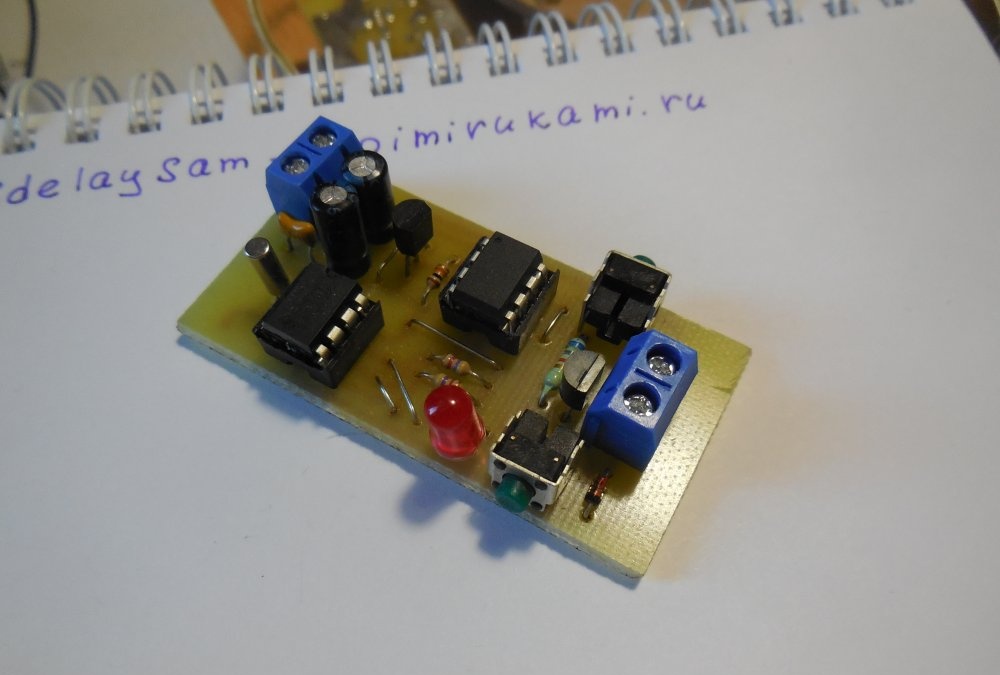
A few words about the scheme. It contains two microcircuits, a DS1307 clock and an Attiny13 microcontroller. Two buttons “1” and “2” allow you to set the time for turning on and off the load.

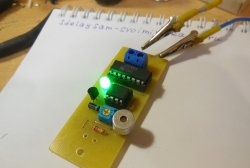
The SS8050 transistor in the circuit controls the relay; instead of it, you can install any low-power NPN transistor, for example, BC547, KT315. Instead of a relay, you can use a transistor switch if the load is powered by direct current. A 3 volt backup power supply is connected between pins 3 and 4 of the DS3107 microcircuit, i.e. regular watch battery.If the main power is turned off, the circuit clock will continue to run and there will be no need to set the time interval again. However, the circuit can operate without a backup power source. Flashing Light-emitting diode L1 indicates that the circuit is working. Supply voltage – 12 volts.

Manufacturing

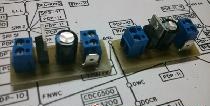
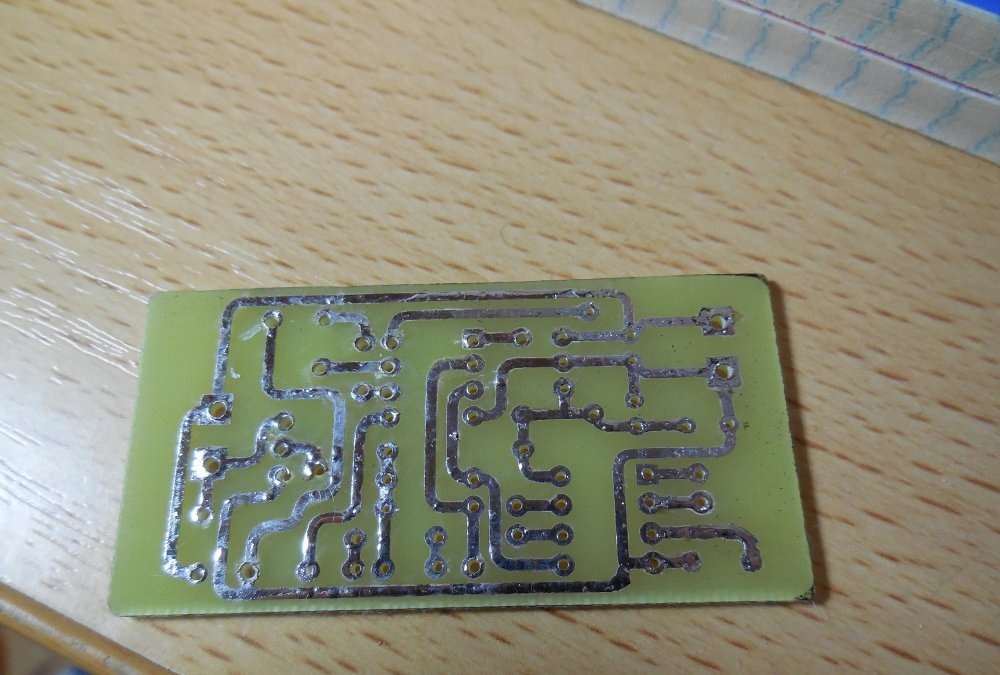
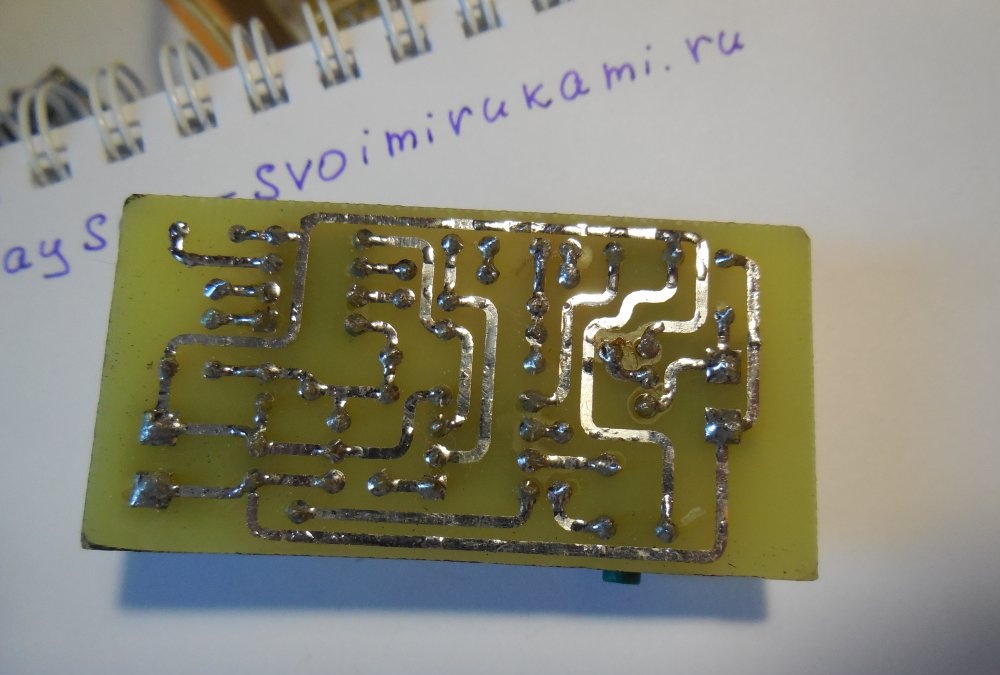
The board is made using the LUT method using a piece of textolite measuring 55 x 30 mm. Photo of the board without soldered parts:

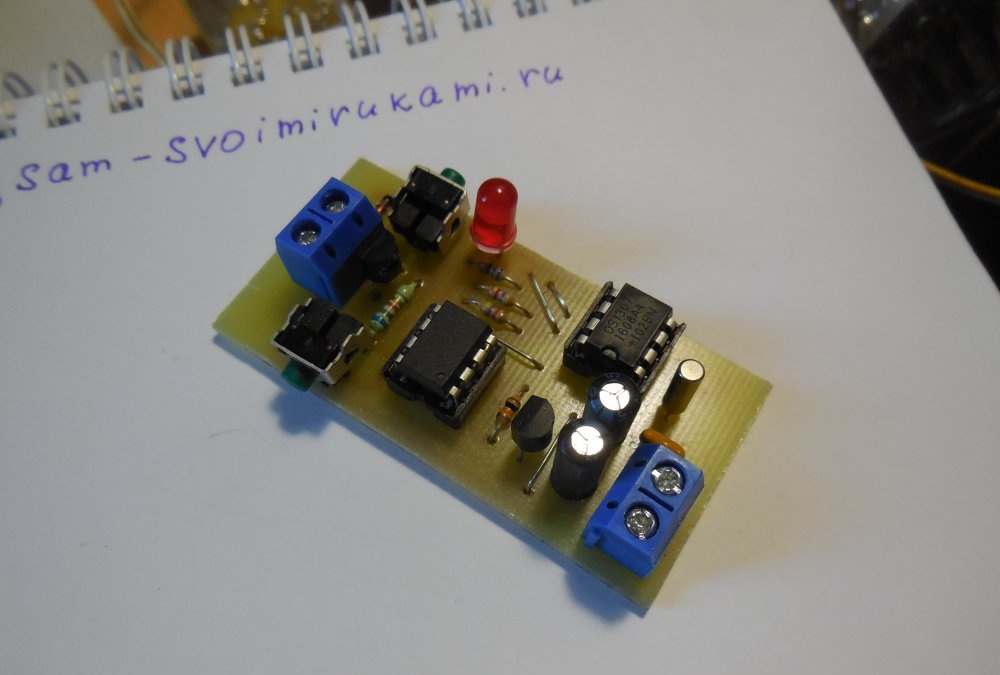
For convenience and reuse, microcircuits should be installed in sockets. Before installing the microcontroller on the board, it needs to be flashed; the firmware is attached to the article. When using a new microcontroller, there is no need to change its factory fuses (it must be clocked from an internal 9.6 MHz oscillator, the divider by 8 is turned on).

Setting time intervals

The process of setting the on and off times is best explained with an example. Let's say you need to turn on a light bulb at 14:00 and turn it off at 16:30. To do this, we wait until 14:00 and briefly press the “1” button, after that we wait until 16:30 and press the “2” button, and this completes the time setting process. Now the light bulb will turn on every day at 14:00 and turn off at 16:30. Happy build!

Firmware and board files

proshivka-i-plata.zip [10.9 Kb] (downloads: 1036)
come back
Comment
  • bowtiesmilelaughingblushsmileyrelaxed relaxedsmirk
    heart_eyeskissing_heartkissing_closed_eyesflushedrelievedsatisfiedgrin
    winkstuck_out_tongue_winking_eyestuck_out_tongue_closed_eyesgrinningkissingstuck_out_tonguesleeping
    worriedfrowninganguishedopen_mouthgrimacingconfusedhushed
    expressionlessunamusedsweat_smilesweatdisappointed_relievedwearypassive
    disappointedconfoundedfearfulcold_sweatperseverecrysob
    joyastonishedscreamtired_faceangryragetriumph
    sleepyyummasksunglassesdizzy_faceimpsmiling_imp
    neutral_faceno_mouthinnocent
3+three=
Comments (6)
  1. Cellar
    #1 Cellar Guests March 18, 2018 03:58
    4
    Buy such a programmer for 300 rubles and don’t mess with people’s brains!!
    1. serger
      #2 serger Guests 20 March 2018 21:25
      1
      Everyone can buy it, but not everyone can make it
    2. Jurbass
      #3 Jurbass Guests 22 March 2018 14:12
      2
      Dear, you are on the wrong site! This site is called "Do It Yourself" and not an online electronics store!!! Whoever prefers to buy, buys, and “doesn’t fool people’s brains”!!!
  2. Victoria Bespalova
    #4 Victoria Bespalova Guests 18 March 2018 20:12
    1
    Well, this is only for those who want to make things themselves. And this is a regular timer socket. They are both mechanical and electronic. The price of the device is from 290 rubles. You can also find Chinese ones in stores, which are even cheaper.
  3. Ivan
    #5 Ivan Guests February 21, 2019 07:49
    0
    I assembled this device, but did not understand the principle of its operation. After the first launch Light-emitting diode burns. You press the first button, it turns on the load for a minute and turns off. after a while I pressed the second one, he repeated the same thing and now the light just blinks. Will it turn on in a day?
  4. Ivan
    #6 Ivan Guests March 7, 2019 09:33
    0
    In general, I finished testing the scheme. It works strangely, oh it works. After the firmware is installed, the device turns on the load for a minute and waits for the start command. press 1 button again and for a minute the load turns on and off. The same thing happens when button 2 is pressed. The device counts down the time by blinking the light once per second. and the second day it works according to schedule. When the power is turned off, it forgets the program, which is strange. I have to sew and program again. In general, very inconvenient. It's better to buy a smart plug.

How to wash and bleach a plastic window sill from any stains

The simplest anti-theft device | Do it yourself

Making corals | Do it yourself

How to make a powerful juicer from a washing machine

«Do it yourself - with your own hands» - a site of interesting homemade products made from scrap materials and items at home. Step-by-step master classes with photos and descriptions, technologies, life hacks - everything a real master or just a craftsman needs for needlework. Crafts of any complexity, a large selection of directions and ideas for creativity.

We recommend reading

Washing machine error codes