Do it yourself
Life hacks, master classes, useful tips, recipes.
home » Electronics » DIY electronics » Soft starter for power tools

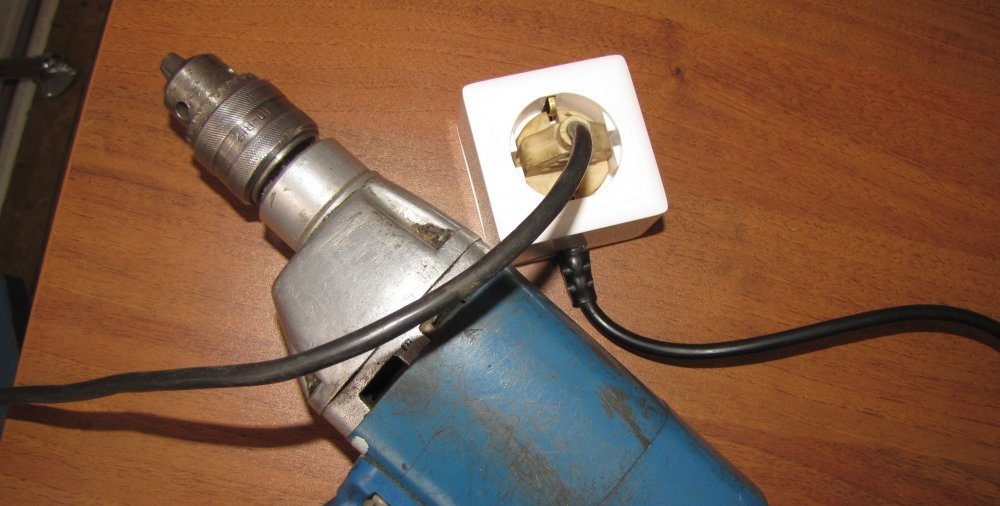
Many electric tools, especially from previous years, are not equipped with a soft start device. Such tools are launched with a powerful jerk, which results in increased wear on bearings, gears and all other moving parts. Cracks appear in varnish insulating coatings, which are directly related to premature failure of the tool.

To eliminate this negative phenomenon, there is a not very complicated circuit based on an integrated power regulator, which was developed back in the Soviet Union, but it is still not difficult to buy on the Internet. Price from 40 rubles and above. It is called KR1182PM1. Works well in a variety of control devices. But we will assemble a soft start system.

Soft starter circuit diagram

Now let's look at the diagram itself.

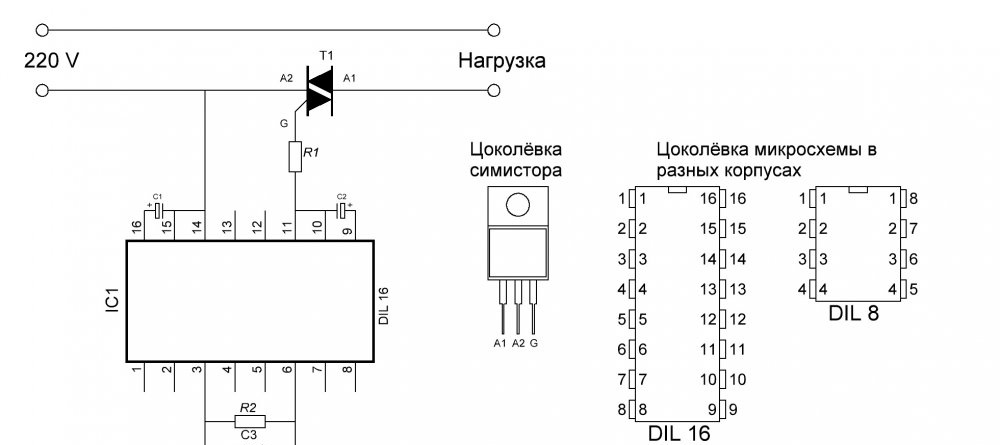
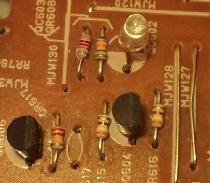
As you can see, there are not very many components and they are not expensive.

Will need

  • Microcircuit – KR1182PM1.
  • R1 – 470 Ohm. R2 – 68 kilo-ohms.
  • C1 and C2 – 1 microfarad - 10 volts.
  • C3 – 47 microfarads – 10 volts.

A breadboard for mounting circuit components “so as not to bother with making a printed circuit board.”

The power of the device depends on the brand of triac that you install.

For example, the average value of the open state current for different triacs:

  • BT139-600 - 16 amperes,
  • BT138-800 - 12 amperes,
  • BTA41-600 - 41 amperes.

Assembling the device

You can install any others that you have and that suit your power, but you need to take into account that the more powerful the triac, the less it will heat up, which means the longer it will work. Depending on the load, you need to use a cooling radiator for the triac.

I installed the BTA41-600, you don’t have to install a radiator for it at all, it is powerful enough and will not heat up during repeated short-term operation, at a load of up to two kilowatts. I simply don’t have a more powerful tool. If you plan to connect a more powerful load, then think about cooling.

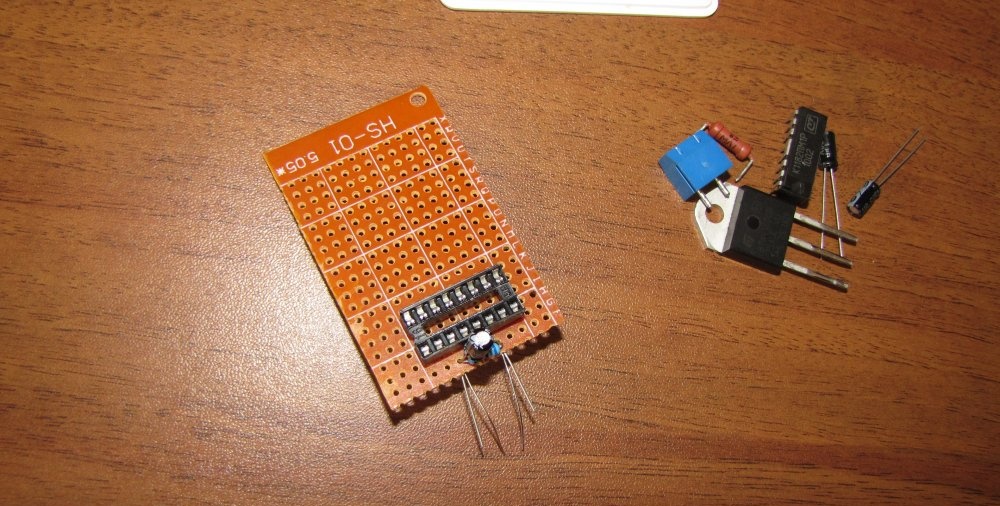
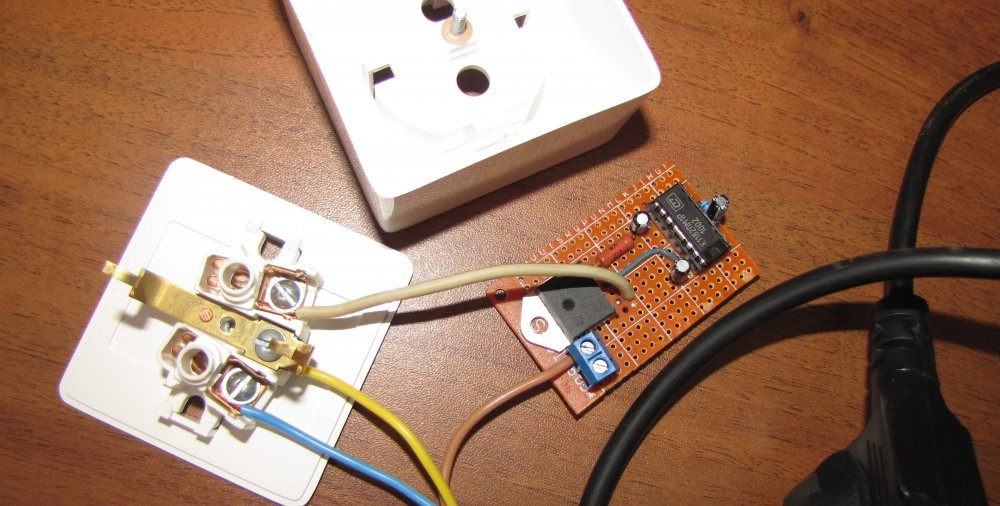
Let's assemble the parts for installing the device.

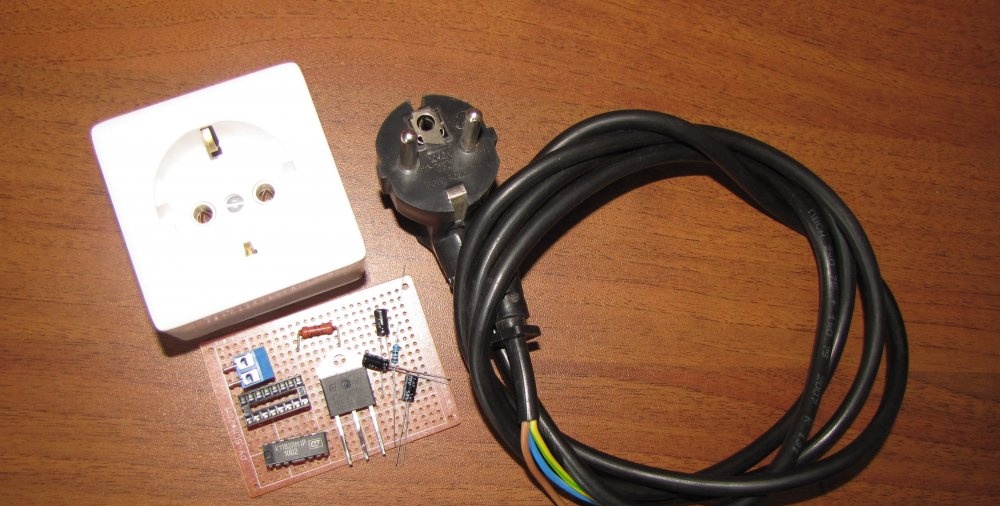
We also need a “closed” socket and a power cable with a plug.

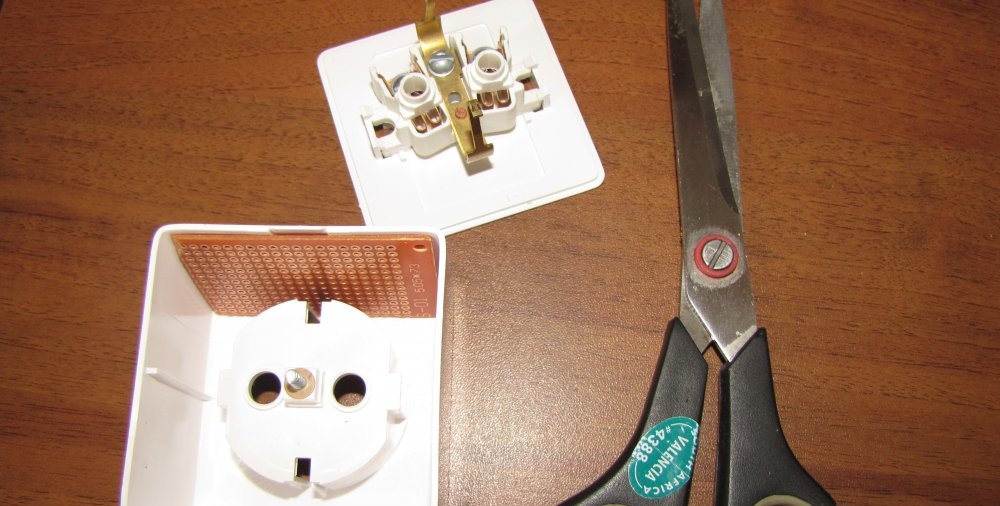
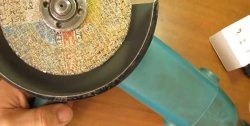
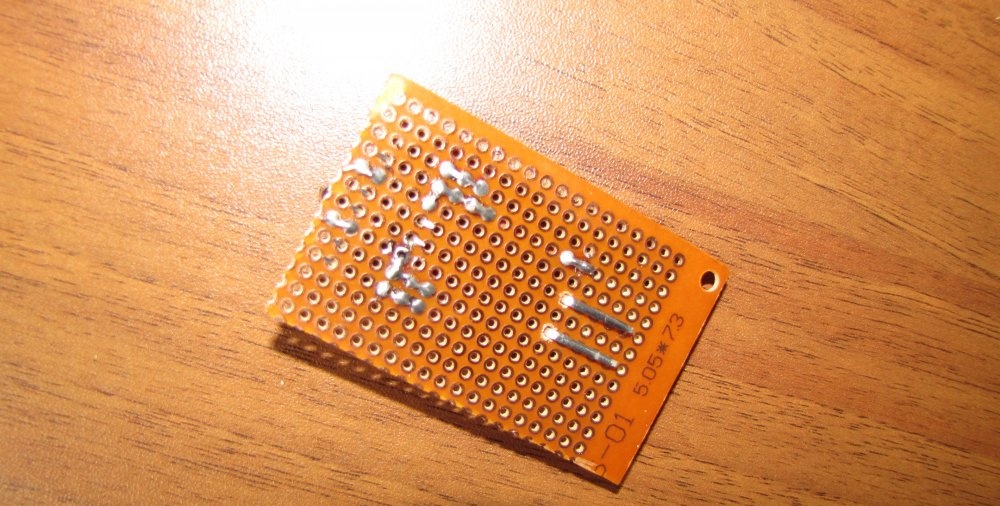
It is good to adjust the breadboard to size using large scissors. It cuts easily, simply and neatly.

We place the components on the breadboard. It’s better to solder a special socket for the microcircuit; it costs a penny, but makes the work much easier. There is no risk that you will overheat the legs of the microcircuit, you do not need to be afraid of static electricity, and if the microcircuit burns out, it can be replaced in a couple of seconds. It is enough to take out the burnt one and insert the whole one.

We solder the parts immediately.

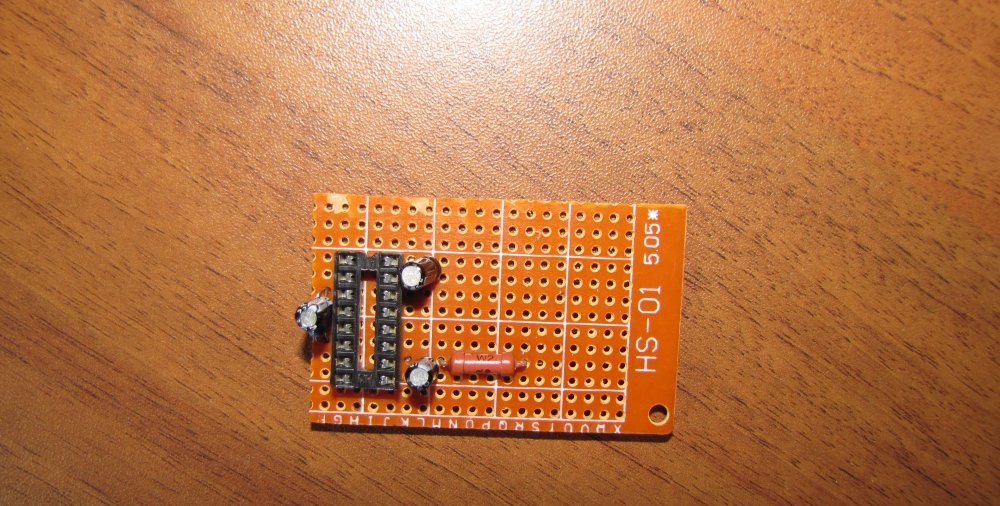
We place new parts on the board, checking the diagram.

We solder it carefully.

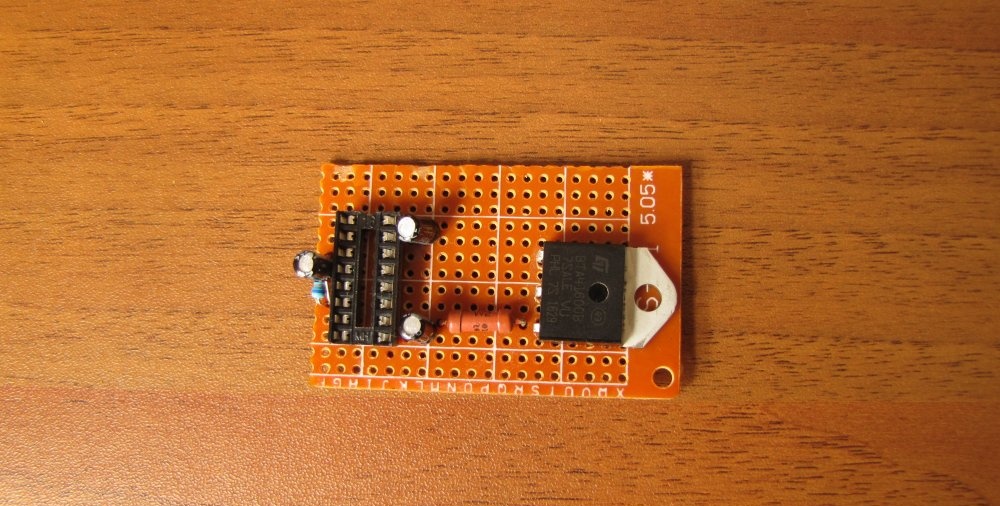
For a triac, the sockets need to be slightly drilled.

And so on in order.

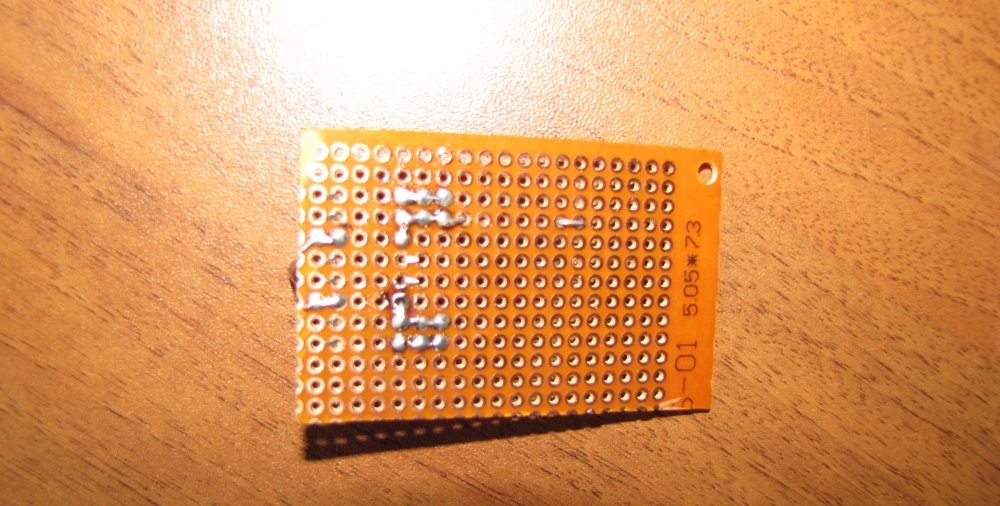
We insert and solder the jumper and other parts.
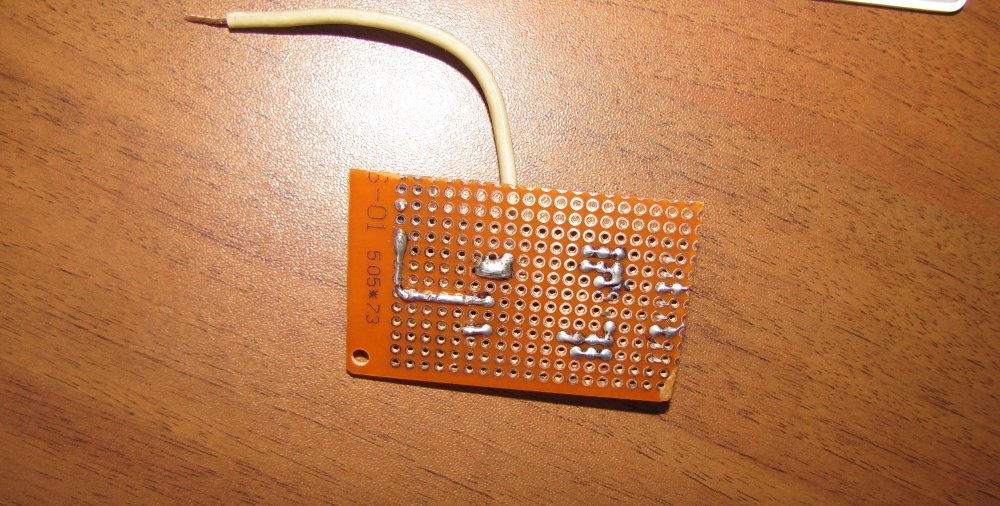
We solder.

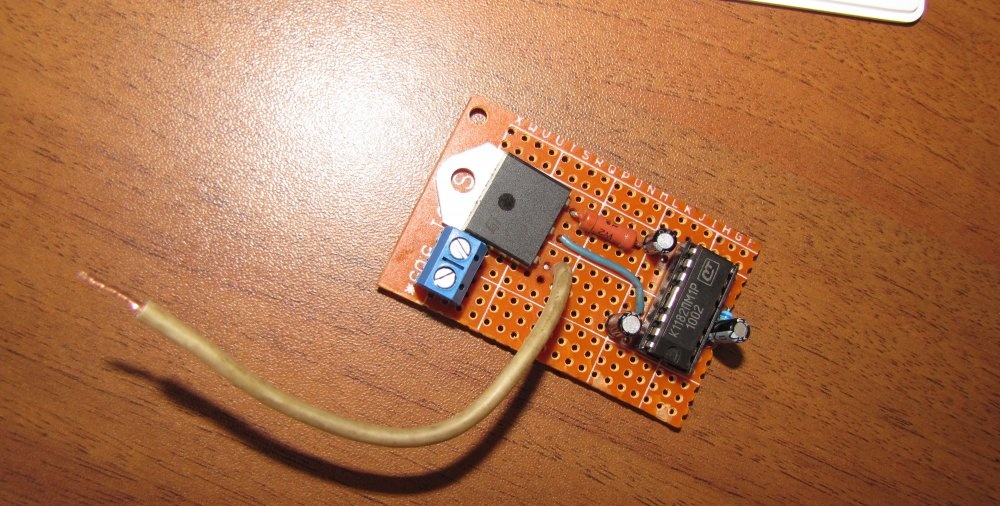
We check compliance with the circuit and insert the microcircuit into the socket, not forgetting the key.

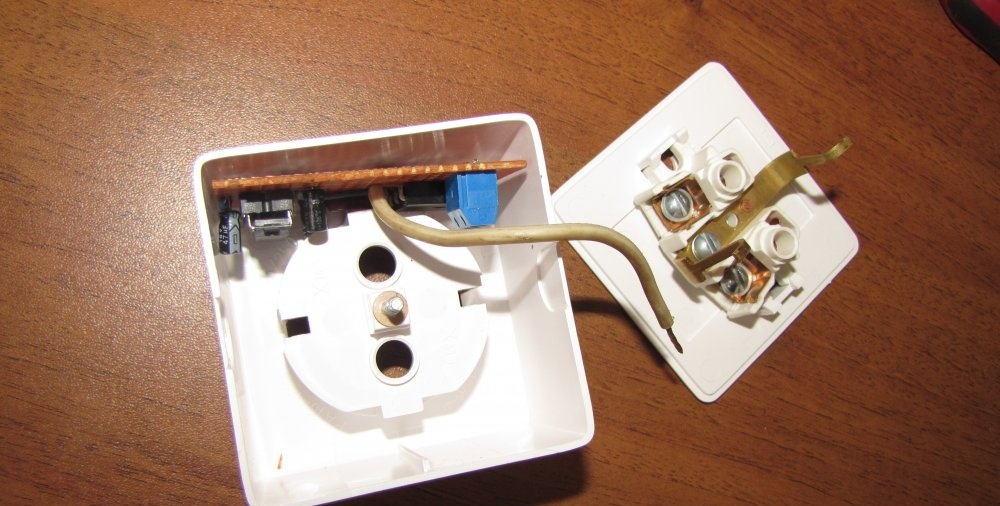
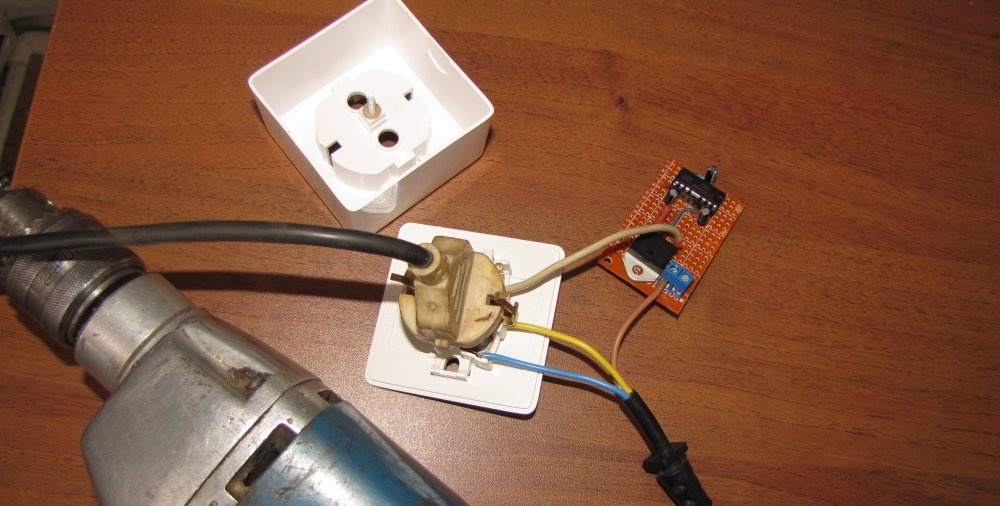
We insert the finished circuit into the socket.

We connect the power to the outlet and circuit.

Checking work

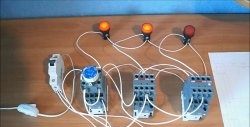
Let's check the device in operation.

Carefully! All elements of the circuit are under direct voltage of 220 volts! Life threatening!

We finally assemble the device.

We carry out a final check for functionality.

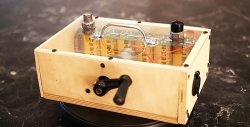
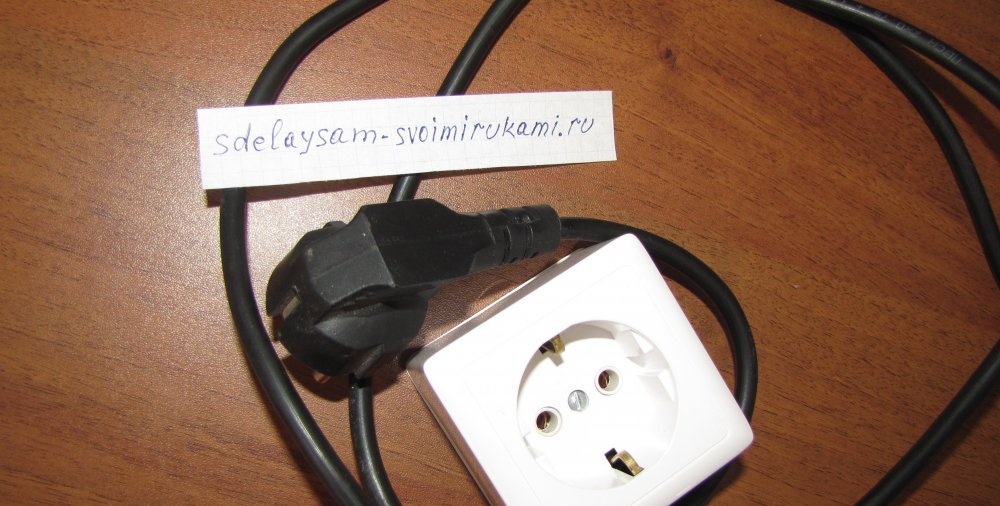
In order not to confuse this device with a simple extension cord, it must be marked in any way. I did this using a self-adhesive price tag and tape.

Please watch the video testing this device. The change in device behavior upon startup is clearly shown.

Good luck to you in your affairs and concerns.

Watch a video of the device working

come back
Comment
  • bowtiesmilelaughingblushsmileyrelaxed relaxedsmirk
    heart_eyeskissing_heartkissing_closed_eyesflushedrelievedsatisfiedgrin
    winkstuck_out_tongue_winking_eyestuck_out_tongue_closed_eyesgrinningkissingstuck_out_tonguesleeping
    worriedfrowninganguishedopen_mouthgrimacingconfusedhushed
    expressionlessunamusedsweat_smilesweatdisappointed_relievedwearypassive
    disappointedconfoundedfearfulcold_sweatperseverecrysob
    joyastonishedscreamtired_faceangryragetriumph
    sleepyyummasksunglassesdizzy_faceimpsmiling_imp
    neutral_faceno_mouthinnocent
4 minus one =
Comments (23)
  1. Guest Andrey
    #1 Guest Andrey Guests 2 May 2018 15:40
    2
    Thanks for the review. If possible, more precisely about radio components. I want to collect. Thank you.
    1. Dgek
      #2 Dgek Guests 3 May 2018 08:35
      7
      All part values ​​are indicated. Please read more carefully. The only thing I forgot to mention is that the acceleration time of the electric motor to maximum speed depends on the capacitance of capacitor C3.More capacity means longer acceleration time, and if less, then correspondingly less. The indicated 47 microfarads is the most optimal value. Resistor R1 is 0.5 watts, and R2 is 0.25 watts.
      1. Guest Sergey
        #3 Guest Sergey Guests 3 May 2018 12:28
        2
        Units of measurement named after scientists are written with a capital letter. Why do you despise Ohm, Volt, Ampere, Faraday and Watt so much?
      2. Guest Oleg
        #4 Guest Oleg Guests 22 February 2019 12:53
        3
        Hello. I've been putting together a few of these patterns! At first I didn’t go to VTA 16-600, no matter what I did until I plugged in the 41-600. Everything worked with it, but the jolt on startup is confusing! that is, no. what the f...? I don’t understand anything. On one Bulgarian there are no tremors. works well. on others every other time. VTA 16 does not react to changes in capacitance or res. either immediately full or completely zero. By the way, connecting a1 and a2 strictly a2 to the network a1 to the load! otherwise, too, immediately to the full. I rummaged through everything... nothing. Maybe someone here knows what the problem is? half-wave has nothing to do with it. firstly, it is a semistor and secondly, it is turned off at the time of start-up. It turns out that at the moment of start-up a short-term impulse is supplied to the control.
        1. Guest Alexey
          #5 Guest Alexey Guests 10 December 2019 22:37
          2
          I can not say exactly. but when describing the operation of a triac, reference is made to the polarity of the control signal relative to the terminals. I don’t remember specifically, but there is a nuance. And thanks for the recommendations. Assembled on VTA12-600. Jigsaw 780W. The diagram is above. Only there was no resistor in parallel with C3. I worked on a light bulb, but on a jigsaw the triac burned out immediately. I haven't watched M/S yet.
          1. ktyk
            #6 ktyk Guests March 28, 2022 07:47
            1
            Me too, what should I do?
    2. Dgek
      #7 Dgek Guests 3 May 2018 08:39
      2
      The price of triacs on Aliexpress depends on the power.From 10 to 30 rubles per piece with delivery (if you take from 10 pieces).
  2. Guest Sergey
    #8 Guest Sergey Guests 3 May 2018 12:14
    2
    As for increased wear due to non-smooth operation - well, this is a tool with plastic gears. I bought a drill in 1979, just rewind the wire at the entrance to the handle and lubricate the bearings. No problems from intermittent start-up. This scheme is valuable to others. If a powerful tool is powered by an uninterruptible power supply, then the UPS must withstand a starting current that is several times greater than the rated current (for DC motors and collector AC motors, the multiplicity is up to 10...12). This circuit lubricates the starting current and allows you to get by with a UPS of lower power and price.
  3. May beetle
    #9 May beetle Guests 7 May 2018 22:48
    0
    Is it difficult to solder and sell?
  4. Denis
    #10 Denis Guests May 15, 2018 10:00
    1
    Why these difficulties with assembling a board from a radio component? In electrical tool stores you can buy ready-made soft-start units from, say, an Interskol planer or any other tool with a soft start. And also plug it into the outlet.
    When I worked in such a shop, a guy came to us who needed to make his 710 W plane work from a 650 W generator. Our mechanic assembled such an extension cord for him right in front of him in 5 minutes. The price of the block, if I’m not mistaken, was 150 rubles.
    1. Guest Alexander
      #11 Guest Alexander Guests May 19, 2018 11:38
      0
      In general, not all soft starters can be built into an outlet... xs 12 d3, for example, cannot be, because... When you connect the extension cord to an outlet, it immediately has a “soft” start and when you turn on the device there will already be a maximum voltage.
    2. Guest Sergey
      #12 Guest Sergey Guests January 30, 2019 09:17
      2
      Both blocks were tested (in plastic and metal) - one did not pull right away, the other went silent by the end of the day. We tried 1600 W on the crosscut. It's better to sleep yourself...
  5. Sherkhan
    #13 Sherkhan Guests 16 September 2018 10:19
    0
    Everything is clear and visual. Thank you. All the best.
  6. Denis
    #14 Denis Guests 29 October 2018 22:55
    5
    I assembled it, but I don’t notice any particularly smooth startup. Maybe I made a mistake where? Triac BTA41-600B, resistors were only 1 watt. Chip K1182PM1R. 47mf at 16 volts, 1mf at 50 volts. Should the device work with such parts?
    1. Guest Nikolay
      #15 Guest Nikolay Guests 7 December 2018 19:39
      1
      I want to assemble a product based on K1182PM1T in a sot8 package and smd tantalum capacitors (except C3), a BTA 26 triac. The dimensions of the board turned out to be 30 by 30 mm. Already tried it on a light bulb. Everything is working. It’s just that after stopping and restarting, a pause of 10 seconds is required. Otherwise, it “starts” abruptly as if the soft starter had never been installed.
      1. Guest Anatoly
        #16 Guest Anatoly Guests 12 January 2019 14:56
        1
        The capacitor capacity is no more than 68 microfarads; in parallel, the resistor is no more than 68 kohms. These elements are connected to legs 3 and 6 of the microcircuit.
      2. Guest Alexey
        #17 Guest Alexey Guests 10 December 2019 22:43
        2
        This is because C3 does not have time to discharge. See the operation of this m/sx in its description.
  7. Guest Sergey
    #18 Guest Sergey Guests March 3, 2019 10:26
    1
    Thanks to the author for the detailed assembly instructions! Repeated! Everything is working.
  8. Guest Vladimir
    #19 Guest Vladimir Guests March 26, 2019 10:59
    1
    Hello. I put together a diagram based on this review. The soft start works, but for some reason, literally 10-15 seconds after start, the R1 470 Ohm resistor burns out. Tell me what could be the reason.
    1. Guest Vladimir
      #20 Guest Vladimir Guests April 7, 2019 11:12
      1
      Found the reason. The Chinese sent triacs VTA41-600 defective.First I checked with a battery and a light bulb. Works. Then I started to figure it out, changed the polarity and no, it doesn’t work. It turned out it only works if a positive DC charge is applied to A2 and G. If negative, nothing works. Accordingly, nothing works with alternating current. It’s just that current flows through the entire circuit and the switch. Why do I need 40-amp 600-volt DC triacs? I installed the Soviet TS122-25-5 for testing. Everything works great. Of course, it turned out to be cumbersome, it was impossible to push the socket into the housing.
      1. Guest Alexey
        #21 Guest Alexey Guests 10 December 2019 22:47
        1
        Read the manual for this triac. They write about it there.
  9. Sergey
    #22 Sergey Guests 5 May 2020 09:30
    3
    Good review, I’m going to assemble it for a submersible pump, but what needs to be added to this circuit to stop the engine smoothly in order to get rid of water hammer when the pump stops abruptly
  10. VASYA
    #23 VASYA Guests June 27, 2022 11:51
    0
    assembled at 16A, when connecting the grinder, it pulled immediately, at 41A - normal

Braided newspaper tubes | Do it yourself

How to turn a bolt into a nice little souvenir hunting knife

Do-it-yourself mini jigsaw 3.7 V

Royal sofa for a doll | Do it yourself

«Do it yourself - with your own hands» - a site of interesting homemade products made from scrap materials and items at home. Step-by-step master classes with photos and descriptions, technologies, life hacks - everything a real master or just a craftsman needs for needlework. Crafts of any complexity, a large selection of directions and ideas for creativity.

We recommend reading

Washing machine error codes