In our time of modern, multi-blade, electric and even electronic (smart) razors, the fashion for such a tool as a straight razor is returning.

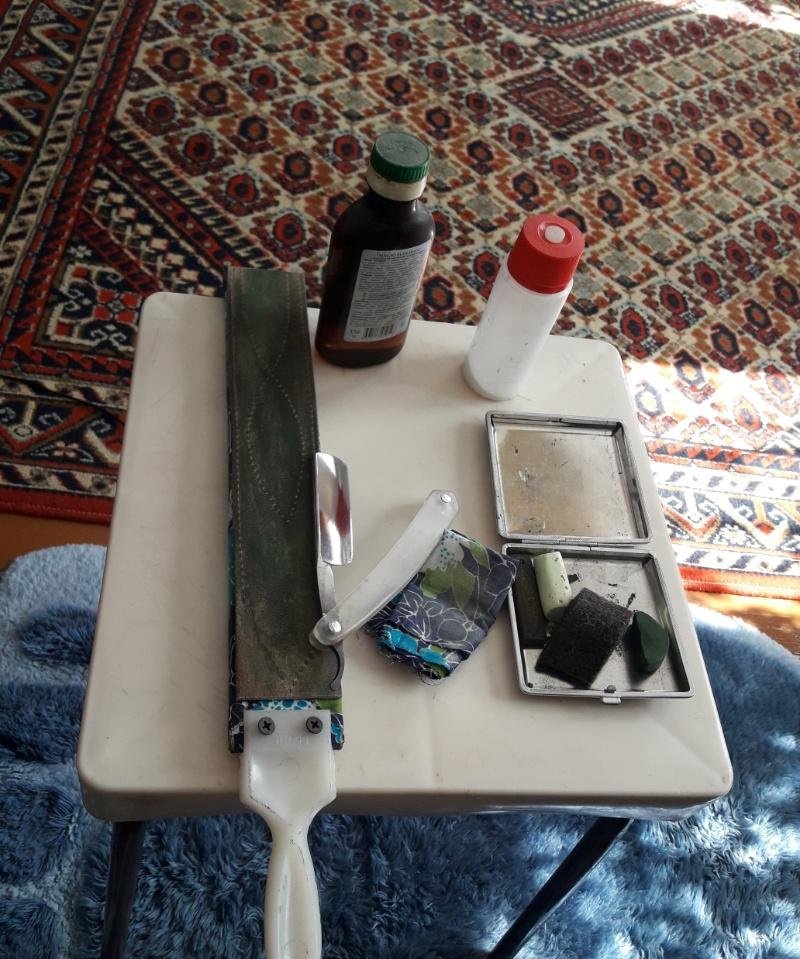
After purchasing it, those who want to start using this wonderful shaving product for the first time face the problem of maintaining and caring for this delicate and capricious instrument. But this is a difficult and troublesome task that requires constant attention. A straight razor must be constantly lubricated with special oil. The metal from which the razor is made has the unpleasant property of darkening, and if left for long periods of time, even rusting! Any other metal, other alloys will not make a good razor. Caring for a straight razor, in addition to being a hassle, will also cost you a pretty penny, since special, licensed products for its care cost a lot of money. This includes a variety of abrasives, oils, cleaning fluids and similar related accessories. Therefore, I suggest finding a cheaper, but no less effective replacement for them, which I personally have been successfully using for several years now and my razor does not suffer or deteriorate at all from this. So, let's start with abrasives.
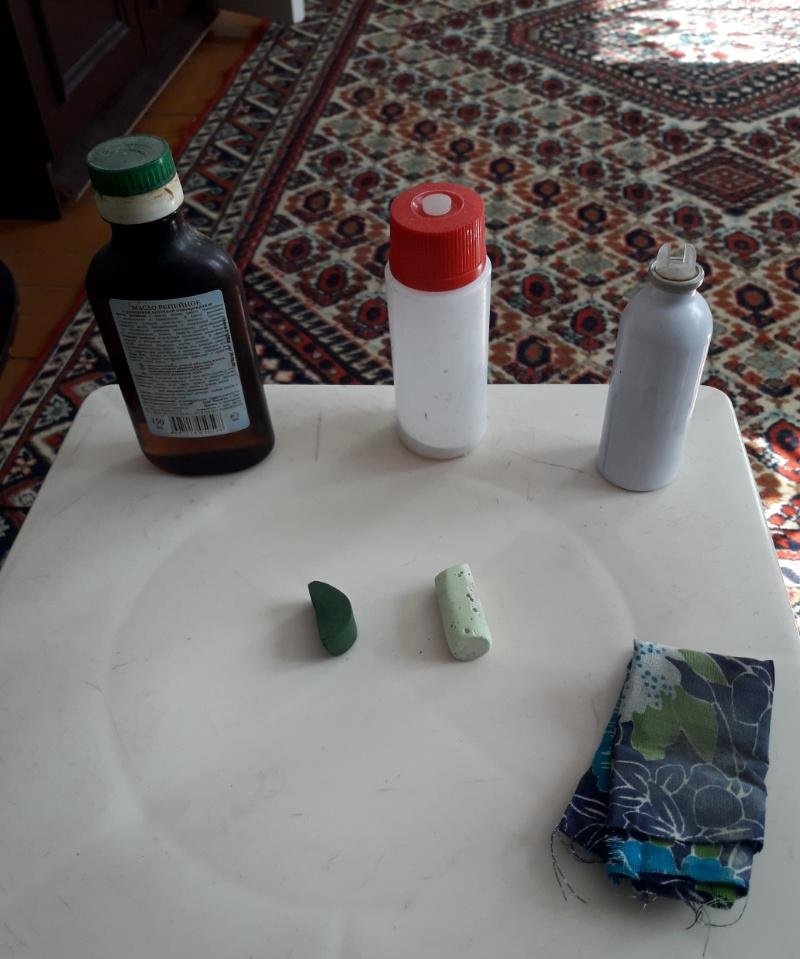
- The abrasive for straightening the cutting edge of the razor can be replaced with regular talc baby powder purchased at the pharmacy.
- We replace the abrasive for grinding with chalk. Simple, stationery chalk, crushed into dust.
- An abrasive for major sharpening, which is carried out at least once a month, is very well suited for goi paste.
- Replace the blade cleaner with medical alcohol after use.
- We replace anti-corrosion oil for straight razors with baby oil, also purchased at the pharmacy.
Sharpening the razor
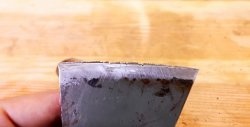
A new razor bought in a store is not fully sharpened and is not suitable for shaving, so you need to sharpen it first. To do this, lay a sheet of R 400 (zero) sandpaper on an absolutely flat edge of the table (THIS IS IMPORTANT), place the razor blade on the sheet with the entire plane and in a circular motion, clockwise, sharpen the blade. The blade is shaped in such a way that if you place it on a flat surface with its entire plane, only the butt of the blade and the cutting edge of the razor itself will touch the surface at a certain angle, so that errors during such sharpening are excluded. Continue sharpening on one side continuously for five to seven minutes. Then we repeat the same procedure with the other side of the blade. After sharpening, we straighten the blade on a block with leather and goyi paste, holding the razor with the blade towards you, at least fifty movements away from you to one side.
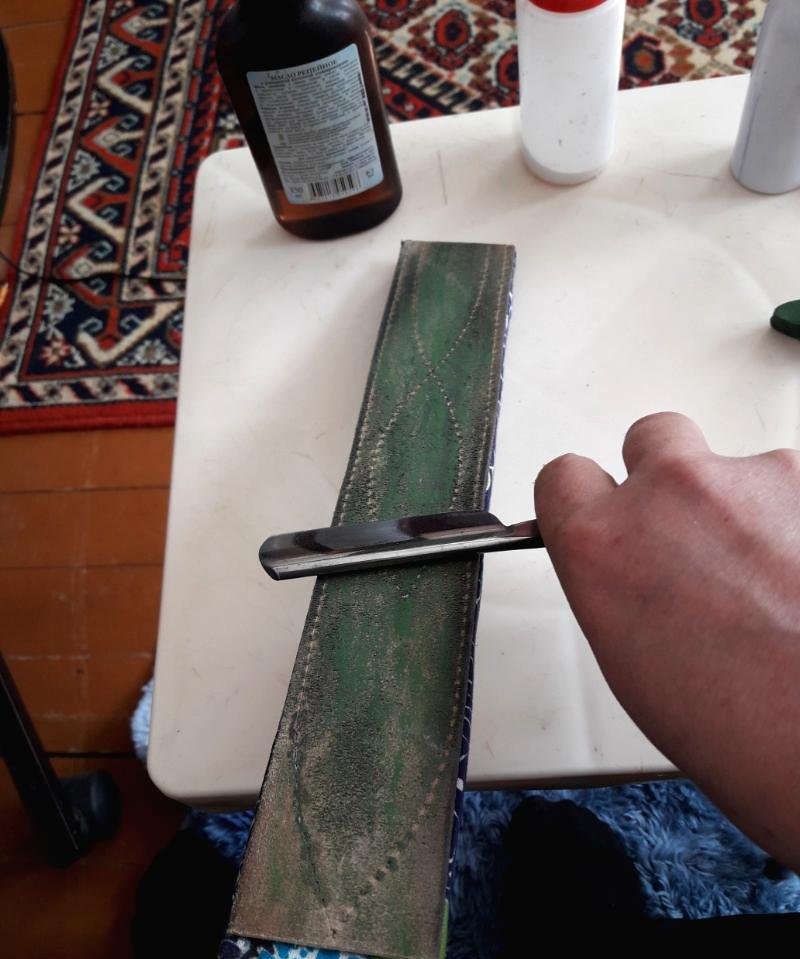
After this, we repeat the procedure on the other side of the bar, where the cotton fabric with talc sprinkled on it is located.
Below I will show how to make such a block. Now the final touch remains: sprinkle dusted chalk onto a piece of soft cloth and, carefully, without touching the cutting edge, wipe the blade.
After this, if you are not going to use it immediately, also carefully wipe the blade with oil and put it in some dry place. For this purpose, I use a box with small bags of salt, which absorb moisture from the surrounding air.
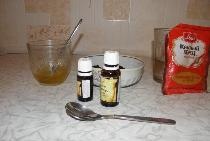
Now let’s make a block for straightening the razor before shaving. To make it you will need:
- Wooden block (approximately 30 × 5 × 2 cm.)
- A natural skin. Better than the old belt.
- Soft but thick cotton fabric.
- PVA glue.
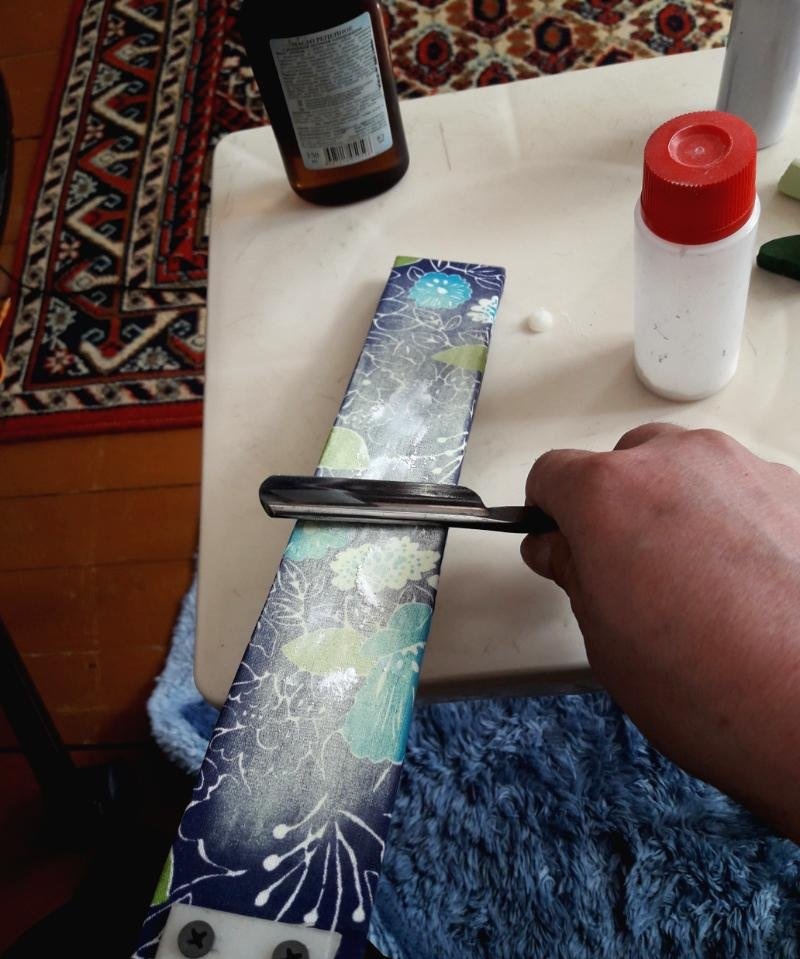
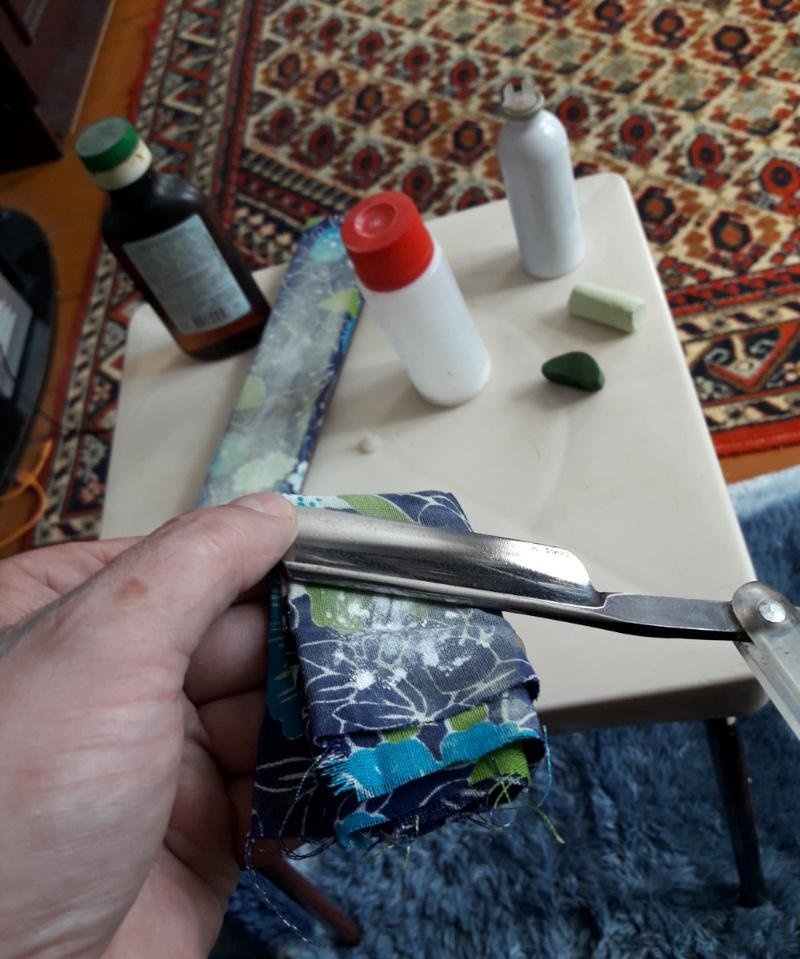
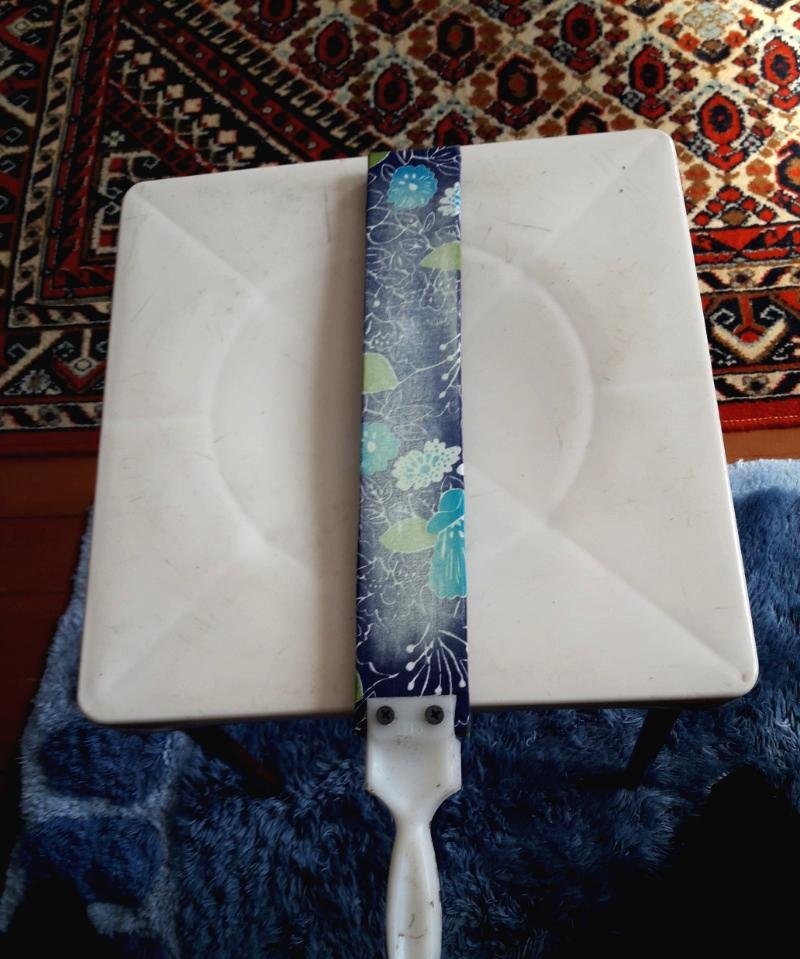
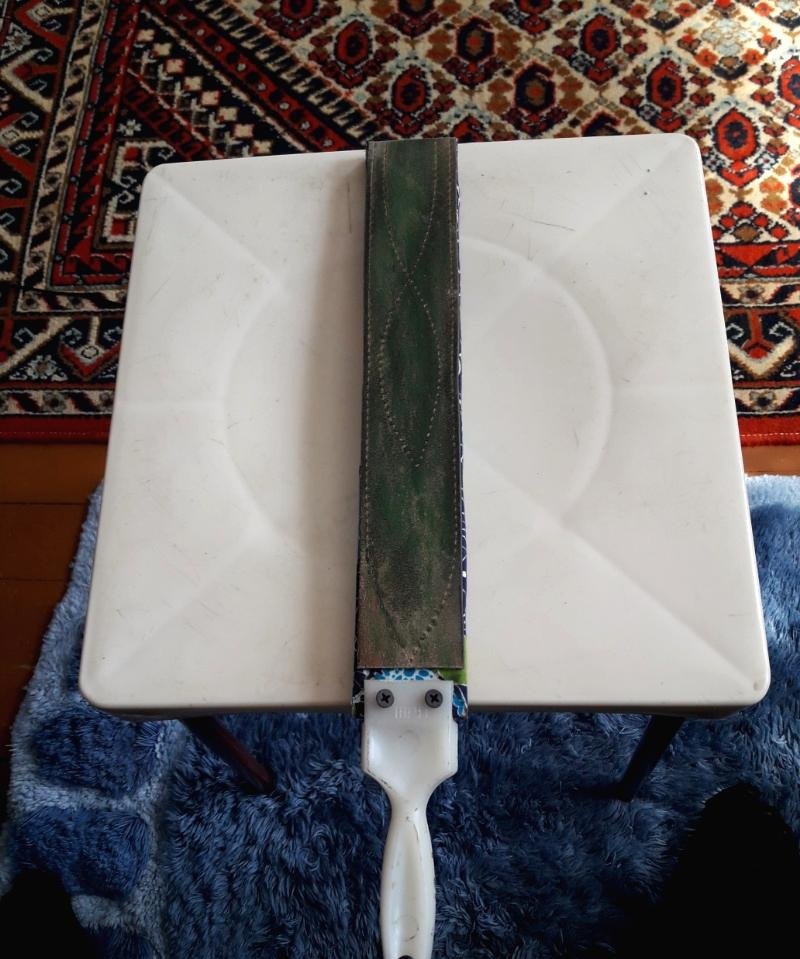
First, let's sand the block with wood sandpaper or a plane. So that it becomes smooth. Then, we will attach some kind of handle to the block to make it more convenient to hold it while editing. I took the handle of the spatula. Now, having first applied glue to the block, wrap it in thick cotton cloth. We trim and fold the corners so that nothing sticks out. And immediately, without waiting for the glue to dry, we glue a leather flap along the entire half of one side. Let's put this whole thing under pressure. Can be pressed down with heavy books. Wait for the time indicated on the glue label until it dries completely. Now you can use it.
Straighten the razor not only before beating, but also after. And at least once a month, carry out a thorough sharpening using zero sandpaper P 400. Do not forget to wipe with chalk and oil. By following all these simple rules, your straight razor will serve you faithfully for many years.