Do it yourself
Life hacks, master classes, useful tips, recipes.
home » Useful and interesting » Restoring a completely rusty kitchen cleaver
Restoring a completely rusty kitchen cleaver

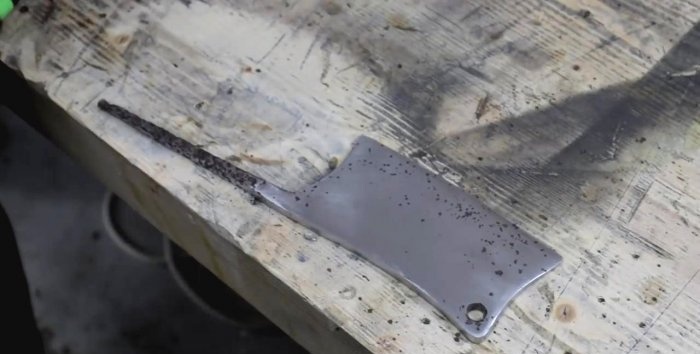
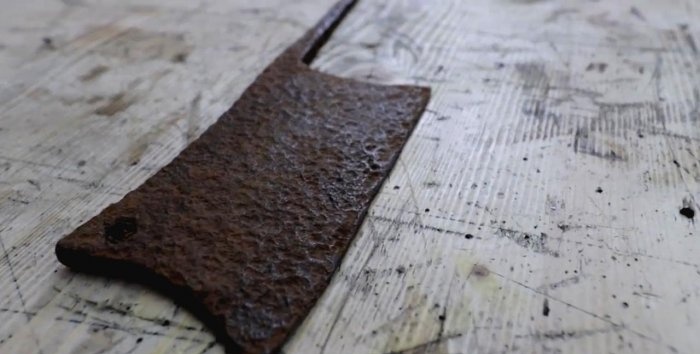
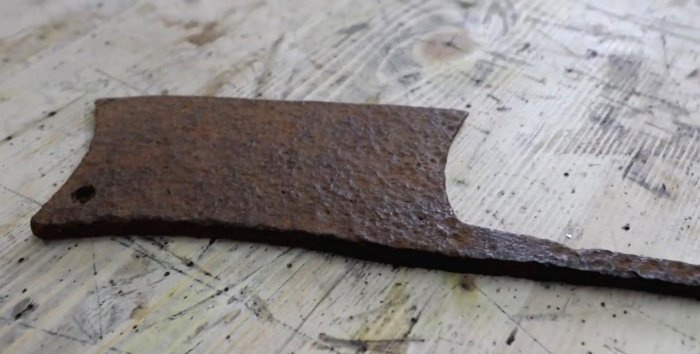
I am sure that many of you have found antique knives, forks, dishes, etc. in your life. So I, sorting through the rubble in an old barn, found a kitchen cleaver, or rather its blade, since the handle had long rotted. It was in a terrible and almost unusable condition. Anyone else in my place would simply throw it in the trash and that's it. But I decided to give it a second life.
Restoring a completely rusty kitchen cleaver

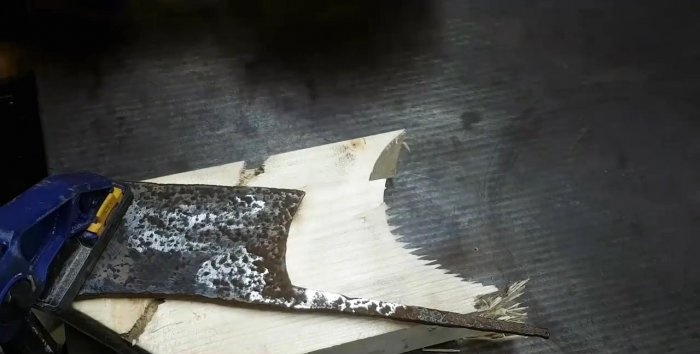
As you can see, the entire blade of the cleaver is so badly rusted that the shells in unfinished areas are almost 2 mm deep. And it is generally not known how thick the knife was originally.

Restoring a rusty meat knife


We clamp the knife with a clamp on a piece of wood to the table.
Restoring a completely rusty kitchen cleaver

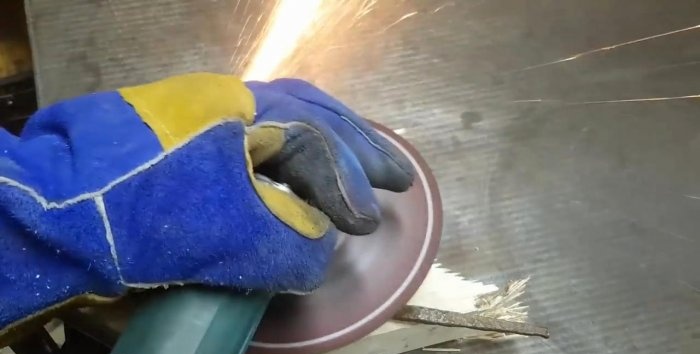
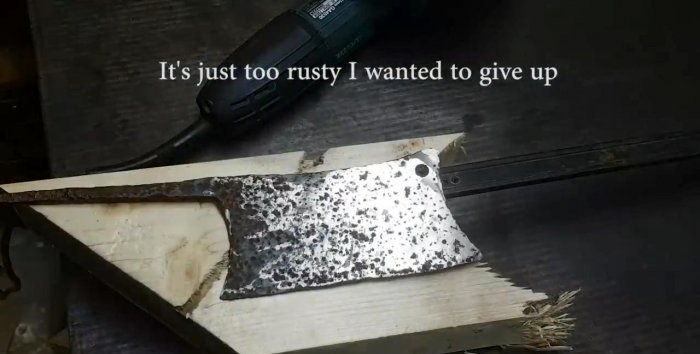
And we begin to process the angle grinder. Sand one side first.
Restoring a completely rusty kitchen cleaver

Restoring a completely rusty kitchen cleaver

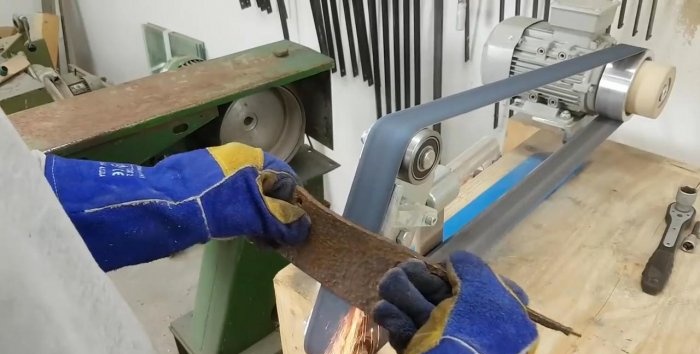
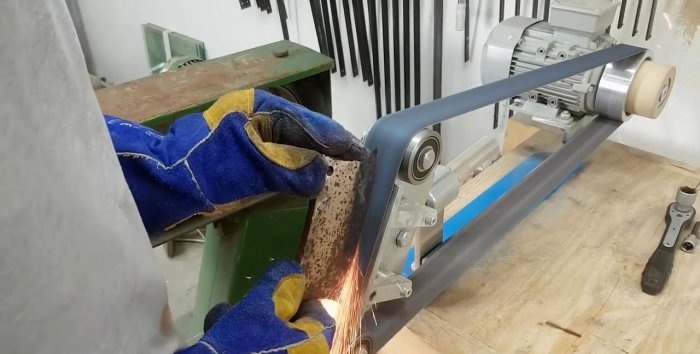
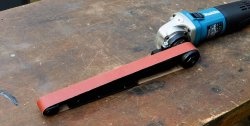
Next we finish it on a belt sander.
Restoring a completely rusty kitchen cleaver

To ensure that the blade is without jagged edges, we grind down the cutting edge.
Restoring a completely rusty kitchen cleaver

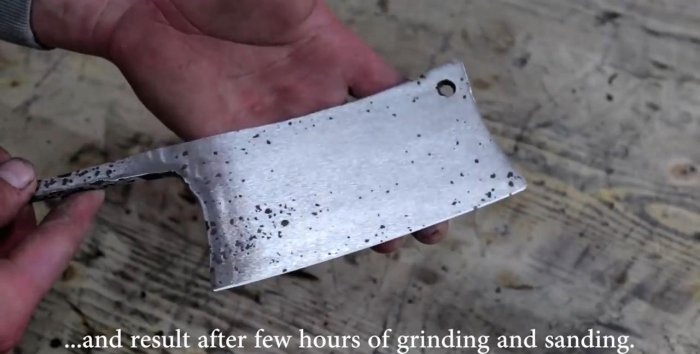
After prolonged rough processing, the cleaver looks like this.
Restoring a completely rusty kitchen cleaver

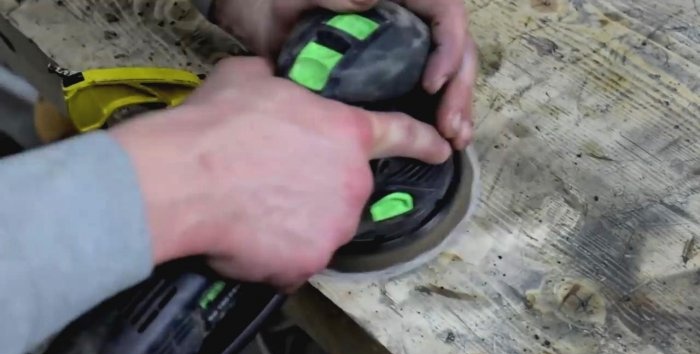
Next, grind with a wheel with the finest grit.
Restoring a completely rusty kitchen cleaver

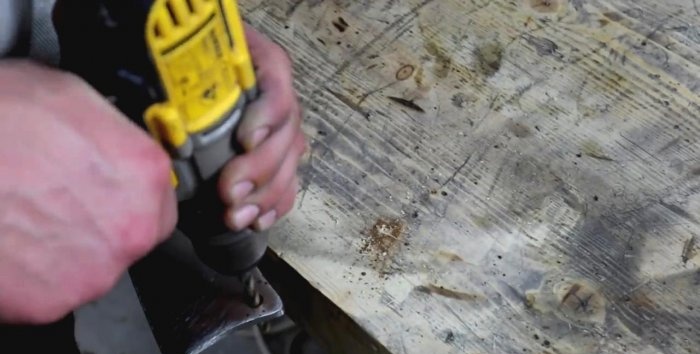
We process the hole using a drill, drilling out all the rust.
Restoring a completely rusty kitchen cleaver

The cleaver is ready for polishing.
Restoring a completely rusty kitchen cleaver

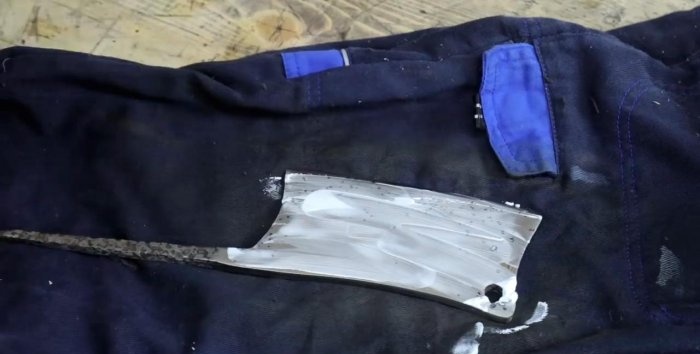
Apply polishing paste.
Restoring a completely rusty kitchen cleaver

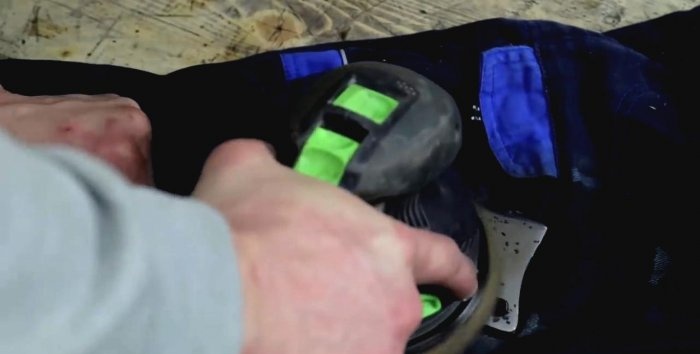
And polish it with a soft wheel until it shines.
Restoring a completely rusty kitchen cleaver

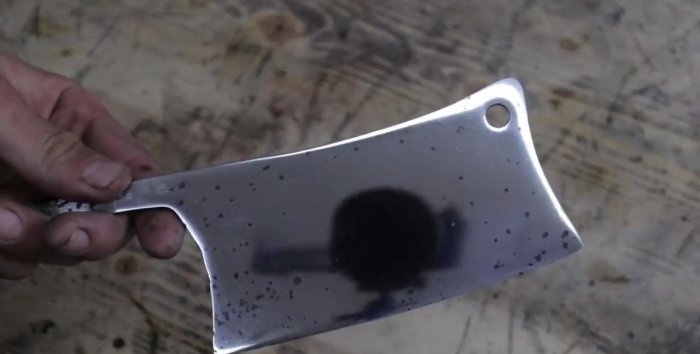
Shines like new.
Restoring a completely rusty kitchen cleaver

Making a pen


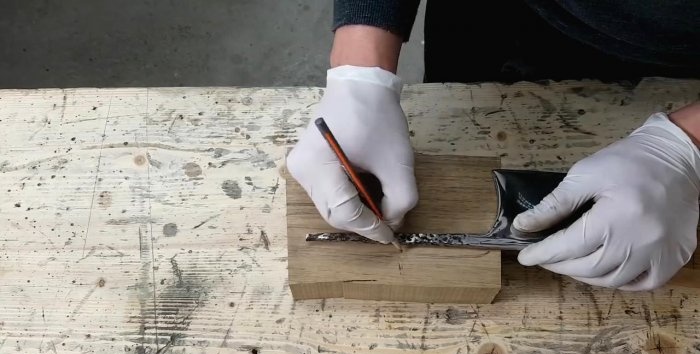
Now you need to make a handle for the knife. To do this, take a dense tree and draw the outline of the future handle on it with a pencil.
Restoring a completely rusty kitchen cleaver

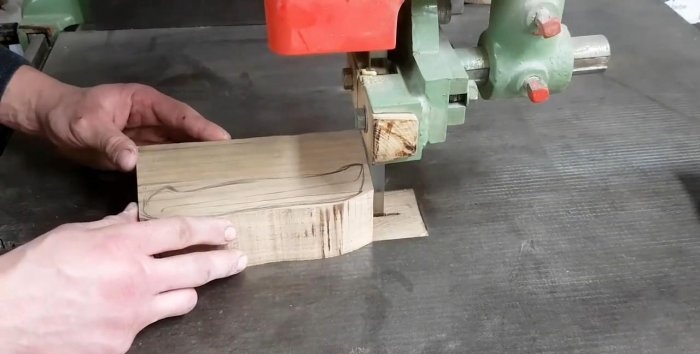
Let's cut along the contour.
Restoring a completely rusty kitchen cleaver

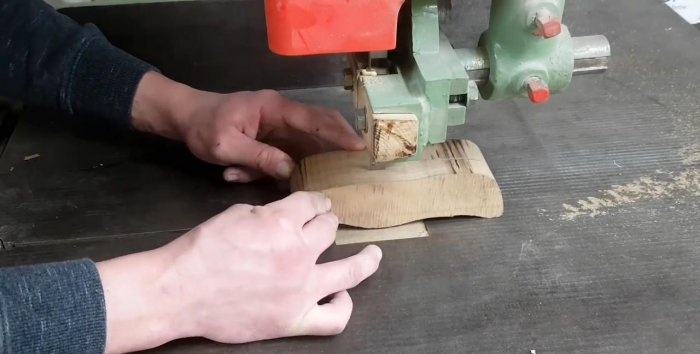
Let's cut it in half.
Restoring a completely rusty kitchen cleaver

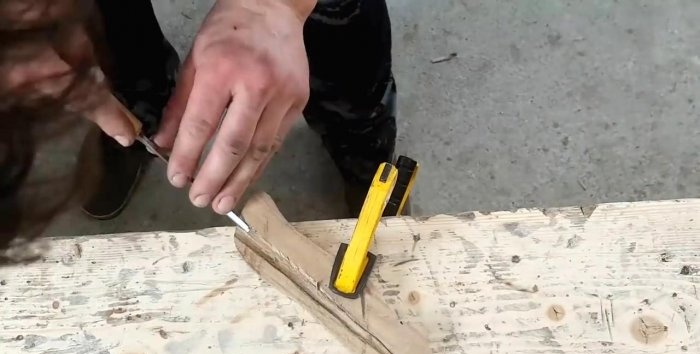
Use a chisel to make a groove for the handle of the blade.
Restoring a completely rusty kitchen cleaver

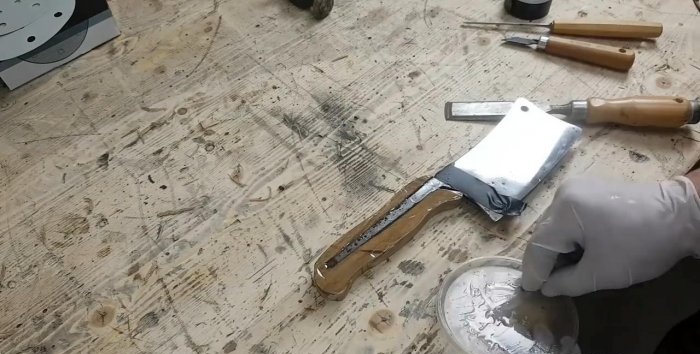
We dilute the epoxy resin. Coat the groove generously and place the blade handle into the recess.
Restoring a completely rusty kitchen cleaver

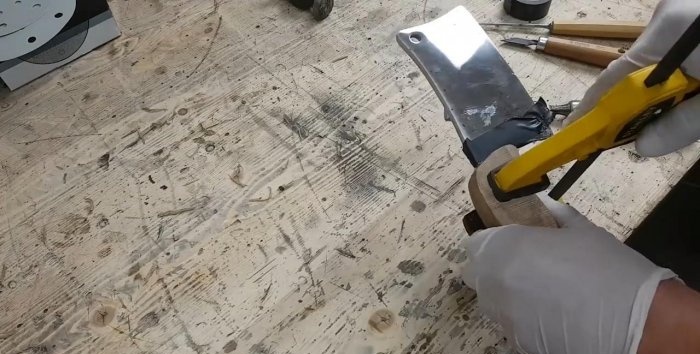
We glue the second half of the wooden handle on top and clamp it with a clamp.
Restoring a completely rusty kitchen cleaver

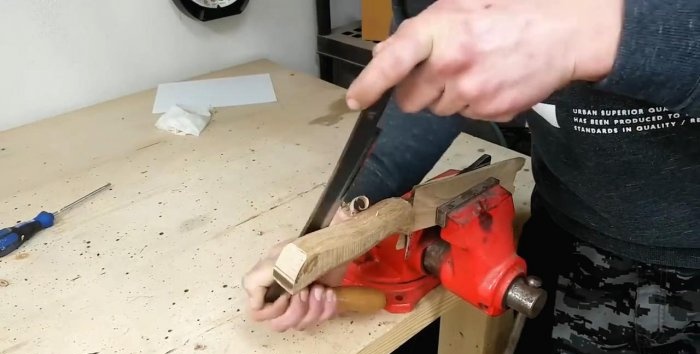
After the epoxy resin has dried and hardened, we clamp the cleaver in a vice through a piece of wood so as not to leave marks on the blade.
We process the handle, giving it the desired shape.
Restoring a completely rusty kitchen cleaver

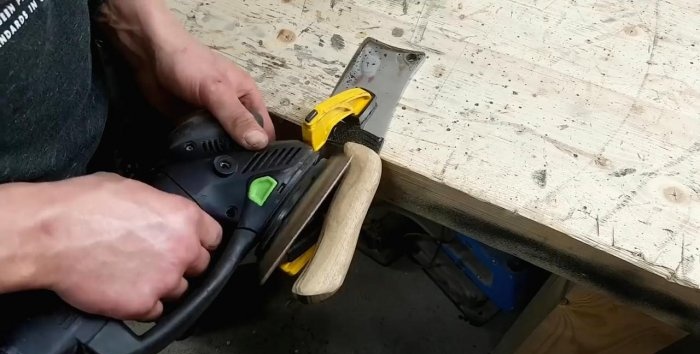
Finally, sand until smooth.
Restoring a completely rusty kitchen cleaver

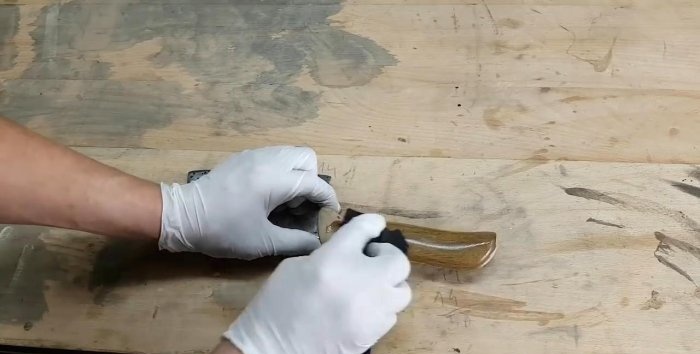
Then we saturate the wood with drying oil.
Restoring a completely rusty kitchen cleaver

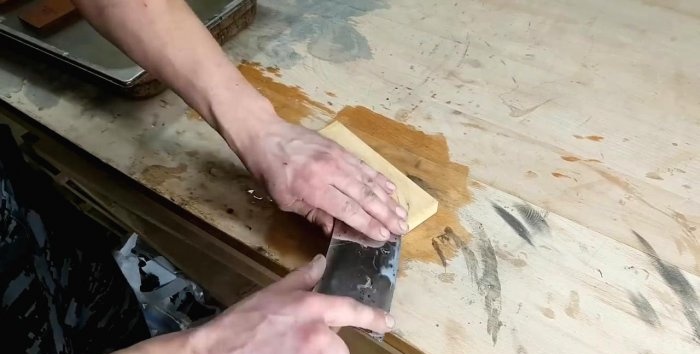
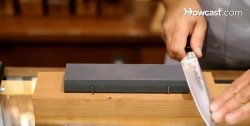
The last stage is sharpening the cutting edge to a razor sharpness. This is all done on a stone with minimal crumbs, moistened with water.
Restoring a completely rusty kitchen cleaver

Refurbished cleaver


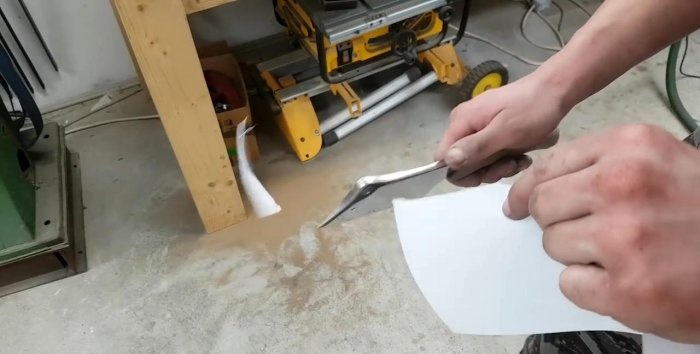
Cuts paper like a razor. Exactly what is needed!
Restoring a completely rusty kitchen cleaver

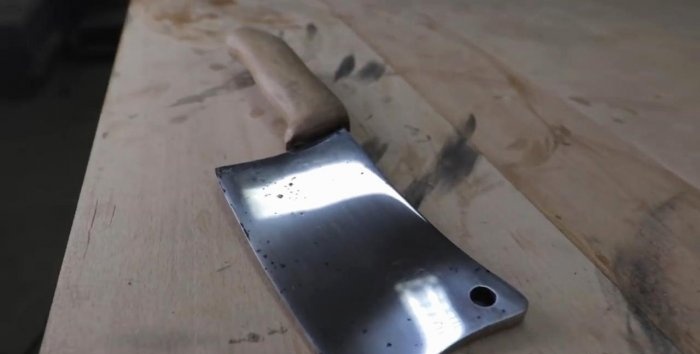
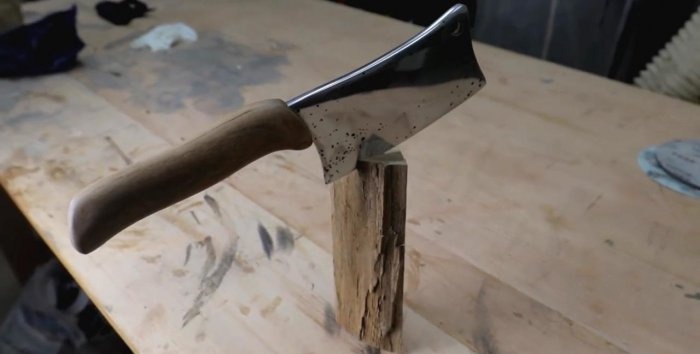
The cleaver has been restored.
Restoring a completely rusty kitchen cleaver

As you can see, untreated shells are clearly visible on the shiny canvas - traces of corrosion. To remove them you need to grind down the knife significantly. I did not do this and removed the optimal layer from the blade. I don't think this will affect the cutting quality.
Restoring a completely rusty kitchen cleaver

The cleaver turned out to have very good steel - it does not get dull for quite a long time.
I generally like antiques. Bye everyone!
Watch detailed video


come back
Comment
  • bowtiesmilelaughingblushsmileyrelaxed relaxedsmirk
    heart_eyeskissing_heartkissing_closed_eyesflushedrelievedsatisfiedgrin
    winkstuck_out_tongue_winking_eyestuck_out_tongue_closed_eyesgrinningkissingstuck_out_tonguesleeping
    worriedfrowninganguishedopen_mouthgrimacingconfusedhushed
    expressionlessunamusedsweat_smilesweatdisappointed_relievedwearypassive
    disappointedconfoundedfearfulcold_sweatperseverecrysob
    joyastonishedscreamtired_faceangryragetriumph
    sleepyyummasksunglassesdizzy_faceimpsmiling_imp
    neutral_faceno_mouthinnocent
3+three=
Comments (3)
  1. Guest Alex
    #1 Guest Alex Guests June 27, 2018 02:49
    0
    Well done...
  2. Guest Vadim
    #2 Guest Vadim Guests 13 March 2019 14:51
    0
    The remaining rust could be removed with acid.
  3. Eugene
    #3 Eugene Guests 18 March 2019 20:40
    0
    This is something Scythian.

How to make a plastic hammer handle from a pipe with your own hands

Cooking | Page 32 | Do it yourself

Charger for Li-Ion (Li-Po) batteries from an “electronic cigarette”

How to make a photodiode from an optocoupler with your own hands

«Do it yourself - with your own hands» - a site of interesting homemade products made from scrap materials and items at home. Step-by-step master classes with photos and descriptions, technologies, life hacks - everything a real master or just a craftsman needs for needlework. Crafts of any complexity, a large selection of directions and ideas for creativity.

We recommend reading

Washing machine error codes