Do it yourself
Life hacks, master classes, useful tips, recipes.
home » Useful and interesting » How to cast an aluminum handle for a knife or cleaver
Frequently used working tools are subject to severe mechanical wear. That is why it is desirable that all its elements are made of wear-resistant materials. If the wooden handle of an old knife or cleaver has worn out, you can replace it with a more stable aluminum one by casting it directly onto the shank.
How to cast an aluminum handle for a knife or cleaver

Necessary materials:


  • dense foam or polystyrene foam;
  • hot glue;
  • plaster or alabaster;
  • aluminum for casting;
  • sand with clay.

Handle ebb


How to cast an aluminum handle for a knife or cleaver

The first step is to release the shank. We remove the remaining wood and cut off the rivets.
How to cast an aluminum handle for a knife or cleaver

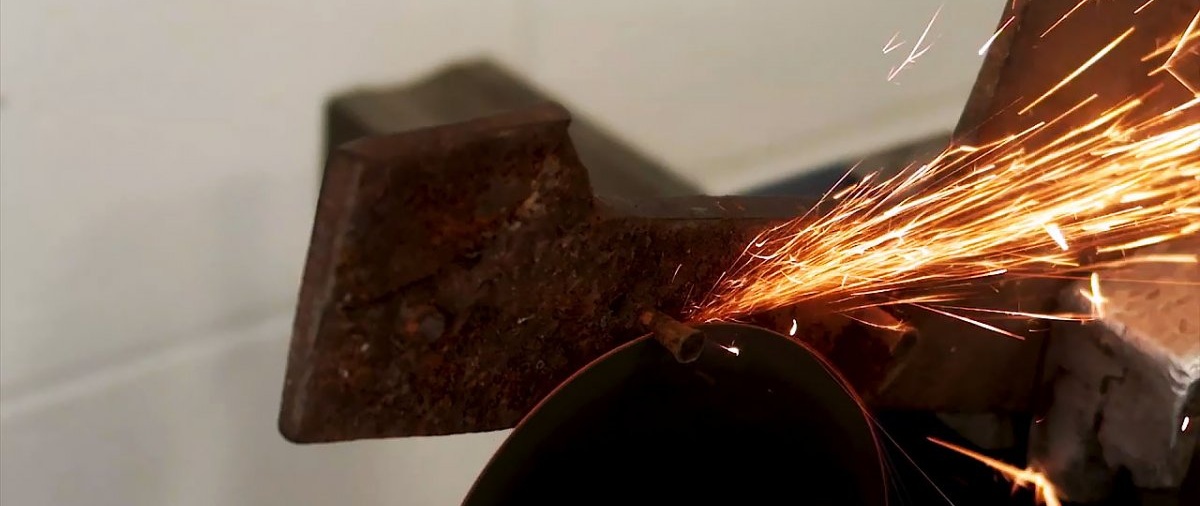
We knock out or drill out their remains.
How to cast an aluminum handle for a knife or cleaver

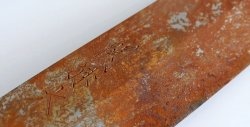
The blade is very rusty, it is better to clean it before casting. This can be done mechanically or using electrolysis.
How to cast an aluminum handle for a knife or cleaver

How to cast an aluminum handle for a knife or cleaver

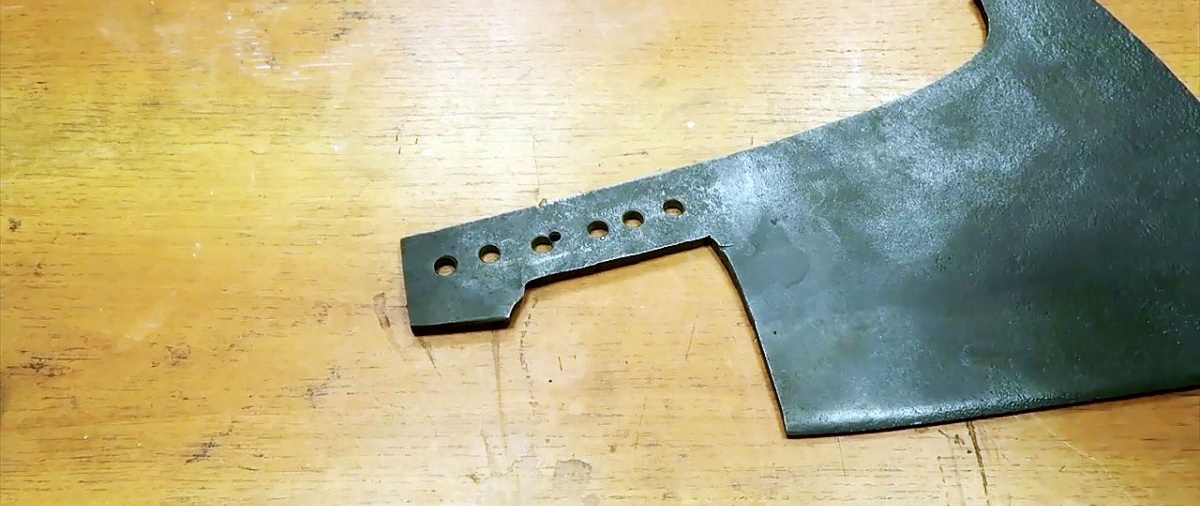
Since the new handle will be poured on top of it, several holes must be made in it for grip, but not too large, so as not to reduce strength.
How to cast an aluminum handle for a knife or cleaver

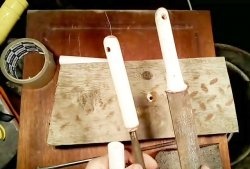
You need to cut a handle of the required shape from two halves of dense foam.
How to cast an aluminum handle for a knife or cleaver

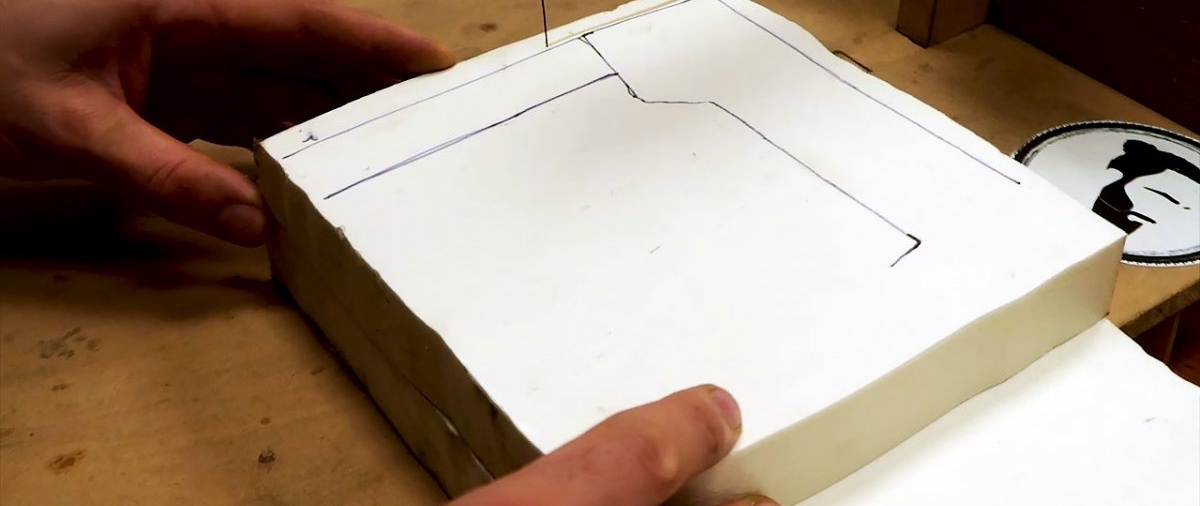
Since it will be cast from aluminum, a casting channel will be required.To do this, it is necessary to leave a long outlet on the foam plastic, into which the molten metal will be poured. To increase the chances of making the casting the first time, it is better to prepare two grooves for the sprue in front and in the head of the handle.
The foam form must be glued to the shank using hot glue.
How to cast an aluminum handle for a knife or cleaver

How to cast an aluminum handle for a knife or cleaver

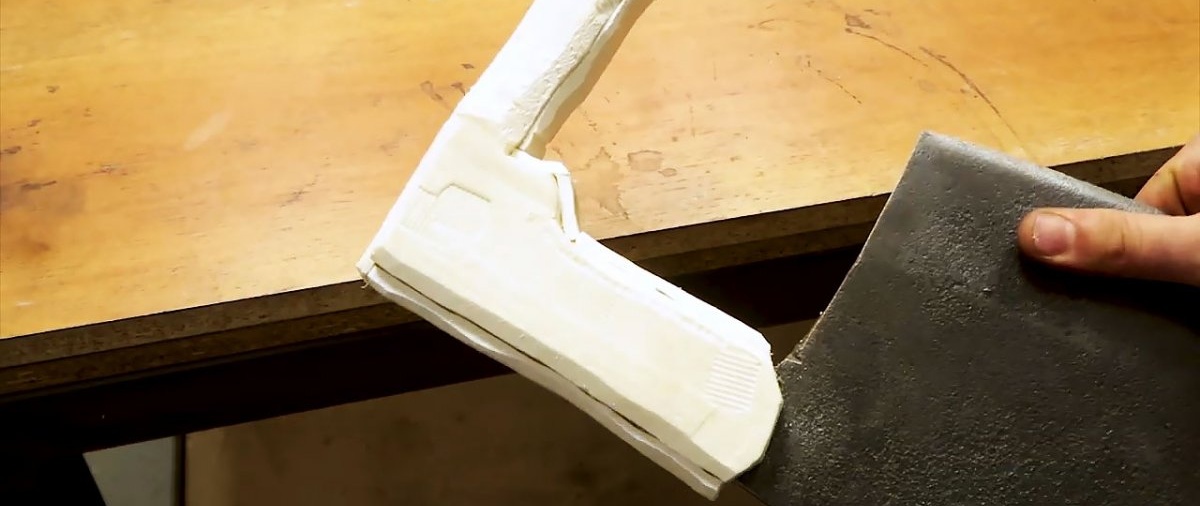
The top is covered with plaster or alabaster. To do this, the composition is diluted quite thinly and coated with a brush.
How to cast an aluminum handle for a knife or cleaver

The dried handle is placed in any container and covered with sand mixed with clay for density. If there is not enough sand to cover the sprue, you can place a piece of pipe or tin can on top to create a superstructure.
How to cast an aluminum handle for a knife or cleaver

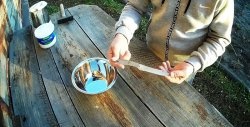
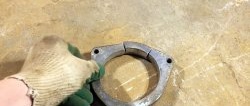
Aluminum is melted in a crucible.
How to cast an aluminum handle for a knife or cleaver

After turning into a liquid state, it is necessary to remove the film that has accumulated on top. It is grabbed with a metal spoon or ladle.
How to cast an aluminum handle for a knife or cleaver

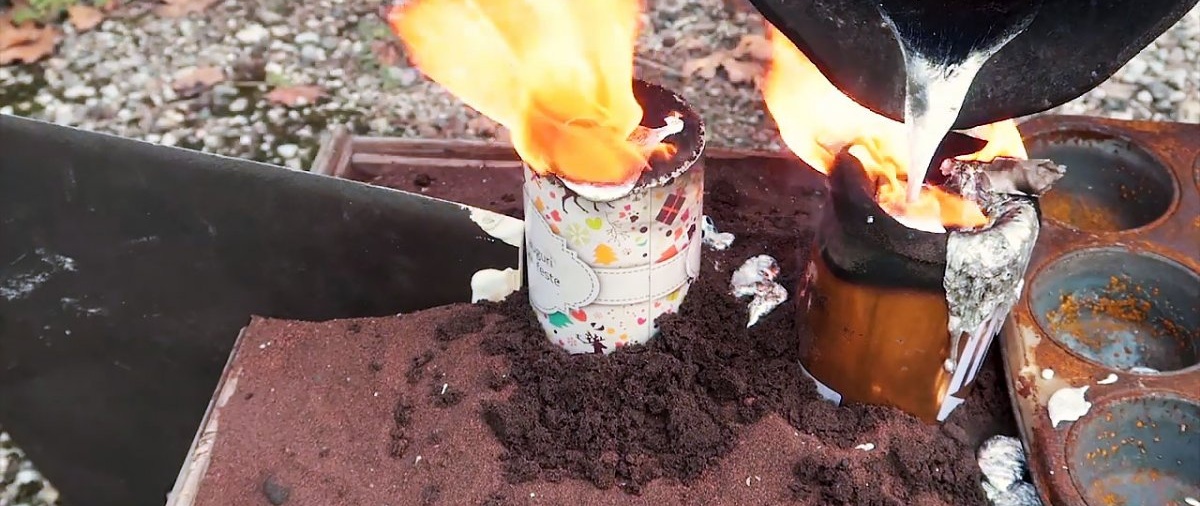
As soon as there is no film left on top, the metal can be poured into the sprue. It will begin to melt the foam, taking its place. In this case, the sand will not fall out, since it is held in place by a gypsum shell. It is quite possible that it will not be possible to calculate the required amount of metal and pour it all out accurately the first time. In this case, after hardening, the defective handle will have to be cut off and the process repeated again.
How to cast an aluminum handle for a knife or cleaver

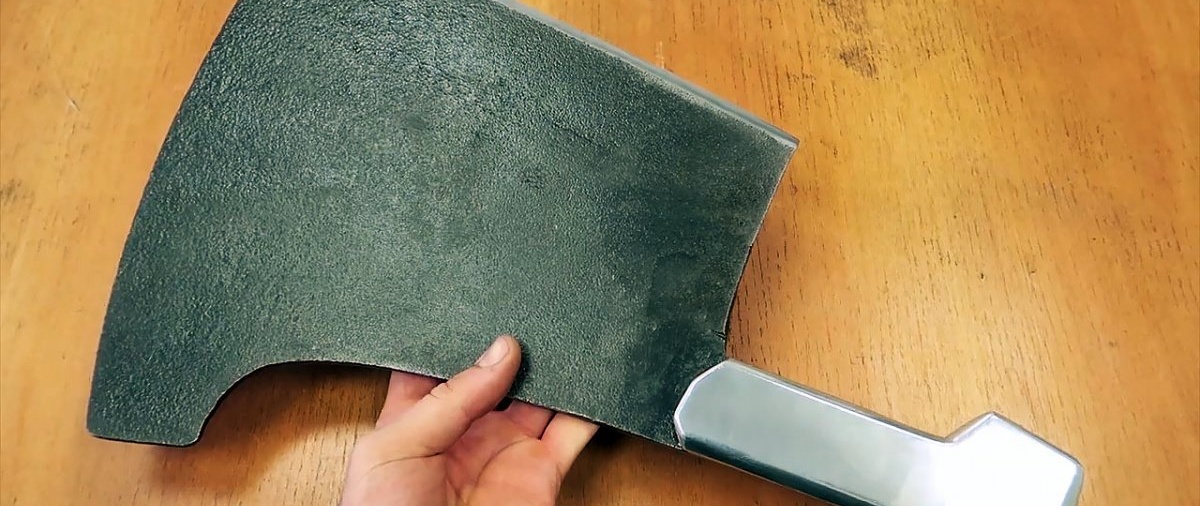
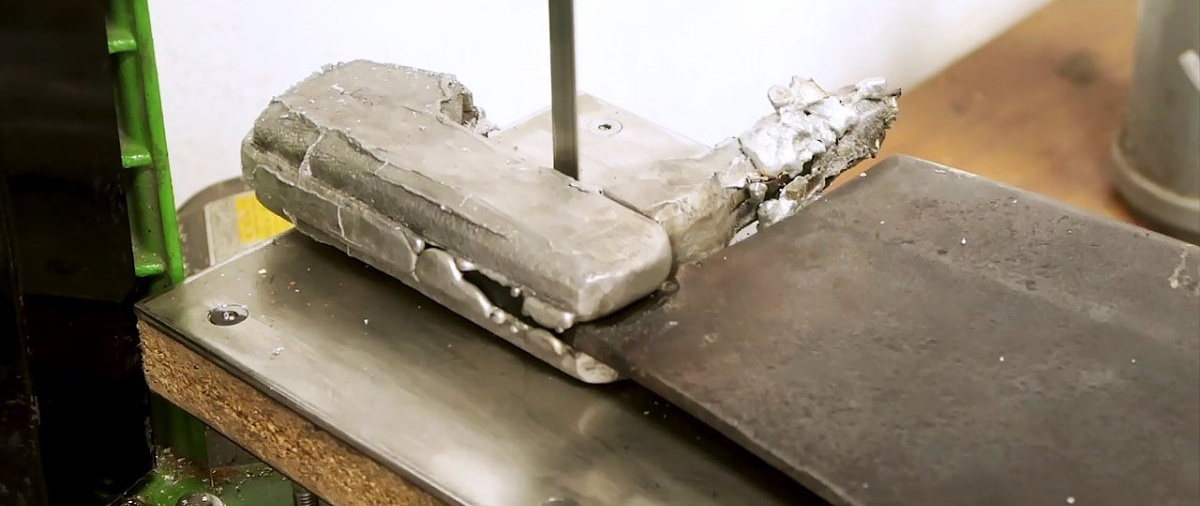
Having achieved complete filling of the foam area with aluminum, the sprues and unnecessary deposits are cut off from the handle.
How to cast an aluminum handle for a knife or cleaver

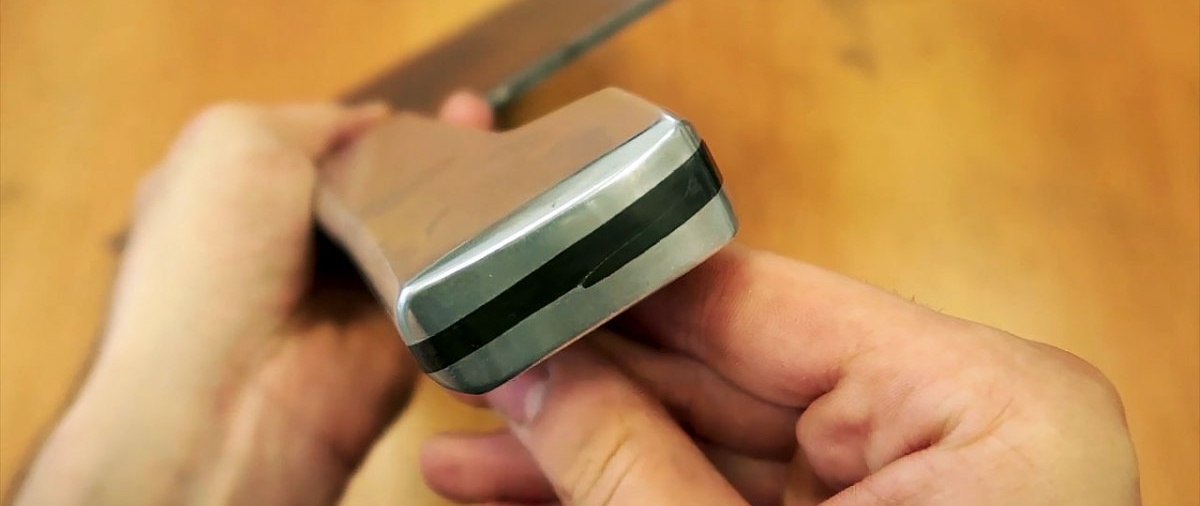
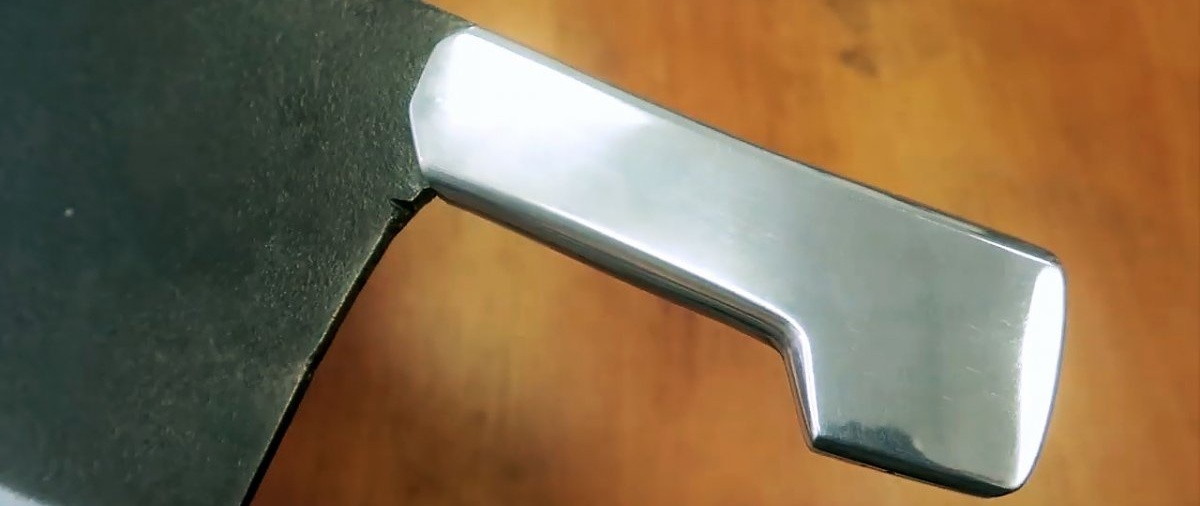
Next, a file is used to give it the required shape of the handle.
How to cast an aluminum handle for a knife or cleaver

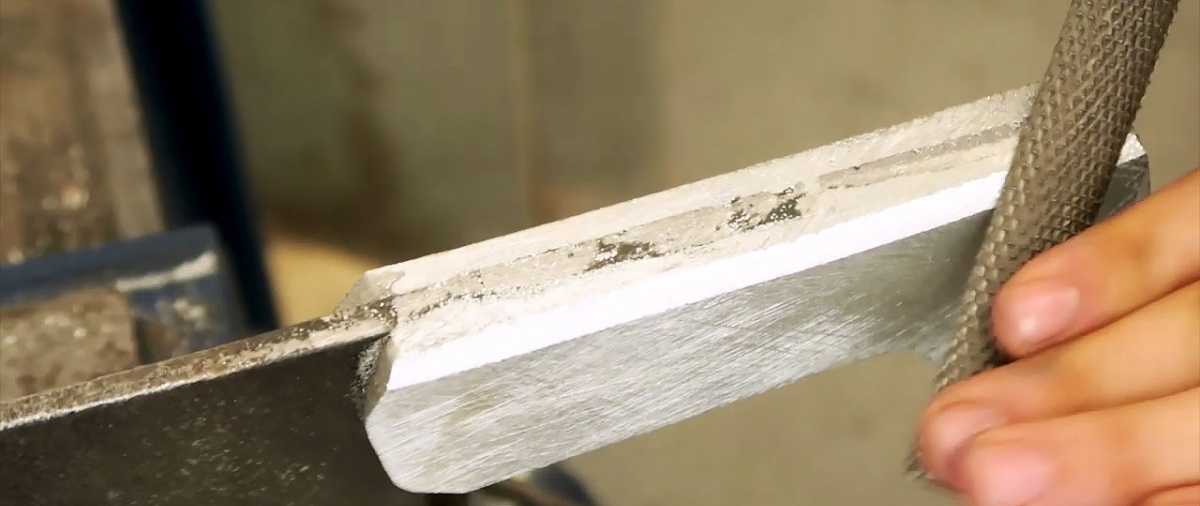
Then smoothing is done with fine sandpaper.
How to cast an aluminum handle for a knife or cleaver

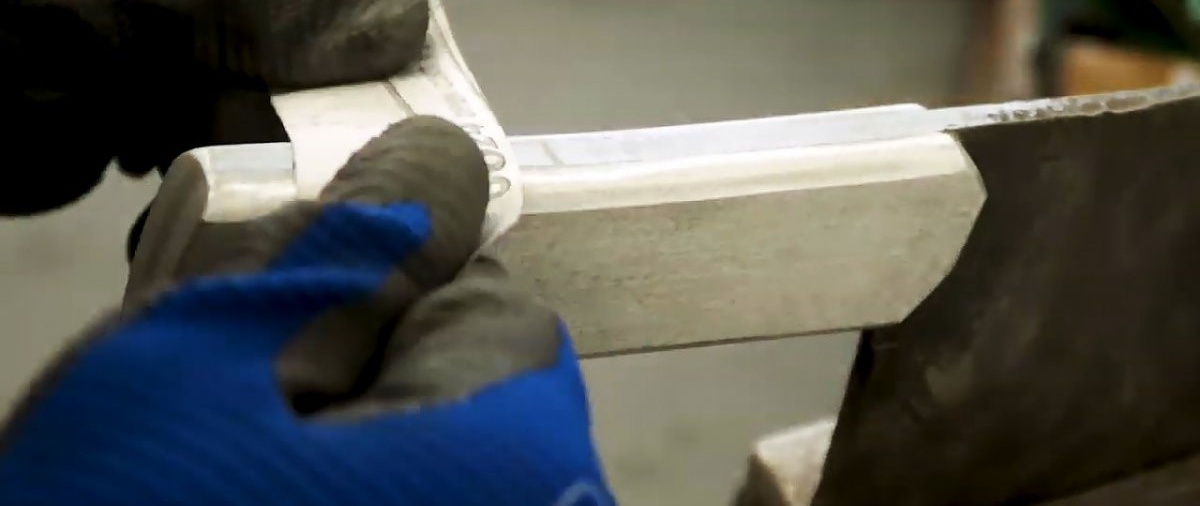
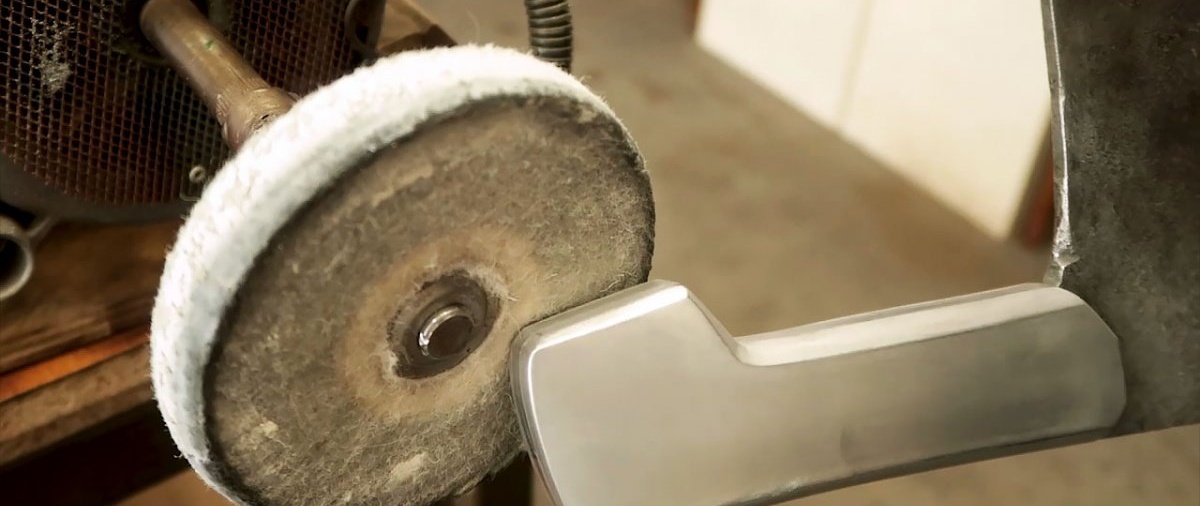
It is also advisable to polish it using a wheel or manually.
How to cast an aluminum handle for a knife or cleaver

How to cast an aluminum handle for a knife or cleaver

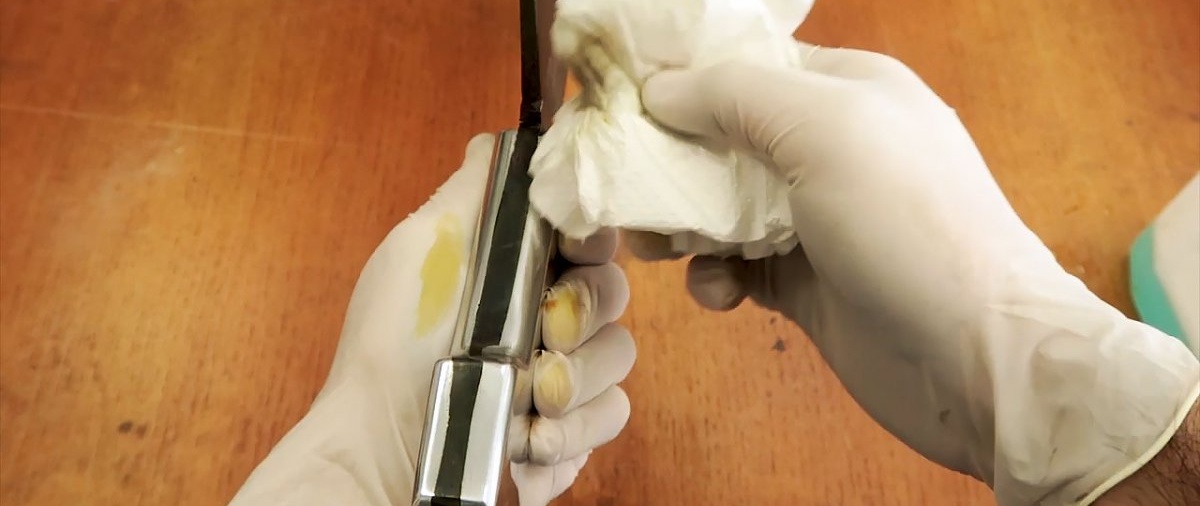
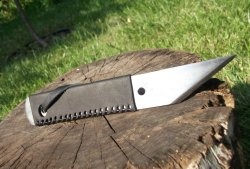
The result is excellent.
How to cast an aluminum handle for a knife or cleaver

How to cast an aluminum handle for a knife or cleaver

How to cast an aluminum handle for a knife or cleaver

Watch the video


come back
Comment
  • bowtiesmilelaughingblushsmileyrelaxed relaxedsmirk
    heart_eyeskissing_heartkissing_closed_eyesflushedrelievedsatisfiedgrin
    winkstuck_out_tongue_winking_eyestuck_out_tongue_closed_eyesgrinningkissingstuck_out_tonguesleeping
    worriedfrowninganguishedopen_mouthgrimacingconfusedhushed
    expressionlessunamusedsweat_smilesweatdisappointed_relievedwearypassive
    disappointedconfoundedfearfulcold_sweatperseverecrysob
    joyastonishedscreamtired_faceangryragetriumph
    sleepyyummasksunglassesdizzy_faceimpsmiling_imp
    neutral_faceno_mouthinnocent
4 minus one =
Comments (1)
  1. Evgeny Guryevich
    #1 Evgeny Guryevich Guests 3 October 2019 20:31
    5
    Instead of this crap, you can make five WARM and non-slip plywood ones in the same time.

Overview of types of discs for grinders

How to grease a sealed bearing without disassembly with your own hands

Making a powerful 40,000 mAh Power Bank

How to draw Easter | Do it yourself

«Do it yourself - with your own hands» - a site of interesting homemade products made from scrap materials and items at home. Step-by-step master classes with photos and descriptions, technologies, life hacks - everything a real master or just a craftsman needs for needlework. Crafts of any complexity, a large selection of directions and ideas for creativity.

We recommend reading

Washing machine error codes