Do it yourself
Life hacks, master classes, useful tips, recipes.
home » Useful and interesting » Lifehacks and useful tips » The most effective way to remove a broken stud
The most effective way to remove a broken stud

A broken stud is one of the common defects that a car enthusiast may encounter. Studs are used in many parts of the car. But if you don’t have a car, this doesn’t mean you’ll never get into this situation, because a bolt can also break.
The method for removing debris that I will show, it seems to me, is one of the simplest and most effective. It will work even when the fragment is embedded 2-4 mm deep inside.

Removing the stud piece


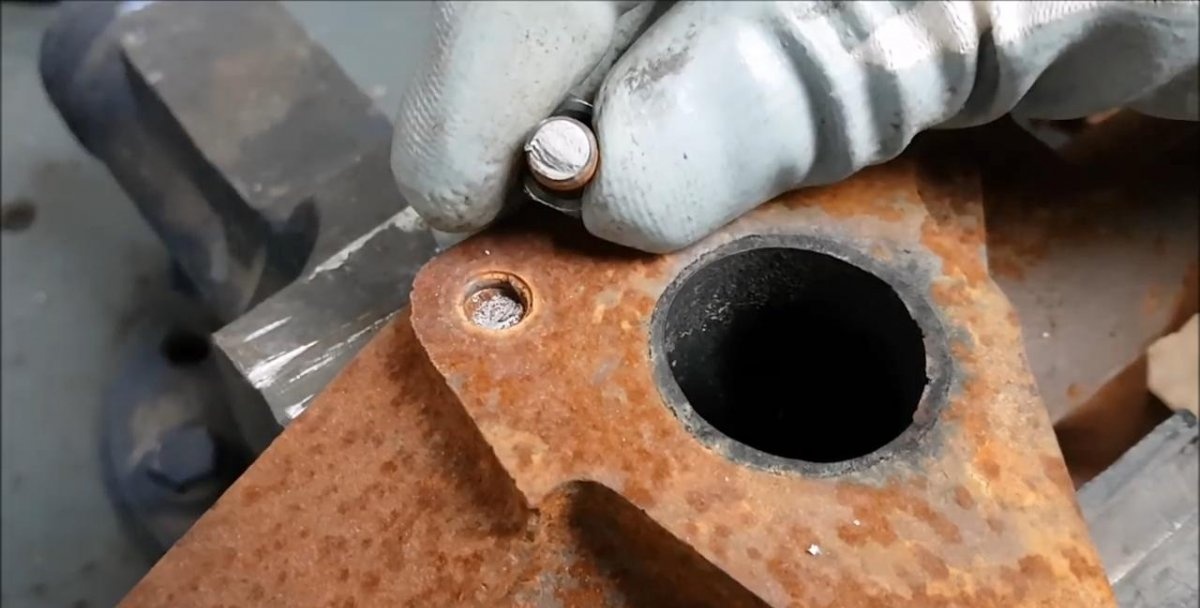
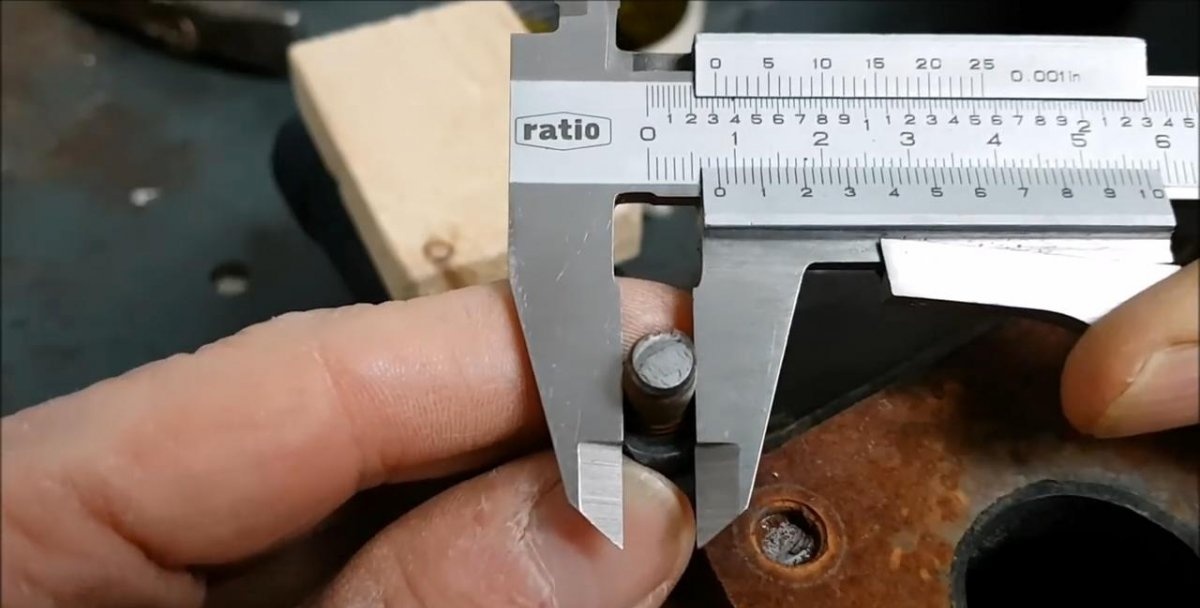
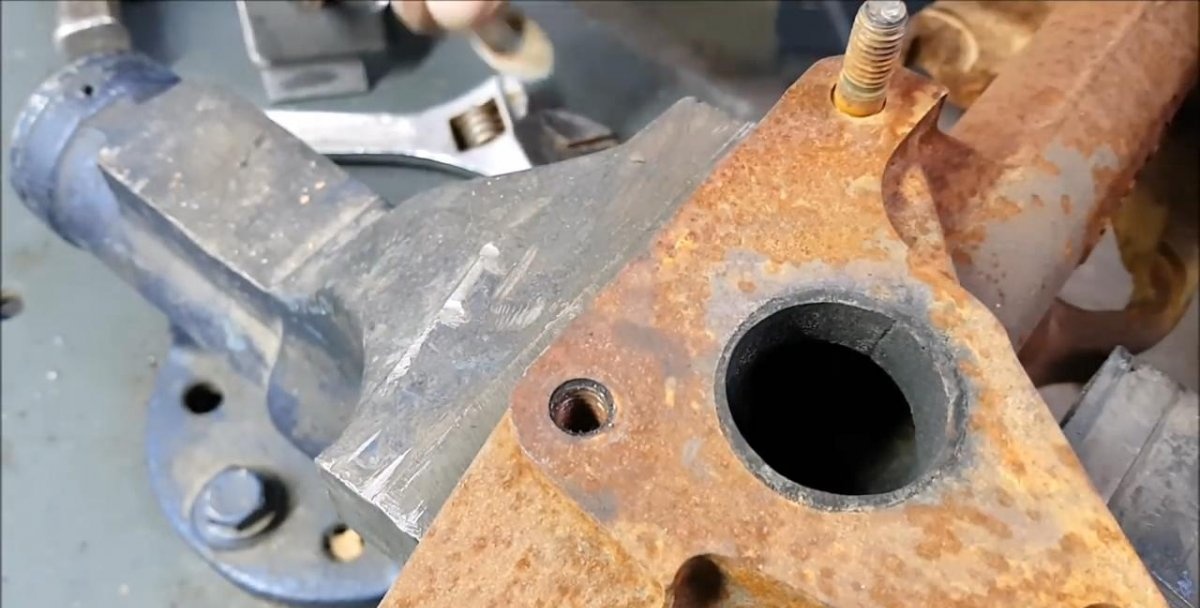
So let's get started. First, let's measure the diameter of the pin using its fragment remaining outside. In my case it is 8 mm in diameter.
The most effective way to remove a broken stud

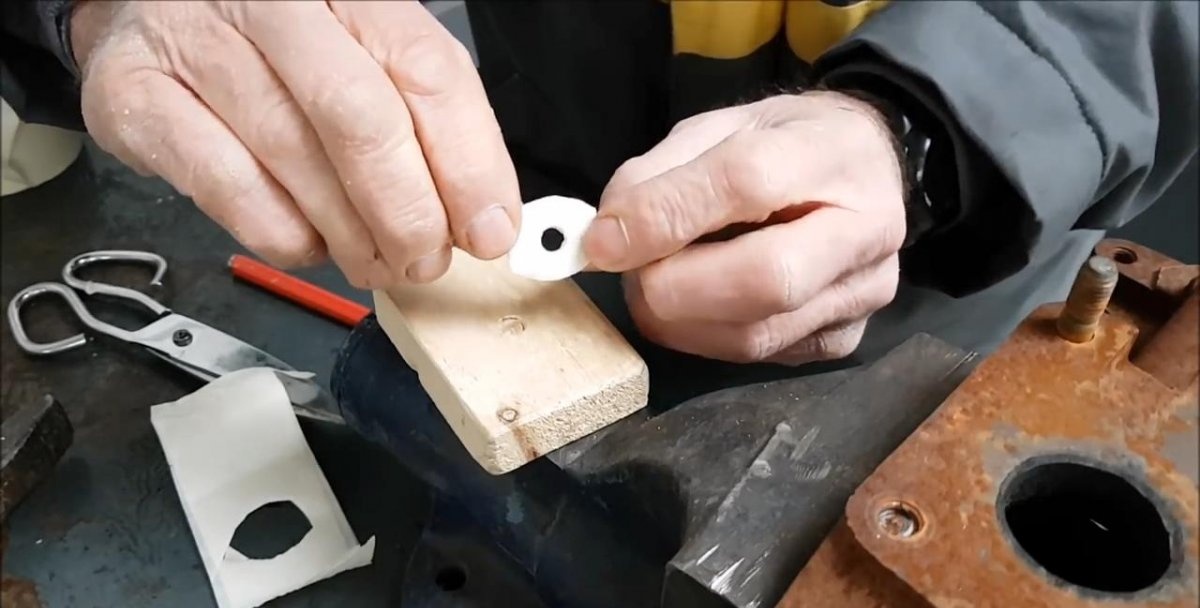
Take a wooden block and stick 3 layers of masking tape on top of it. Then we make a hole in all three layers with a diameter smaller by one millimeter.
The most effective way to remove a broken stud

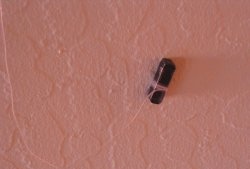
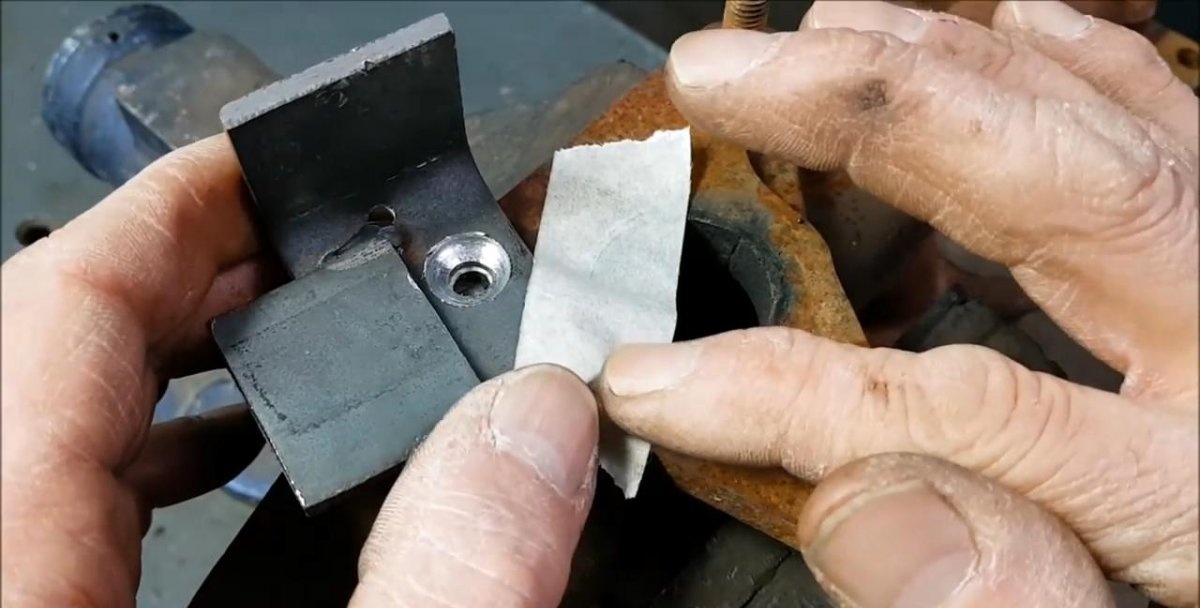
Cut out an arbitrary outline. And we got such a gasket.
The most effective way to remove a broken stud

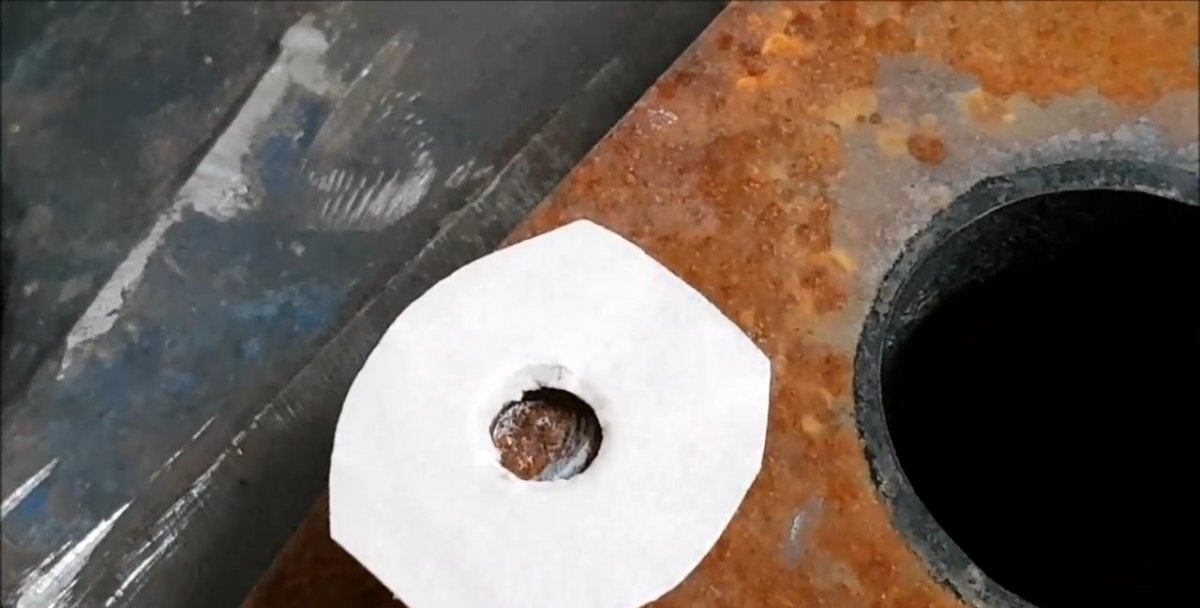
We glue it onto the hole with a piece of the pin. This gasket will protect the threads during welding.
The most effective way to remove a broken stud

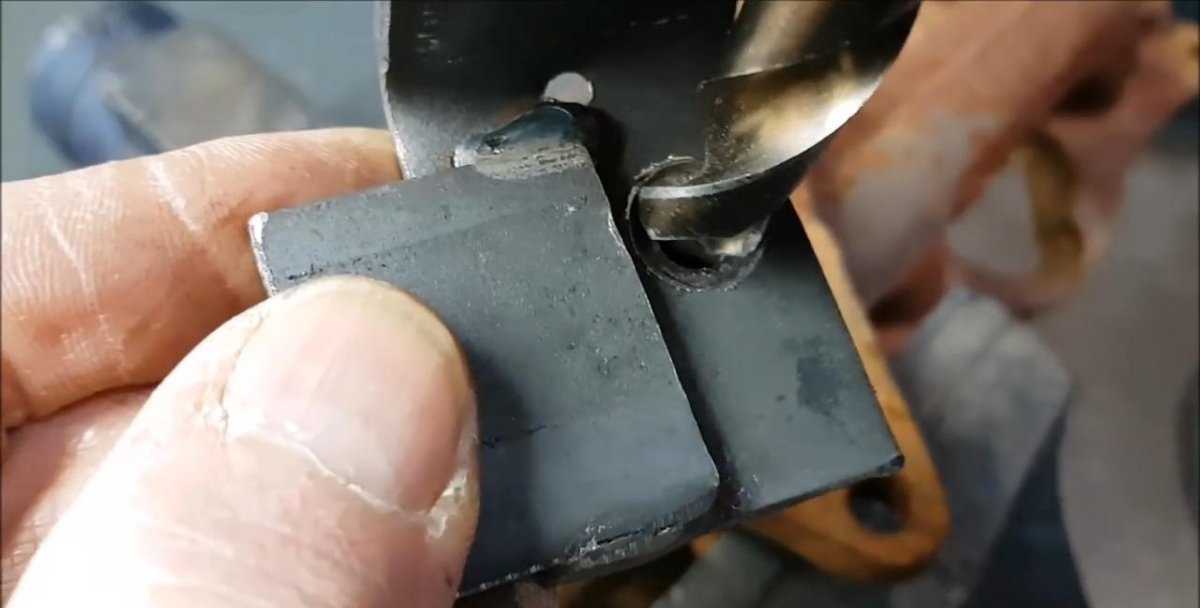
Next, you need to take any L-shaped steel corner with a thickness of 2-5 mm. And drill a hole in it 7 mm in diameter.
The most effective way to remove a broken stud

On the reverse side, use a large drill to make a hole for the cone.
The most effective way to remove a broken stud

We place the corner on the hole and secure it with pieces of masking tape so that it does not fall during welding.
The most effective way to remove a broken stud

The holes must match exactly.
The most effective way to remove a broken stud

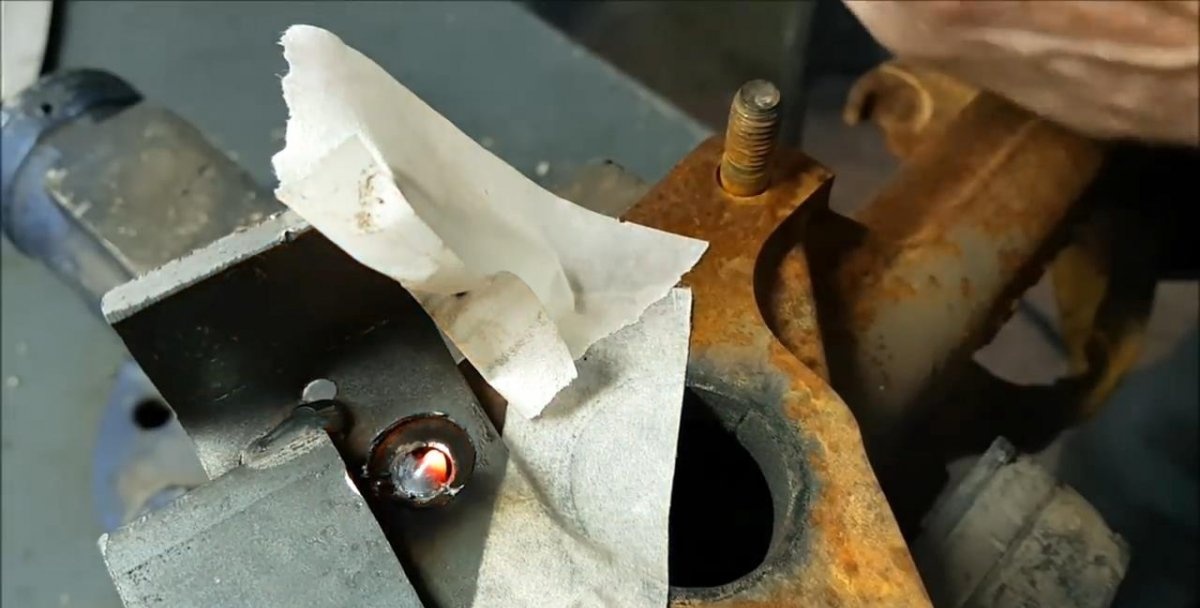
Welding time. It is advisable to use a semi-automatic welding machine. Well, if not, take a regular one, with a thin electrode.
The most effective way to remove a broken stud

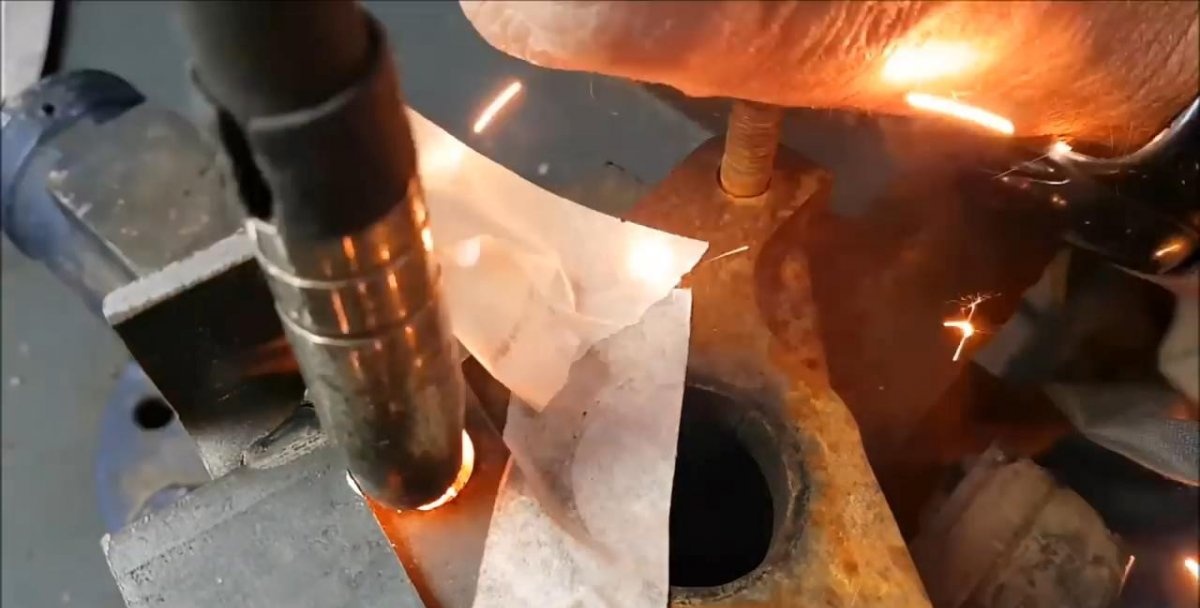
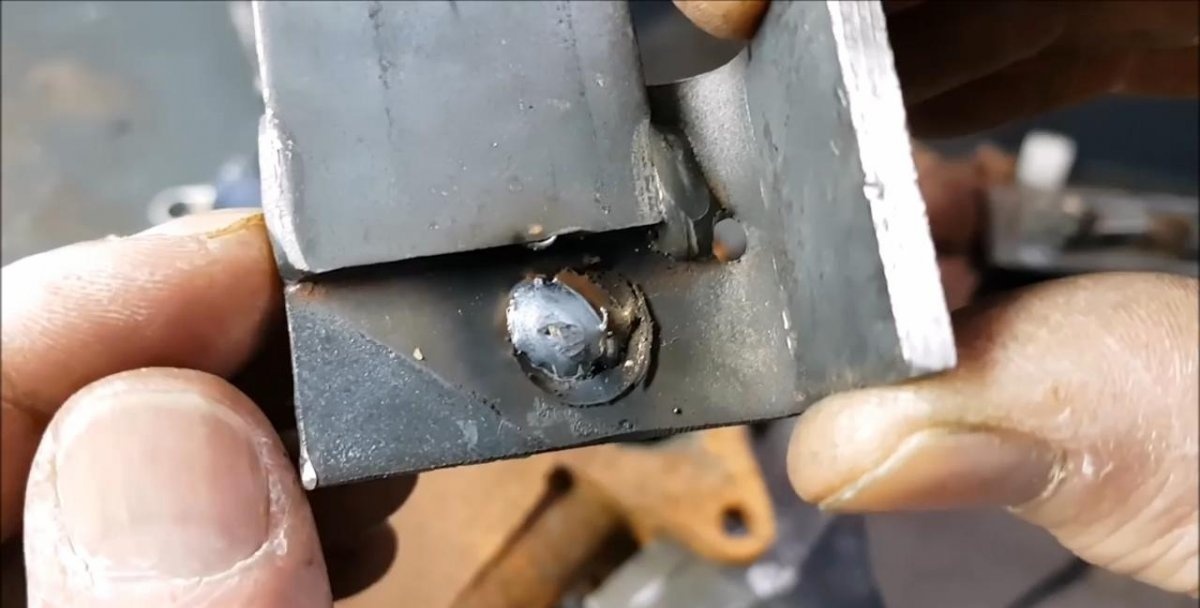
First we fuse a layer onto the fragment.
The most effective way to remove a broken stud

This is what it looks like after the first time. Let's wait a little.
The most effective way to remove a broken stud

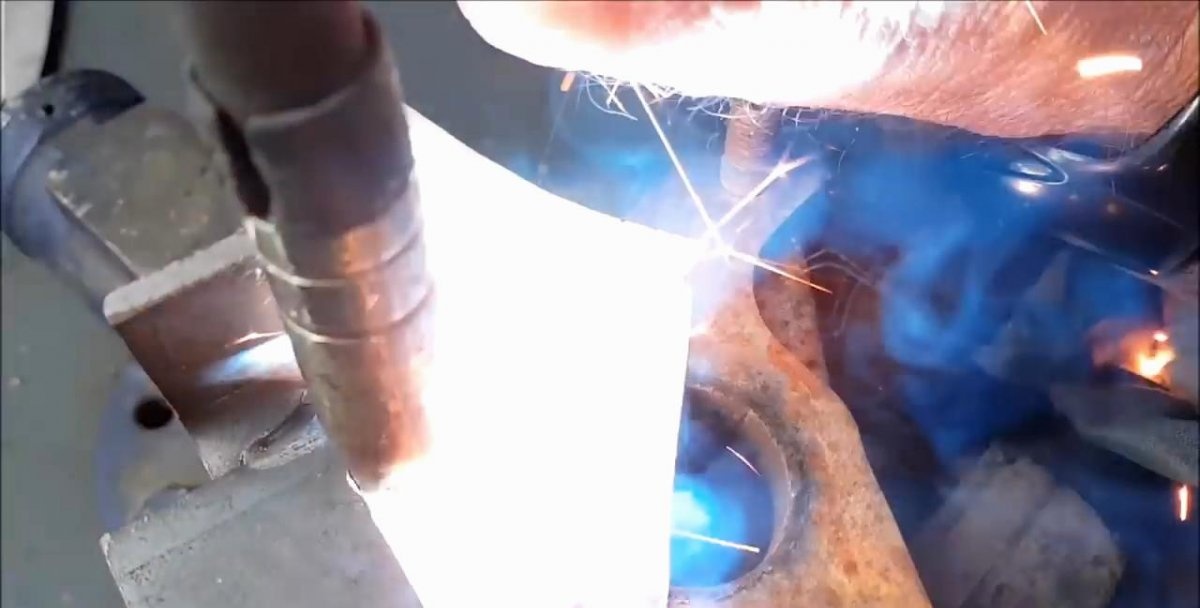
We fuse another layer for reliability.
The most effective way to remove a broken stud

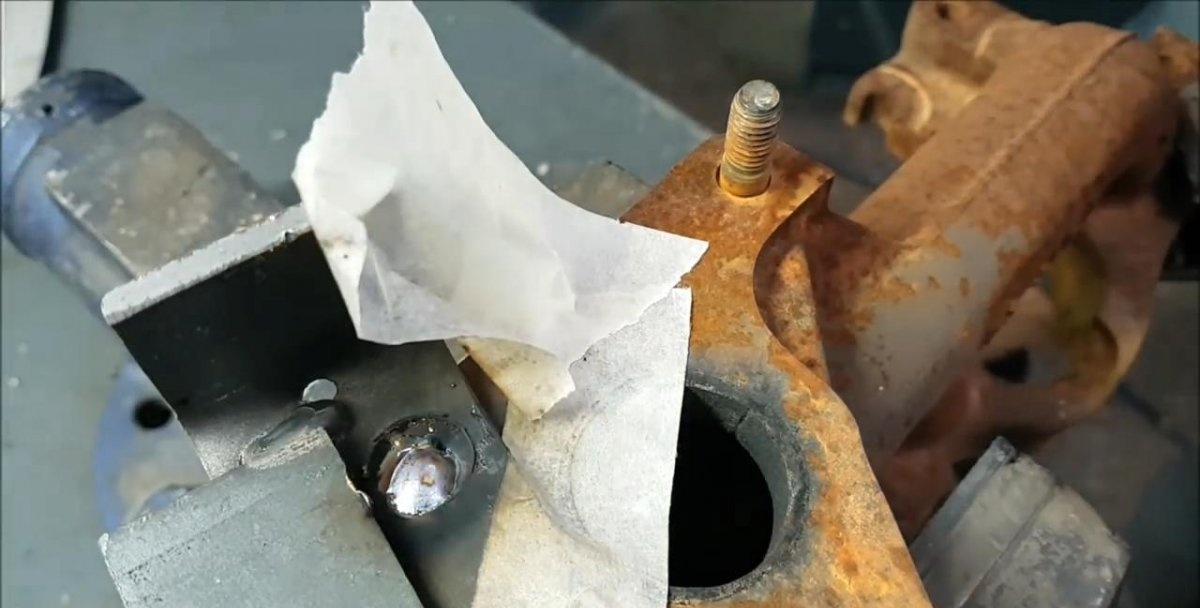
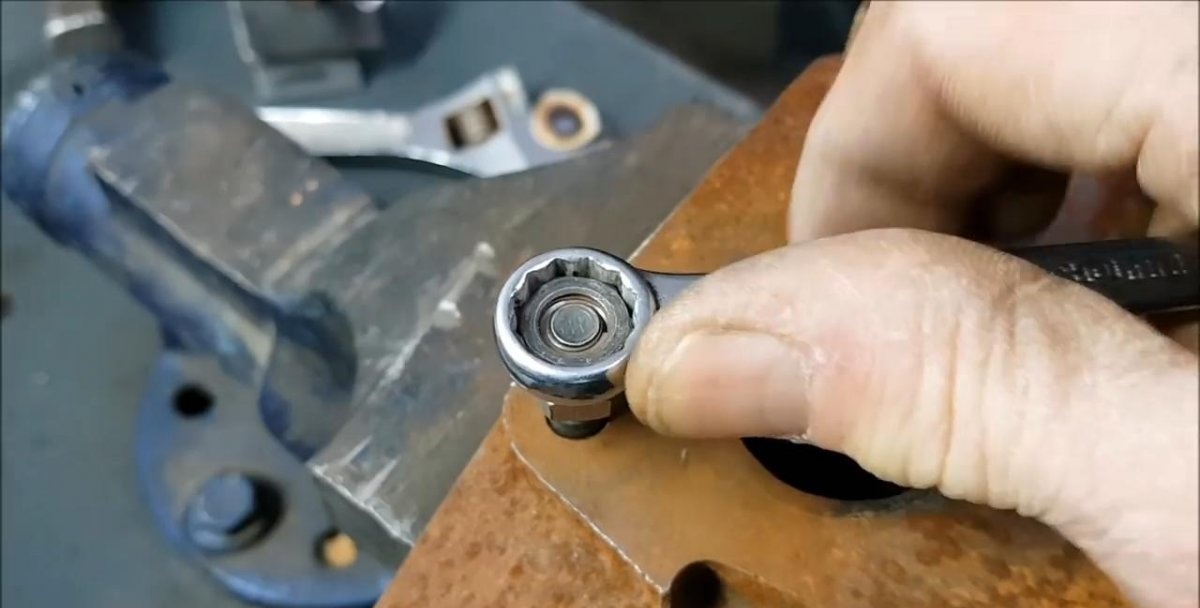
Well, now you can try to unscrew the pin.
The most effective way to remove a broken stud

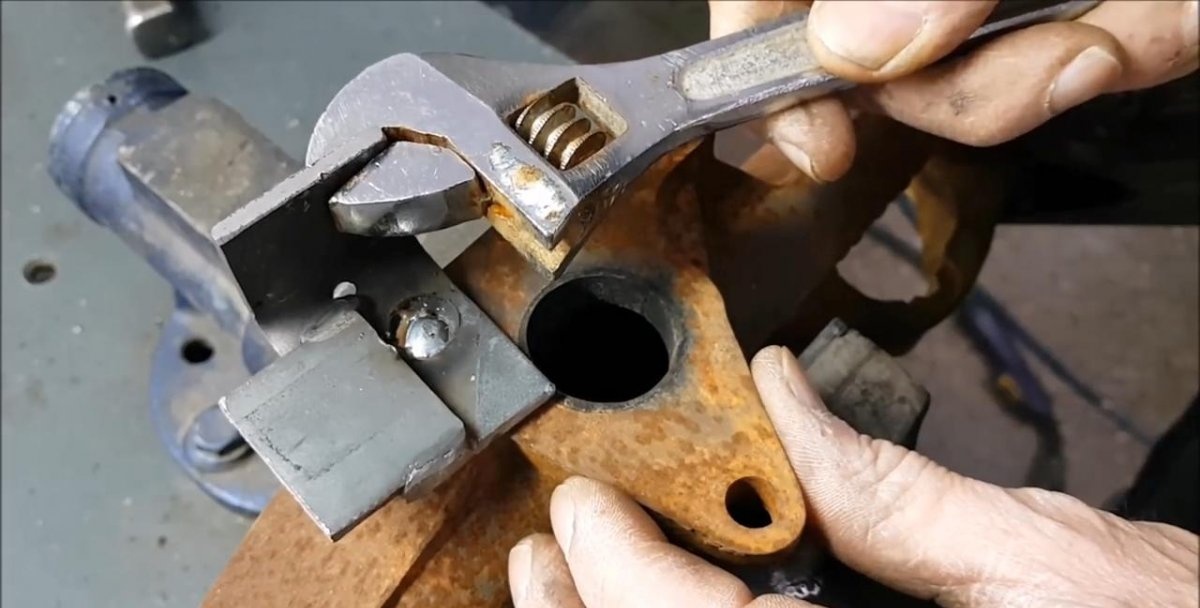
Everything worked out perfectly. The welding warmed up the fragment and it became easier to unscrew.
The most effective way to remove a broken stud

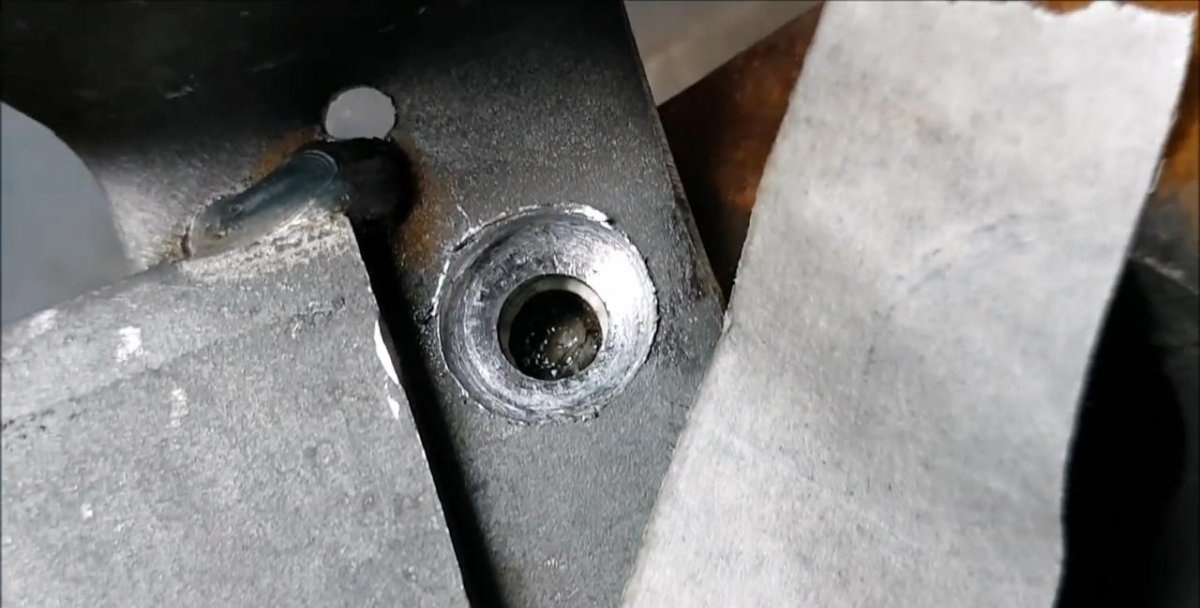
This is what it looks like up close.
The most effective way to remove a broken stud

The most effective way to remove a broken stud

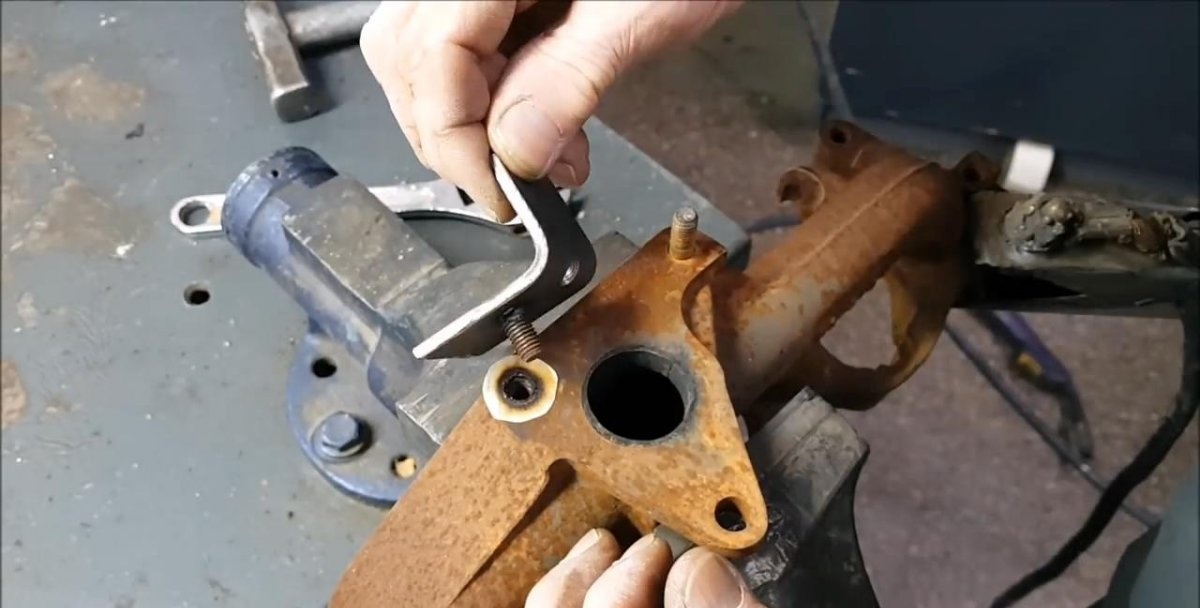
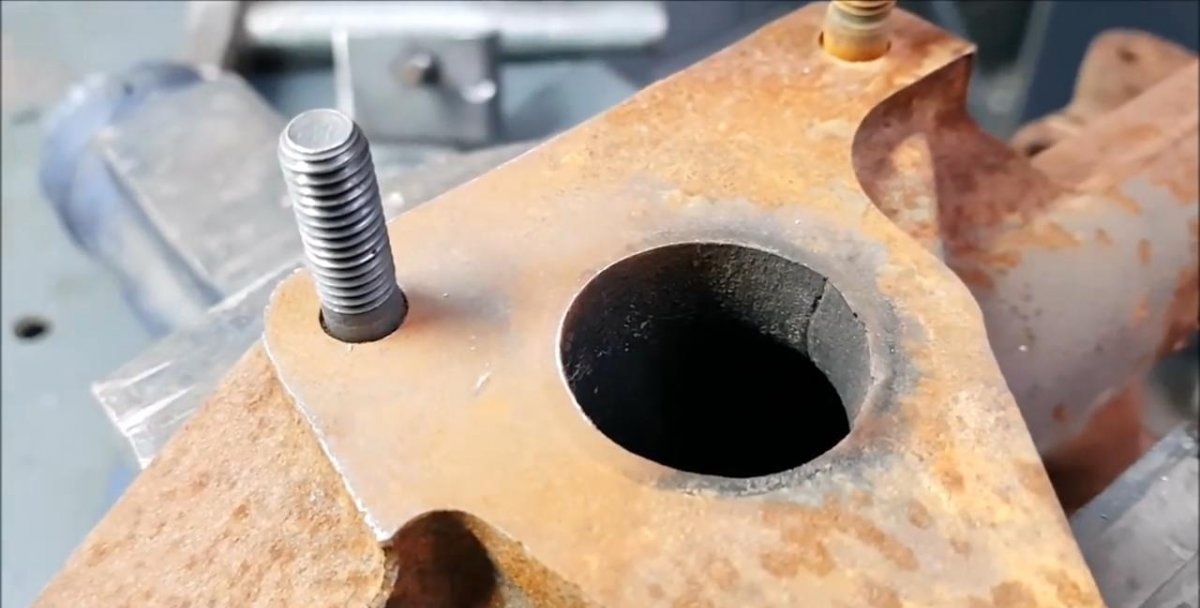
Installing a new stud


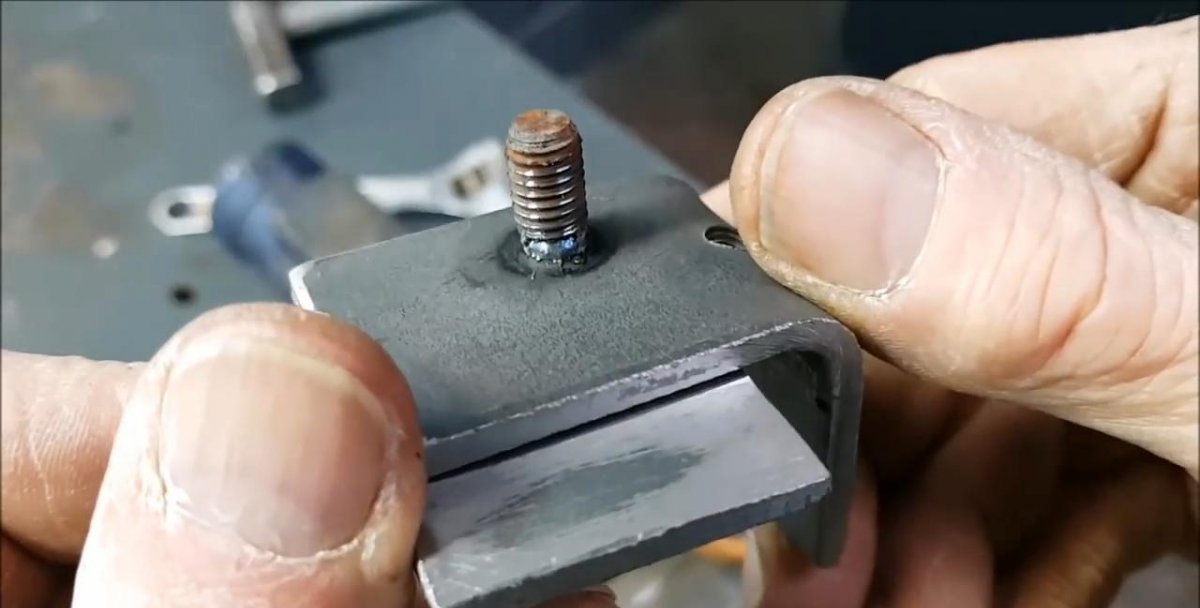
As you can see, neither the thread nor the area around it was damaged after welding. We sand the area with sandpaper.
The most effective way to remove a broken stud

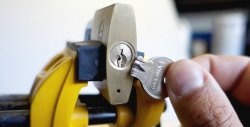
We take a new stud, screw two nuts onto it on one side and tighten them to each other.
The most effective way to remove a broken stud

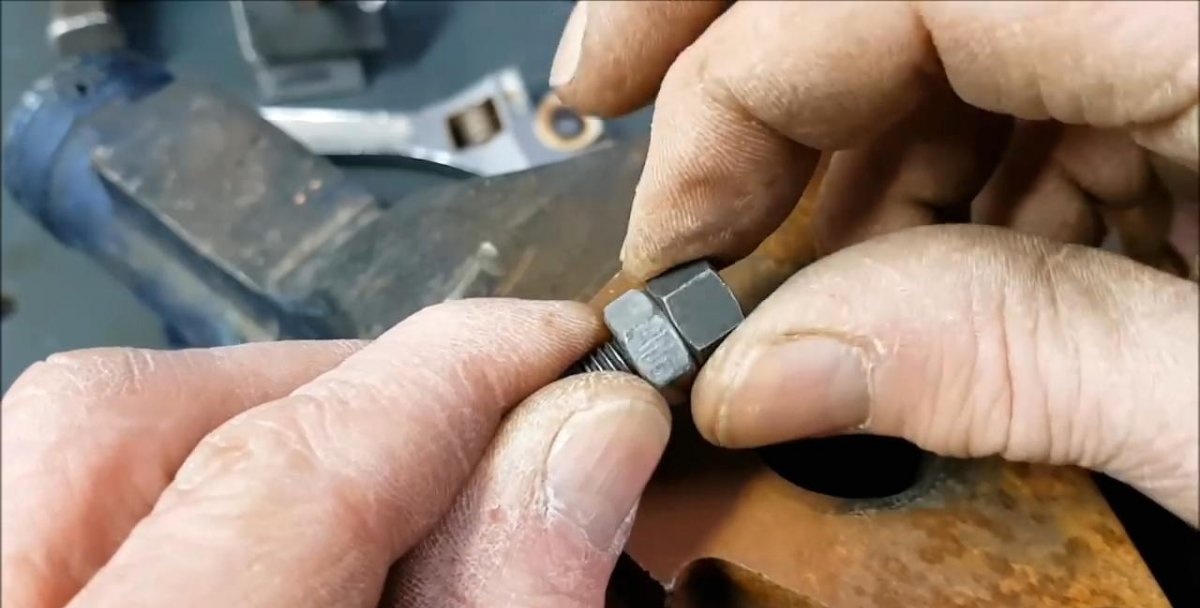
Screw it into the block with a key.
The most effective way to remove a broken stud

Remove the nuts.
The most effective way to remove a broken stud

Here is such a simple and very effective way. At least it’s easier than drilling a straight hole for the extractor, which in my opinion is incredibly difficult.

Watch the video


come back
Comment
  • bowtiesmilelaughingblushsmileyrelaxed relaxedsmirk
    heart_eyeskissing_heartkissing_closed_eyesflushedrelievedsatisfiedgrin
    winkstuck_out_tongue_winking_eyestuck_out_tongue_closed_eyesgrinningkissingstuck_out_tonguesleeping
    worriedfrowninganguishedopen_mouthgrimacingconfusedhushed
    expressionlessunamusedsweat_smilesweatdisappointed_relievedwearypassive
    disappointedconfoundedfearfulcold_sweatperseverecrysob
    joyastonishedscreamtired_faceangryragetriumph
    sleepyyummasksunglassesdizzy_faceimpsmiling_imp
    neutral_faceno_mouthinnocent
5+two=
Comments (26)
  1. Guest Alexander
    #1 Guest Alexander Guests July 2, 2018 11:04
    5
    We drill out the fragment with a 9mm drill, cut the thread and screw in the adapter pin (10mm into the body 8mm per connection.....And ALL!
    1. cut off
      #2 cut off Guests July 9, 2018 08:57
      1
      under m10, reduced 8.5 under standard thread
  2. Guest Sergey
    #3 Guest Sergey Guests 2 July 2018 12:39
    28
    welded the nut, same effect without any problems
  3. Guest Andrey
    #4 Guest Andrey Guests 2 July 2018 15:24
    4
    Well, why this hemorrhoids with drilling of corners? You take a tube of smaller diameter, long enough to stick out about 15 mm, and weld it. What if it broke off without a groove? Then I just welded the nut and that’s it.
  4. Guest Nikolay
    #5 Guest Nikolay Guests 2 July 2018 19:47
    2
    Beautiful!
  5. Azat
    #6 Azat Guests 2 July 2018 20:53
    4
    Under no circumstances should it be unscrewed immediately after welding; the pin must cool and shrink in size.
  6. Anton
    #7 Anton Guests July 3, 2018 07:27
    8
    Isn’t it fate to just weld the nut?
  7. Arby's
    #8 Arby's Guests 3 July 2018 20:21
    1
    There are more problems with tape and so on, although for those who like it, order!
  8. Peter
    #9 Peter Guests 4 July 2018 18:30
    2
    just weld the nut and that’s it. If it’s not simple iron (aluminum, cast iron, etc.), you can use a larger size using an electrode.
  9. Guest Victor
    #10 Guest Victor Guests 4 July 2018 20:19
    0
    It was just luck.
  10. Bobrovsky
    #11 Bobrovsky Guests 4 July 2018 21:05
    5
    Well I do not know. More than once I had to “fight” with broken pins and I never used welding. I marked the center, drilled a 4 mm hole to the very end of the stud, and then drilled it out with a thicker drill, but so that the thread was intact. As a result, I used an awl to pick out a couple of turns of the remaining burr in the thread. And then he drove out the rest with a tap.But for this you need to have a good eye and hold the drill so that the drill goes strictly in the center of the stud. Well, know the diameter and thread pitch of the stud you are going to drill. Let’s say if the thread is M-10x1.5, then you need a drill of 8.4 mm, or in extreme cases 8.5 mm, but this is if the drilling is very precisely in the center.

How to assemble a knife sharpener from scrap materials

Hidden wiring detector | Do it yourself

Picture of three flowers | Do it yourself

Sewing clothes | Do it yourself

«Do it yourself - with your own hands» - a site of interesting homemade products made from scrap materials and items at home. Step-by-step master classes with photos and descriptions, technologies, life hacks - everything a real master or just a craftsman needs for needlework. Crafts of any complexity, a large selection of directions and ideas for creativity.

We recommend reading

Washing machine error codes