A dull kitchen knife is an eternal headache for many who like to spend time in the kitchen cooking something delicious. No matter how hard these knives are sharpened, at the right moment they will definitely turn out to be dull. Either knives are now being made from such lousy iron, or we have become not too careful, but they hold an edge very poorly, that’s a fact. Of course, running a sharpening stone over the blade a couple of times is not difficult. But there is a way to maintain the sharpness of the sharpening on the blade for a longer time. You just need to reduce the angle of the bar. Doing this manually is very problematic - not everyone has an eye and steadiness of hand. Therefore, I propose to build a simple sharpener, with the choice of the desired sharpening angle. The materials are the most affordable. There is one for everyone!

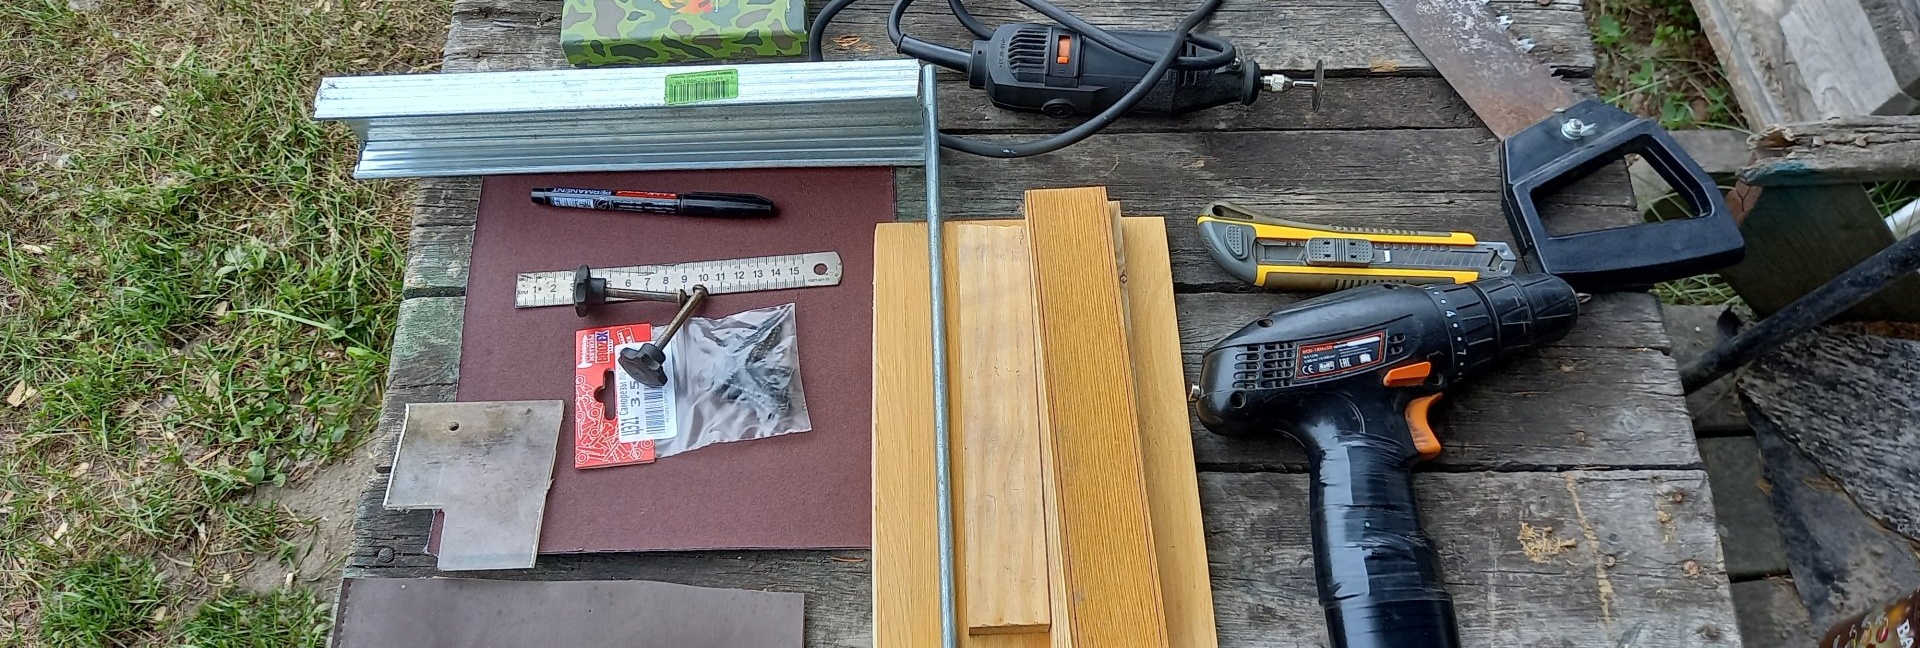
You will need:
- Board, 1.5 - 2 cm thick.
- Tin ceiling profile, 20-25 cm.
- Plexiglas strip, 70×40 mm.
- Wood screws, 30mm and 10mm.
- Fine-grained sandpaper, suitable for sharpening, on a fabric basis.
- A strip of leather, or leatherette, with an area equal to the area of a strip of plexiglass.
- Two bolts with 10mm nuts.
- A metal tube, or rod, with a cross-section of 8-10 mm and a length of 500 mm.
- Secondary glue.
Tool: Hacksaw. A machine with a cutting disc, or metal scissors. Hammer. A screwdriver, with a bit for self-tapping screws, and drills. Stationery knife. Marker. Ruler. Ten wrench.
Assembling a knife sharpener only from available materials
First you need to prepare a base platform for the future sharpener. For this purpose, I took shelves from an old disassembled cabinet. They are glued together from smaller planks, and they can easily be divided as desired. In general, any board no thicker than 20mm will do. Our area will be 200x300mm in size.

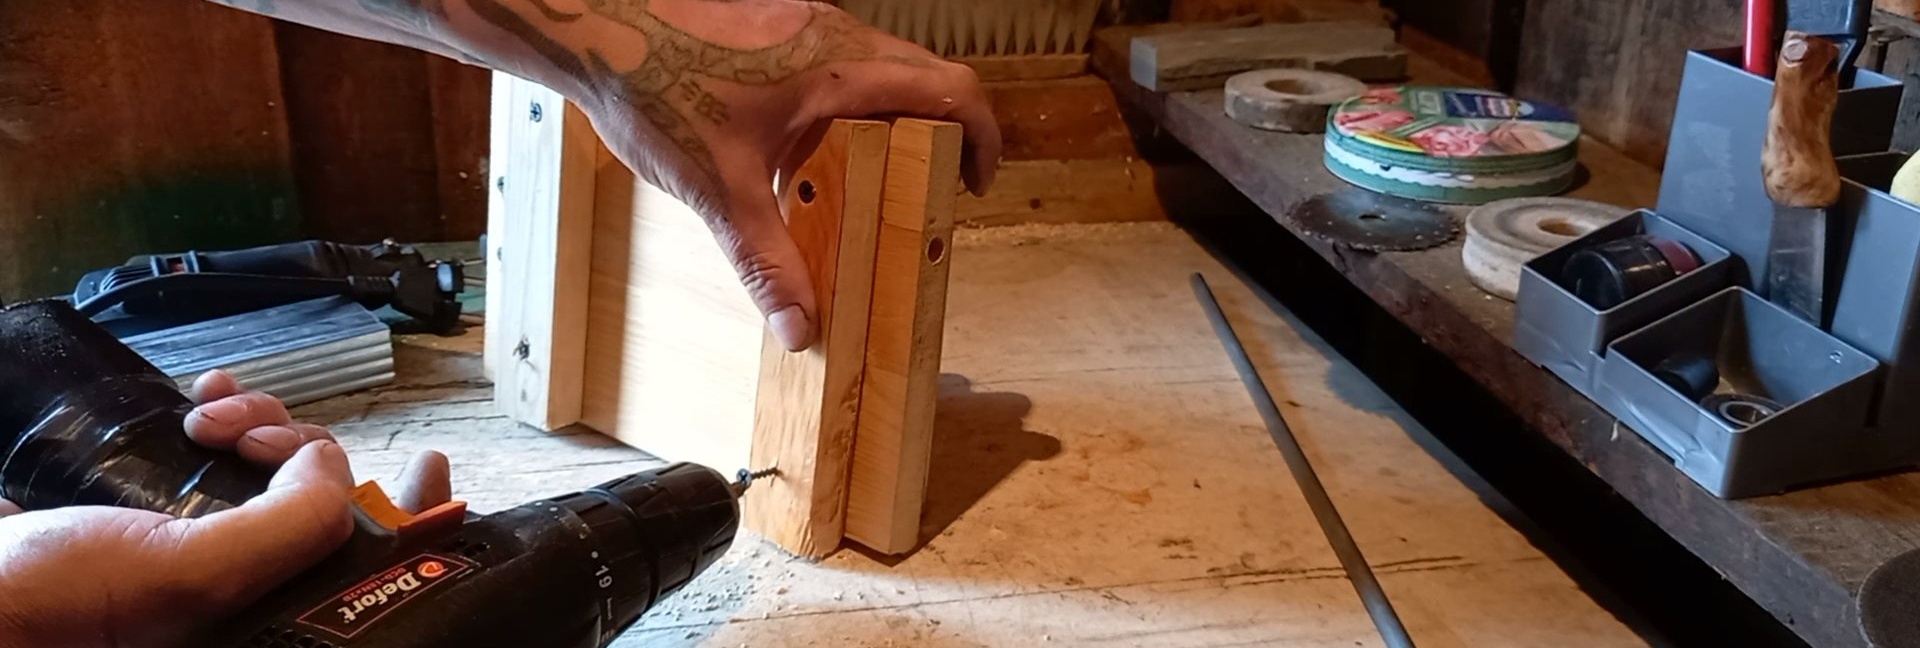
Next, you need to saw off a board measuring 50x200mm. In the future, this will be a measuring column with holes for the desired sharpening angle. Using self-tapping screws and a screwdriver, we attach a small piece of board to the base of the post, for greater stability, and attach this post to the edge of the base. Like this:

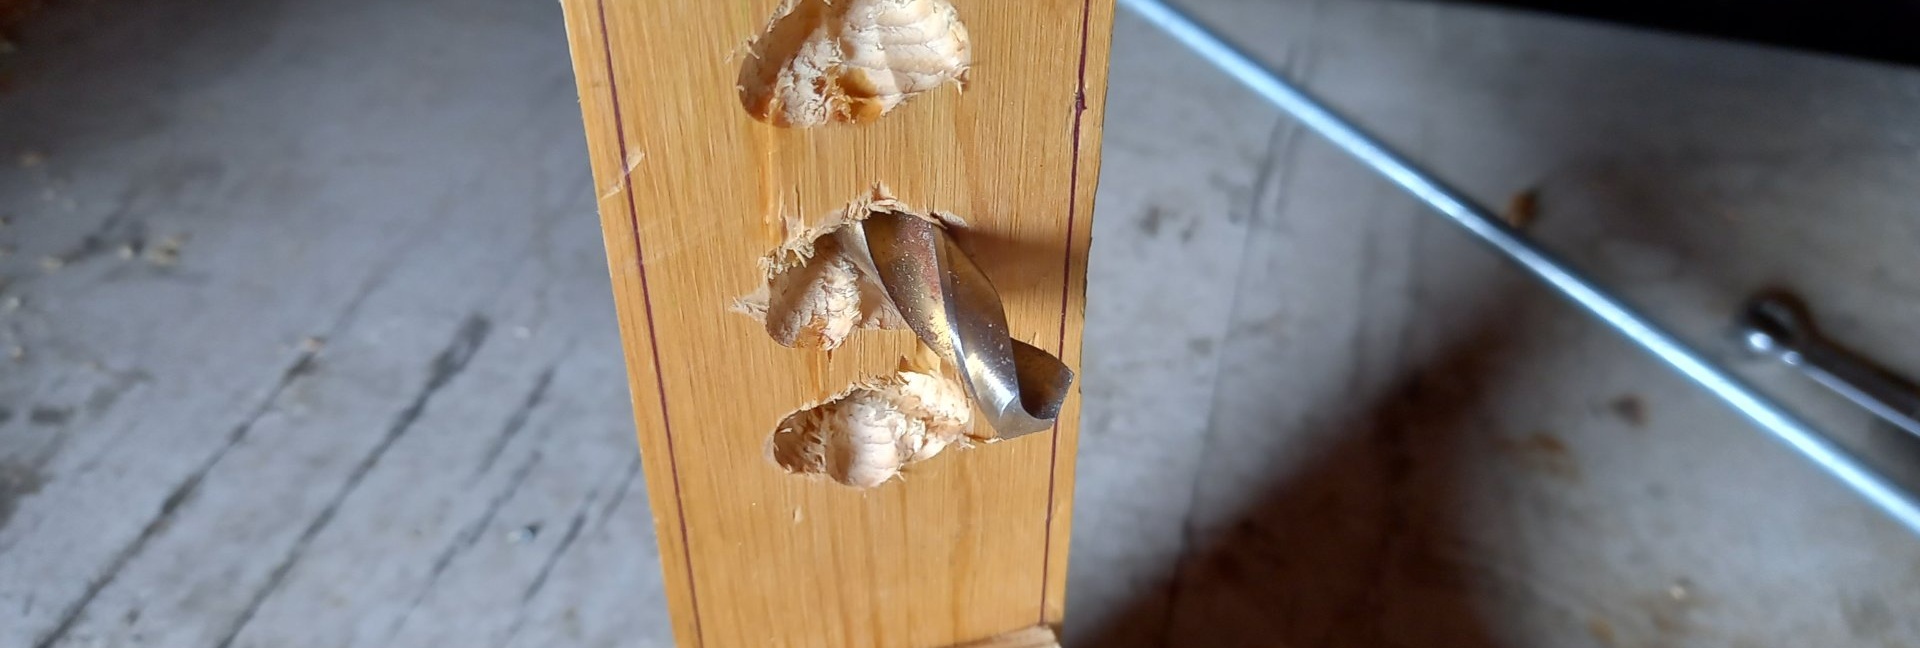
Next, along the entire length of this column, in the middle, in increments of 20 mm, you should drill holes with a diameter the size of the prepared metal tube. Drilling should be done with a slope towards the base.
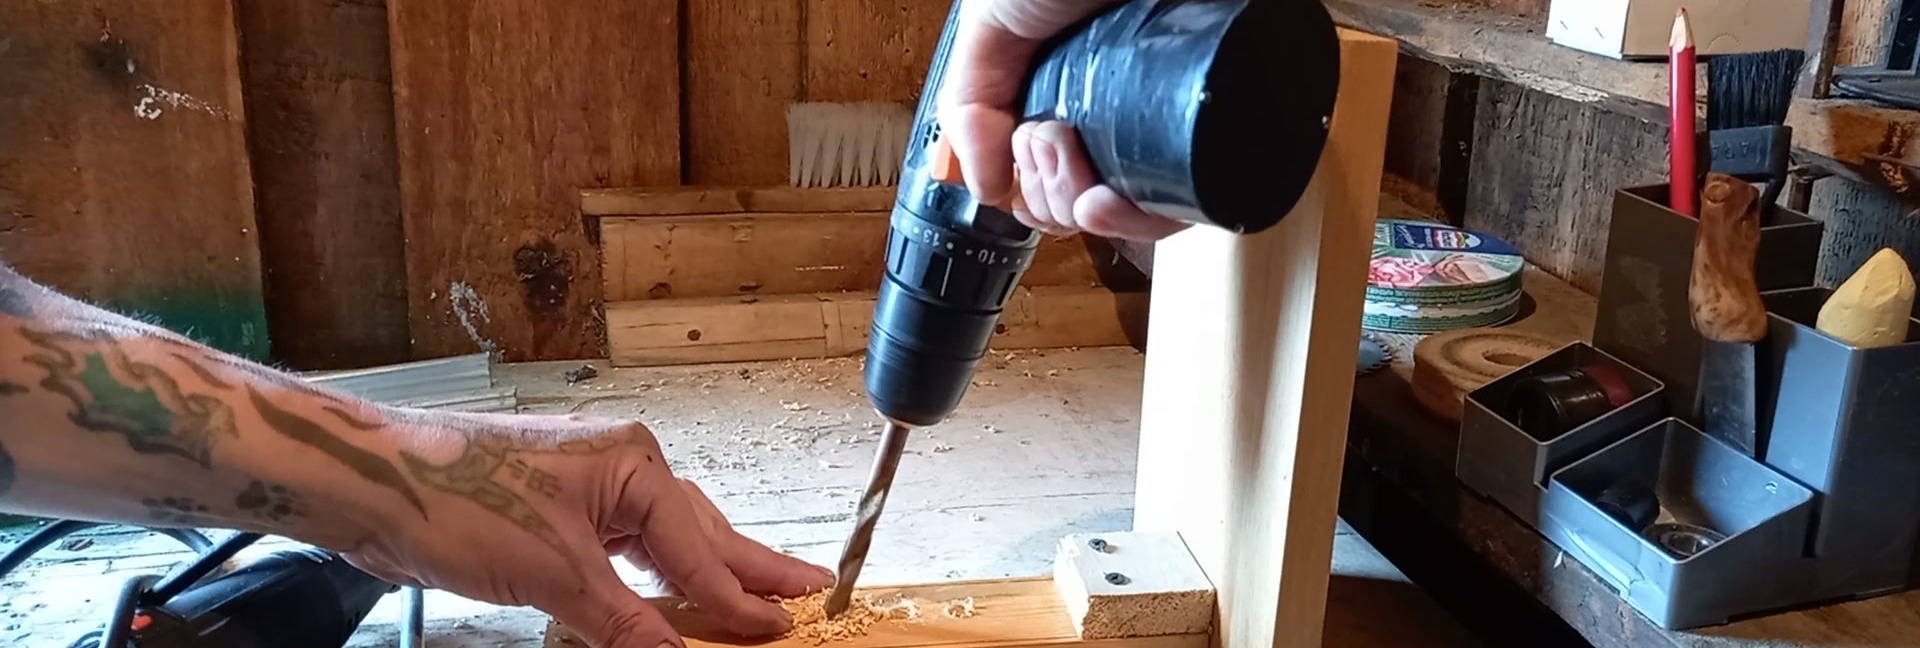
Using the same drill, it is necessary to flare the holes so that the tube can move freely in all planes; not only forward and backward, but also left and right.
Now let's work on the knife lock. To do this, you need to saw off a piece of the profile, the length of the base of the sharpener.
We bend one edge of the profile segment inward. Like this:
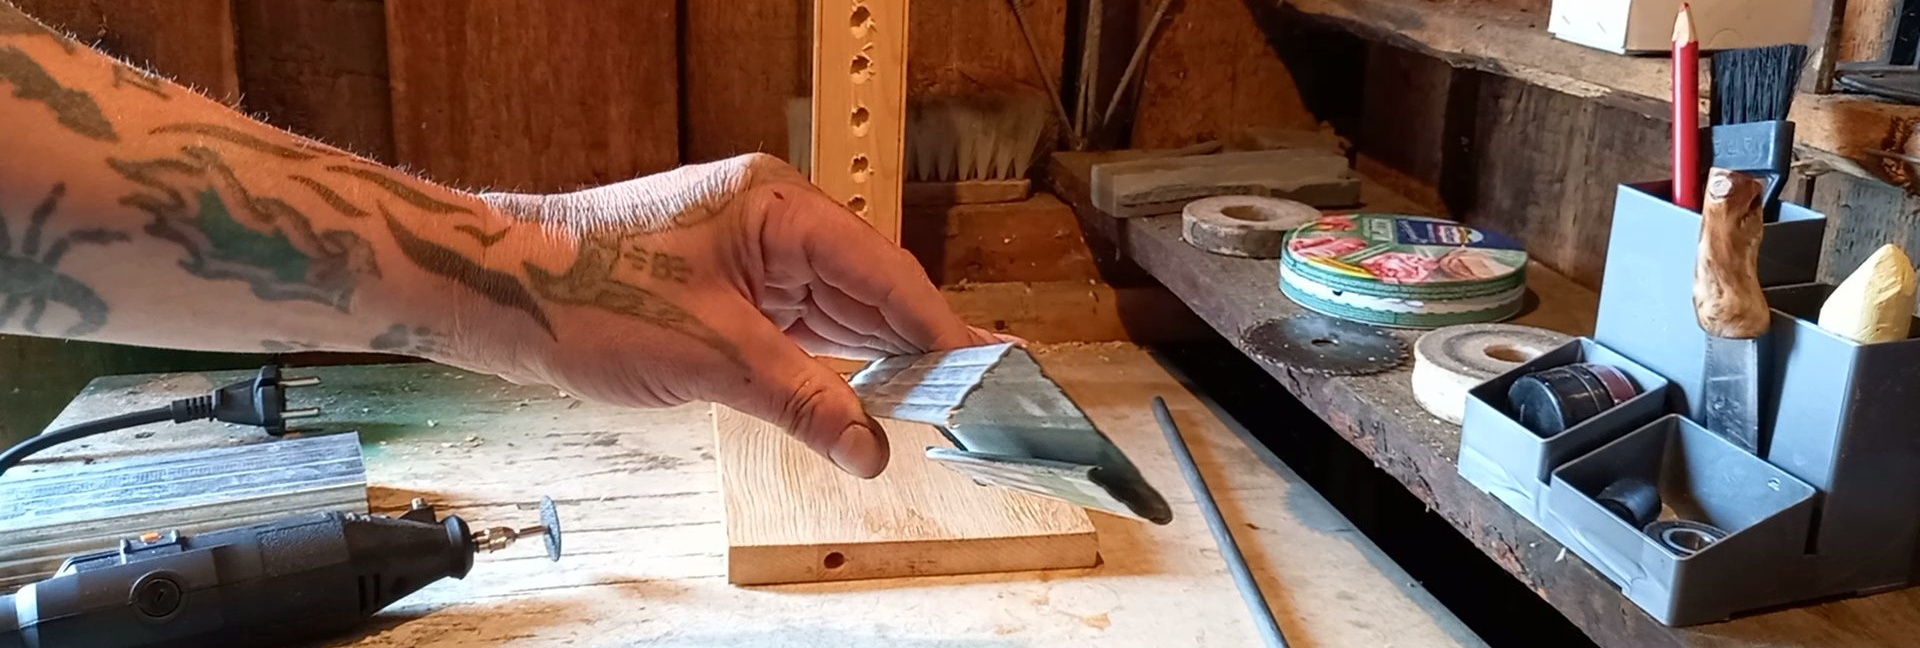
This will create the desired blade angle when sharpening. We screw this bent profile to the base. Folded edge inward:

We drill holes in this clamp for the prepared bolts.

We flatten the caps of the bolts themselves with a hammer so that they do not scroll inside in the future.

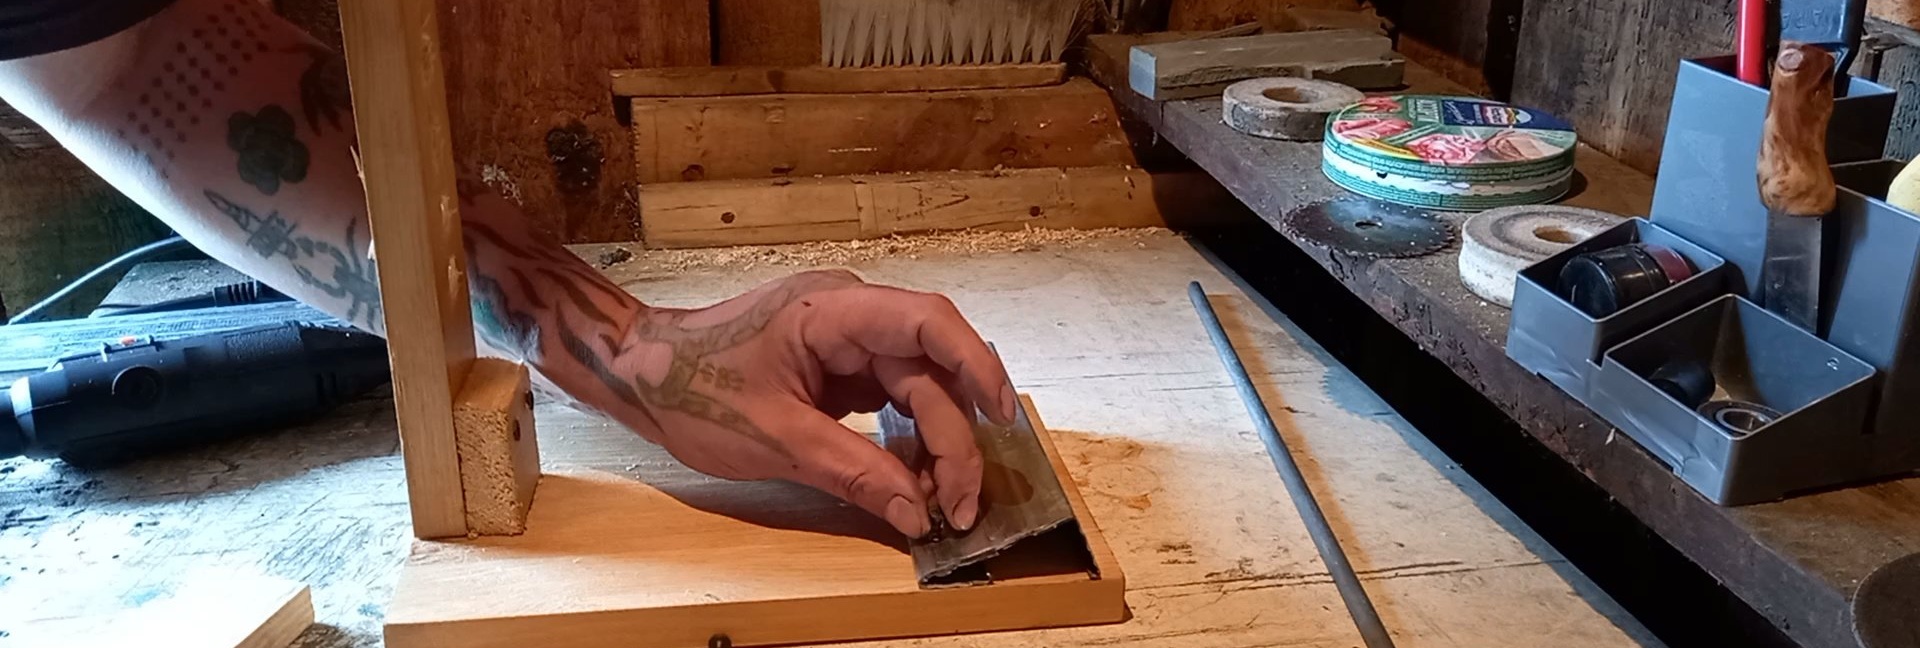
We insert the bolts into the holes from below, and press the flattened caps into the board with a hammer.

You can cover the seated caps with transverse bars. It will not be worse.
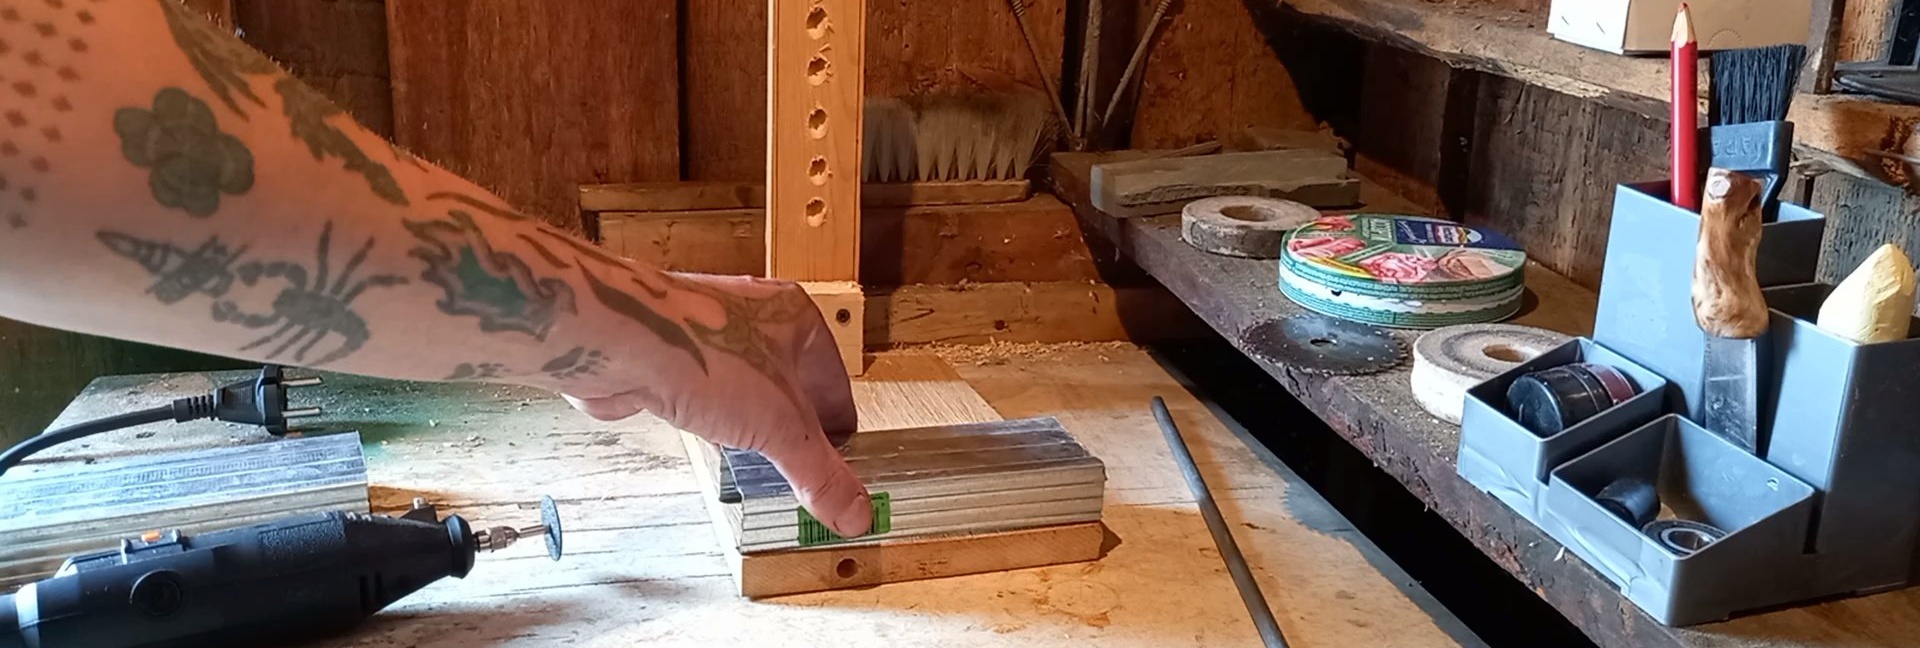
Next, we cut out a 70x40mm plate from plexiglass. We try it on the clamp, and drill holes corresponding to the holes on the clamp.
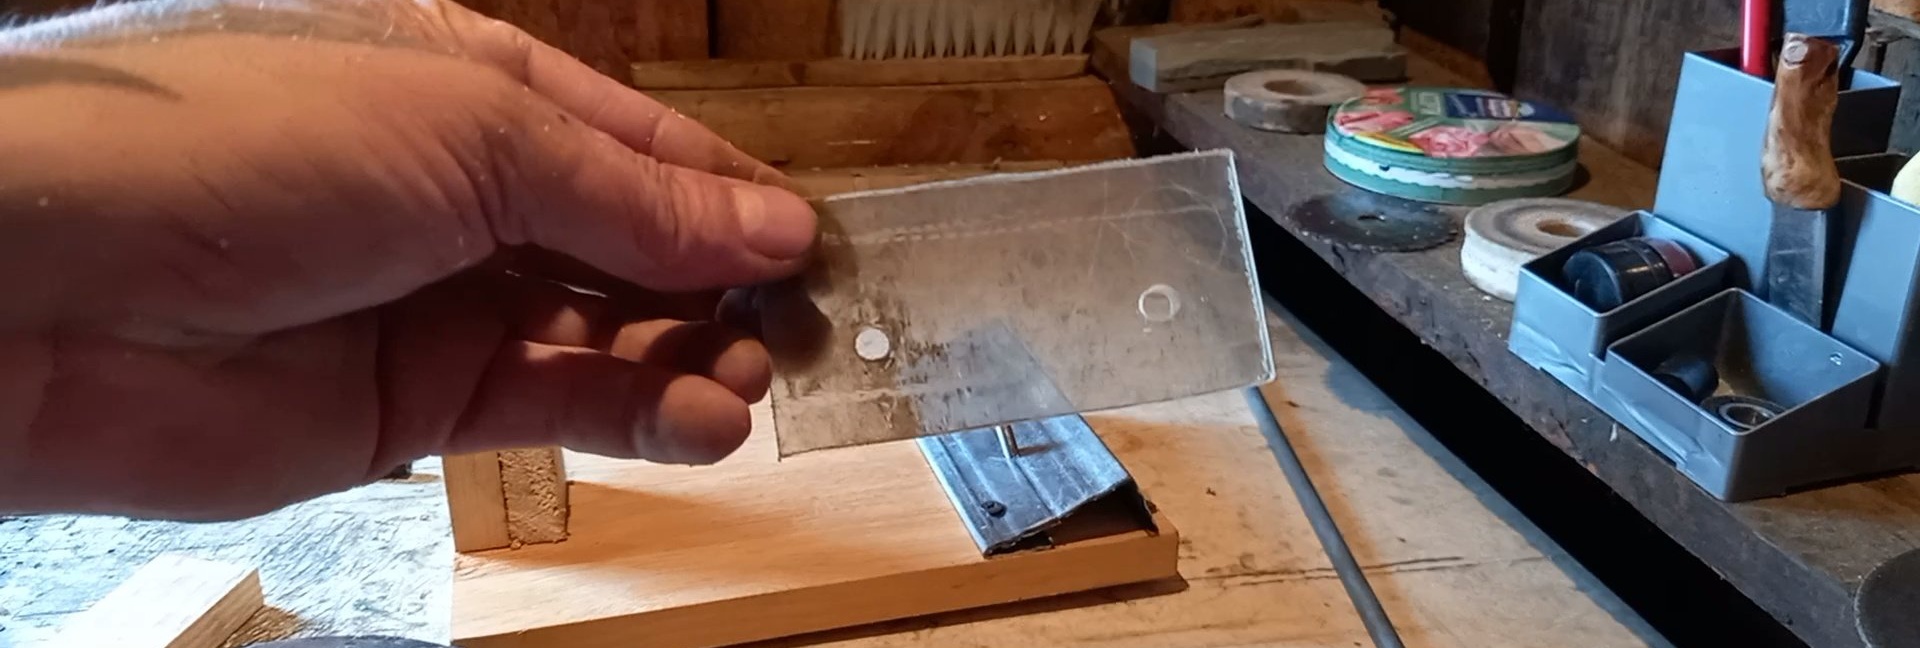
We cut out two strips of 70x20mm from leatherette (or leather) and glue them to the edges of the clamp and the plate. Like this:


We put the plate on the bolt threads and tighten the nuts.
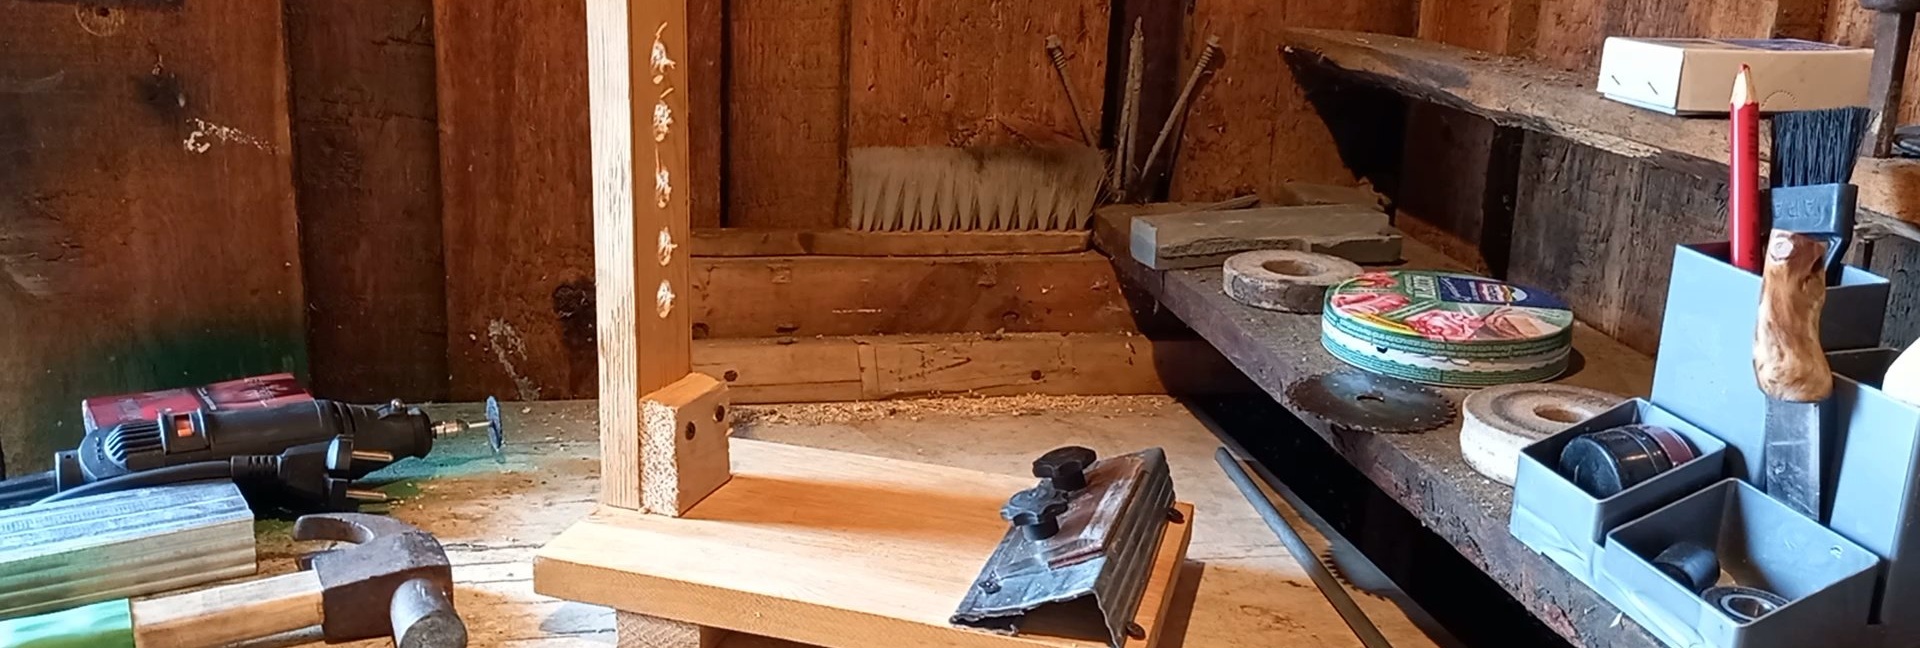
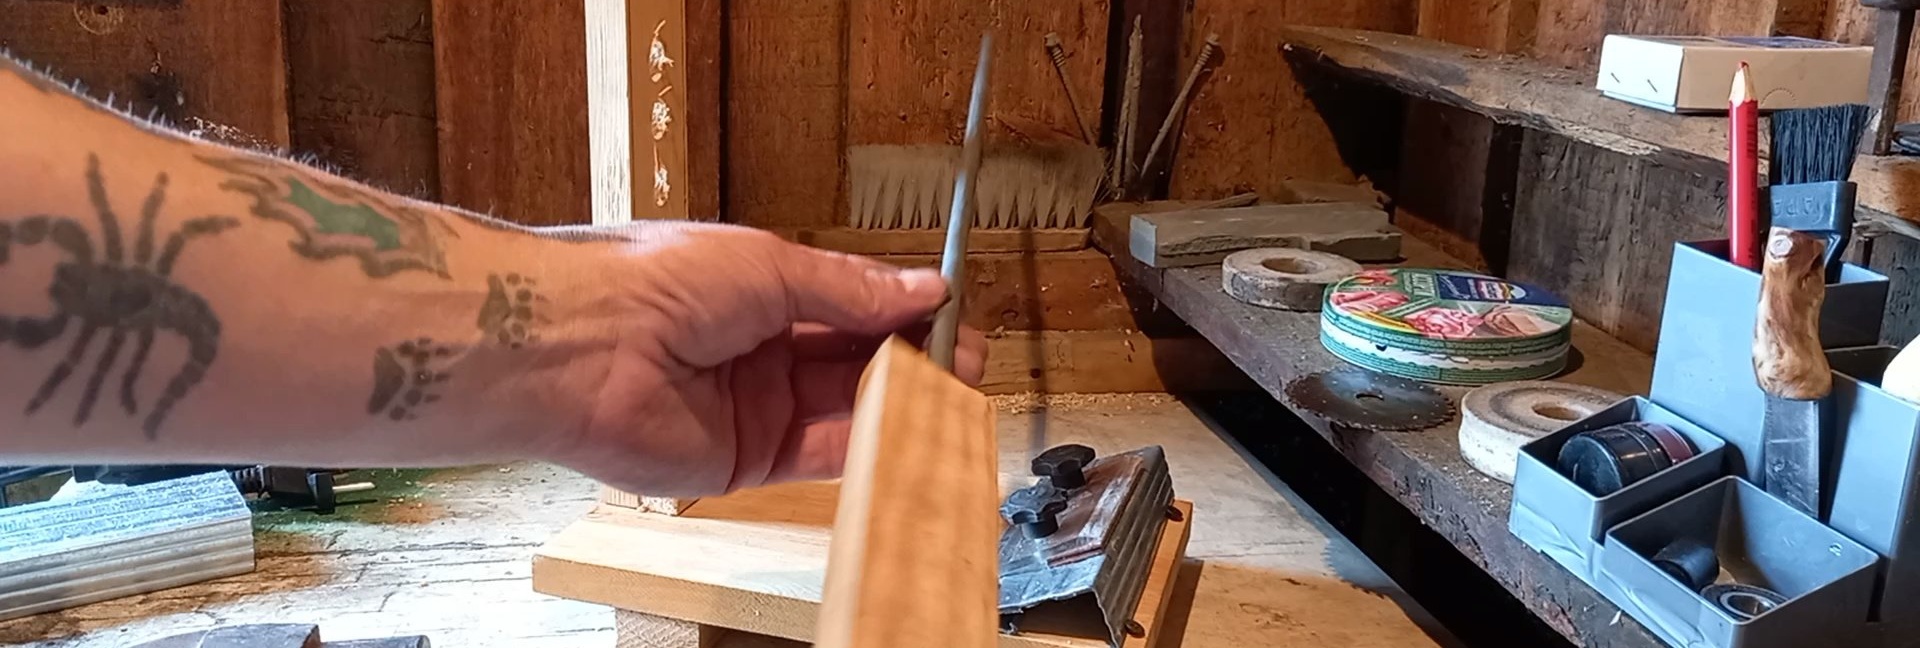
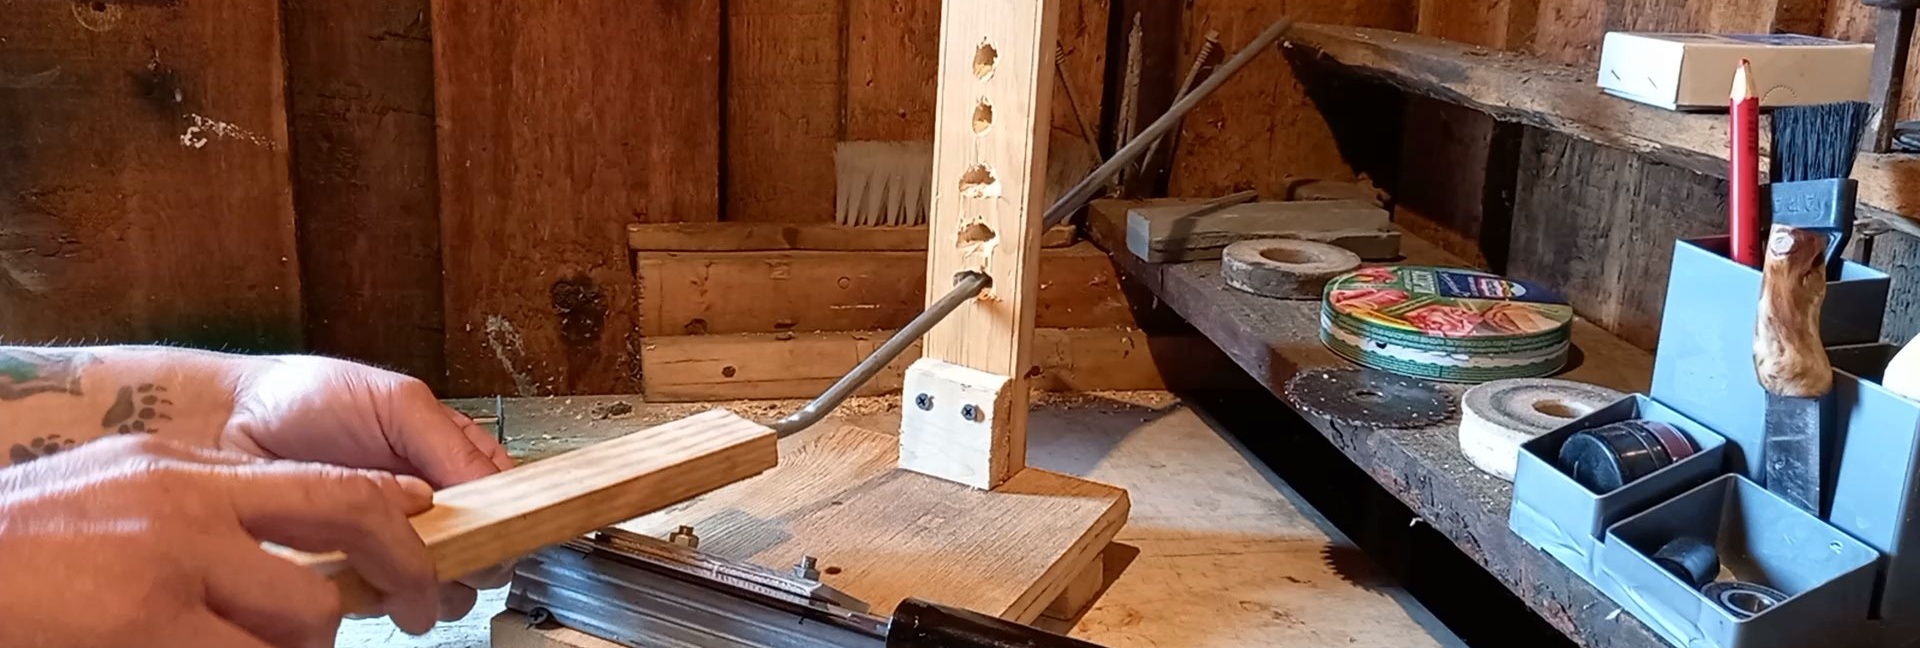
At first I wanted to use wing nuts with corresponding nuts inside, but this idea had to be abandoned in favor of regular nuts, since the wing nuts were high and stuck out too much, further interfering with the work. So, the base of the sharpener is ready. Now let's move on to the sharpener itself. Everything is as simple as that here; We take a wooden block 150×30×10mm, drill a hole at one end, 30-40mm deep, with a diameter the size of the cross-section of the tube, and drive the tube itself into it.
We cut out a rectangle from 70×30 sandpaper and glue it to the handle bar, closer to the tube. This is what you should get:
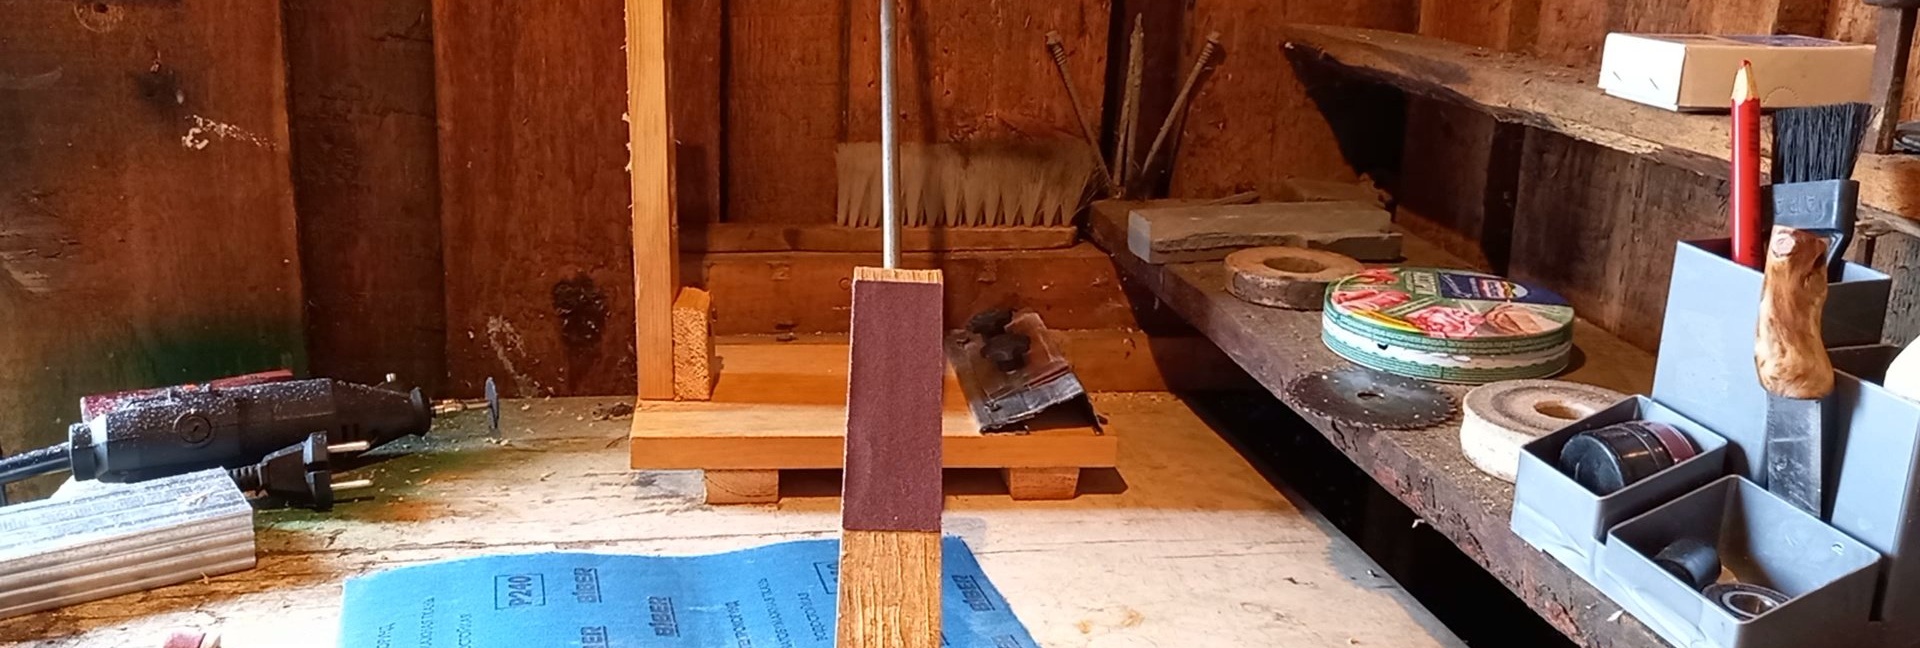
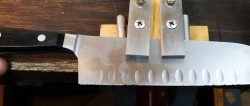
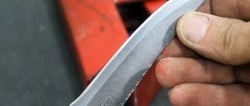
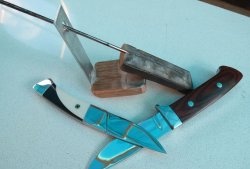
Thanks to the fabric base, this sandpaper can always be easily torn off and replaced with a new one as it wears out. This completes the assembly work. We fix the knife blade in the clamp, with the cutting edge outward, select the desired hole for the required sharpening angle, and begin sharpening.
If the sharpening angle is not sharp enough, you can bend the tube to the outside (up). In general, we customize it to suit your requirements. After such sharpening, the knives turn out to be unusually sharp, and the sharpening itself retains its edge much longer than if we simply scraped the blade against a stone.