Do it yourself
Life hacks, master classes, useful tips, recipes.
home » Electronics » Electronics from China » How to restore a screwdriver battery
How to restore a screwdriver battery

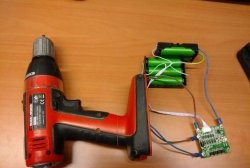
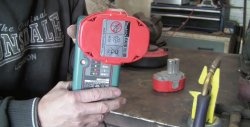
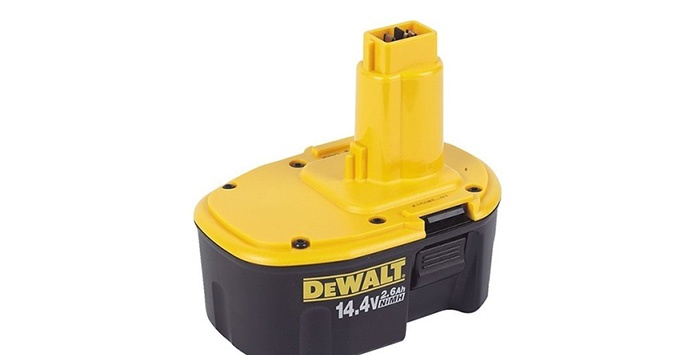
I think that everyone is already familiar with this problem, when one fine day you take your screwdriver, turn it on, and it doesn’t work. Next, the first thing you do is try to charge it, assuming that the batteries are simply dead. But that’s not the case: charging doesn’t bring results.
This problem is as old as time. The thing is that inexpensive screwdrivers use relatively cheap nickel-cadmium (NiCd) batteries. They are quite whimsical and, if not used properly, they immediately fail.
I suggest you restore your screwdriver so that it is like new. To do this, we will simply replace the batteries with similar or better quality ones.
Although most people on the Internet recommend changing batteries to lithium-ion (Li-ion), I am not a fan of a complete redesign. After all, you can’t just replace them, due to the fact that lithium-ion batteries need to be charged differently, a charging controller must be introduced, a different power source must be used, etc. And the housing of the batteries themselves will undergo significant changes.No, I just recommend replacing the batteries with the same ones, it’s much cheaper and you don’t need to fuss or invent anything.

Will need


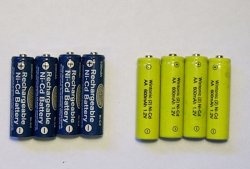
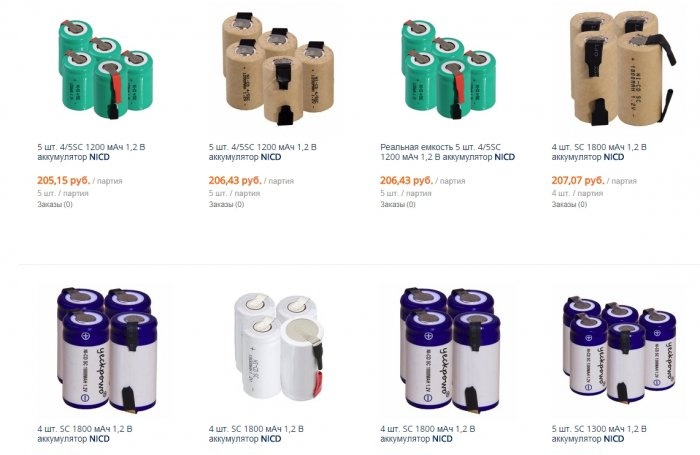
On AliExpress we purchase the required quantity nickel-cadmium (NiCd) batteries.
How to restore a screwdriver battery

As you can see, the prices are quite reasonable. Search for your size and quantity. I ordered 12 pcs. The total voltage of the former unit is 14.4 V. One element is 1.2 V. Simple math 1.2 x 12 = 14.4 V.

Restoring a screwdriver battery


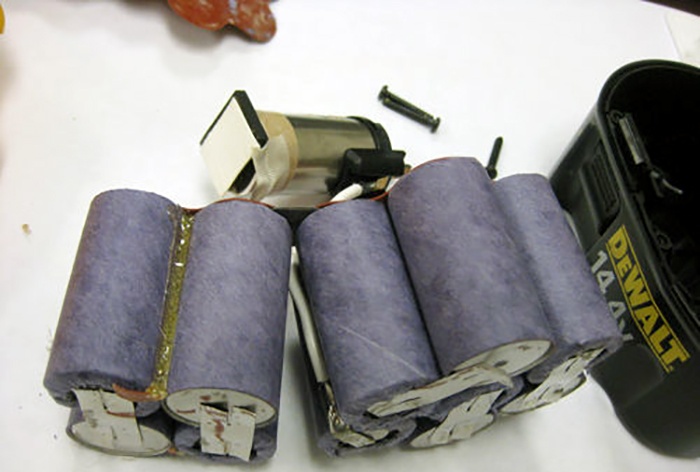
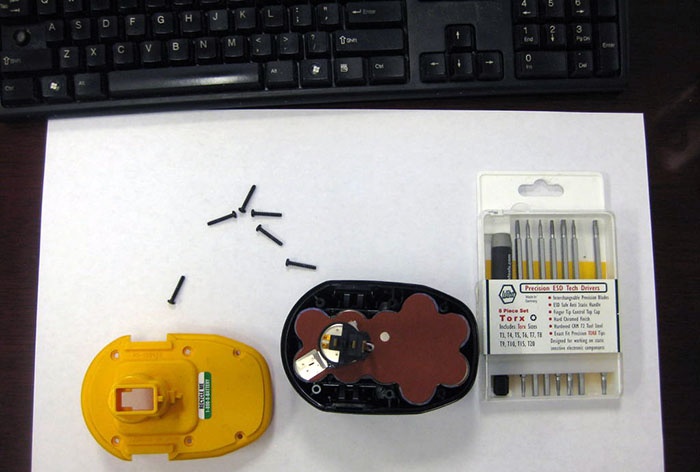
Well, now let’s move on directly to restoring the screwdriver. Remove the top cover of the battery pack.
How to restore a screwdriver battery

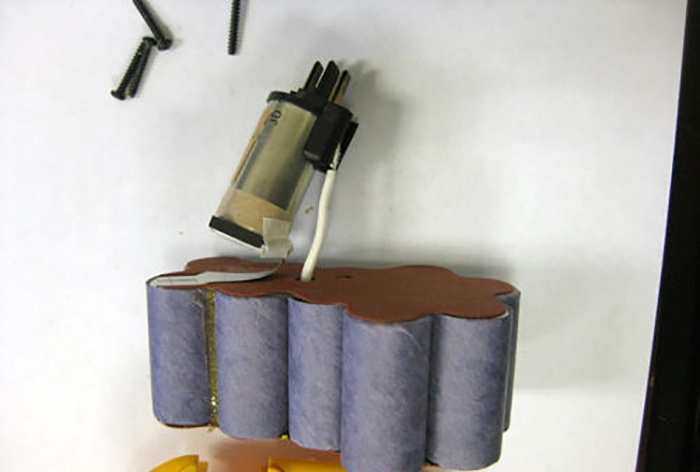
Count your number of elements. It would also be a good idea to write off the brand of batteries used.
How to restore a screwdriver battery

How to restore a screwdriver battery

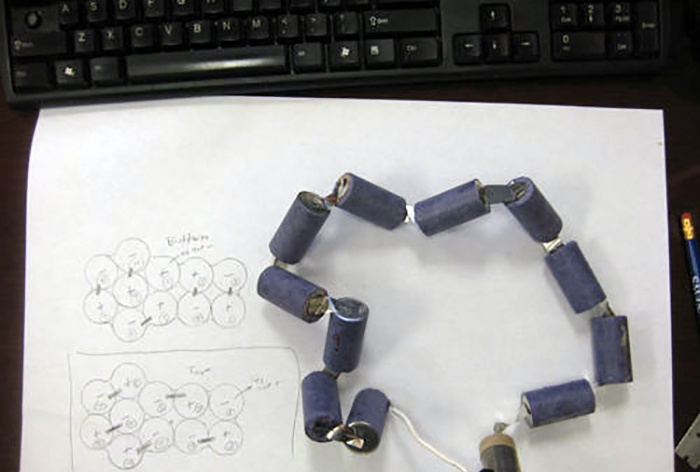
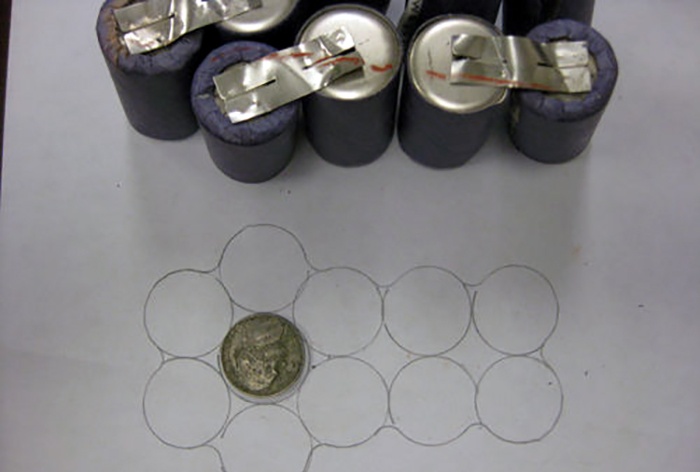
In order not to forget how the batteries are placed inside, I made a kind of map on paper with their location and poles. Do the same thing so you don’t have to rack your brains about what goes where.
How to restore a screwdriver battery

Now you can disassemble this bundle to free the power terminals, which will be needed later.
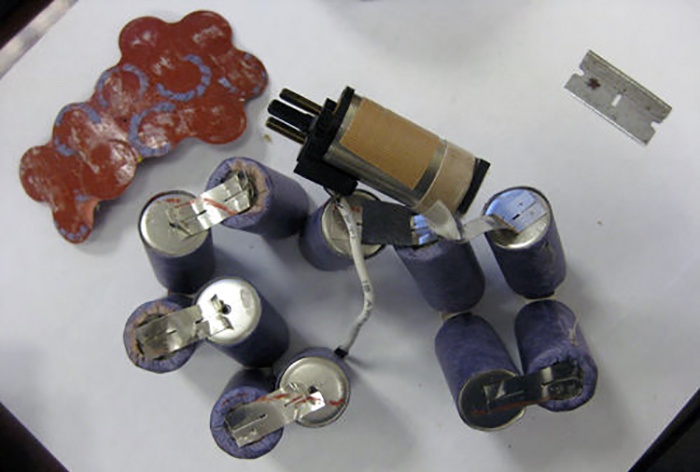
How to restore a screwdriver battery

Here is the complete circuit.
How to restore a screwdriver battery

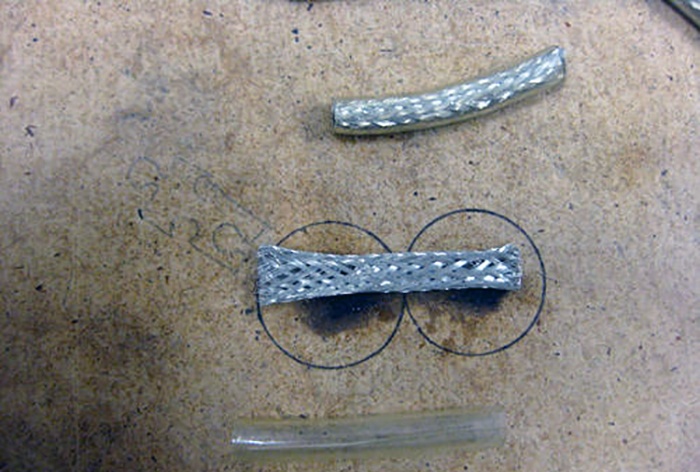
To connect the elements, I took a shielding wire from an old USB cable.
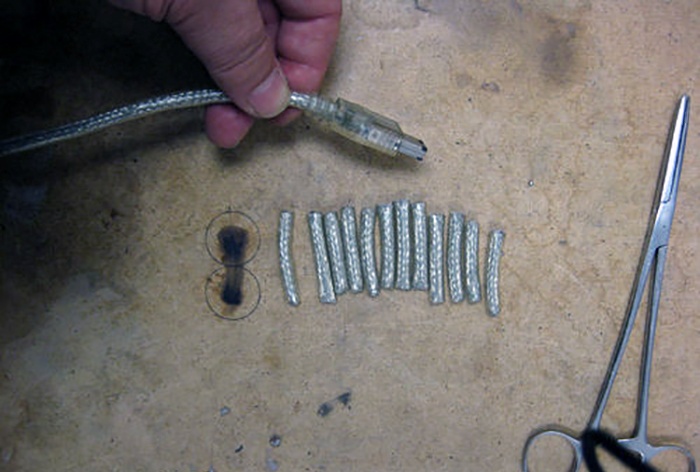
How to restore a screwdriver battery

I cut it into even pieces.
How to restore a screwdriver battery

Everyone tinned well.
How to restore a screwdriver battery

Everything is ready to replace one with another.
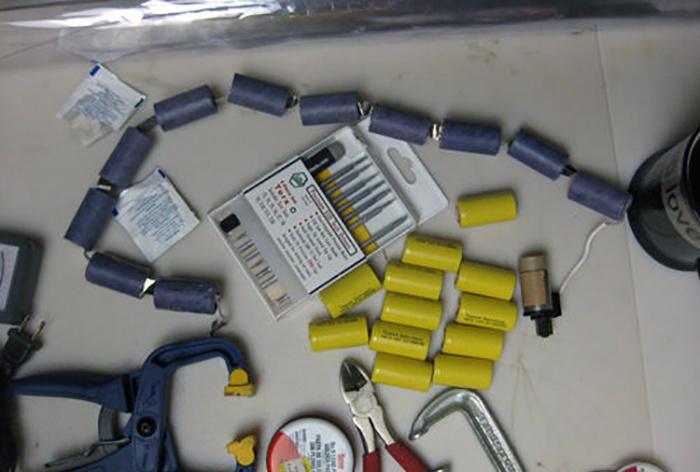
How to restore a screwdriver battery

We assemble the chain. We solder these battery segments together according to the previously drawn diagram.
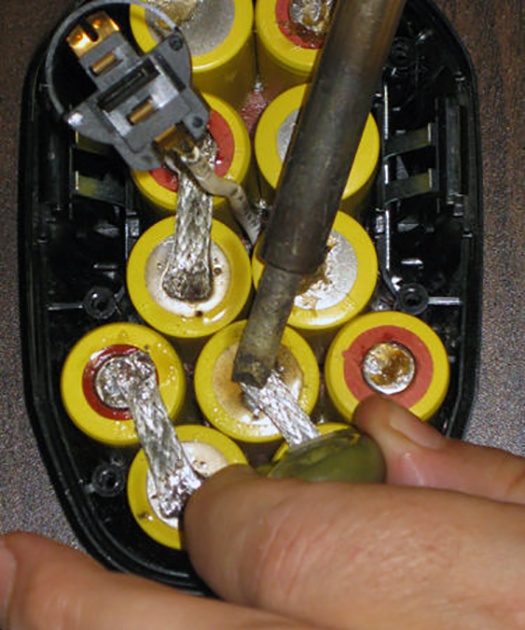
How to restore a screwdriver battery

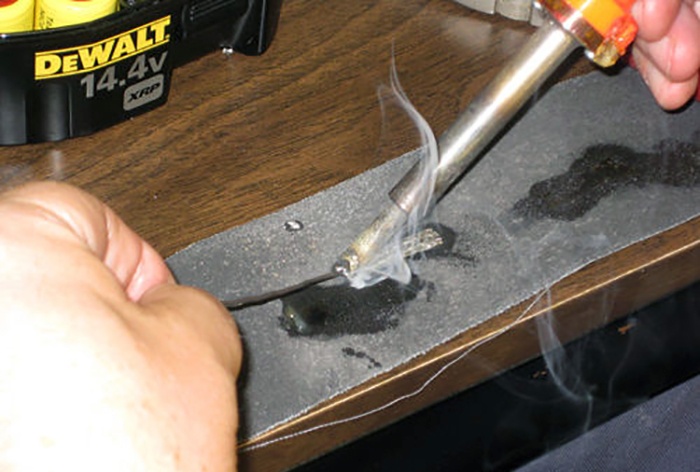
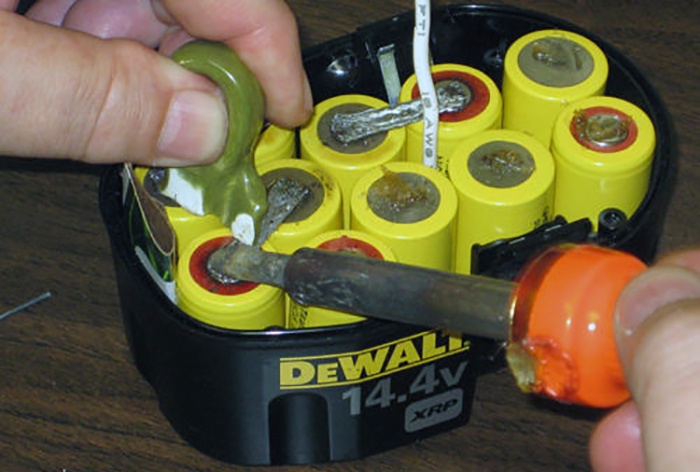
In general, closed-type batteries are not soldered. The jumpers must be welded using resistance welding. But since it is not available, let’s take a powerful soldering iron and quickly solder it.
How to restore a screwdriver battery

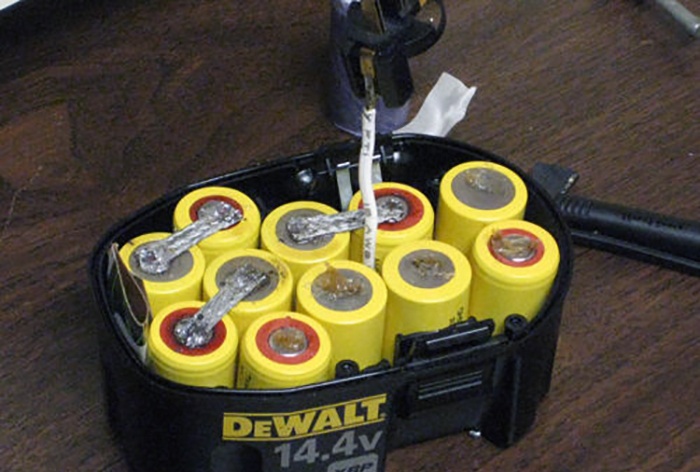
We coat the pole with flux, place a jumper and quickly solder it with a hot soldering iron, holding the tip for no more than 1-2 seconds.
How to restore a screwdriver battery

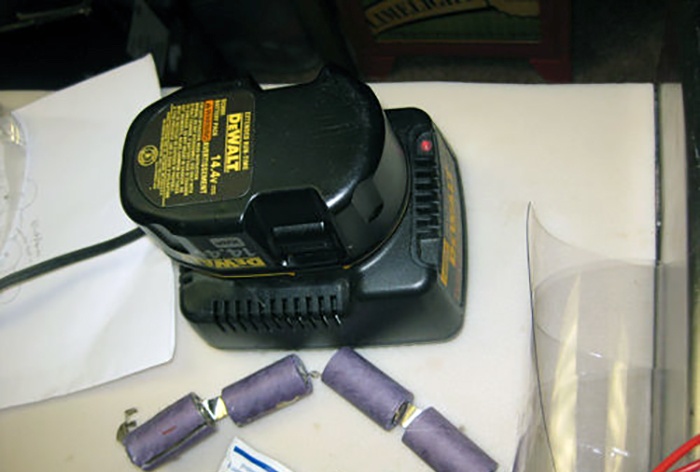
At the end, we glue back the general insulating spacers on both sides and assemble the block in the reverse order. We measure the voltage at the output terminals.It should be around 14.4 V. If so, then the battery switching sequence is correct. Let's put it on charge.
How to restore a screwdriver battery

So, simply, without unnecessary manipulations, you can return the screwdriver to work, which will last for a very long time if you look after it properly.
come back
Comment
  • bowtiesmilelaughingblushsmileyrelaxed relaxedsmirk
    heart_eyeskissing_heartkissing_closed_eyesflushedrelievedsatisfiedgrin
    winkstuck_out_tongue_winking_eyestuck_out_tongue_closed_eyesgrinningkissingstuck_out_tonguesleeping
    worriedfrowninganguishedopen_mouthgrimacingconfusedhushed
    expressionlessunamusedsweat_smilesweatdisappointed_relievedwearypassive
    disappointedconfoundedfearfulcold_sweatperseverecrysob
    joyastonishedscreamtired_faceangryragetriumph
    sleepyyummasksunglassesdizzy_faceimpsmiling_imp
    neutral_faceno_mouthinnocent
5+two=
Comments (24)
  1. Victor
    #1 Victor Guests 14 July 2018 23:00
    3
    Isn’t it easier to buy a ready-made battery for a screwdriver?
    1. Guest Igor
      #2 Guest Igor Guests 16 August 2018 13:31
      3
      Of course it’s easier, but it will cost twice as much. Here, whatever suits whom. And there is not always exactly the block you need. Now there are a lot of different screwdrivers.
      1. Guest Vladimir
        #3 Guest Vladimir Guests 18 February 2019 18:09
        0
        Much more than twice as expensive. Two batteries cost almost as much as a new screwdriver. And you usually need to buy two batteries. The described method has been tested for a long time.
    2. Ivan
      #4 Ivan Guests 22 September 2018 18:46
      1
      If these g.. manufacturers would continue to produce them, otherwise everyone will come up with their own figshade, then you poke it, it won’t fit, but if only to order, then it’s generally a lottery, the charger is already bought like this, the socket turned out to be 4 mm and the battery is hanging there
    3. fantom
      #5 fantom Guests September 27, 2018 07:35
      7
      Everything is simpler, gentlemen. From transparent plastic, in the shape of the protective film, you cut out a plate. Mark the connection points. Glue plates of thin, tinned tin and that’s it. And change it at least every day
  2. Guest Sergey
    #6 Guest Sergey Guests 15 July 2018 21:56
    3
    Sometimes it is enough to disassemble the battery, find a jar that does not gain a charge and charge it separately, after which the battery starts working normally
    1. Guest Vladimir
      #7 Guest Vladimir Guests 18 February 2019 18:13
      0
      I wonder how you will charge one battery separately if the entire battery is 12V or 14.4V, and the battery is 1.5V
    2. Vlad
      #8 Vlad Guests 13 April 2020 01:06
      1
      Usually it’s the ones in the middle that fail. Or, having such a weak assembly, restore old cans by adding electrolyte. And it is advisable to convert it not to general charging, but as now with lithium, to a balancer that can charge everything at the same time, but each individually. then you will be happy.
  3. Vasya
    #9 Vasya Guests 25 August 2018 18:38
    2
    And nothing is said about the load current. The voltage has been adjusted, but in how many minutes will such a battery give up all its charge?
  4. Guest Mikhail
    #10 Guest Mikhail Guests September 6, 2018 01:26
    12
    I think that this is a useless and stupid idea, because I tried to do the same thing myself. It’s stupid because the cost of new batteries is almost equal to the cost of a new battery plus the time for re-soldering where you, believe me, will get nervous, And it’s useless because it won’t work for a long time because The batteries are of poor quality and the sticker was not glued. Only those installed by the factory, family and really working ones work for a long time!
    1. Guest Alexander
      #11 Guest Alexander Guests 17 December 2018 14:48
      6
      Here you are wrong. I have already soldered several hundred batteries. The time is 40-50 minutes, and there are no nerves. Manufacturers often install bad banks for a year or two. They overestimate the power. For example, often by 1800 mAh, but the original 1700 mAh is installed, a trifle, 10 rubles. there is a difference, but with large volumes there is a good margin :). Ali also sells cats in bags. You need to know who to buy from.
    2. Vlad
      #12 Vlad Guests 13 April 2020 01:12
      1
      That’s why it makes sense to buy from the sheep their unusable factory cans, which are much better than new ones. And x there are only those that are the cheapest, which everyone basically chases after, buying on Ali from resellers, and not directly from the manufacturer. Well, run the old banks, remove the memory effect, and put them back into service, or prepare them for replacement. Although it will take time, you will get the quality at a cheap price that everyone dreams of.
  5. Guest Samodelkin
    #13 Guest Samodelkin Guests 21 October 2018 07:06
    2
    You buy any suitable cheap block on Aliexpress and rearrange the insides into yours and don’t have to invent anything
  6. Sergey
    #14 Sergey Guests 29 November 2018 16:44
    4
    Any Li-ion battery for a screwdriver contains a control device. I bought a battery of the appropriate size from Leroy and inserted it into the Bort instead of the original one, it fit almost like the original one, only in some places I had to cut and file it.Business for an hour with smoke breaks. And it was successful, the price tag was around 400 rubles. And the difference between 12 and 14.4 volts is practically, feel free to take any, it will do.
  7. Guest Vladimir
    #15 Guest Vladimir Guests 3 February 2019 18:38
    1
    These batteries cannot be soldered with a soldering iron! Moreover, with such power, a smaller soldering iron will not produce a high-quality soldering joint. It is necessary to take batteries with ready-made, spot-welded petals. And solder them together, while holding the pairs of petals with tweezers so as not to overheat the battery. All batteries soldered using the method you suggested last no more than 3 months, or even less.
    1. Guest Alexander
      #16 Guest Alexander Guests 4 February 2019 15:51
      1
      For my screwdriver, finding a new battery is quite a problem and it costs 2500, I buy a domestic one of similar voltage and capacity within 1000, the elements in which are the same Chinese as in the branded one. The work takes about one hour. As for the ban on soldering, the converted 6 pieces were no different from the new ones. Rhetorical question: is welding cold? When welding an iron bridge that must partially melt, the temperature is much higher than when soldering with low-temperature solder.
      1. Guest Alexey
        #17 Guest Alexey Guests February 11, 2019 08:13
        1
        When spot welding, the heating is very local; the body does not have time to warm up in a split second.
    2. Vlad
      #18 Vlad Guests 13 April 2020 01:18
      1
      To do this, when replacing the old ones (since we’ve decided to throw them out for sure), we tear out this strip under the most reluctant ones, and on the other side, then solder it with tin or use a short circuit to weld it to the new cans. That's all.
  8. Register
    #19 Register Guests 10 February 2019 10:30
    1
    Well, yes, the voltage is adjusted by the number of batteries.What about the current? In a series connection of batteries, the voltage is summed, but the current is not. And the possibility cannot be ruled out that in a pack of batteries they will power each other up... So there are a lot of questions.
  9. Guest Vitaly
    #20 Guest Vitaly Guests 12 February 2019 12:23
    2
    Prohibited goods for shipment from China to Russia."All types of batteries and batteries - for devices, cars and other equipment. Customs often turns a blind eye to the transport of batteries for personal purposes, but there is an official ban on this."
    1. Guest Yuri
      #21 Guest Yuri Guests 10 June 2019 09:16
      0
      Lithium is prohibited for transportation by air.
  10. Miron
    #22 Miron Guests 12 April 2019 09:22
    1
    cool method, I restored it a couple of times using the quick method. I supplied 24 volts to the 14.4 volt battery. Several charge-discharge cycles, and it was enough for the season.
    1. Vlad
      #23 Vlad Guests 13 April 2020 01:25
      1
      In experiments, both metal hydride and cadmium can be accelerated to 3 volts, while maintaining the current, and after throwing out one can, we install a voltage stabilizer, and continue to work even longer than with the old one. If anyone is interested, drive any of the 1.2 batteries separately, and at the same time the memory effect will change. And if you add electrolyte, it will be even better than the factory one, almost an order of magnitude,

Painting plates with glitter | Do it yourself

New time for old clocks | Do it yourself

Headband in lilac tones | Do it yourself

Candle "Angels" | Do it yourself

«Do it yourself - with your own hands» - a site of interesting homemade products made from scrap materials and items at home. Step-by-step master classes with photos and descriptions, technologies, life hacks - everything a real master or just a craftsman needs for needlework. Crafts of any complexity, a large selection of directions and ideas for creativity.

We recommend reading

Washing machine error codes