Wobblers are one of the most popular lures among spinners, but the price of branded lures with good action that attracts fish is often steep. It’s especially disappointing when an expensive, catchy bait remains in snags, which abound in almost all reservoirs of our vast country. Therefore, the topic of wobbler construction is now very relevant, because in addition to the obvious financial benefits, assembling wobblers with your own hands provides the opportunity to make exactly the bait that you need.
Will need
Materials and tools for manufacturing:- wooden beams (alder, birch, linden and others);
- sharp knife;
- pencil;
- coarse and fine sandpaper;
- wire for creating loops (stainless);
- metal hacksaw or jigsaw;
- a piece of plexiglass or suitable plastic (for making a blade);
- flat file;
- aluminum tape;
- sequins (for making eyes) (these are those round shiny things with a hole in the center; you can find them on old dresses or at a fabric store);
- lead or tin;
- epoxy resin;
- paint, varnish.
Making a wobbler with your own hands
First you need to find a suitable block or plan a dry branch of the tree that you have chosen as a material into a block. Alder, linden and balsa are best suited for making wobblers, as they are light and easy to process. You can use birch or oak, but oak is quite heavy, and it will be difficult for you to load the wobbler so that it plays more or less lively. It is better not to take coniferous species because of their resin content.
Next, you need to draw or print the shape of the wobbler you need and transfer it to the tree.
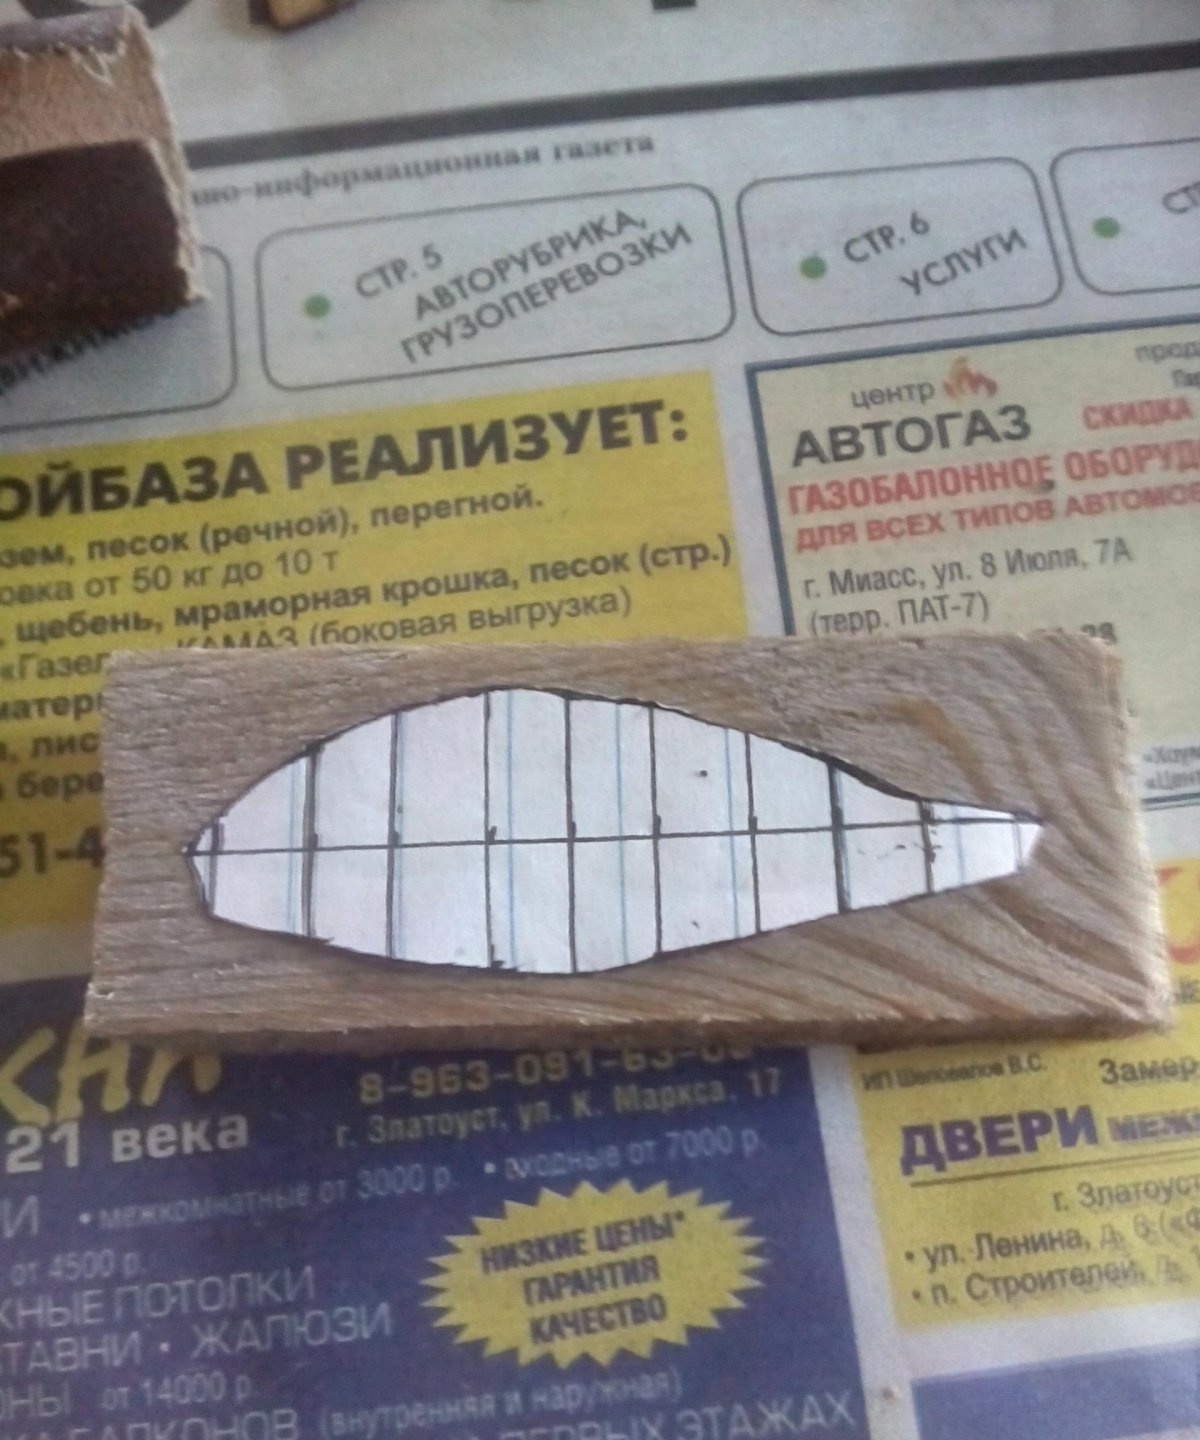
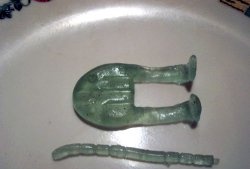
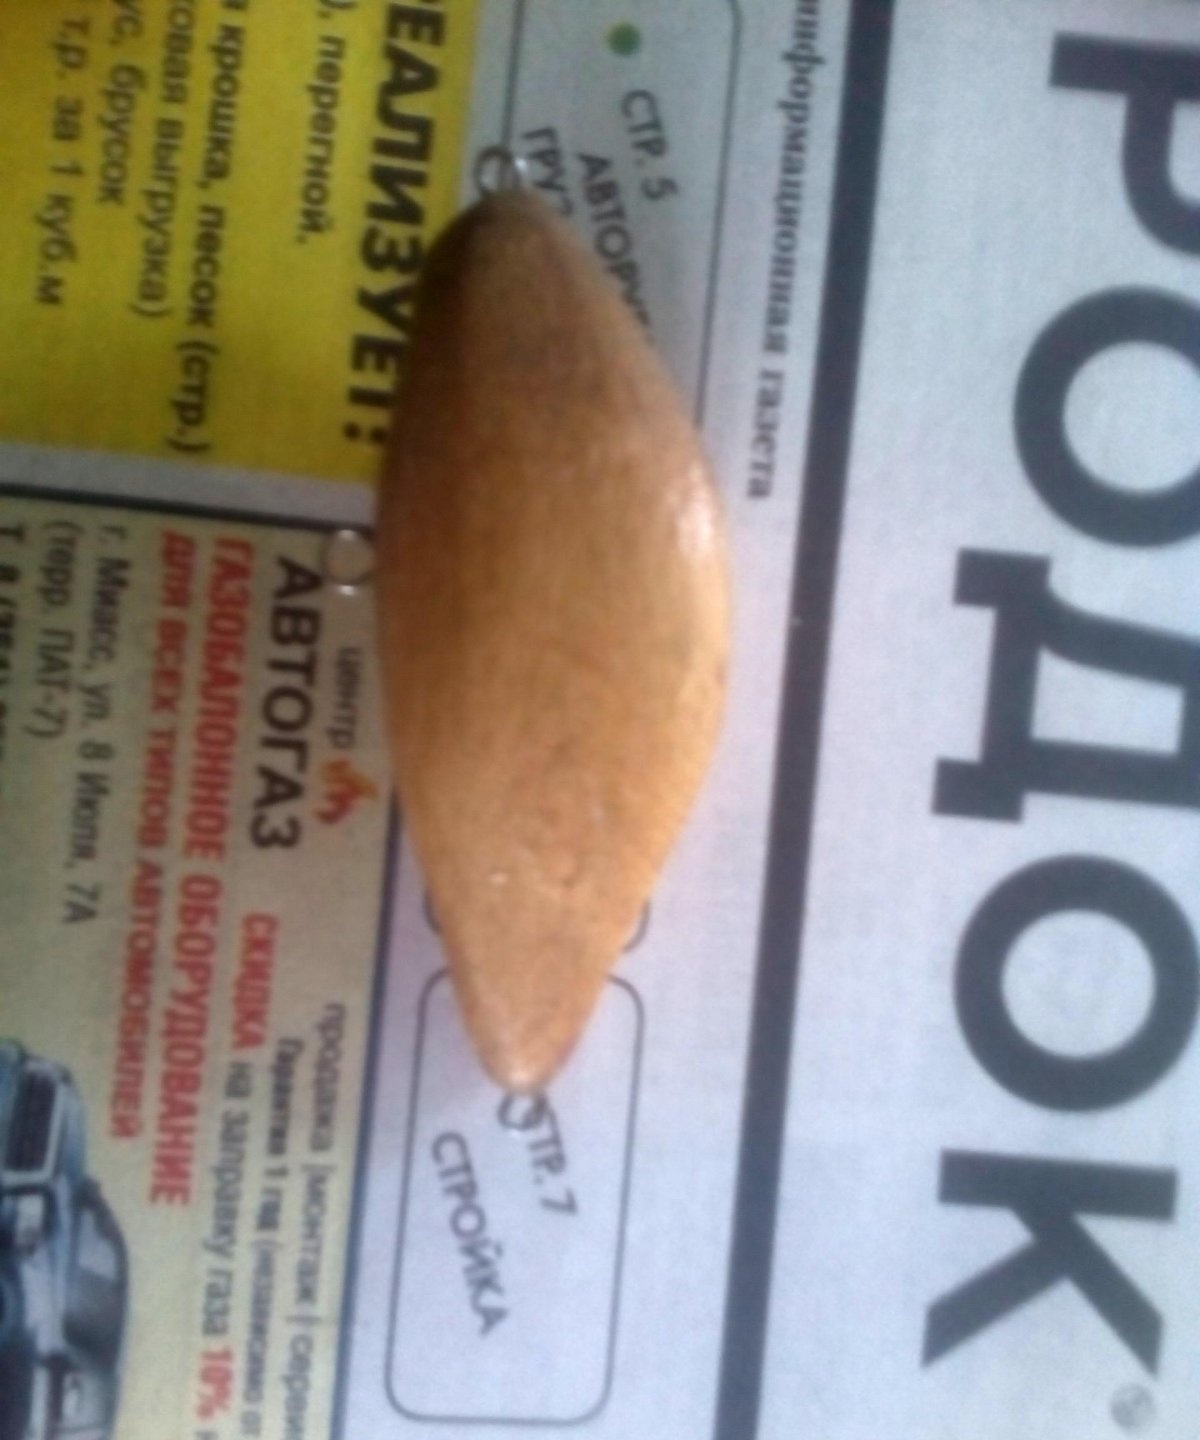
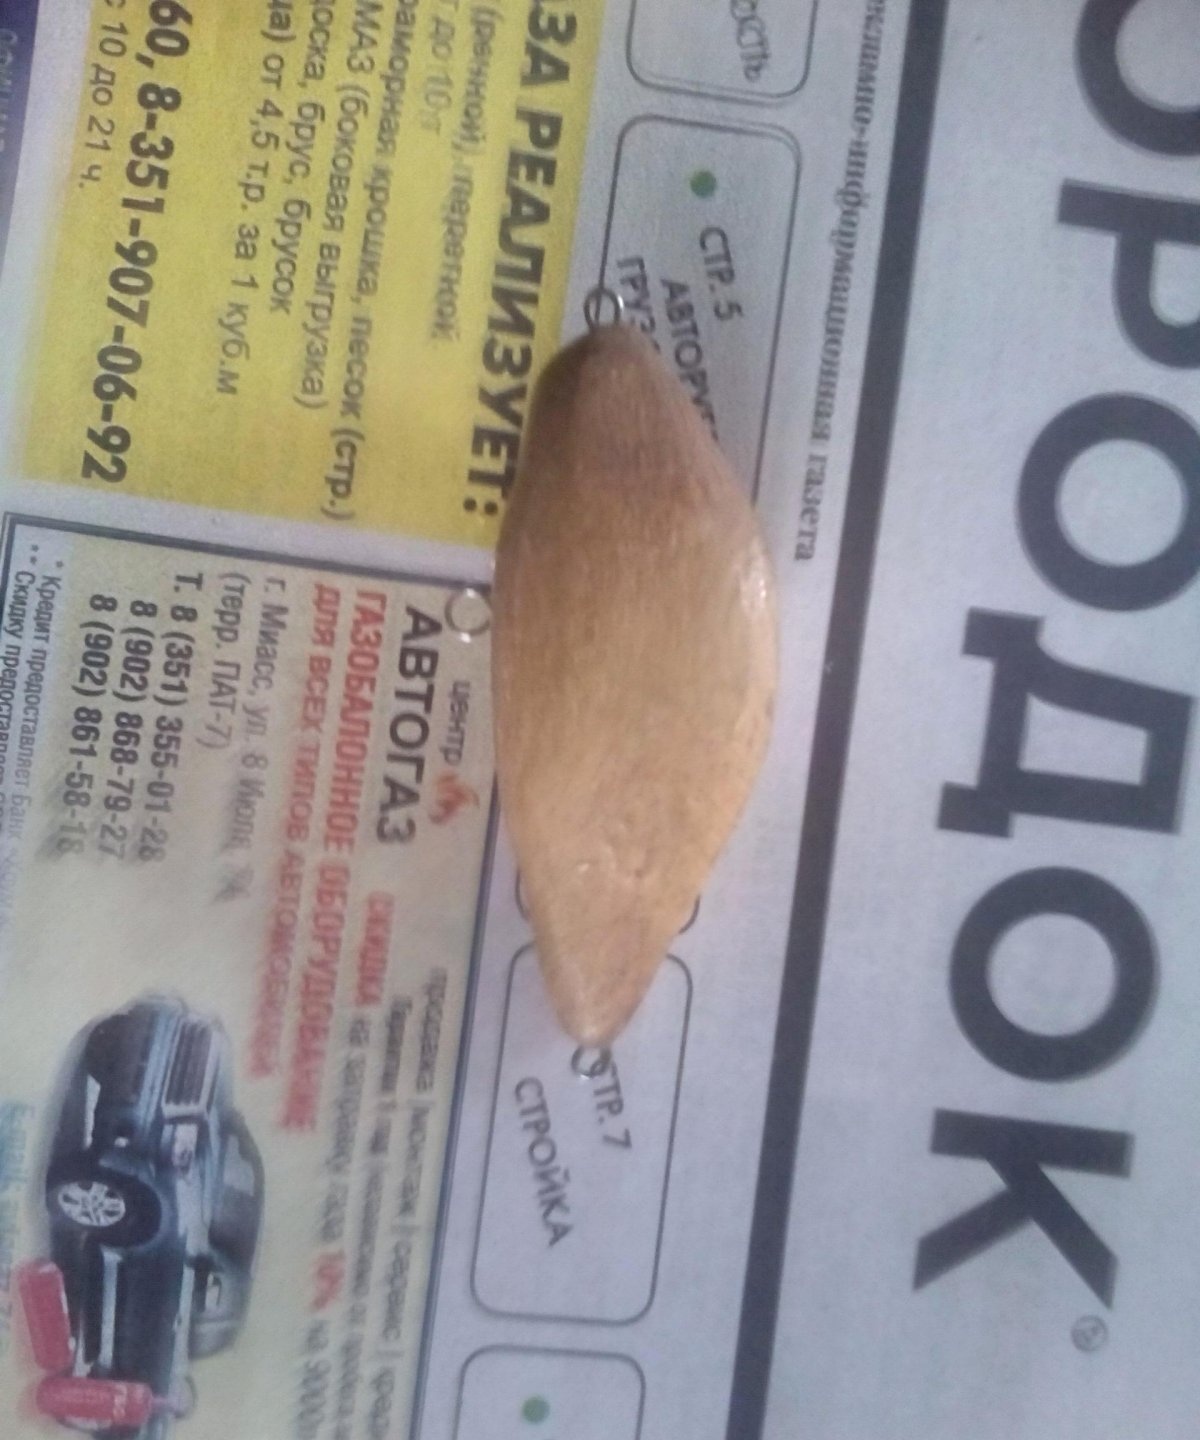
After this, you need to cut the workpiece along the contour with a jigsaw, leaving a few millimeters of allowance, bring it to the desired size with coarse sandpaper and draw on the end of the wobbler what it looks like from above. Try to do it symmetrically. Then you need to use a knife to shape the sides of the future wobbler, clean everything again with sandpaper and round the edges. Use fine sandpaper to apply the final polish. As a result, you should end up with something that looks a lot like a fish.
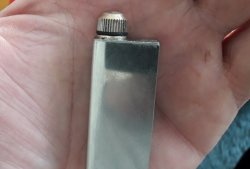
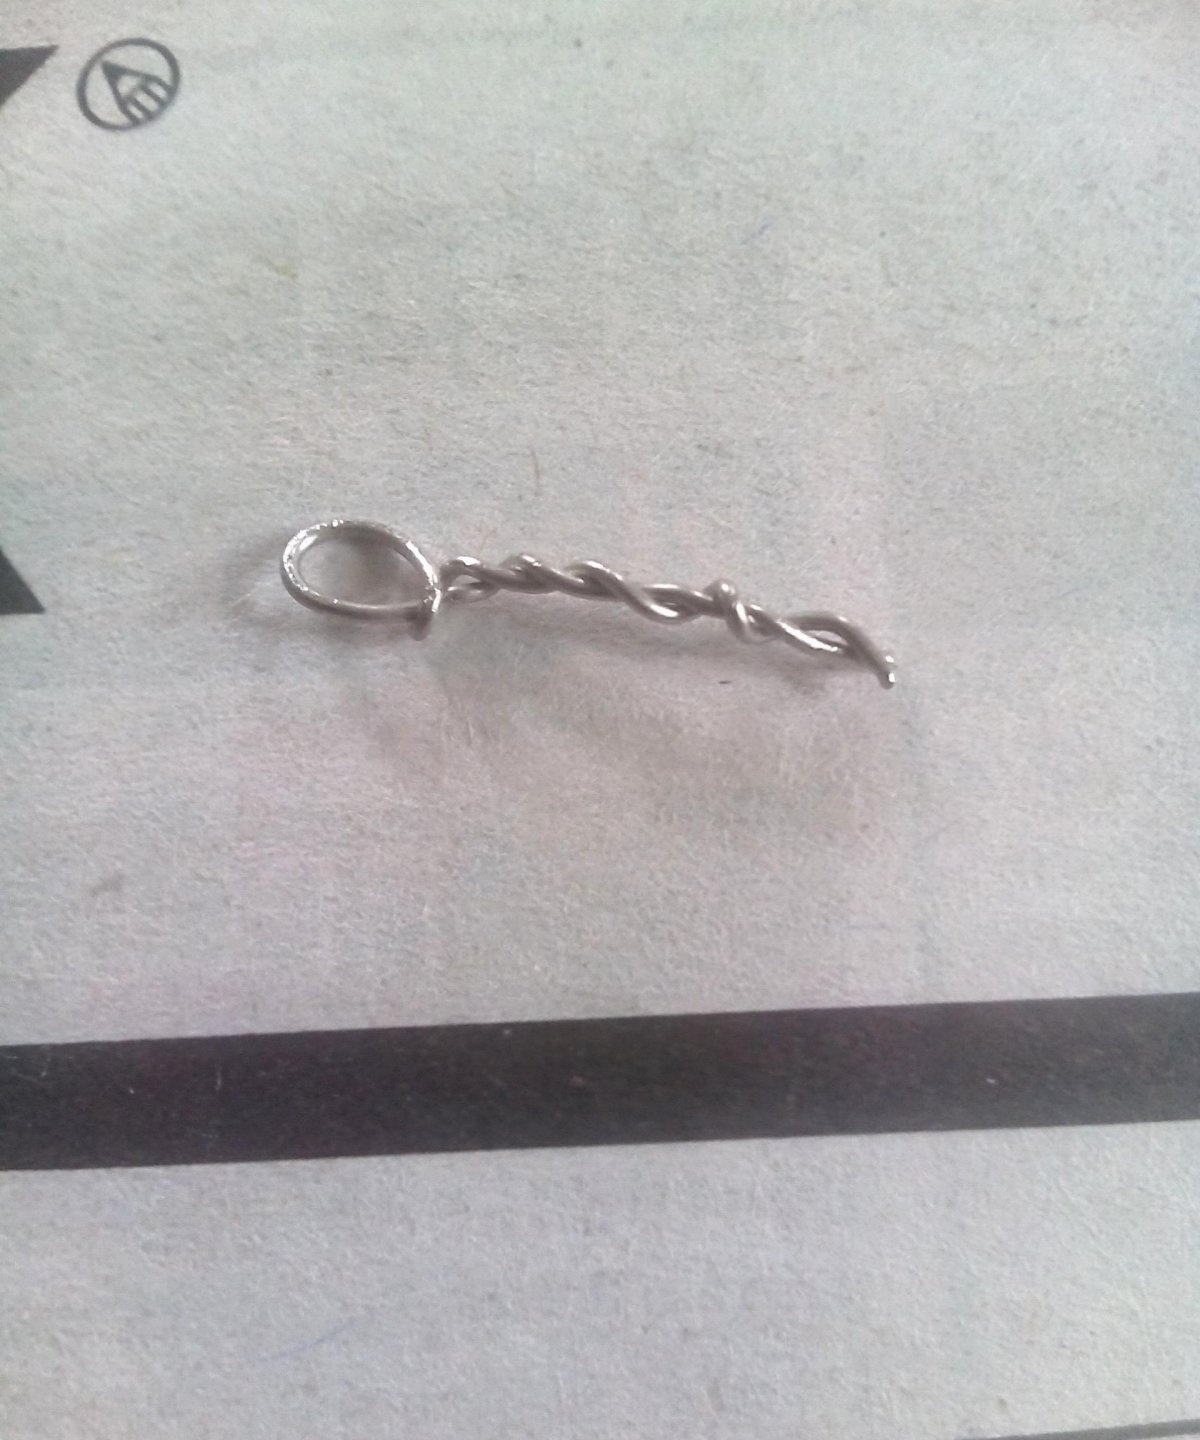
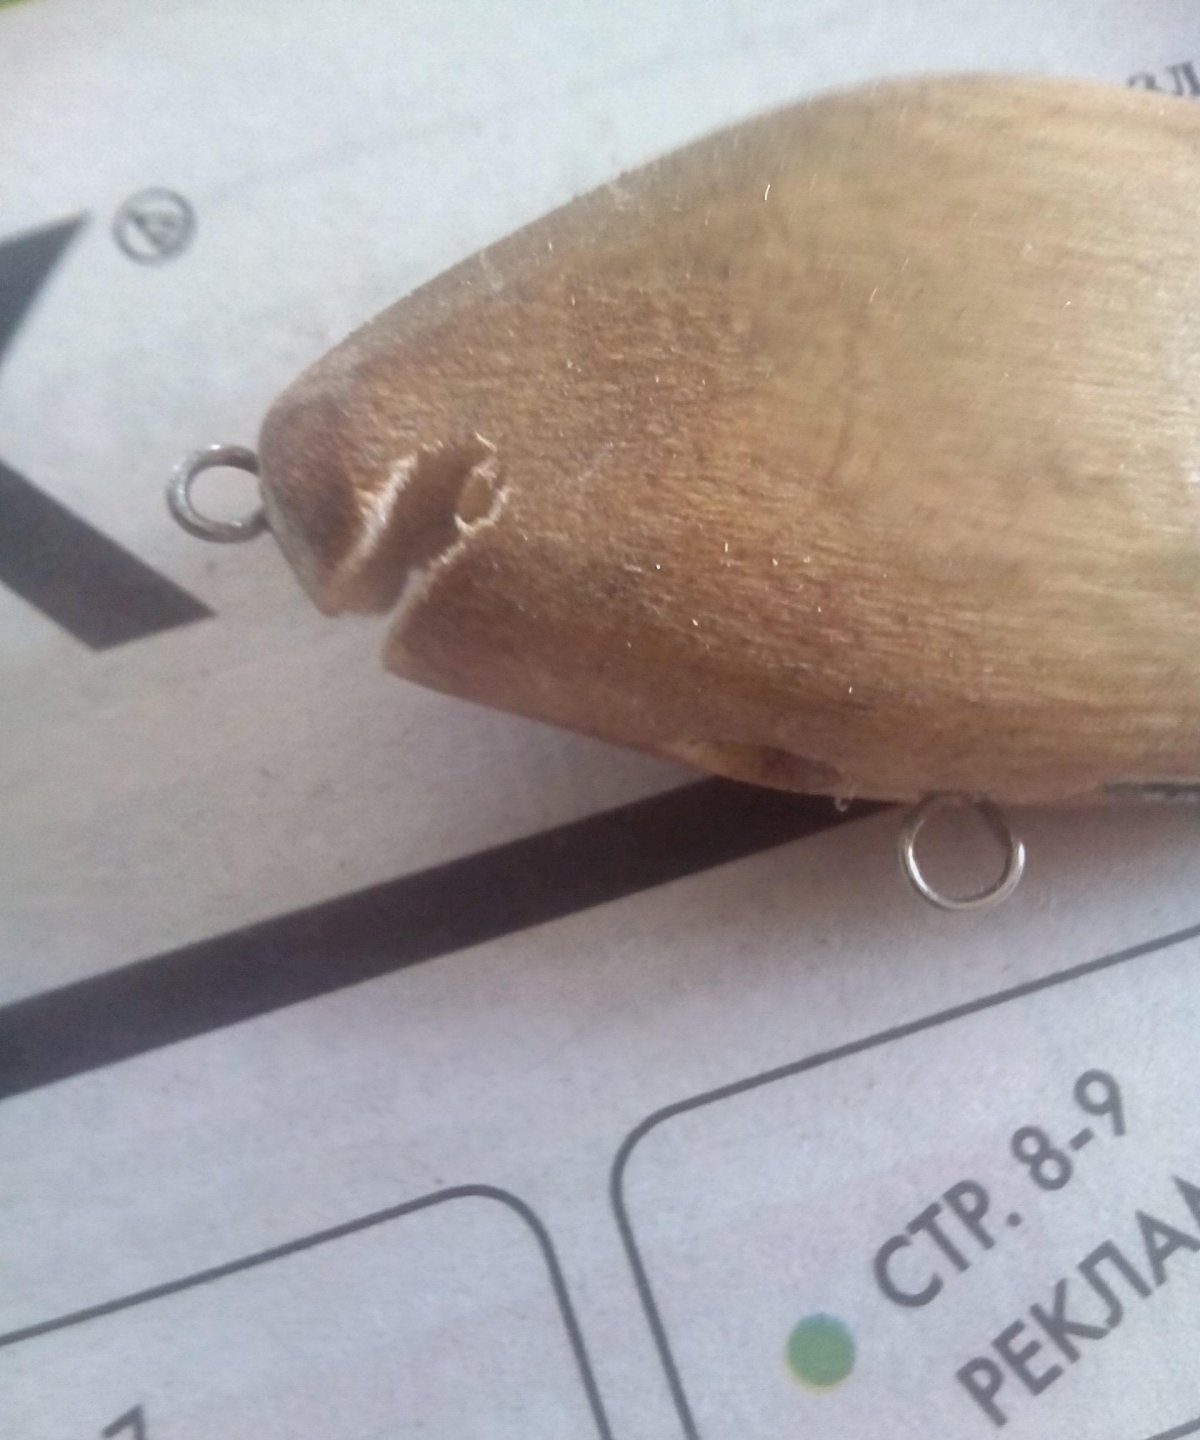
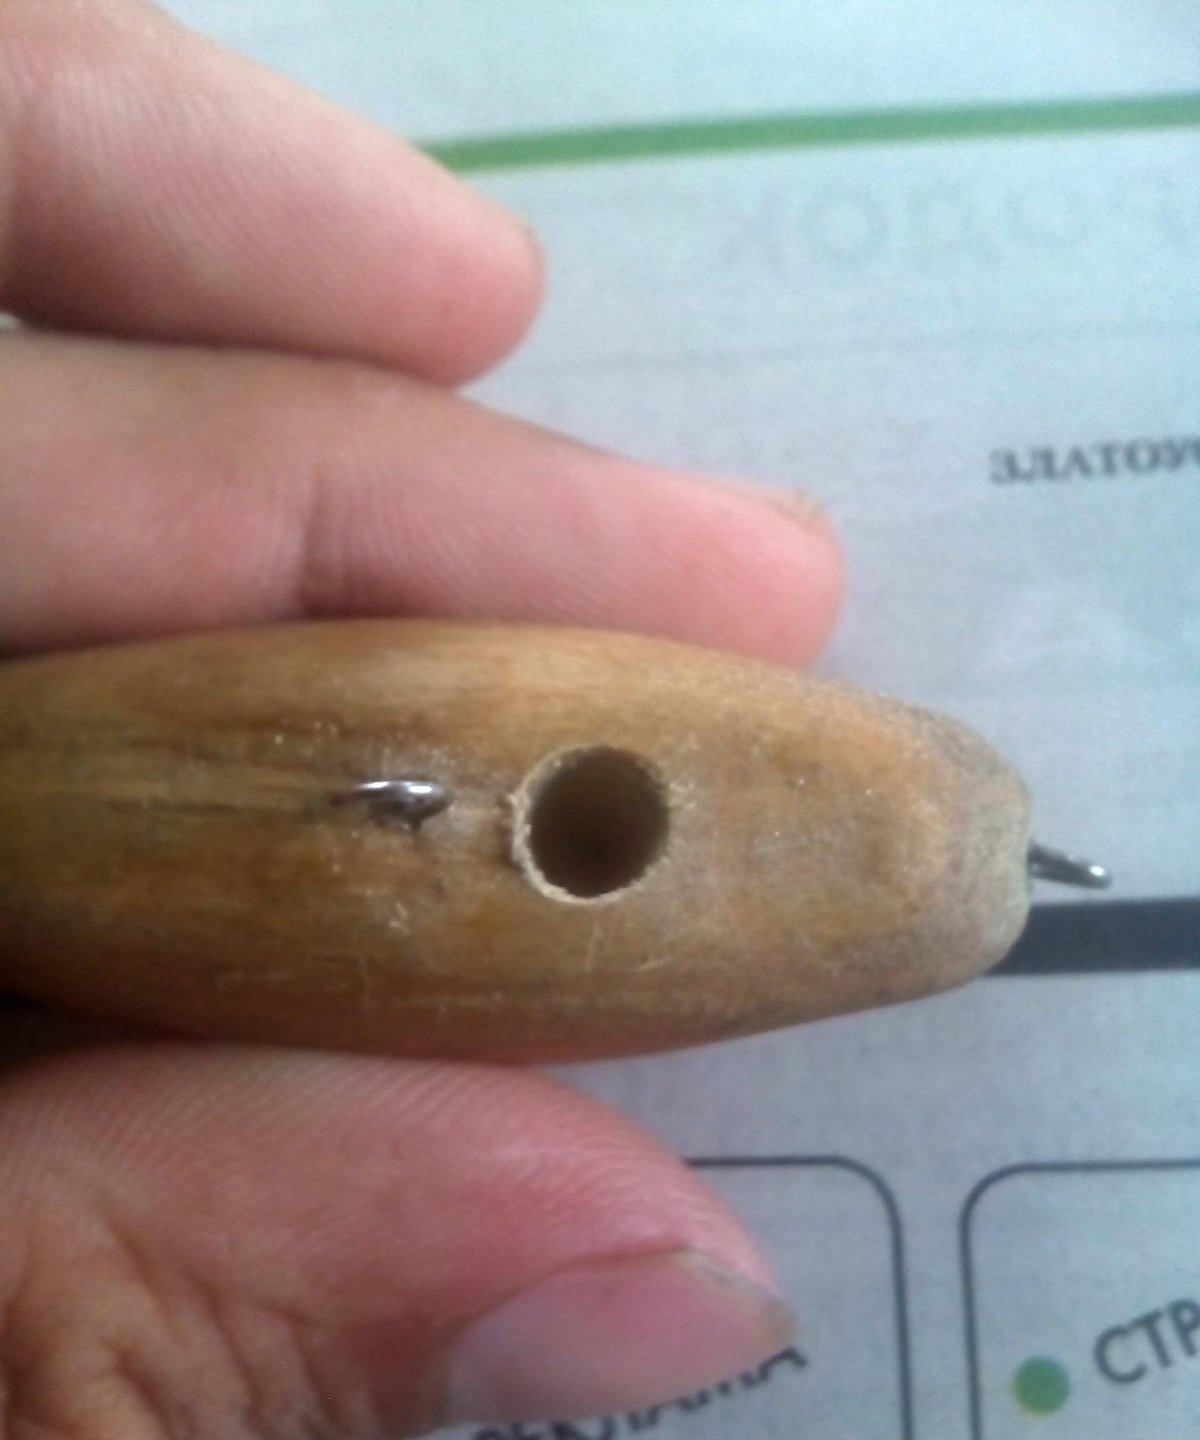
Next, you must either make holes for the hinges for the tees, or a longitudinal cut for the frame. In my purely personal opinion, the frame makes sense only when you decide to make a small-sized wobbler, or a wobbler for catching trophy fish, because a loop made of wire and mounted on epoxy can only be torn out together with a piece of wood, and this will require well, a lot of effort. Therefore, I prefer not to bother with the cut, which should be clearly along the longitudinal axis of the bait, which is difficult, or with the subsequent sealing of this same cut. Instead, I drill holes about one millimeter in diameter in the nose, tail and belly of the bait.I screw these wire loops into these holes:
The cut under the blade must be made with a hacksaw and expanded to the required size using a needle file.
The spatula itself can be made from any plastic, but it should not be too brittle or too soft. Plexiglas would be the best option, but not everyone has it on hand.
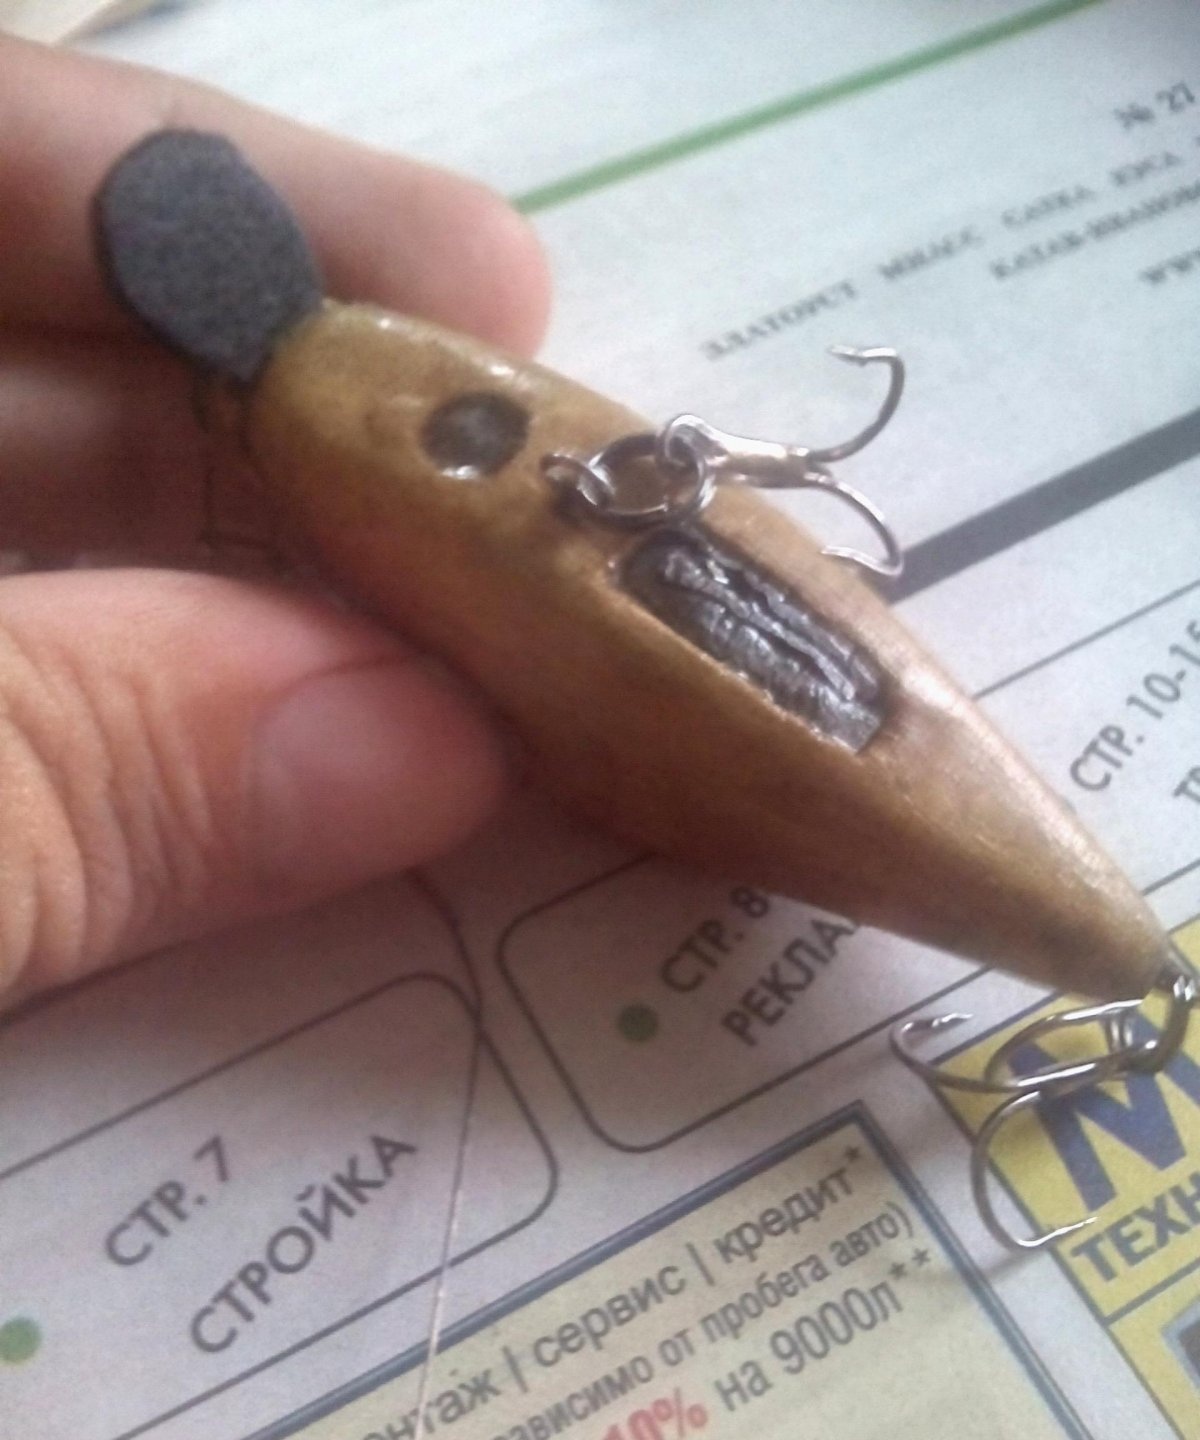
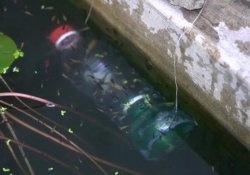
In the process of making a blade, the main thing is not to rush and do everything carefully, since the performance of the wobbler largely depends on it. Symmetry comes first here. You need to carefully cut out a blade from plastic and carefully sand the edges first with a file and then with sandpaper. We seal the loops and cover the wobbler with a layer of epoxy so that it does not get wet during the testing process. We insert the blade into the cut and secure it with small wedges made of wood. Next, using tape, we attach the weight to the belly of the bait and, by adjusting the position of the loaders and the blade, we achieve optimal play. After this, you need to glue the blade without removing the wedges. Then we drill holes for loading:
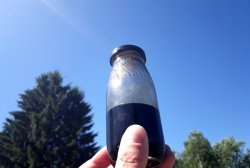
And seal these weights with epoxy resin:
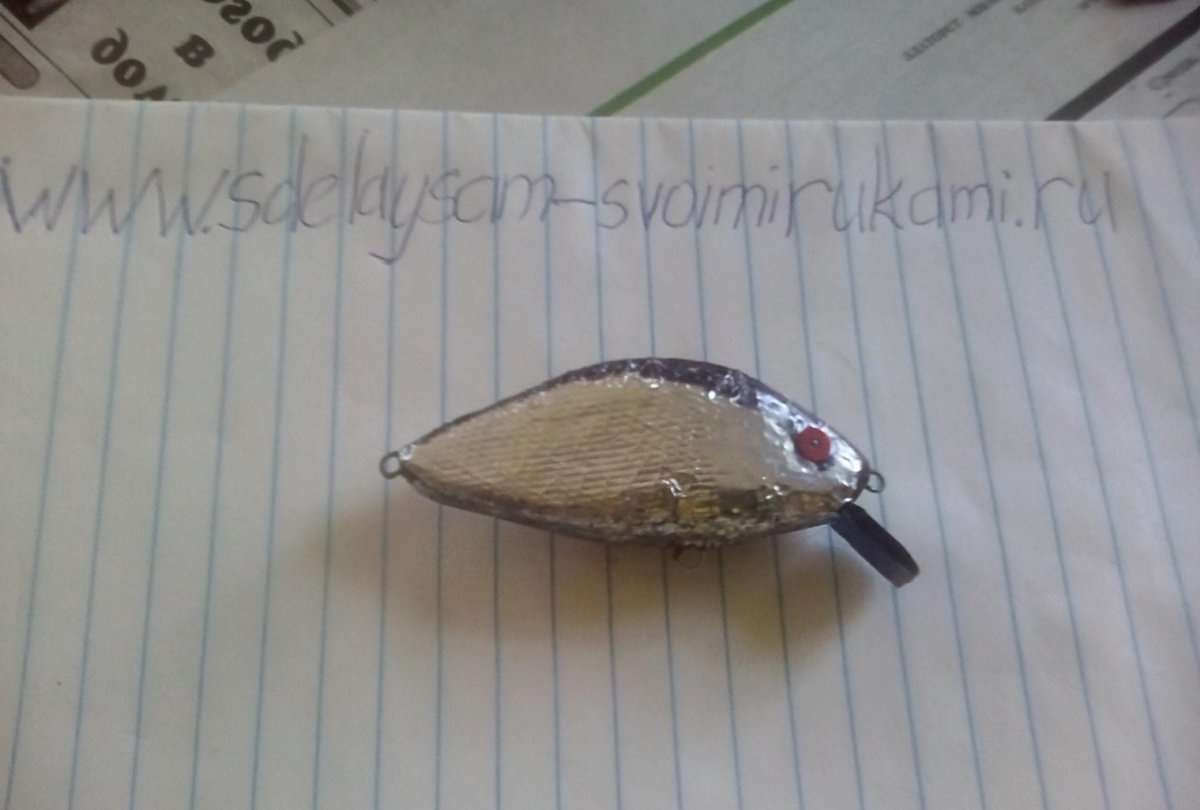
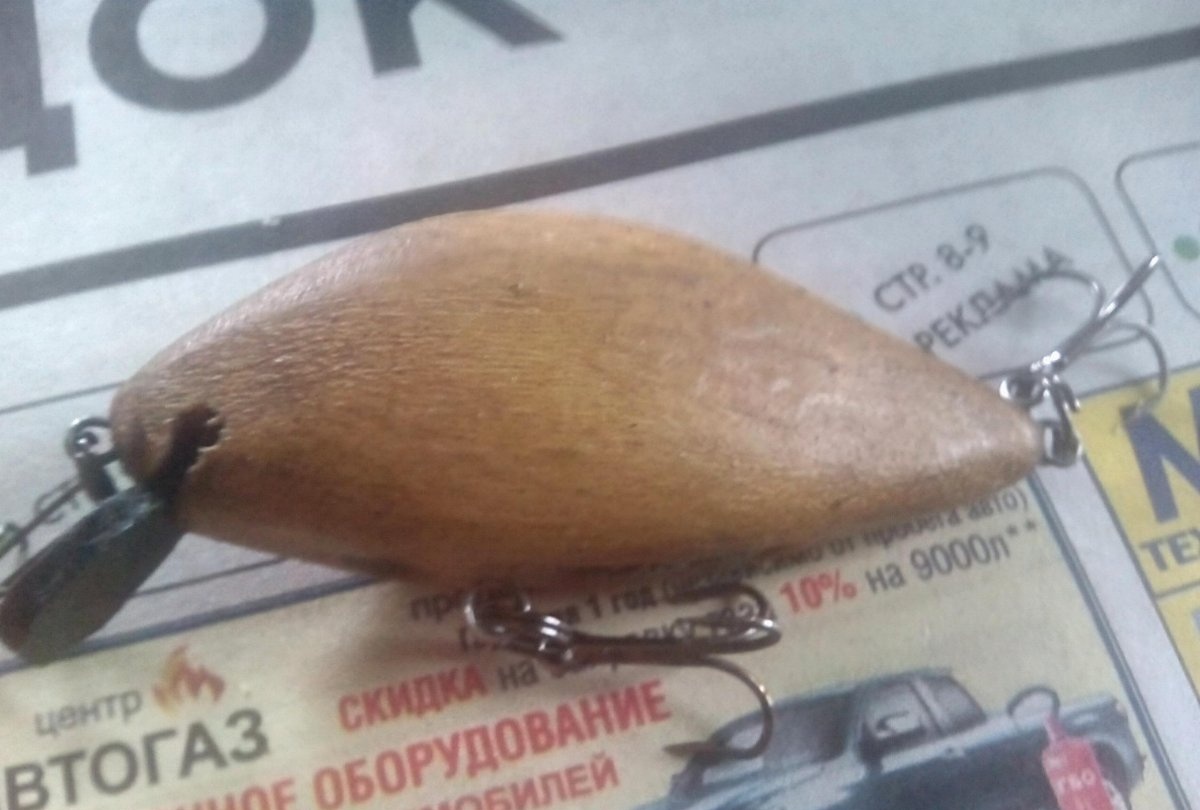
Technically, our wobbler is already ready, all that remains is to cover it with foil and paint it.
It is better to foil using aluminum tape, which is sold in hardware stores for gluing drywall, if my memory serves me correctly. Scotch tape is a very convenient thing, but I didn’t have it on hand. So I had to use regular foil. We outline the wobbler.
Cut out two pieces of foil.
Next you need to apply the texture of the scales to the foil. There are a lot of ways to achieve this: from a file to tulle. Everything is limited only by your imagination.
I decided to use a 7mm diameter pin.It needs to be rolled crosswise across the foil with force. If you did everything correctly, there should be clear marks on the foil, similar to scales.
Next, we glue the foil onto the wobbler, trying to make as few folds as possible (it won’t work without them at all). You can use a knife to draw the gills and lateral line.
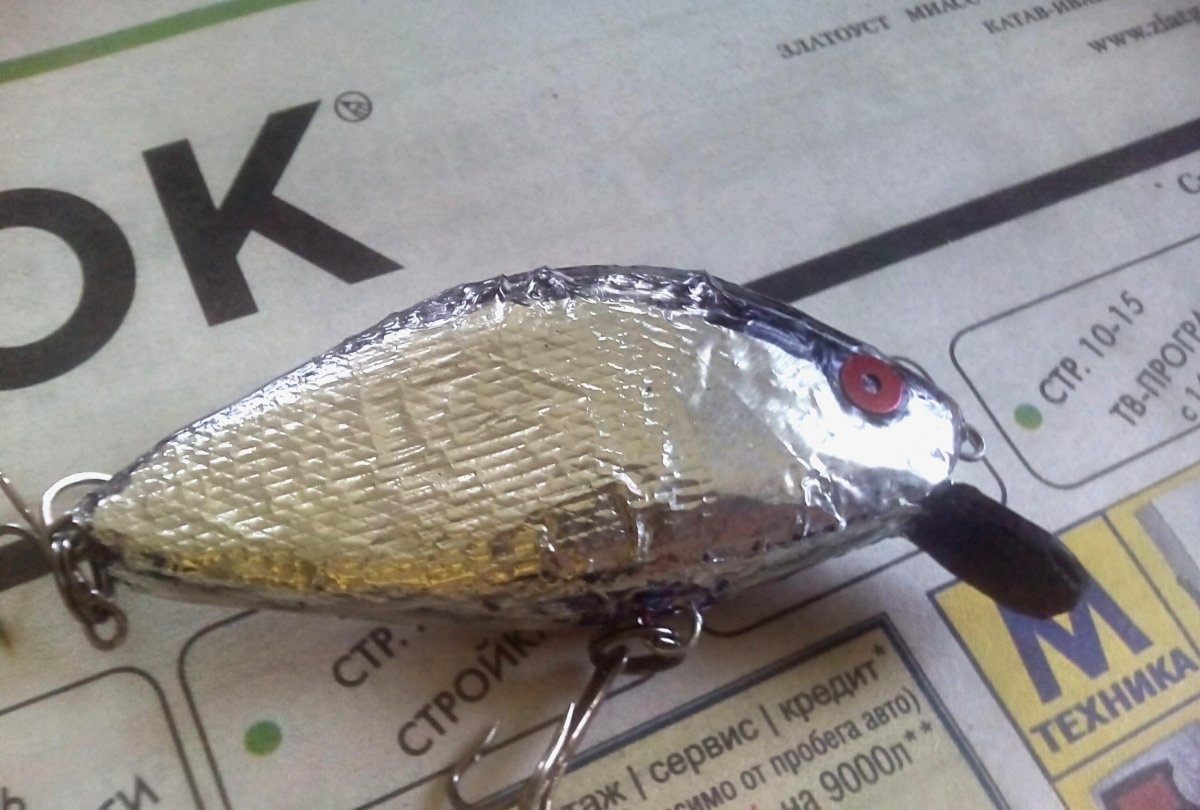
Then there is room for creativity. Anything can be suitable for painting a wobbler: from acrylic paints to car enamels and felt-tip pens. You can repeat the corporate color, or you can come up with something of your own. I painted the back black and glued foil on the belly. The result was a bleak-like coloring.
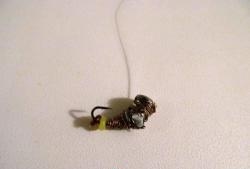
All that remains is to glue the eyes and place a drop of epoxy resin on them to create a 3D effect. OK it's all over Now. We coat the wobbler with several layers of varnish or epoxy, attach the hooks and go fishing!