Probably, many have encountered the problem of going out into nature for the night and it’s dark around, because the light from a fire is not enough for a modern person to feel comfortable. For these purposes, you can make an LED lamp that will run on a 12 volt battery.
Necessary materials and tools for work
Materials you will need:
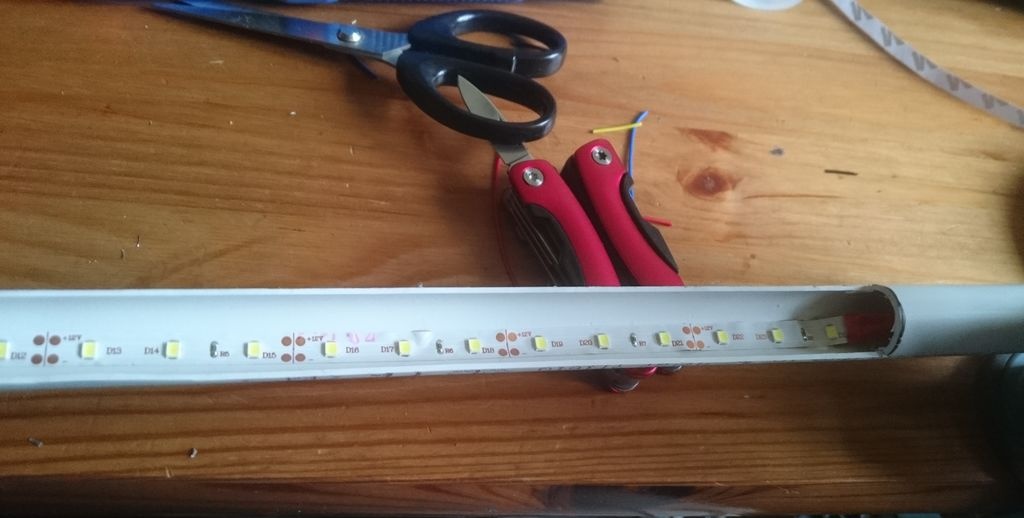
- To make the case, a piece of ordinary plastic pipe with a diameter of 20 mm is perfect.
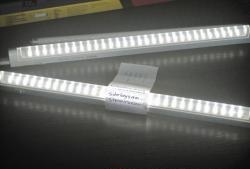
- LED strip on a self-adhesive base. Even small sections can be used if they are left over from previous work. To do this, it is enough to connect them in series with wire and soldering or using special clamps.
- Silicone sealant.
- Insulating tape.
- Wire, screw terminal blocks, 12V connector and other materials for making electrical connections.
Required tool:
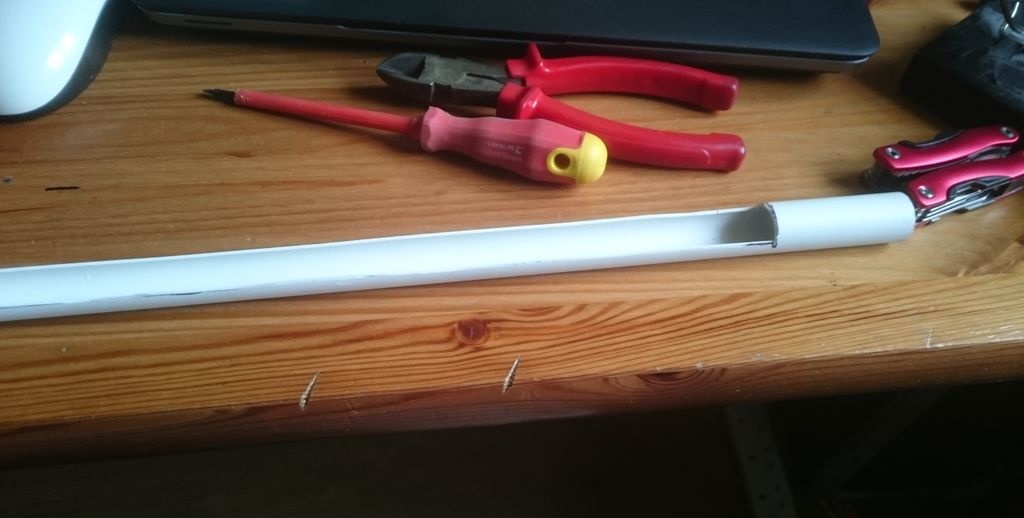
- Any available tool suitable for longitudinal cutting of plastic pipe.
- Soldering iron and solder.
- Screwdriver Set.
- Pliers, wire cutters and other improvised tools.
Making an LED tube lamp
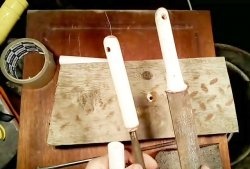
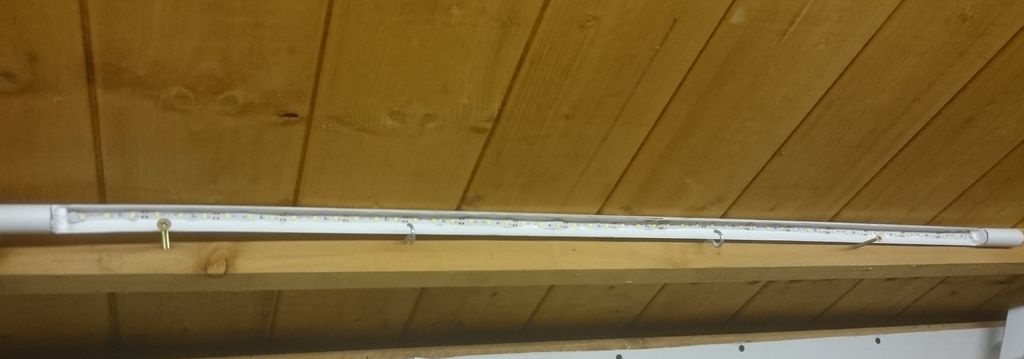
First you need to decide on the size of the lamp.The length of the required PVC pipe and LED strip depends on this. The lamp body is cut out of a plastic pipe. You can use a small grinder, sharp side cutters, or any other tool that can cut plastic. This is what the body should look like.
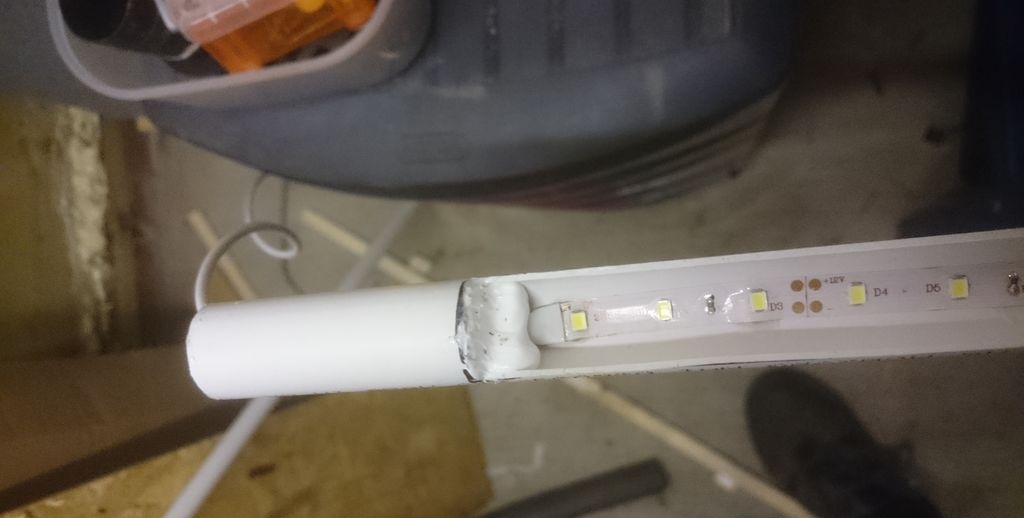
Note! The ends of the tube (approximately 50–100 mm) are left intact so that the structure has rigidity and shape.
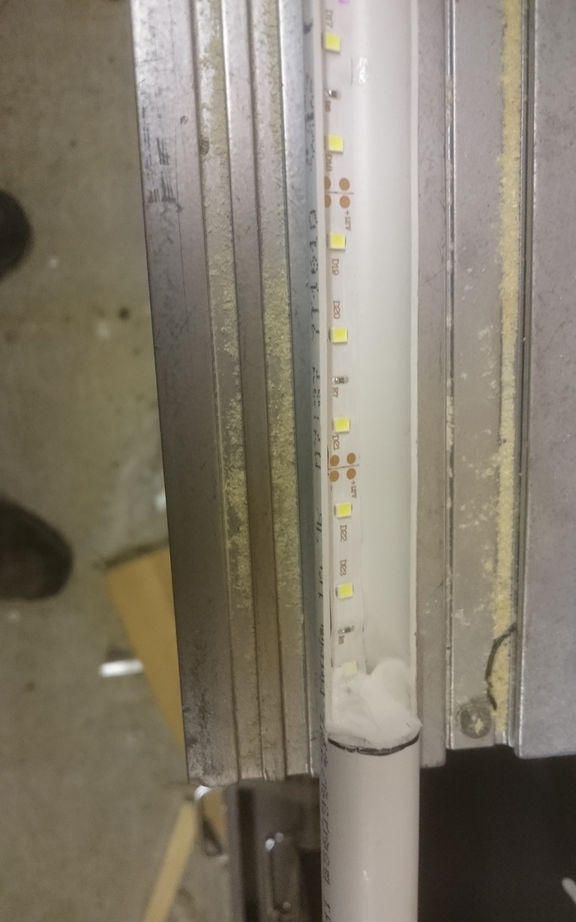
After the pipe is cut, the edges of the cut must be processed first with coarse sandpaper, then with fine sandpaper to remove the plastic burrs and make the edges smooth.
The next stage is working with the electrical part of the homemade lamp.
The approximate procedure for assembling an LED lamp is as follows.
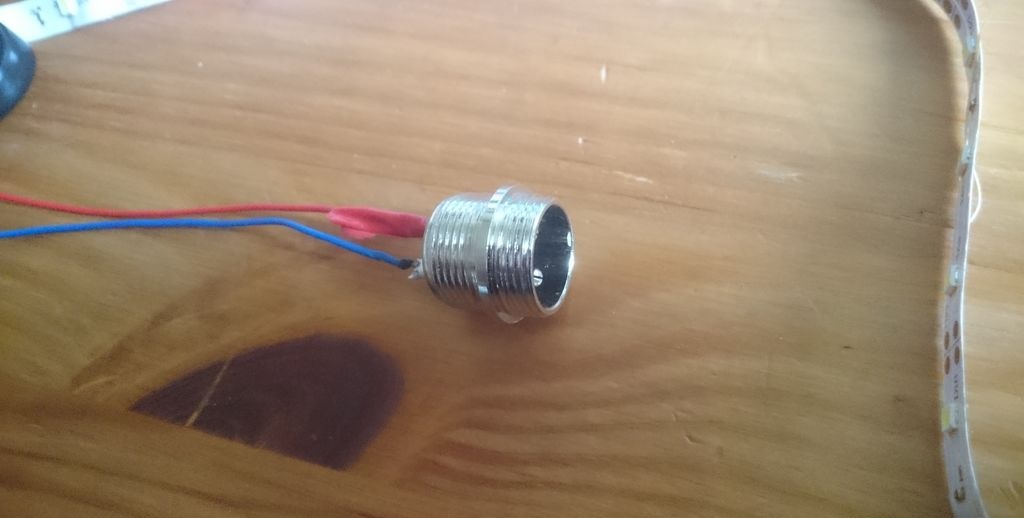
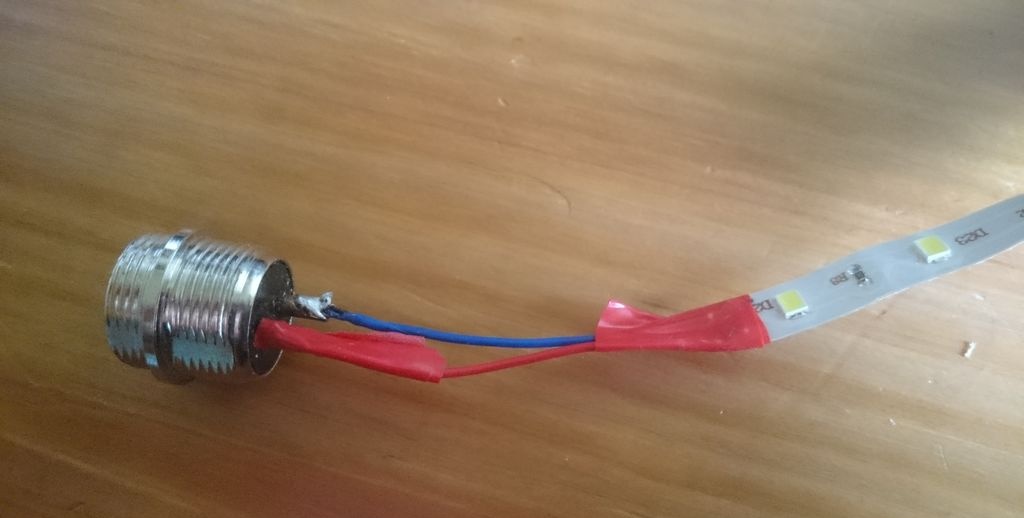
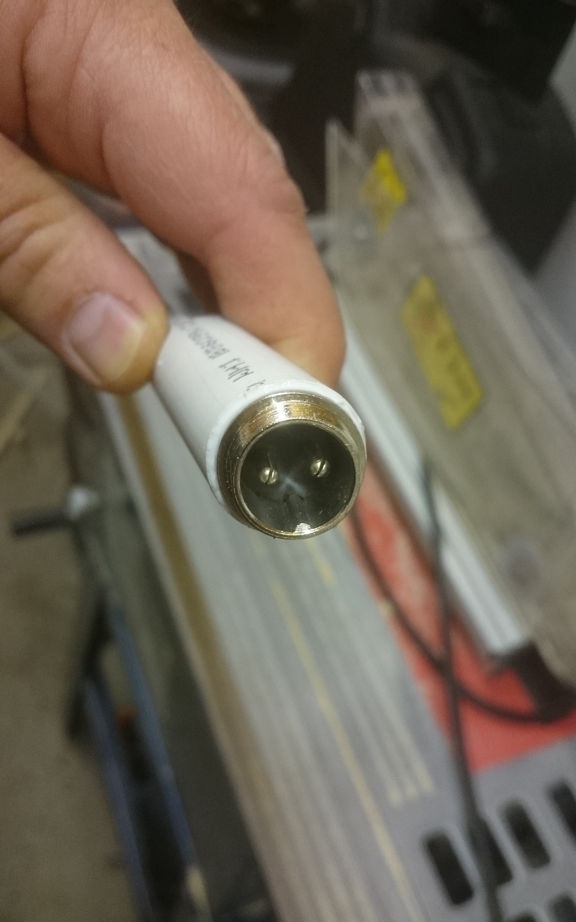
A power connector is connected to one end of the LED strip. Any type of plug connection can be used. The example shows the use of a so-called aircraft plug to which wires were soldered. Wires and terminal connections for the battery are soldered to the second part of the plug.
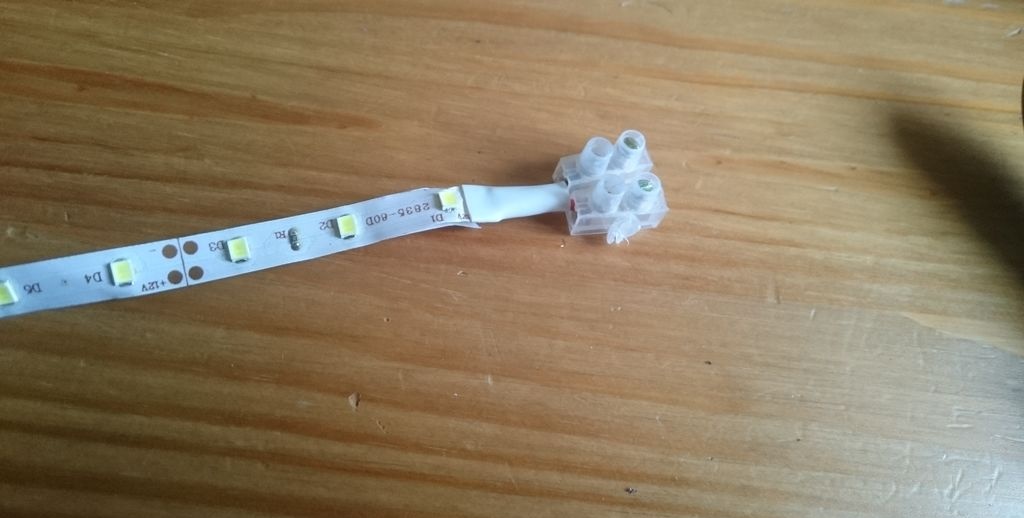
Advice! If you need to connect several pieces of LED strip, this can be done using convenient clamp connectors and a regular screw terminal block. This method can also be used if in the future it will be necessary to connect additional lighting to the finished lamp.

The advantage of using LED strips is that everything LEDs are powered from the tracks running inside the tape, so there is no need to lay additional wires.
When all the electrical connections have been made, all that remains is to lay out and align the tape in the improvised lampshade, then carefully peel off the protective strip from the adhesive strip and glue the tape to the plastic.
To connect the next segment of the lighting system, a connecting wire with a terminal block at the end is passed through a side hole in the pipe.
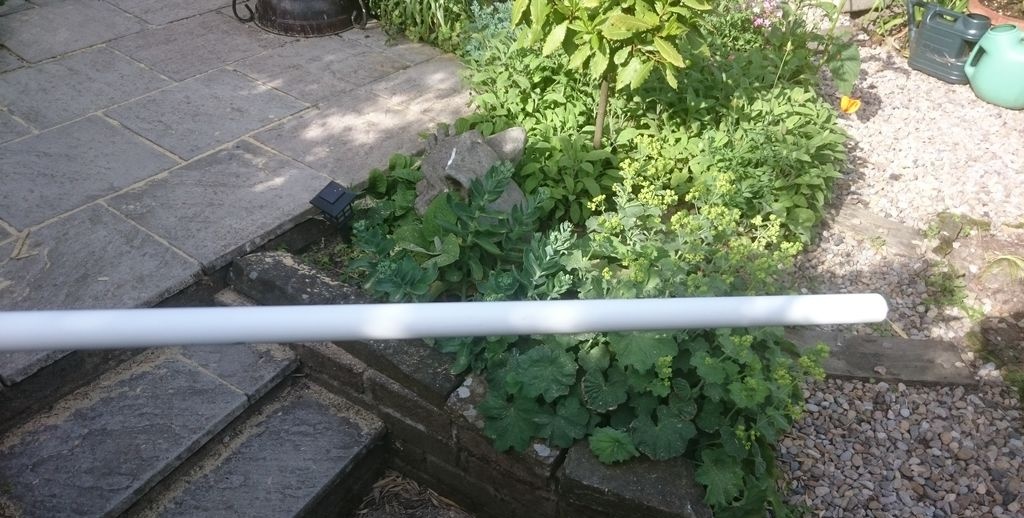
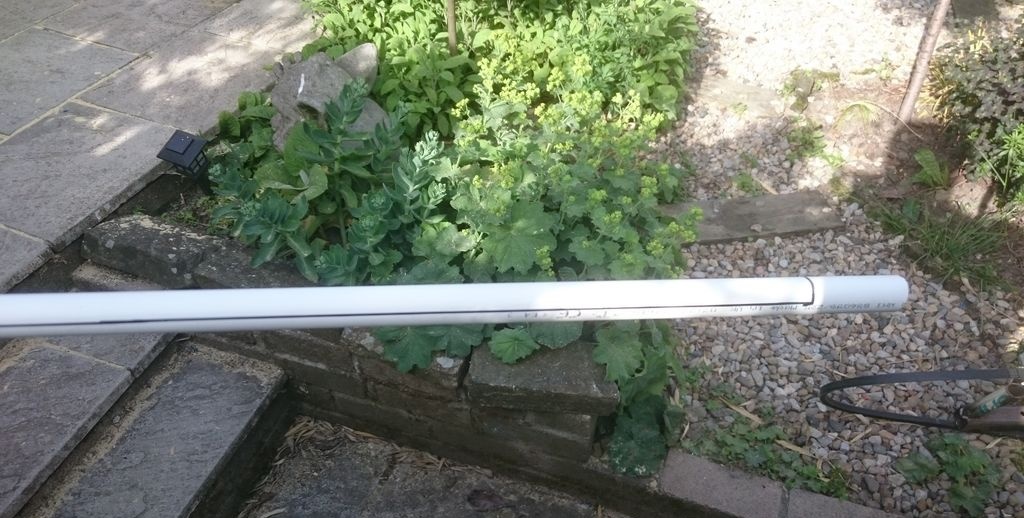
The end holes of the pipe are filled with silicone sealant. This filling performs two functions:
- Reliably seals electrical connections.
- Fixes the wires in the desired position.
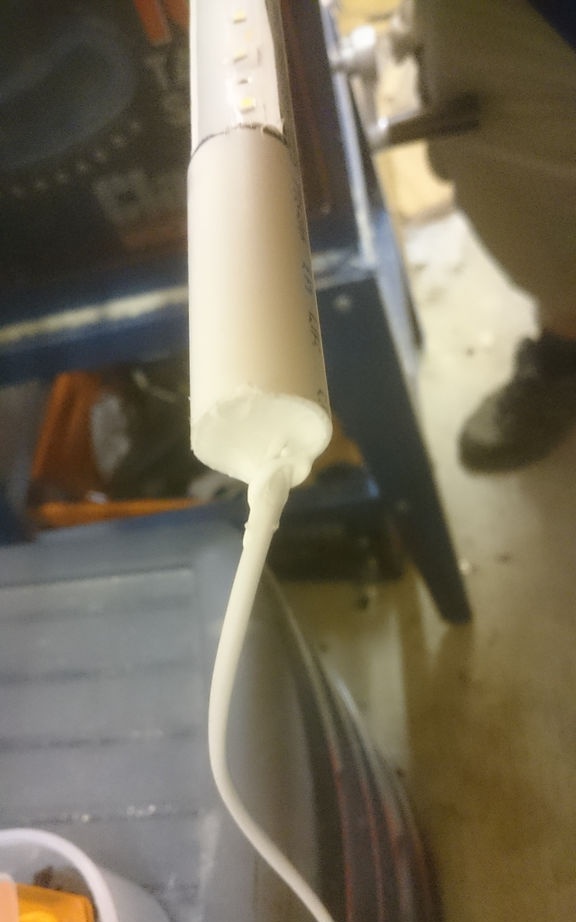
That's all, after the sealant has completely dried, the LED lamp is ready! You can make several such lamps and, if necessary, increase the lighting power, connect several segments into one system.
You can take such a lamp with you outdoors or use it in a garage or workshop when the power goes out.