Preparation
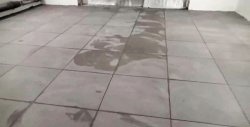
It all starts with preparation. The base must be cleaned of the old coating and thoroughly treated with a primer. Moisturizing is done either with a paint brush or a roller. When dried, the liquid will create a durable film on the surface, which will promote better adhesion of materials.
Mixing the solution
Then the tile adhesive is mixed. In appearance, it is more similar to a cement-sand mortar, however, it contains various additives in its composition. It is advisable to stir the glue with a special mixer or a hammer drill with an attachment.
Laying tiles
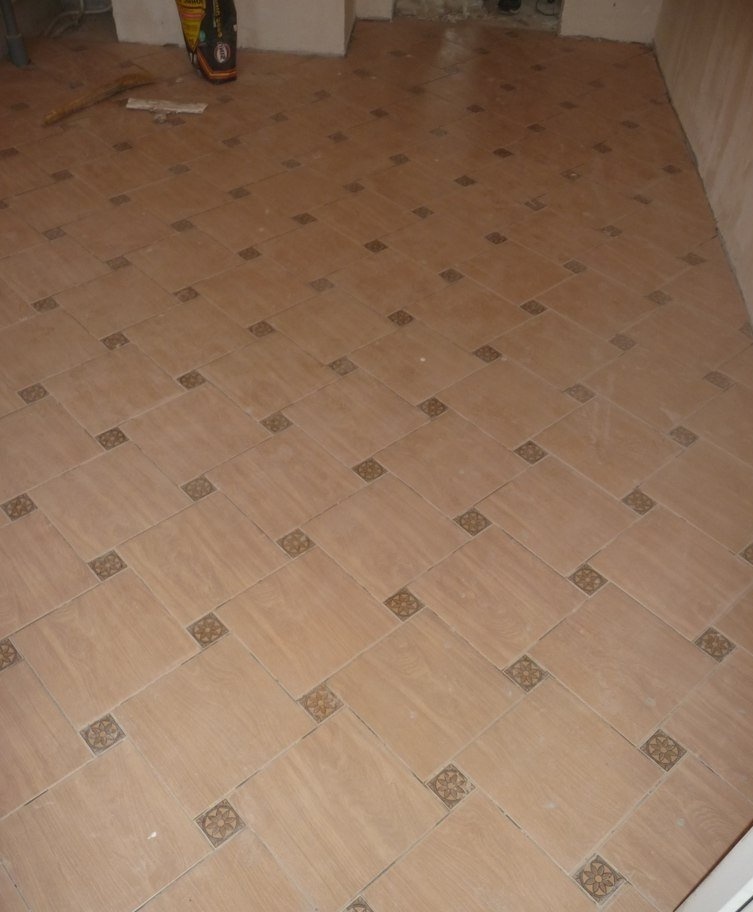
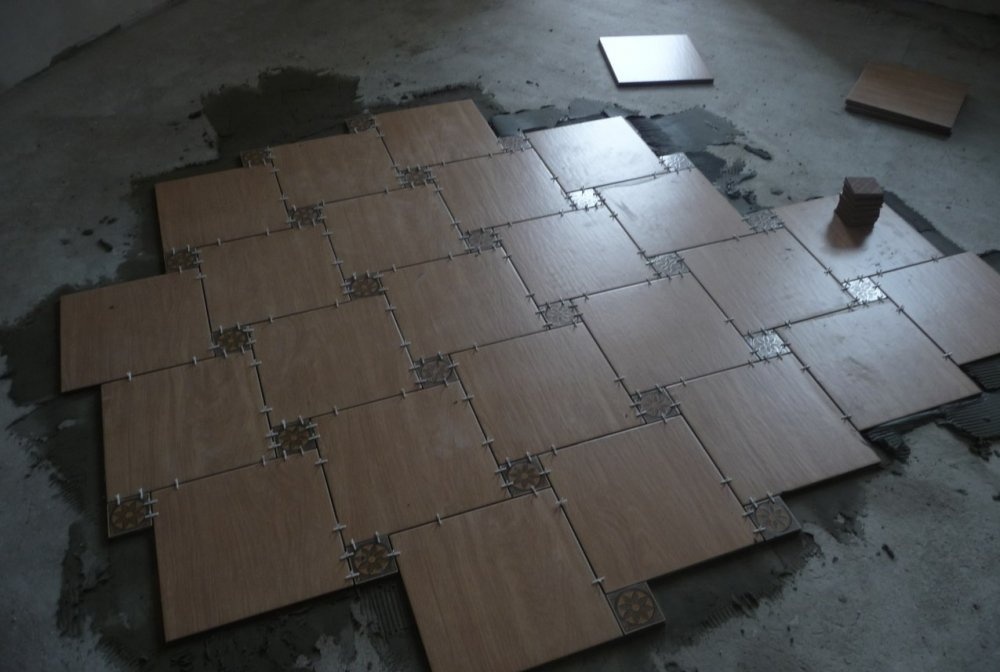
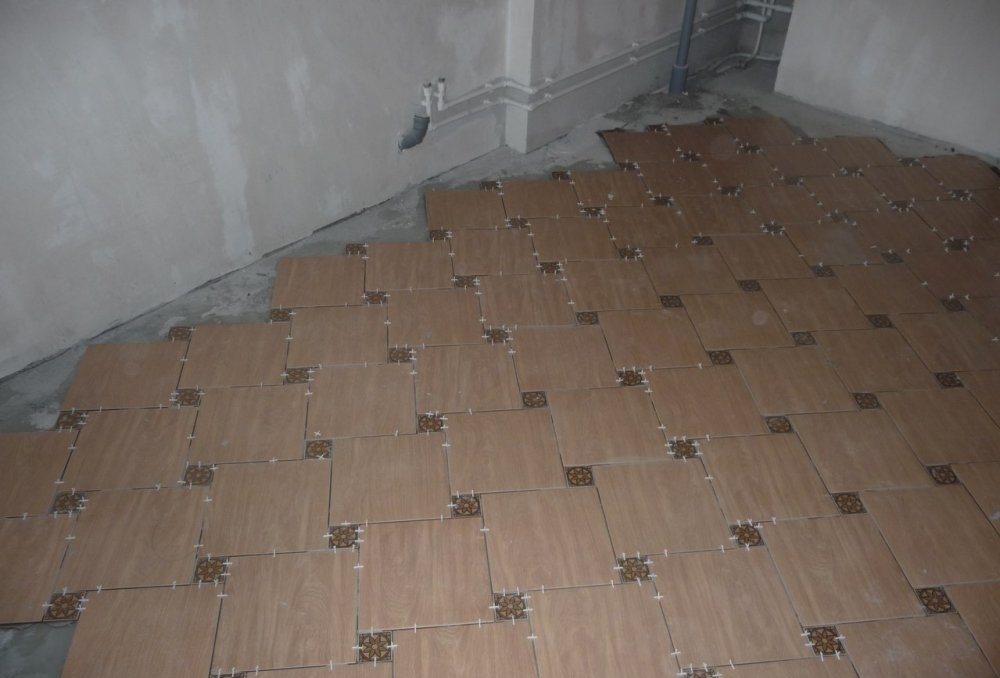
Laying tiles usually begins with a clearly visible area, then gradually moves inside the room being repaired. This way, all trimmed tile elements will later be covered by the bathtub, sink or washing machine.
Each product is coated with glue on the reverse side and, unfolding, is pressed to the floor. The correct installation of the tiles is checked with a bubble level. If there are any deviations, the material is carefully tapped with a special rubber mallet for tiles.
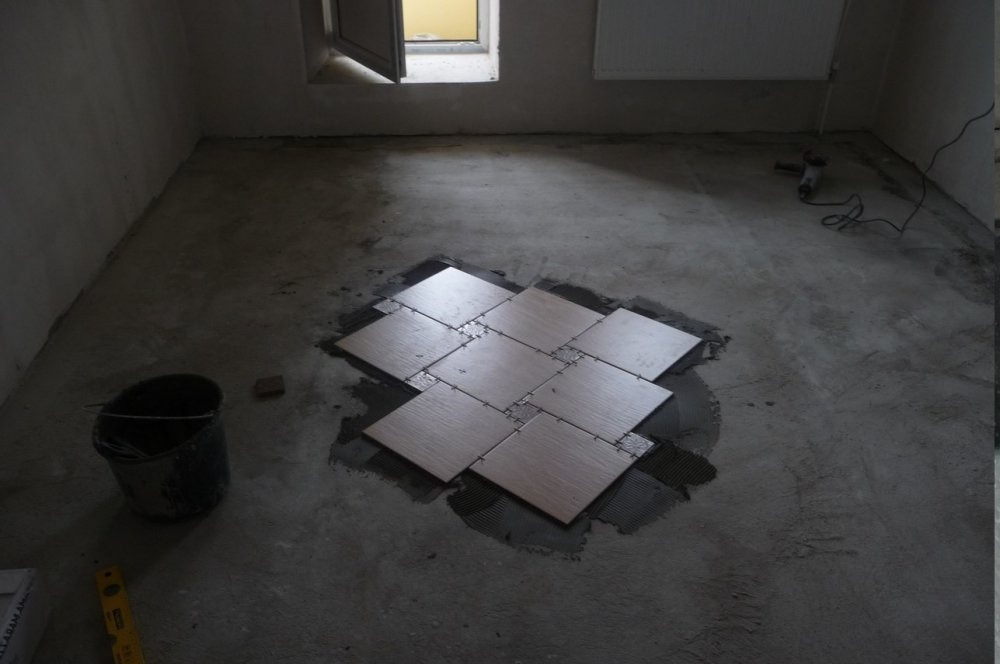
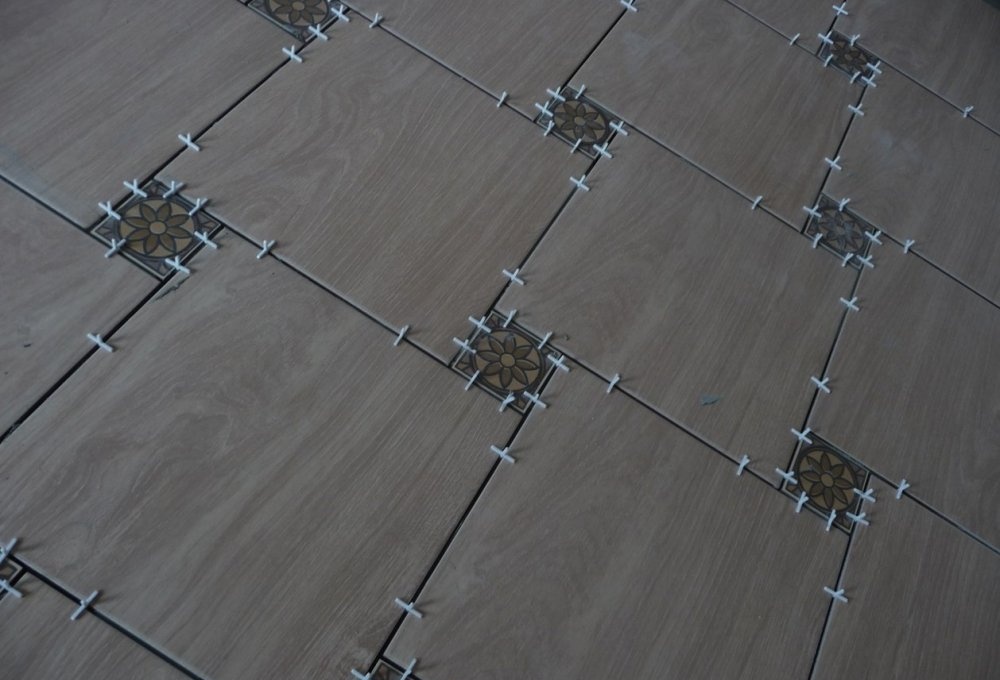
Plastic crosses are mounted between adjacent tiles. They set gaps of the same type, which are filled with grout mixture at the final stage of repair. The optimal slot width is 1.5-2 millimeters.
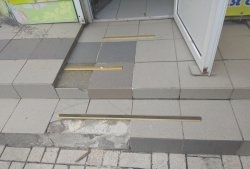
Cutting tiles is carried out with two tools. A tile cutter allows you to get even strips of tiles of the desired size. The grinder is used when cutting holes for pipes, as well as for grinding down tiles.
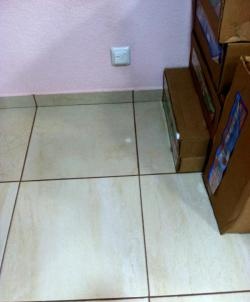
After the tiles are completely laid out, wait until the mortar has partially set and proceed to grouting work. Dissolve the mixture in a small container. Fill the decorative gaps between the tiles with it using a rubber spatula. At the very end, wipe the entire surface with a damp sponge and then with a dry cloth.