Do it yourself
Life hacks, master classes, useful tips, recipes.
home » Electronics » DIY electronics » LED fluorescent lamp

Deciding to keep up with the times and save my money in the future, I decided to make some useful innovation. Or rather, convert lamps with fluorescent lamps into lamps with LED lamps. The service life is long, the savings are great, and the cost is not much more expensive. Of course, you can buy it, but believe me, it’s a little expensive to buy, compared to the made version.

Do-it-yourself conversion of a fluorescent lamp into an LED lamp

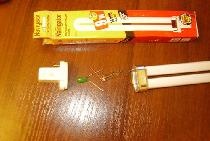
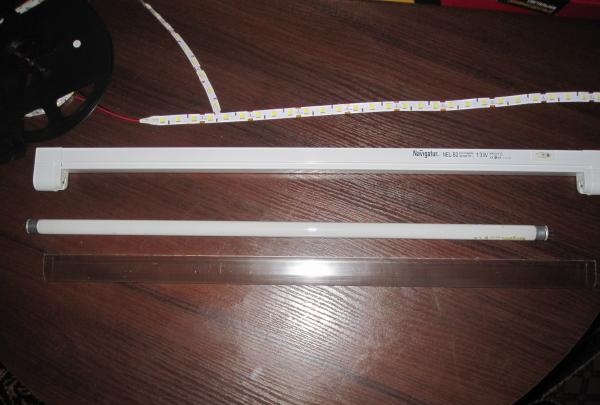
Let's begin. To begin with, I bought a fluorescent lamp with a power of 13 watts (you will need 2 pieces) and about half a meter long.

Fluorescent lamp

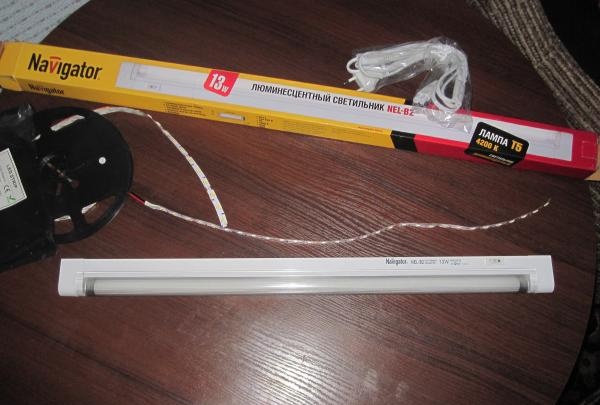
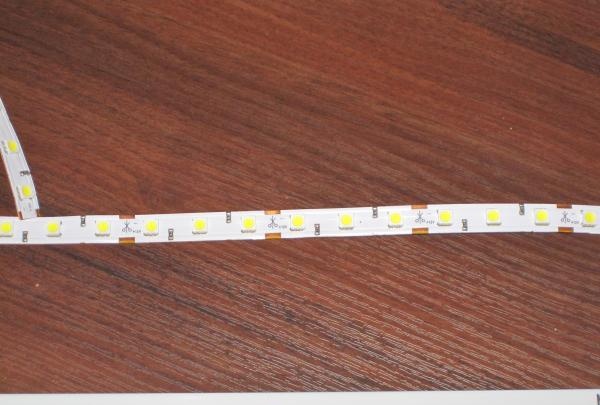
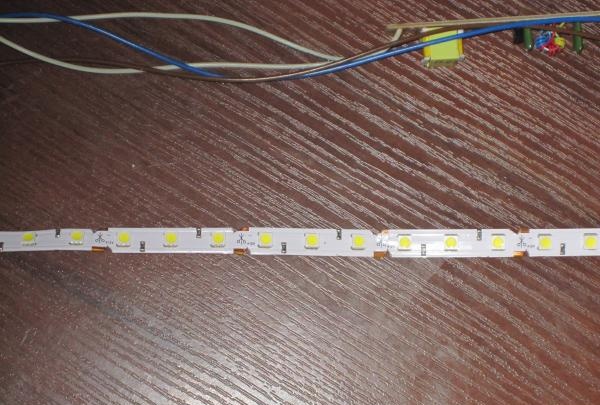
Next I bought an LED strip. I didn’t just buy it, but spent a long time choosing it, to be precise. There is a wide variety of LED strips on the radio electronics market: colored and white, small and large. Make your choice on a tape with natural light (not cold or warm - pure white), with a power of 14 W per meter with a power supply of 12 volts.

LED Strip Light

Here is her diagram:

LED strip circuit

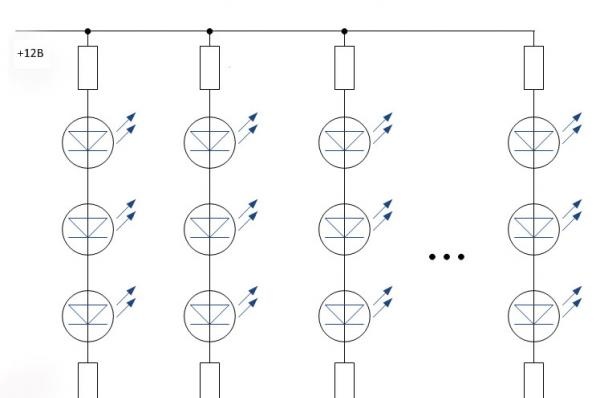
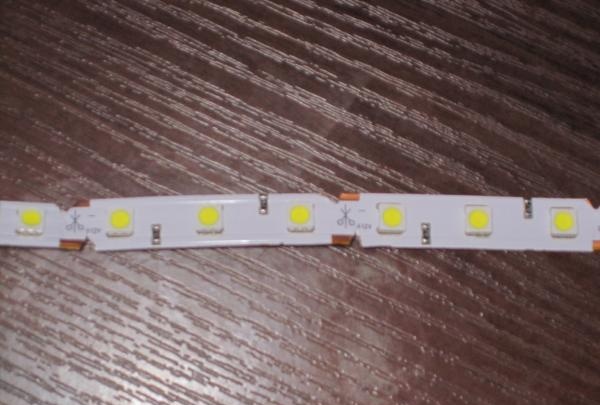
As can be seen from the diagram LEDs connect 3 in a group. I will rework this circuit in order to connect the LED strip to 230 volts of alternating voltage without any expensive and unnecessary converters.

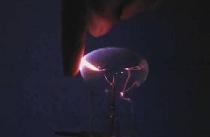
Let's disassemble the lamp.

disassembled lamp
fluorescent lamp housing
lamp converter

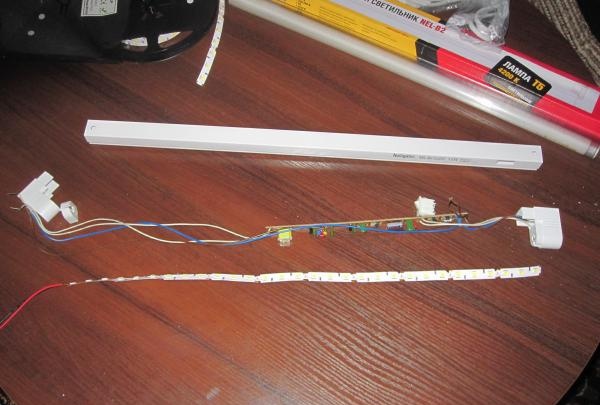
We see inside a pulse converter for a fluorescent lamp. Let's put it aside - we'll need it later.

Now we need to do some small calculations to calculate how many groups of LEDs we need for a 230 volt network. 230 volts after rectification turn into 250 V, or even more, there is such an effect of converting alternating voltage into direct voltage. We take 250 volts and divide by 12 V (so one section out of three LEDs powered by 12 volts), we get 20.8333. We always round up and take another section in reserve, and we get 22, that is, 22 sections. In general, it will shine 66 LEDs. Serial connection diagram:

tape connection diagram

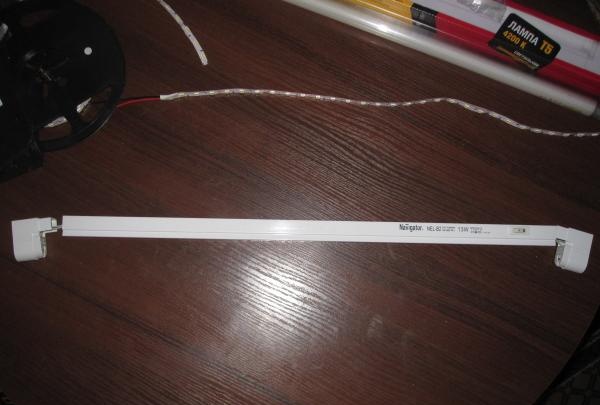
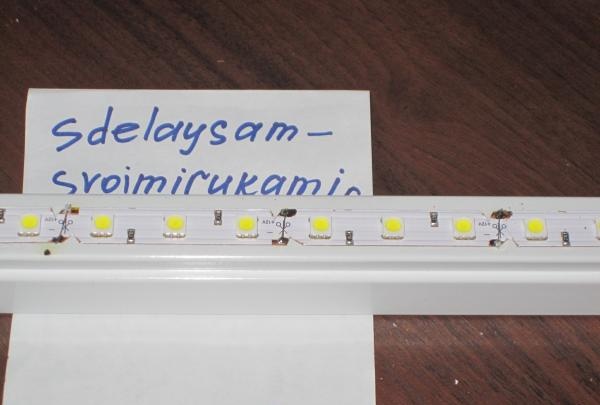
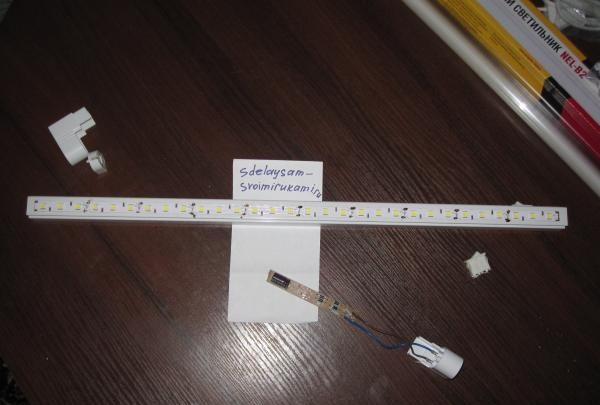
I connected it like this: I cut out pieces with scissors and soldered them with wire, see the pictures.

LED strip conversion
cuts on the tape
glued LED strip

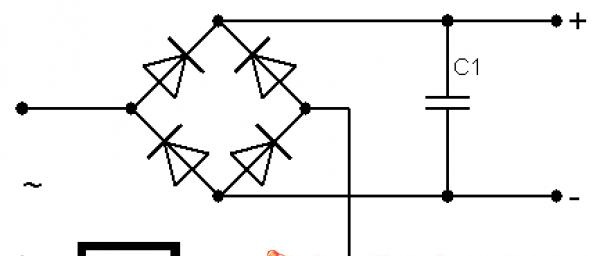
Next we need a DC rectifier, I made it from the same lamp. We take out the converter torn out of the lamp and bite off the capacitor. The diodes with the capacitor are located separately, so you just need to break off the board in the appropriate place; there is practically no need to solder, except for the wires.

AC to DC rectifier

Here's the diagram, if anyone doesn't know what we're talking about.

rectifier circuit
LED daylight lamp
I got a series-connected LED strip (of 22 sections) about a meter long. Naturally, this quantity is in one lamp LEDs It’s difficult to conclude – it’s very narrow, and it’s not necessary. So I bought two lamps, connected them in series, and glued an LED strip into each one in one row. The tape is self-adhesive with an adhesive layer, but I advise you to additionally coat it with superglue. Glued, assembled, connected.
LED lamp in operation
LED lamp

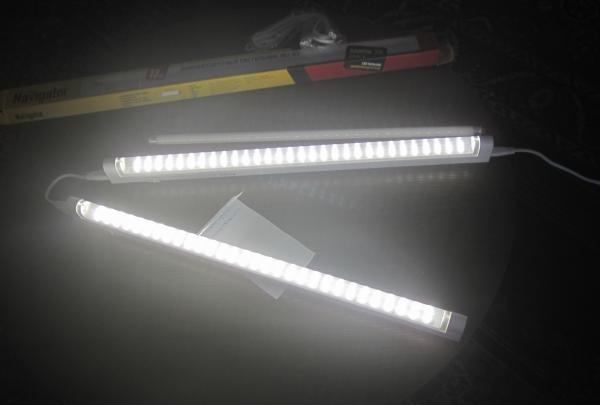
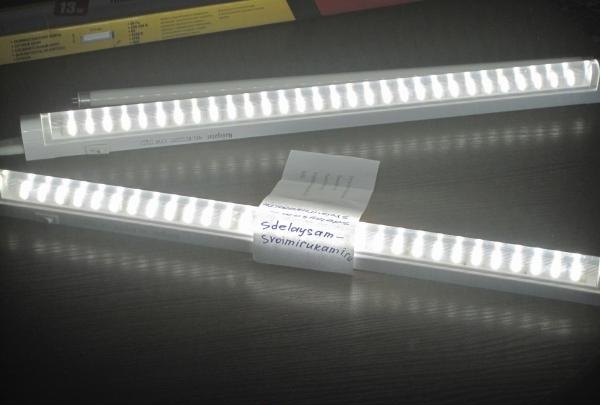
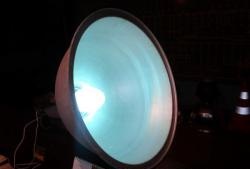
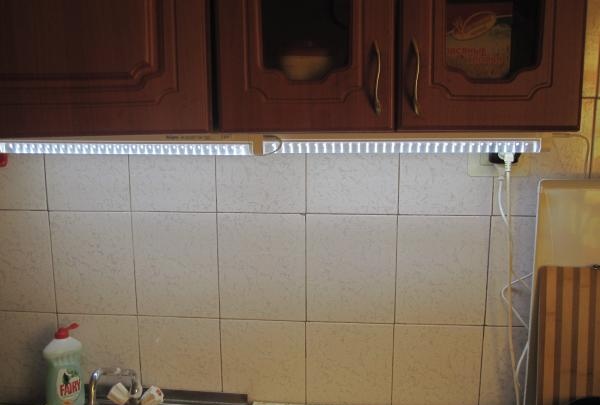
I can’t say anything about the minuses, but about the pluses: The light is one and a half times better than the previously installed 13-watt lamp.Two fluorescent lamps consumed 26 watts, but here two consume less than 10 watts. Durability, reliability.

The biggest plus, in my opinion, is the direction of the glow: there is practically no light from the side and no glare, but the table is illuminated perfectly.

LED lamp in the kitchen

Keep up with the times, friends! All the best!

come back
Comment
  • bowtiesmilelaughingblushsmileyrelaxed relaxedsmirk
    heart_eyeskissing_heartkissing_closed_eyesflushedrelievedsatisfiedgrin
    winkstuck_out_tongue_winking_eyestuck_out_tongue_closed_eyesgrinningkissingstuck_out_tonguesleeping
    worriedfrowninganguishedopen_mouthgrimacingconfusedhushed
    expressionlessunamusedsweat_smilesweatdisappointed_relievedwearypassive
    disappointedconfoundedfearfulcold_sweatperseverecrysob
    joyastonishedscreamtired_faceangryragetriumph
    sleepyyummasksunglassesdizzy_faceimpsmiling_imp
    neutral_faceno_mouthinnocent
3+three=
Comments (16)
  1. Me
    #1 Me Guests September 13, 2013 03:18
    5
    After cutting, the connection diagram is serial for the section and not parallel
  2. Alexander.
    #2 Alexander. Guests November 27, 2013 02:11
    5
    Typically, after rectifying an alternating voltage of 220 volts and smoothing it with a capacitor, 310 volts is obtained. Therefore there are 3 sections LED for 12 volts, you need to take not 22 like the author, but at least 26.
  3. Frezerrek
    #3 Frezerrek Guests 8 January 2014 14:54
    5
    Tell me, is there any flickering of the diodes with this power supply?
    1. Radar
      #4 Radar Guests July 24, 2018 09:10
      3
      The Internet is full of descriptions of how to make a driver for an LED strip from a fluorescent lamp driver with light passes of a soldering iron. And it will not flicker, and the LEDs will be provided with stable power.
  4. virusss
    #5 virusss Guests January 21, 2014 09:40
    4
    With this connection, a capacitor helps prevent flickering. The larger its capacity, the less flickering. The rectified voltage is multiplied by the square root of two, that is, approximately 1.4 times.
    1. SERGEI
      #6 SERGEI Guests November 15, 2018 00:36
      3
      When smoothing the voltage, do not get carried away with the capacitance value - the bridge diodes may fly out.
  5. Victor
    #7 Victor Guests March 1, 2014 11:47
    5
    I made a couple of lamps. At 1 meter 60 LEDsTo take 26 sections you need to cut another tape. I took 20 sections, and the required current (40ma) was output with a resistance of 4-6W. The resistance was approximately 400 ohms. If you add current,LEDs They shine stronger, but they start to heat up. Don’t pay too much attention to the voltage, the current is important for LEDs. I took a 5050 14.4 W strip, current up to 60 ma, but LEDs warming up. At 40ma the power is 10 watts.
  6. Sergey
    #8 Sergey Guests March 17, 2014 08:10
    3
    The topic is interesting but there are a couple of problems:
    1. The voltage in the network is unstable, which means the current also changes, and lights don’t like this.
    2. as far as I understand, your tape is 5050 60 led/meter, but it gets hot, so sticking it to plastic is not good. They say it degrades over a year of glow instead of the calculated 10
    That. The durability of such a lamp is questionable.
    It’s better to use an aluminum profile of the same width as a plastic one and a 12V power supply, for example from an old monitor and laptop - they are not that expensive, but nothing needs to be altered and the voltage is stable.
  7. Victor
    #9 Victor Guests March 22, 2014 11:21
    4
    Yes, the voltage in the network is not stable, but I took the current 40ma, i.e. LEDs They work in a light mode, and there is a reserve. If you make a 12v power supply, you need to redo the power supply of the chandelier or lamp. If the lamp is like the author’s, then you can install a 12v driver, it’s safer, but more expensive.
  8. Edward
    #10 Edward Guests 1 November 2014 17:33
    4
    everything is fine. but now there are LED strips for 220 volts, that is, nothing additional is needed. You can make a socket on the lamp and power this strip from an external 12 volt power supply (and if the power goes out, this lamp will become a useless piece of plastic)
  9. Edward
    #11 Edward Guests 12 February 2015 14:45
    5
    Hello. Can you please tell me the tapes needed to make the equivalent of 2 fluorescent lamps of 36 W each in terms of light output? I want to redo the fluorescent lamp in the hallway, remove the LB36 lamps from there and glue strips per meter (strips on LEDs 5050 cold white light 4500k 14 W/meter) 2 pieces of tape instead one meter for each lamp
  10. Andrey
    #12 Andrey Guests 4 January 2017 13:02
    4
    I repeated the scheme with tape 5730. I used 22 sections. Capacitor 47mKf at 400V. Everything is working. Thanks to the author.

Metal crafts | Page 2 | Do it yourself

Crafts - Do it yourself, step-by-step master classes | Page 17

Valentine - it's me | Do it yourself

How to make a machine for making fasteners with your own hands

«Do it yourself - with your own hands» - a site of interesting homemade products made from scrap materials and items at home. Step-by-step master classes with photos and descriptions, technologies, life hacks - everything a real master or just a craftsman needs for needlework. Crafts of any complexity, a large selection of directions and ideas for creativity.

We recommend reading

Washing machine error codes