Do it yourself
Life hacks, master classes, useful tips, recipes.
home » Homemade cars » Repairing a cracked bumper
Repairing a cracked bumper

Today I will talk about how you can repair a cracked plastic car bumper using epoxy glue. This procedure is not entirely complicated, but it will allow you to save a considerable amount of money instead of replacing the bumper with a new one. All actions are accessible to the average car owner and do not require special knowledge or expensive equipment.

Do-it-yourself repair of a cracked bumper


Repairing a cracked bumper

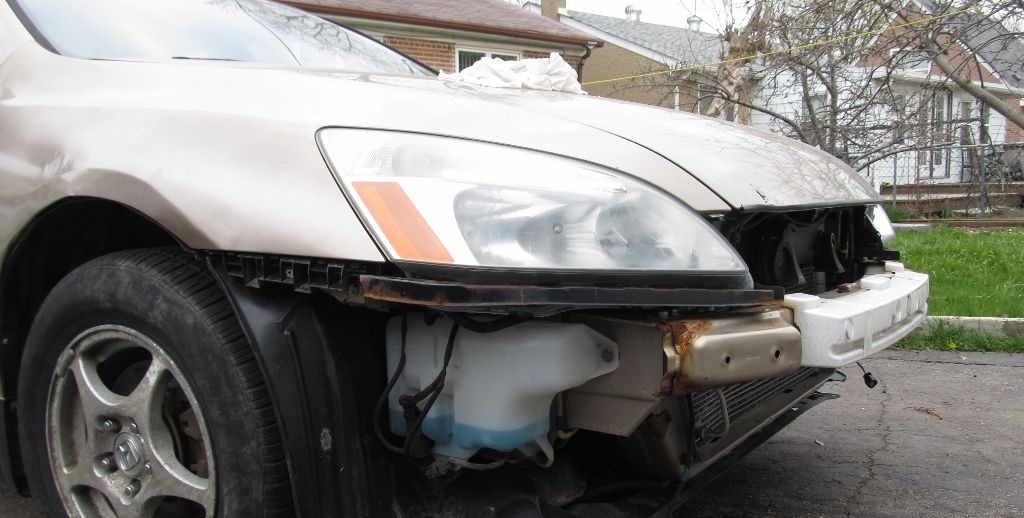
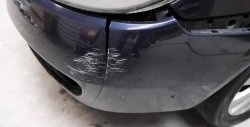
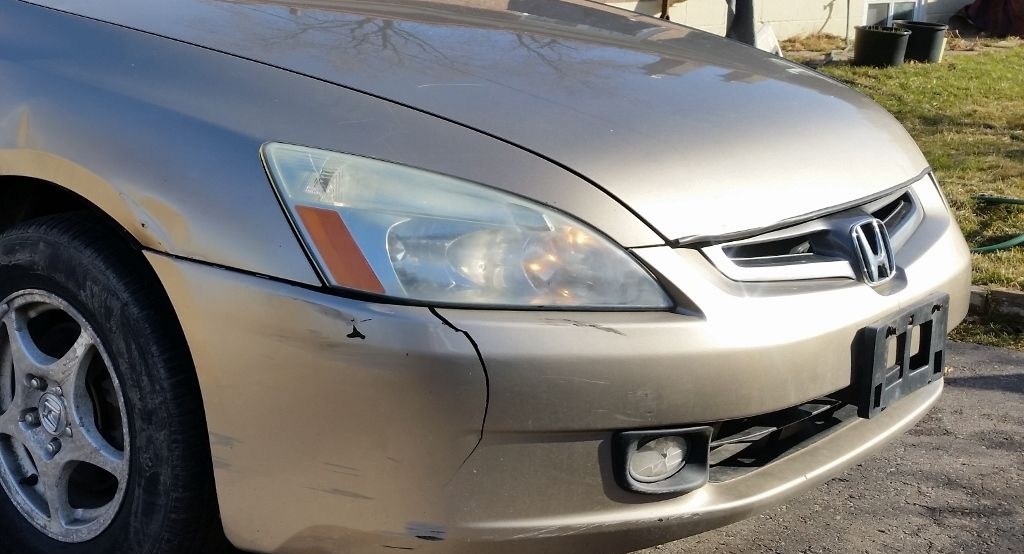
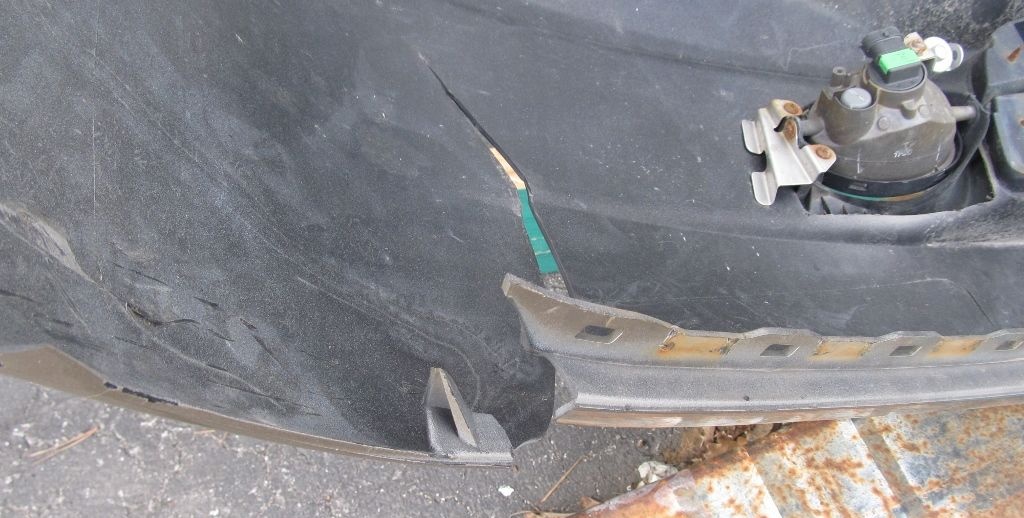
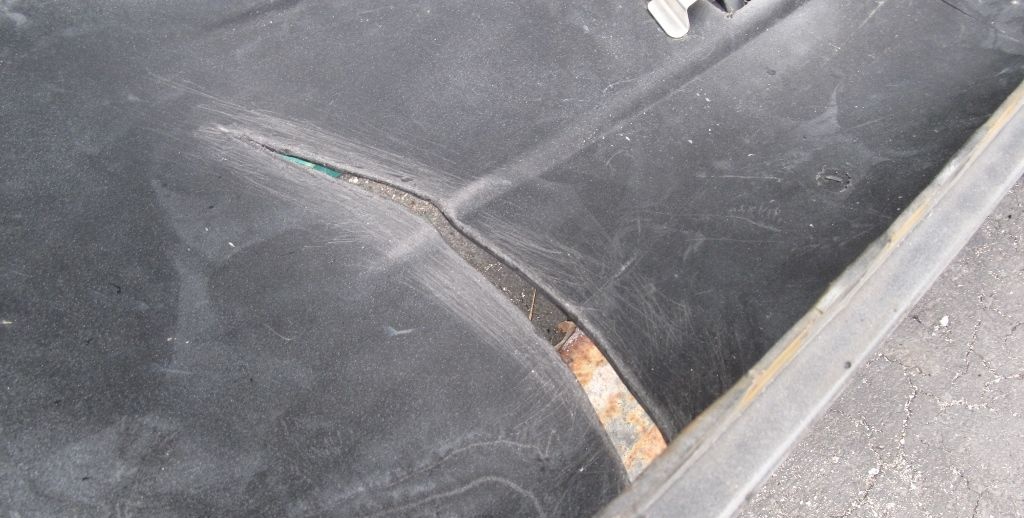
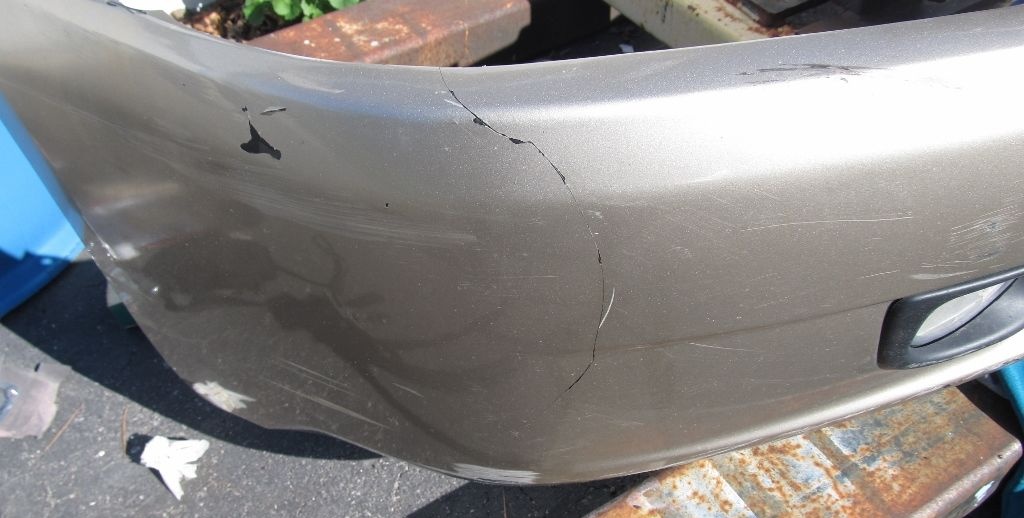
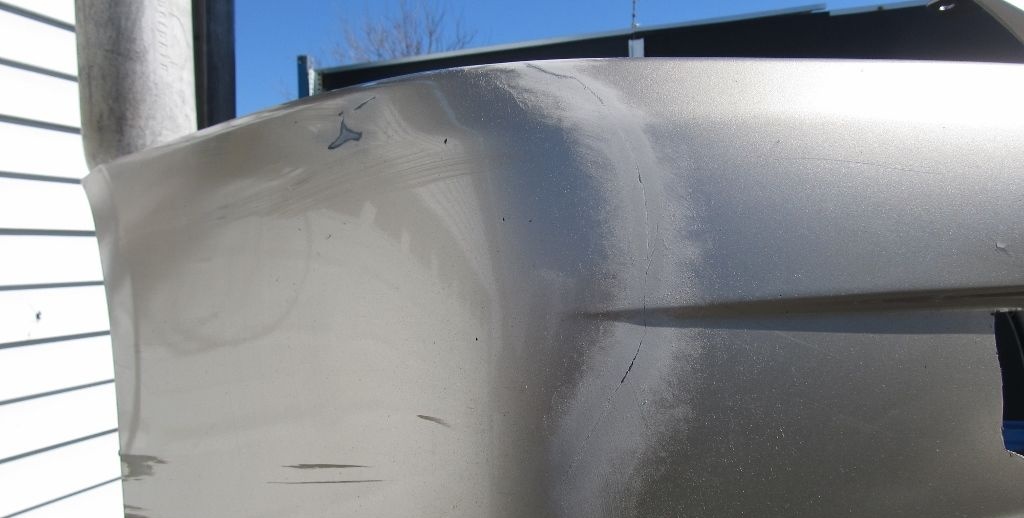
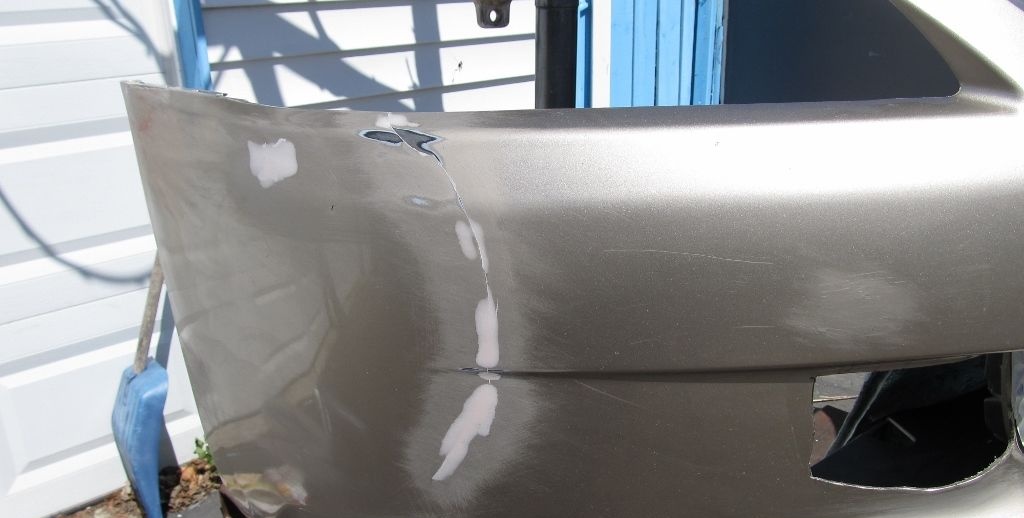
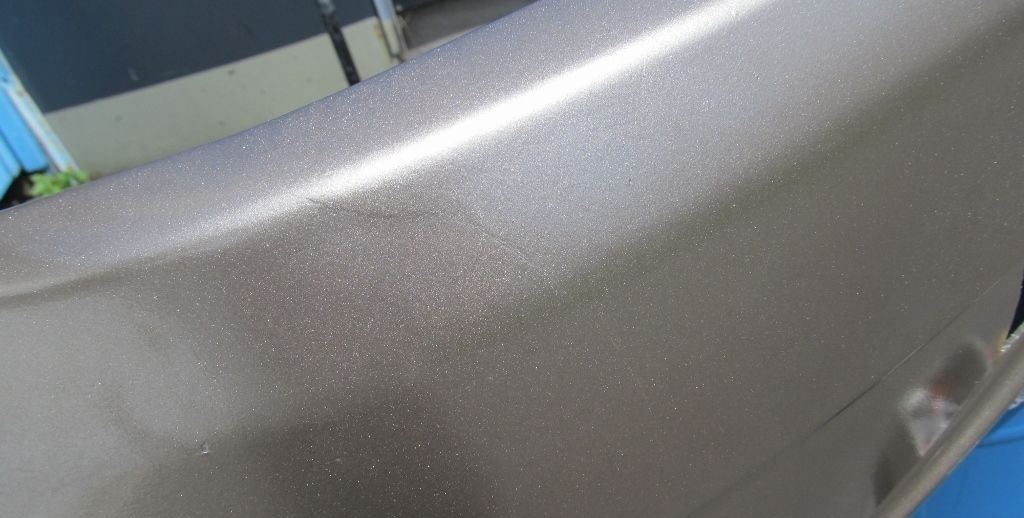
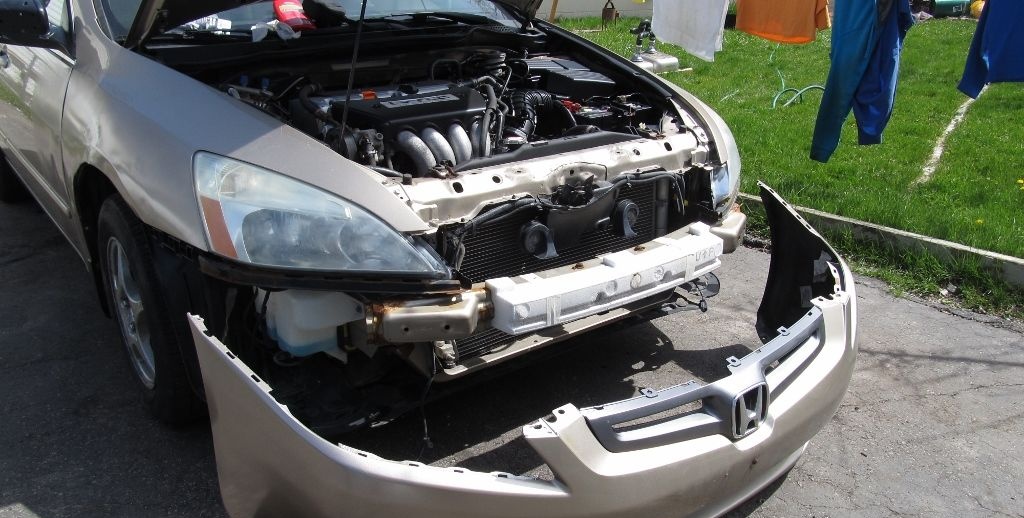
First of all, you need to remove the bumper, since the repair method in question cannot be performed on a car. The photo shows what the damaged area looks like from the outside and inside.
Repairing a cracked bumper

Repairing a cracked bumper

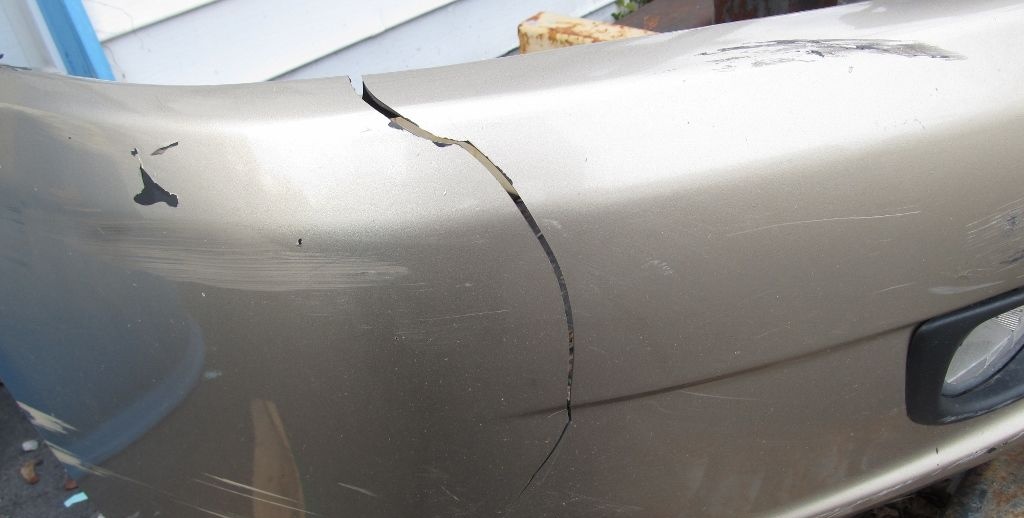
In order for the glue to reliably adhere to the plastic surface, it needs to be prepared. To do this, I used a sharp knife to widen the edges of the crack to create a V-shaped groove. You also need to clean the damaged area from dirt and additionally sand it with fine sandpaper.
Repairing a cracked bumper

To secure the two parts of the bumper, I used paper tape - it holds well, but is easier to remove later. When connecting the bumper and gluing the tape, you need to make sure that the edges of the crack converge at the same level and do not overlap each other.
Repairing a cracked bumper

I divided the process of applying epoxy glue into two stages:
Repairing a cracked bumper

  • First I applied some glue directly to the crack.
    Repairing a cracked bumper

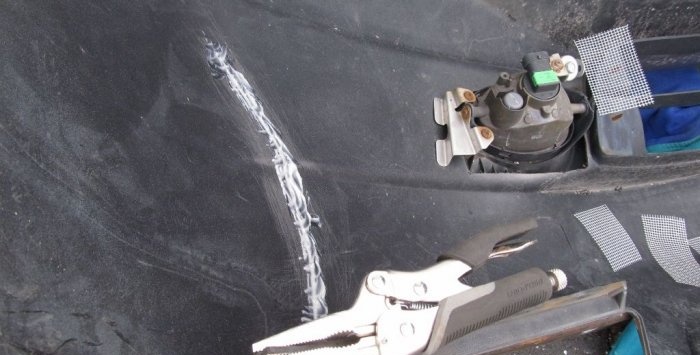
  • Until the glue set, I glued small pieces of paint mesh, which will serve as reinforcement. After that, I applied another layer of glue on top of the mesh so that the mesh was inside the adhesive layer.

Repairing a cracked bumper

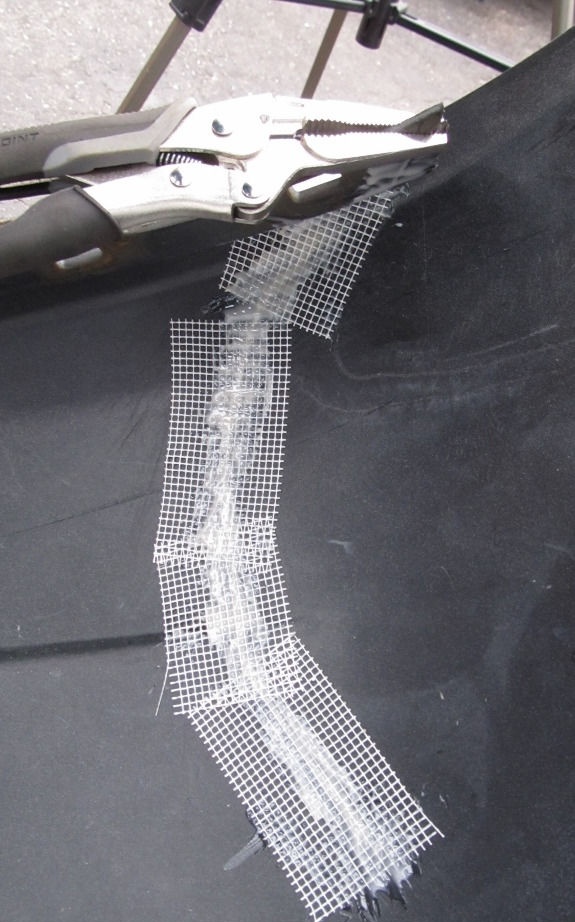
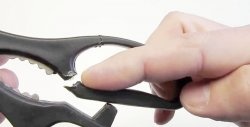
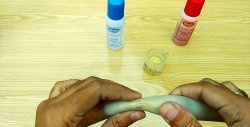
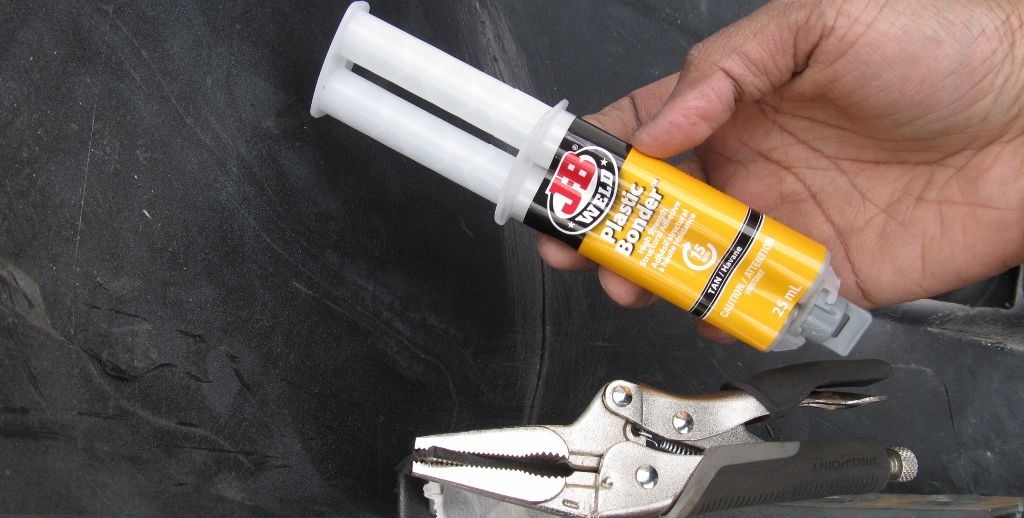
Note! Epoxy glue consists of two components, which, after squeezing out of the syringe, must be mixed until smooth.
After the resin has cured (about 12 hours), you can remove the fixing tape from the front side of the bumper and begin sealing the crack on this side.
Repairing a cracked bumper

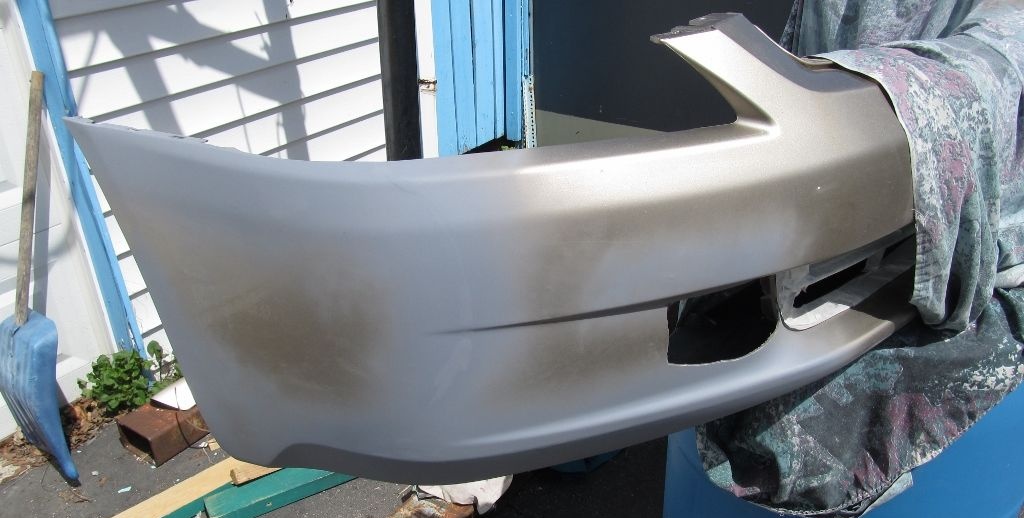
To fill the crack, I used a special putty for bumpers, which I applied with a rubber spatula and, after drying, sanded with fine sandpaper.
Repairing a cracked bumper

Repairing a cracked bumper

Repairing a cracked bumper

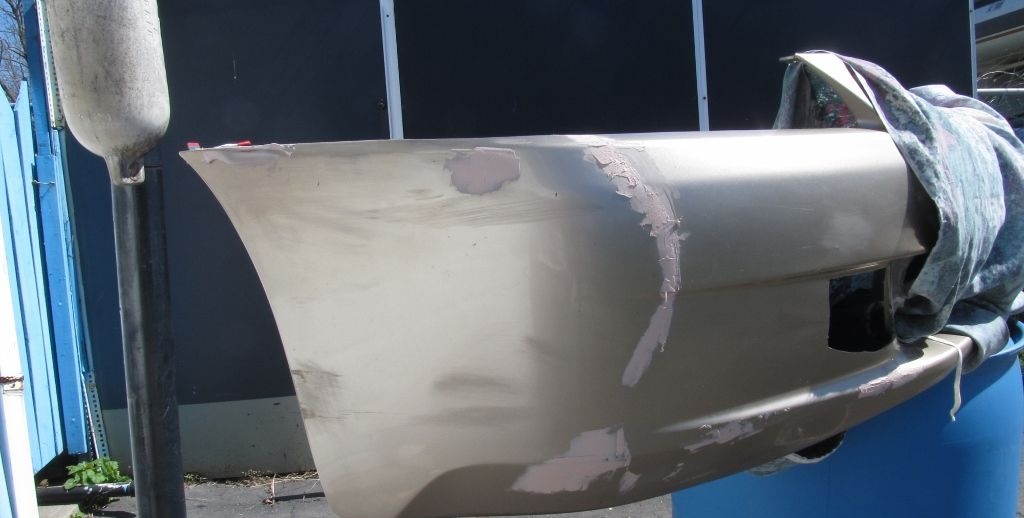
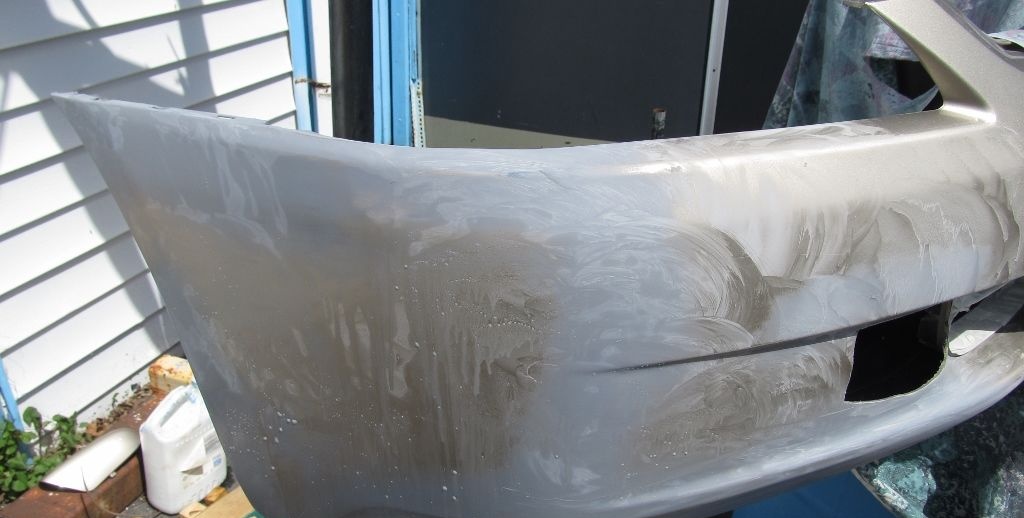
The final stage of bumper repair is painting it. Before this, you need to thoroughly clean it of dirt: I washed it with plenty of water and detergent.
Repairing a cracked bumper

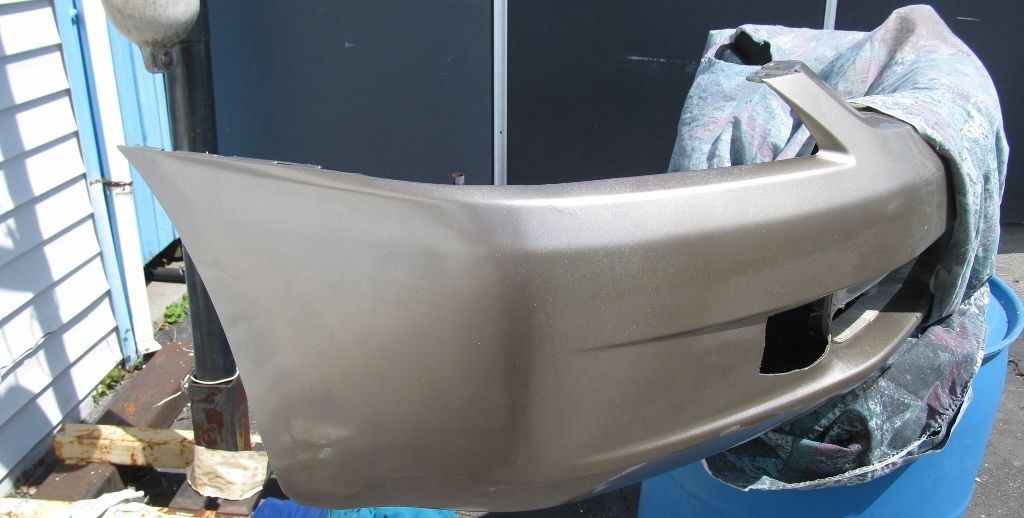
Before painting plastic, be sure to apply a layer of special primer - otherwise the paint will quickly peel off. Once the primer coat was dry, I completely spray painted the bumper so it was the same shade. After applying two layers of paint, I got a completely acceptable result - there are practically no traces of cracks visible.
Repairing a cracked bumper

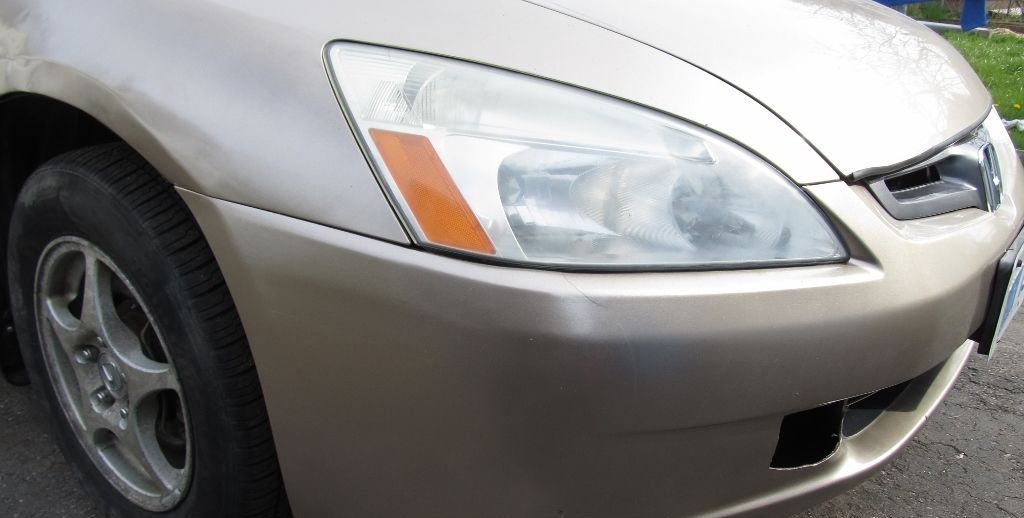
After the paint has dried, all that remains is to put the bumper in place, and the repair is complete. As a result, we get inexpensive DIY repairs and virtually no signs of damage.
Repairing a cracked bumper

Repairing a cracked bumper

Repairing a cracked bumper

We install the bumper in place.
Repairing a cracked bumper

Repairing a cracked bumper

Original article in English
come back
Comment
  • bowtiesmilelaughingblushsmileyrelaxed relaxedsmirk
    heart_eyeskissing_heartkissing_closed_eyesflushedrelievedsatisfiedgrin
    winkstuck_out_tongue_winking_eyestuck_out_tongue_closed_eyesgrinningkissingstuck_out_tonguesleeping
    worriedfrowninganguishedopen_mouthgrimacingconfusedhushed
    expressionlessunamusedsweat_smilesweatdisappointed_relievedwearypassive
    disappointedconfoundedfearfulcold_sweatperseverecrysob
    joyastonishedscreamtired_faceangryragetriumph
    sleepyyummasksunglassesdizzy_faceimpsmiling_imp
    neutral_faceno_mouthinnocent
4 minus one =
Comments (3)
  1. Alex
    #1 Alex Guests 3 October 2018 17:08
    2
    The main thing now is not to pry the bottom of the curb, and not to touch it at all :)
    1. Yuri Vasilievich
      #2 Yuri Vasilievich Guests May 5, 2019 01:24
      0
      It will hold even stronger if you unwind a spring from an old oil seal and use a soldering iron to reinforce the crack between the edges and then fill it all with glue. For such a long crack, it is better to take an old oil seal from a truck, for example from a hub. When untwisted, the spring will be 15 centimeters long, or maybe even more than enough for the entire bumper. By the way, this method is also suitable for other plastic repairs.
  2. Alexei
    #3 Alexei Guests 15 August 2020 16:42
    0
    Will this type of repair work with ABS plastic?

Sew a sleep mask | Do it yourself

Flower pot made from newspaper tubes | Do it yourself

This is definitely the most compact way to store tomatoes.

Liquid wallpaper in a modern interior | Do it yourself

«Do it yourself - with your own hands» - a site of interesting homemade products made from scrap materials and items at home. Step-by-step master classes with photos and descriptions, technologies, life hacks - everything a real master or just a craftsman needs for needlework. Crafts of any complexity, a large selection of directions and ideas for creativity.

We recommend reading

Washing machine error codes