A year ago I gave my niece a starry sky projector. Under the black top dome of this lamp there are three or four monochrome LED which, through the transparent areas of the black dome, project random figures (for me, moons and stars) onto the wall and ceiling.
In my case, half-watt LEDs there were four: Red (red), Green (green), Blue (blue) and separately White (white). The projector is equipped with switching modes LEDs, which makes it possible to form additional colors and shades by incorporating them differently.
Also, the frame in which the black hemisphere with transparent designs is fixed is motorized and can rotate around a vertical axis.
Although I think that my purchase was quite successful, and as a complete device, the purchased lamp fully justifies its 8 dollars, I suggest that you assemble the lamp with your own hands no worse, and in some respects – much better than what I bought a year ago.
Making a lamp
Ceiling lamp
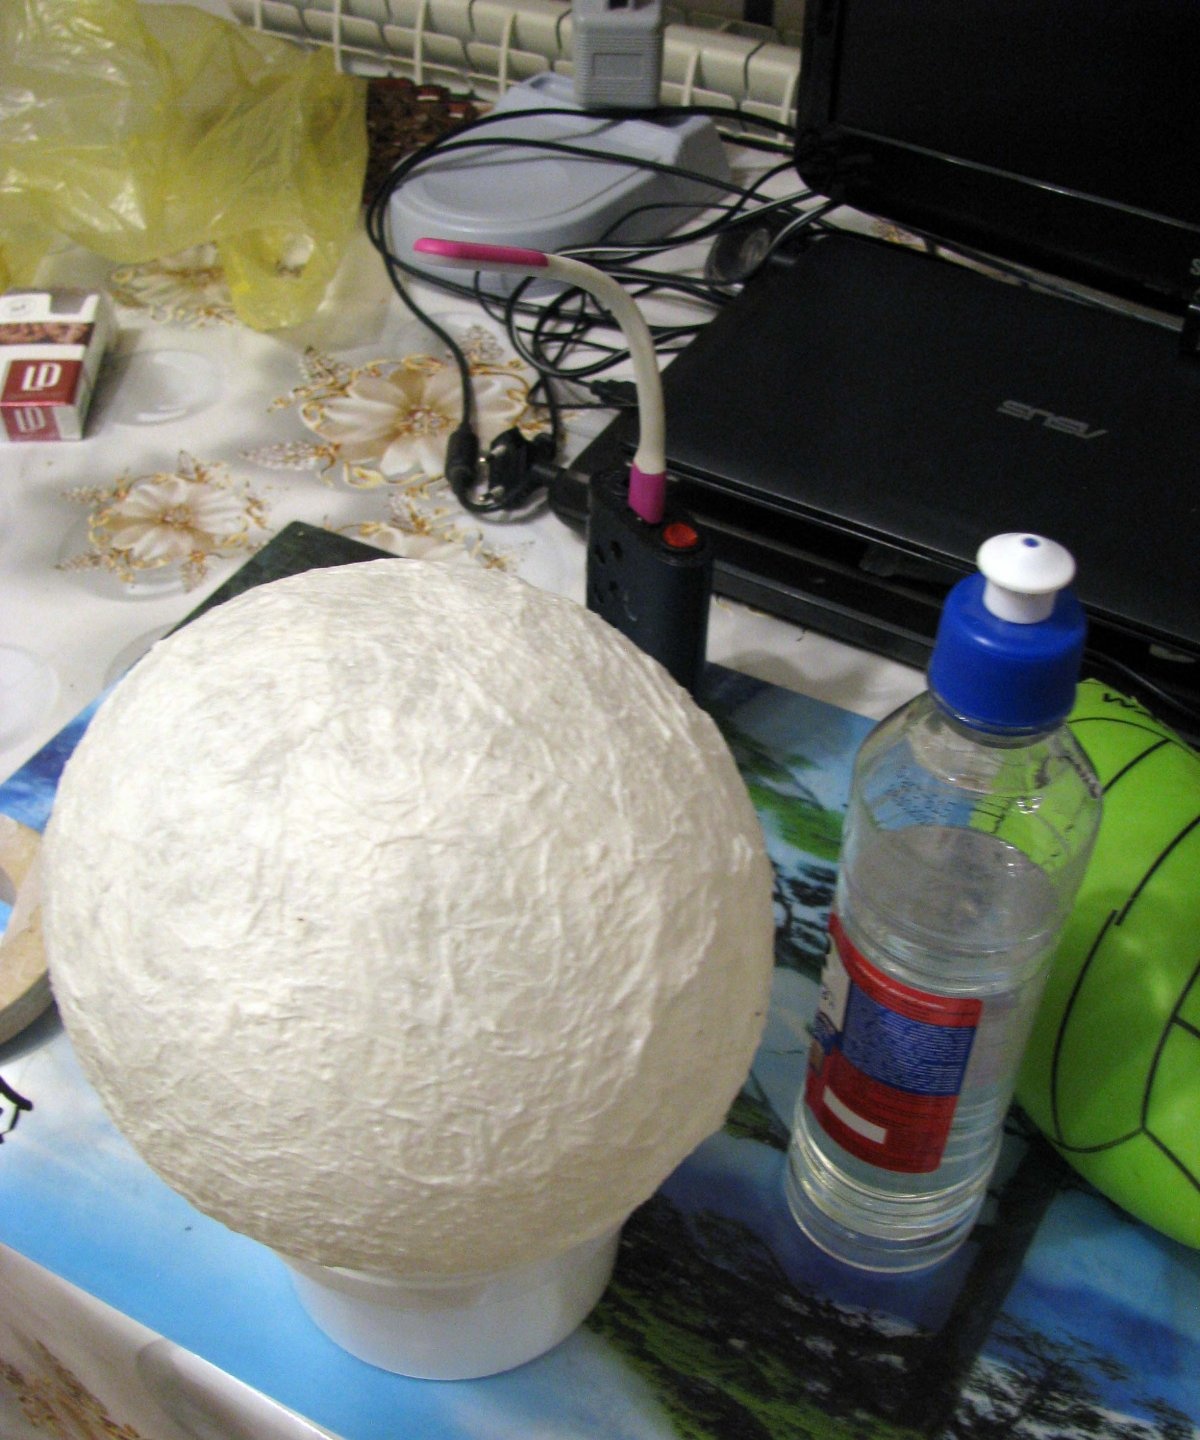
It can be ready-made, for example, matte spheres from street lamps, or spheres made of granulated polystyrene - this option would be best, but I didn’t have either one.
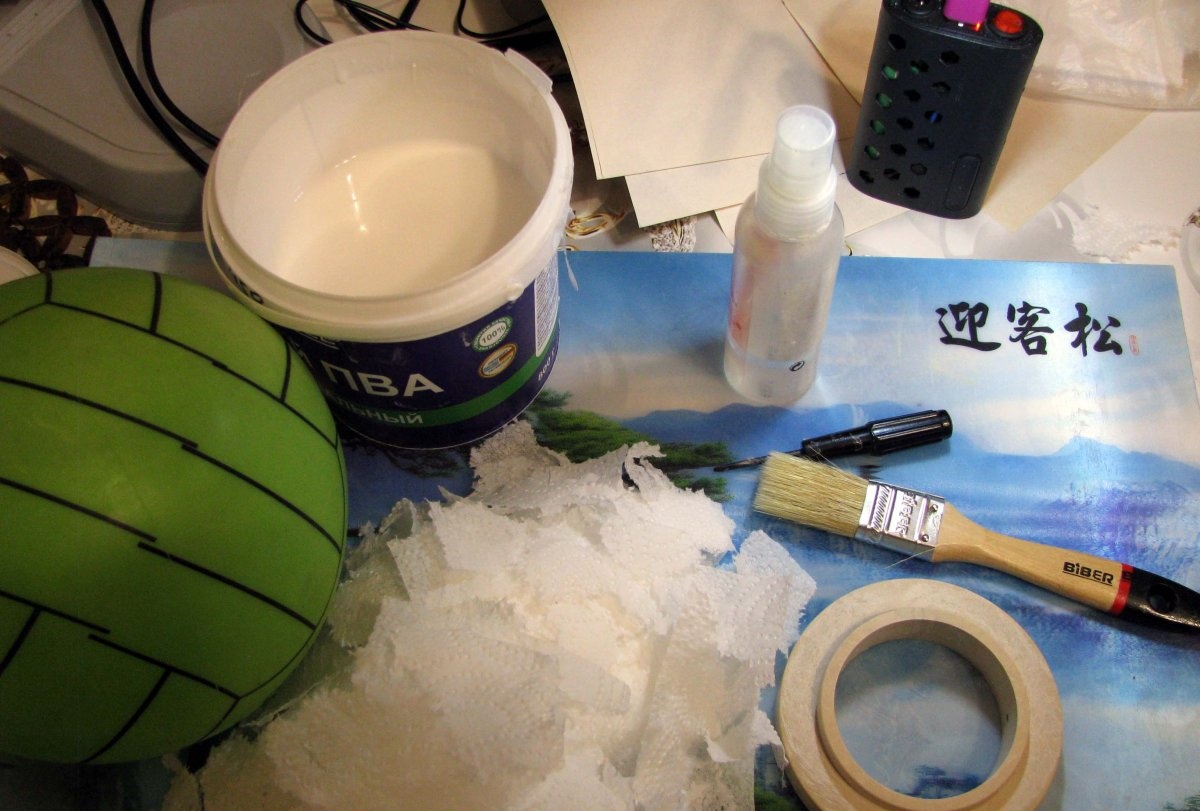
I prepared:
- - PVA glue;
- - a ball made of thin rubber;
- - narrow paint brush;
- - small screwdriver;
- - a very fine spray of water;
- - one sixth of a roll of two-ply paper towels;
- - any torus-shaped stand.
Since the towel is two-layer, its sheets will have to be separated. This version of the lamp is not the first, and this time I decided that a thinner lampshade would look more advantageous, and in addition, it would absorb less light.
If possible, tear the sheets of towel into random shreds, do not be lazy. The appearance and whether the joint lines will be visible on the surface of the lampshade depends on this.
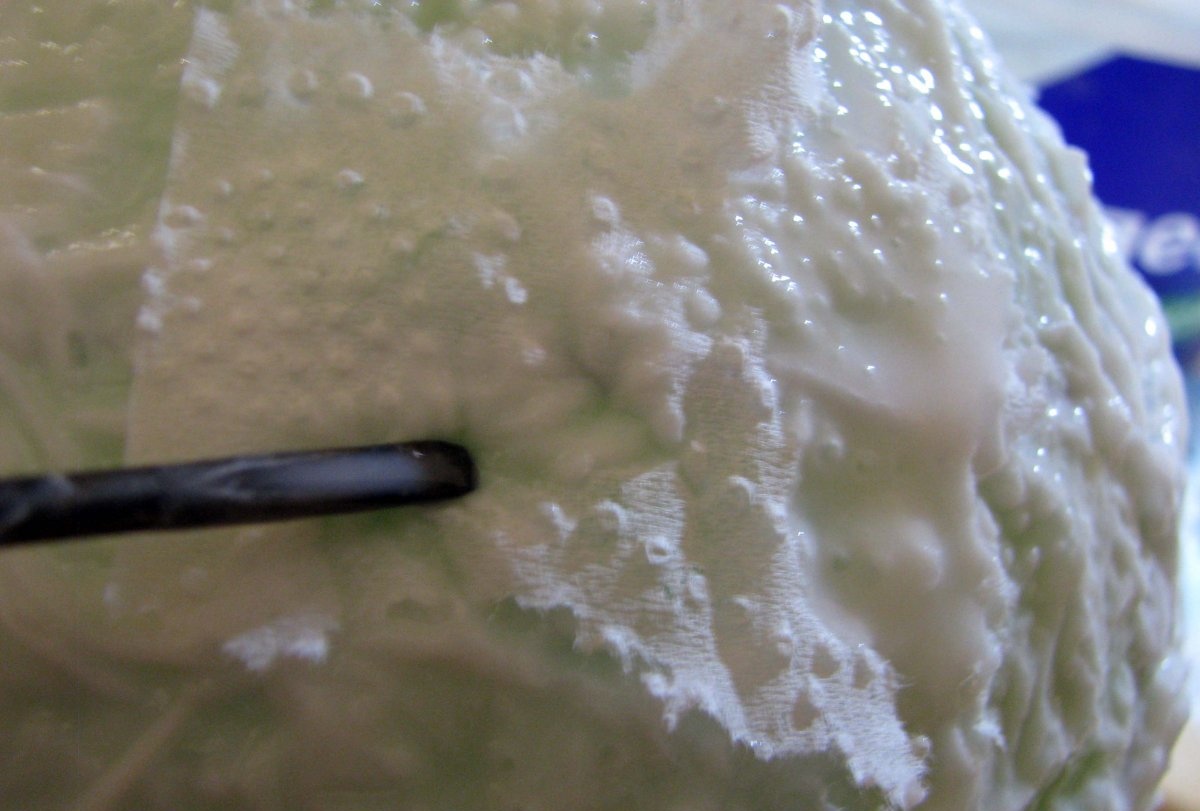
Place the ball on the stand, moisten its surface with a spray bottle and, overlapping, lay the first layer of paper scraps.
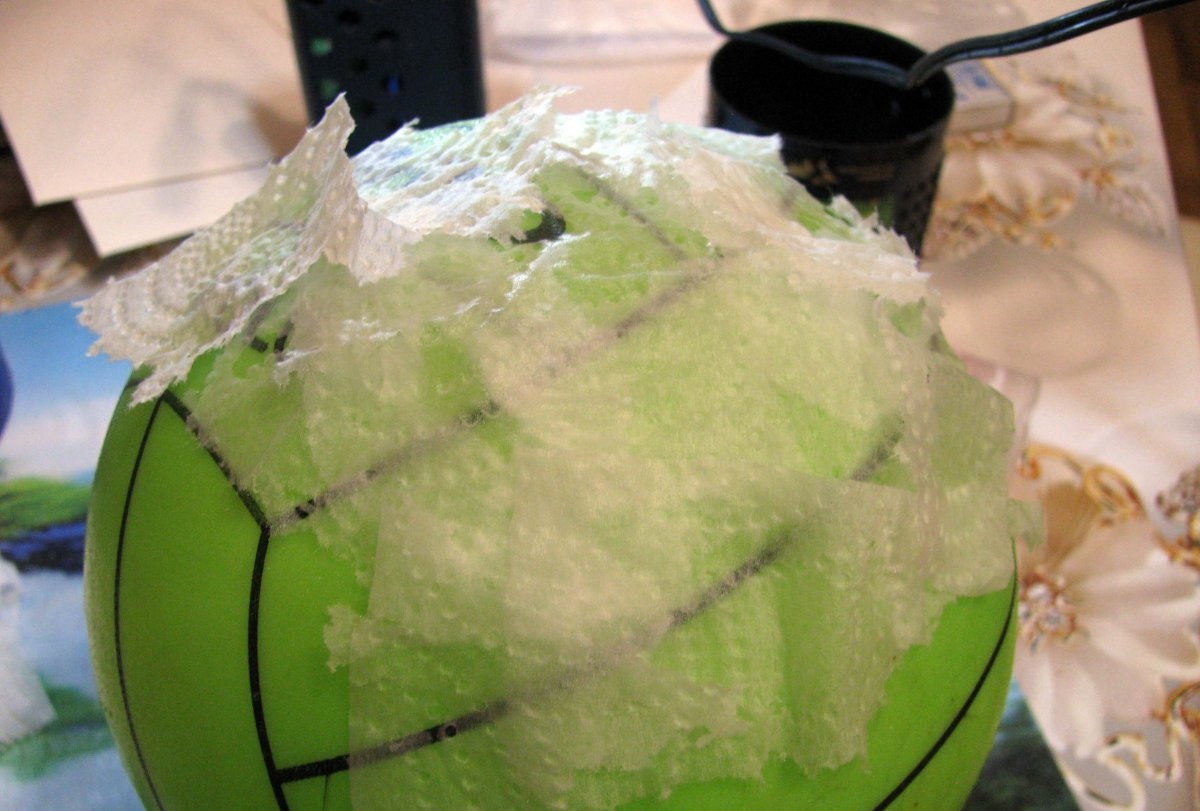
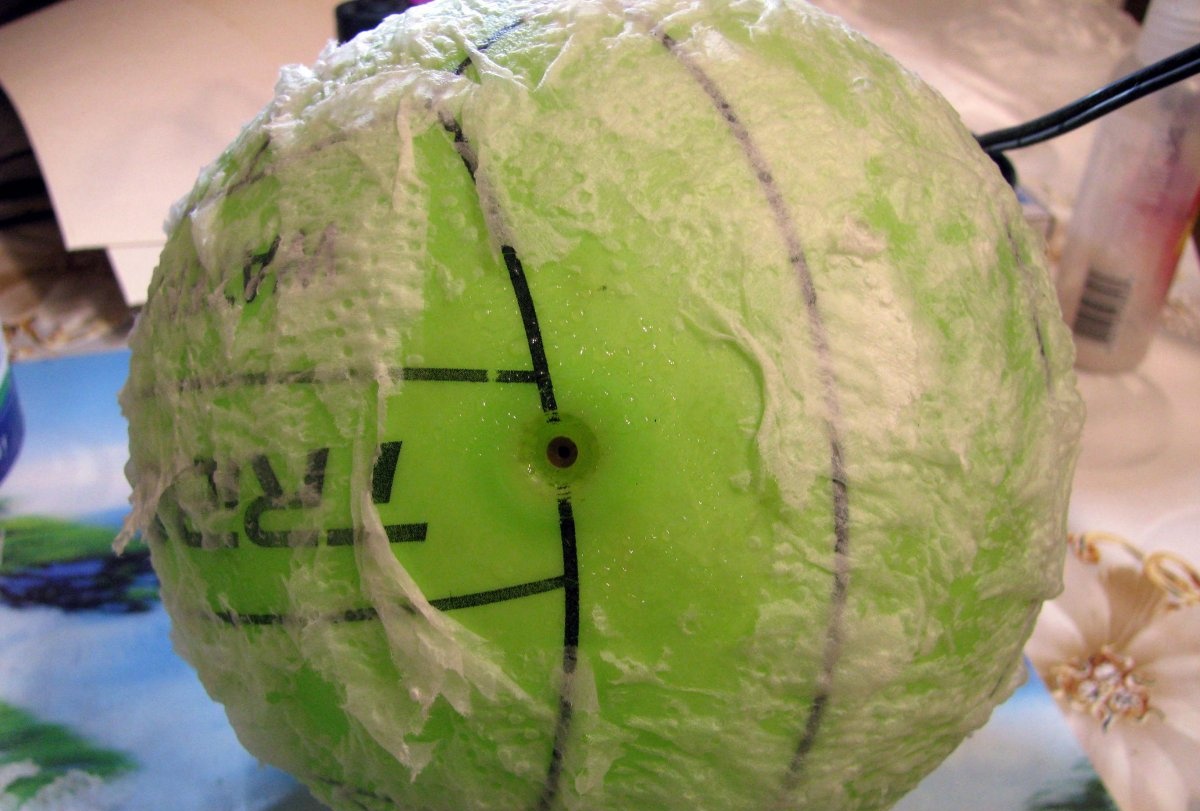
You should form a hole in the future lampshade and leave free space for it.
Make sure that the paper is evenly moistened, let our first layer dry a little and start applying PVA glue
And then apply a second layer of paper. Apply the glue using broad, tangential brush strokes. To avoid spreading dirt and getting your fingers dirty, use a screwdriver (or lancet, spatula, palette knife) to hold the scraps of paper in place.
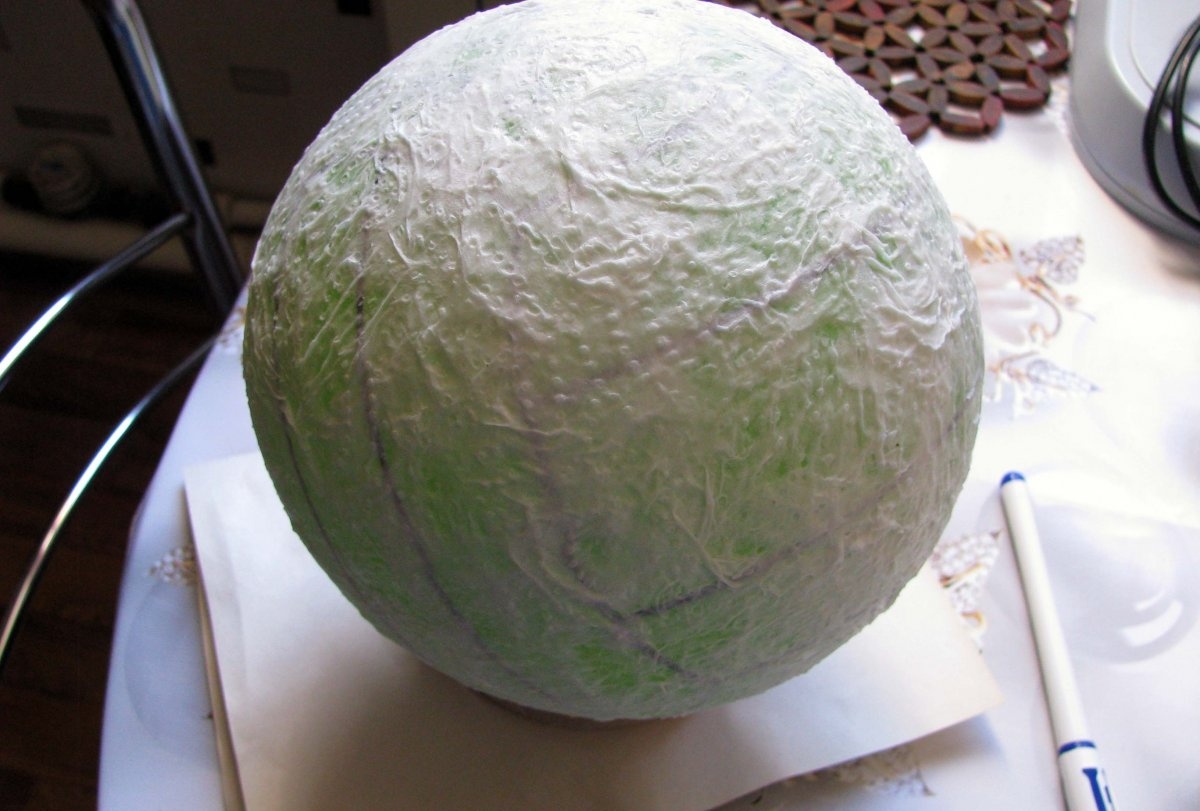
Let the second layer set for an hour or two, and in the same way, apply the third layer on top, secure with another layer of PVA glue.
Place a sheet of paper between the ball and the ring-shaped base and leave the sphere alone for a day.
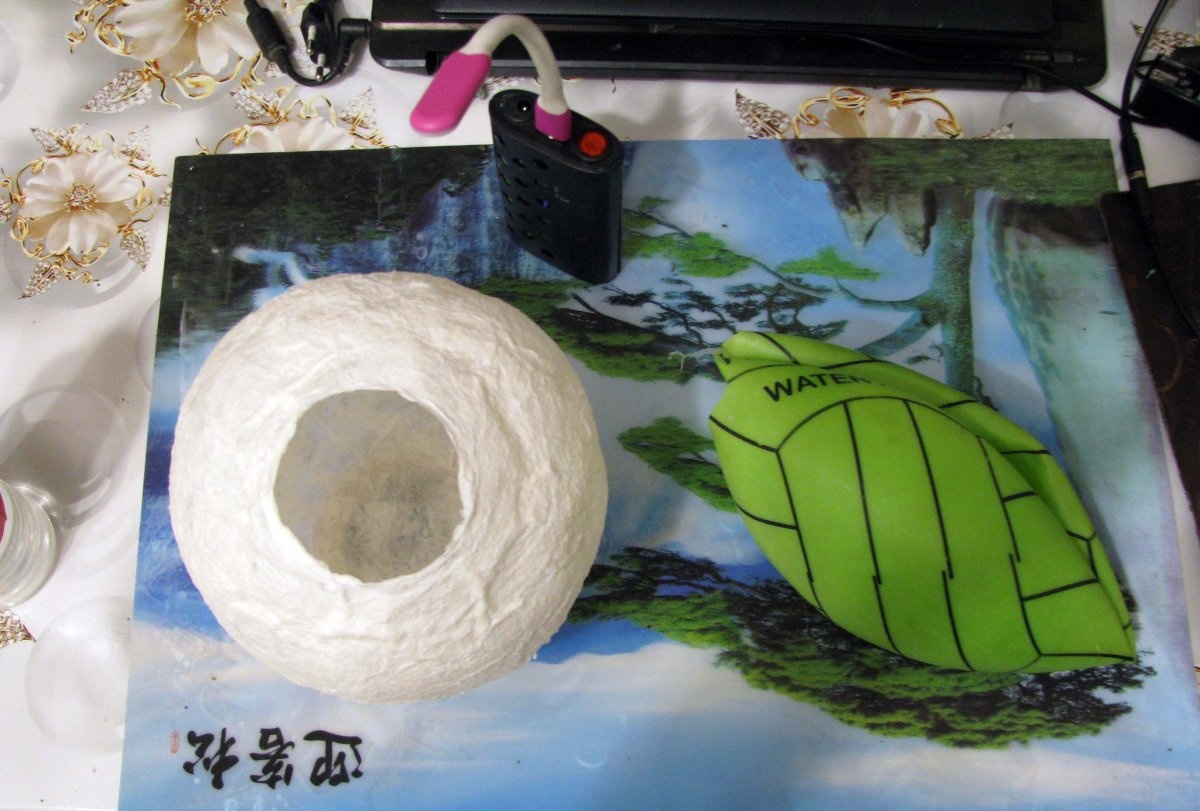
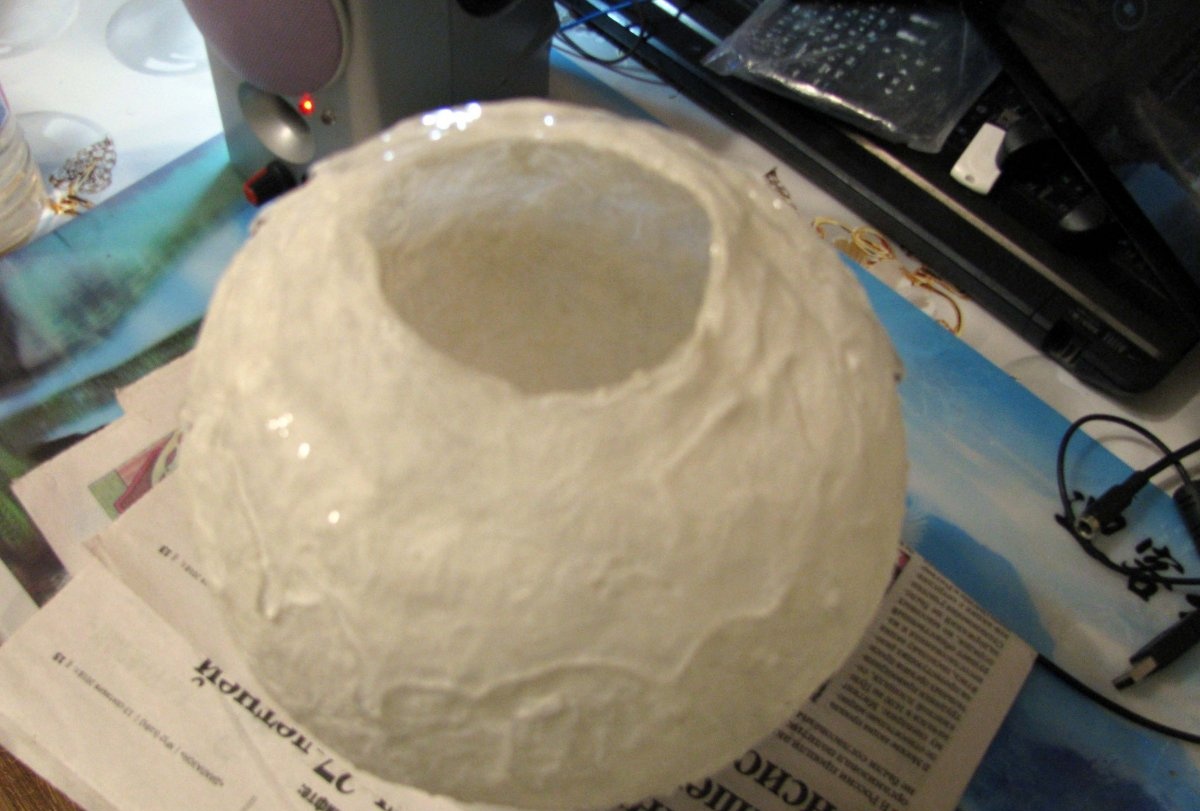
A day later, I cut a window in the ball:

And he carefully took it out of the paper sphere:
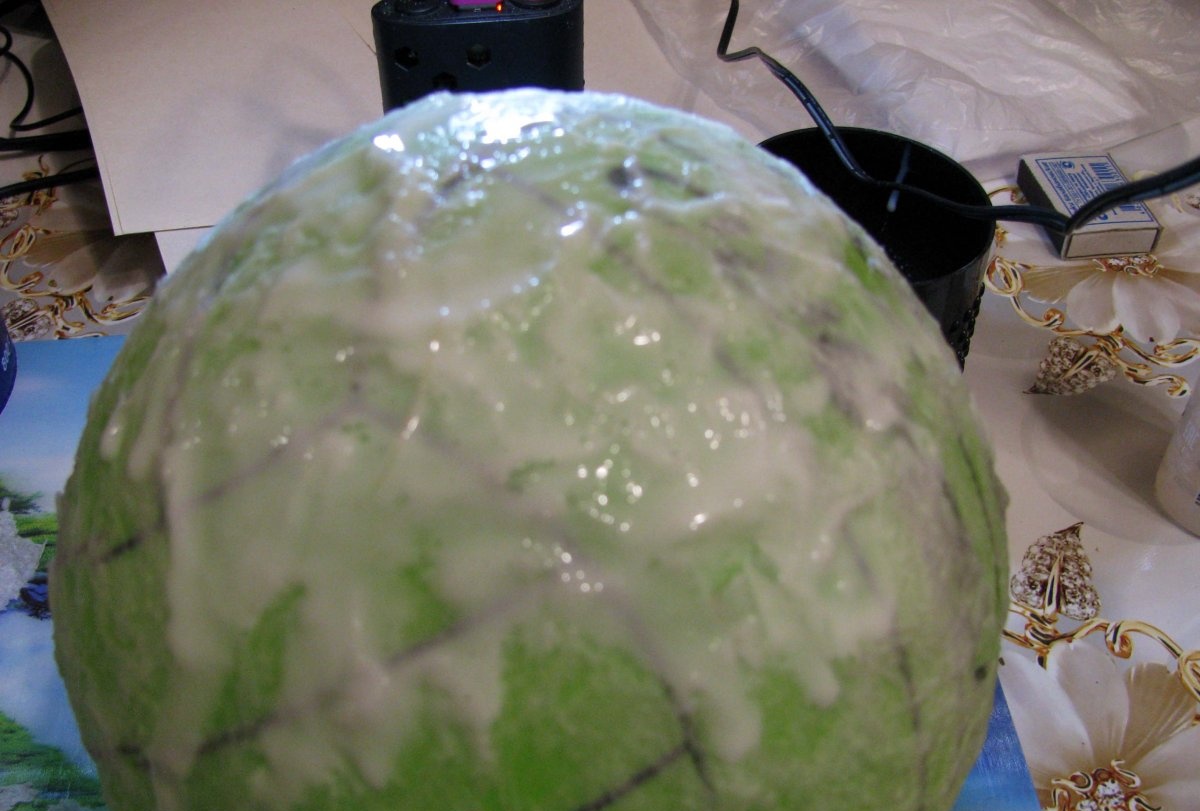
Strengthening the sphere
This time, unlike the previous one, I decided to strengthen the sphere from the inside. To do this I needed clear glue from a hardware store. I don’t know what it will be like for you, in its composition there is only one line “vinyl acetate copolymers”.
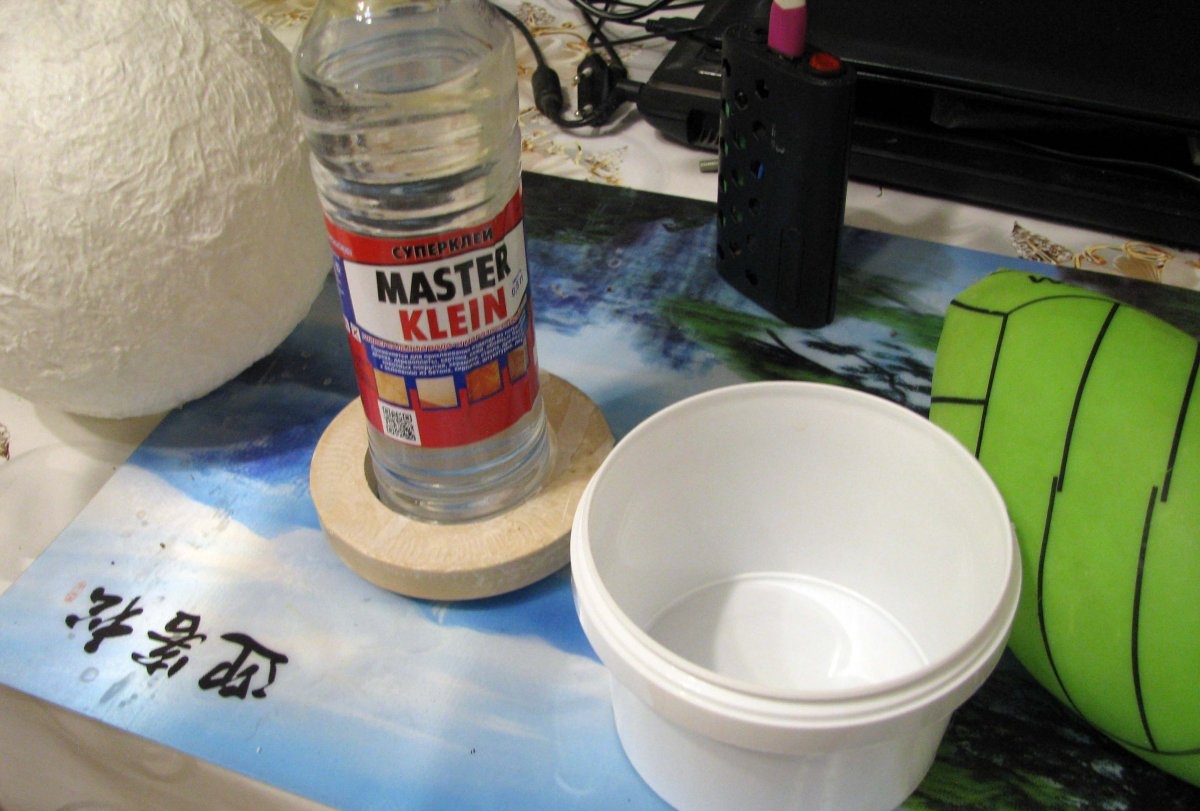
I poured a fifth of a half-liter bottle of glue inside the sphere, and rotating the sphere, evenly distributed the glue along the inner walls. Once the glue had reached the neck, I placed the sphere on top of the empty yogurt container and left it for another day.
Now, transparent glue should be applied, starting from the hole in the neck of the sphere in a spiral downwards - this will be most even, as soon as the glue reaches the equator of the sphere, place the sphere on a stand, and the entire structure on the newspaper.
Excess glue will drip and harden. If there are gaps in the adhesive coating somewhere, tighten the adjacent layer of adhesive with a spatula or the end of a knife.
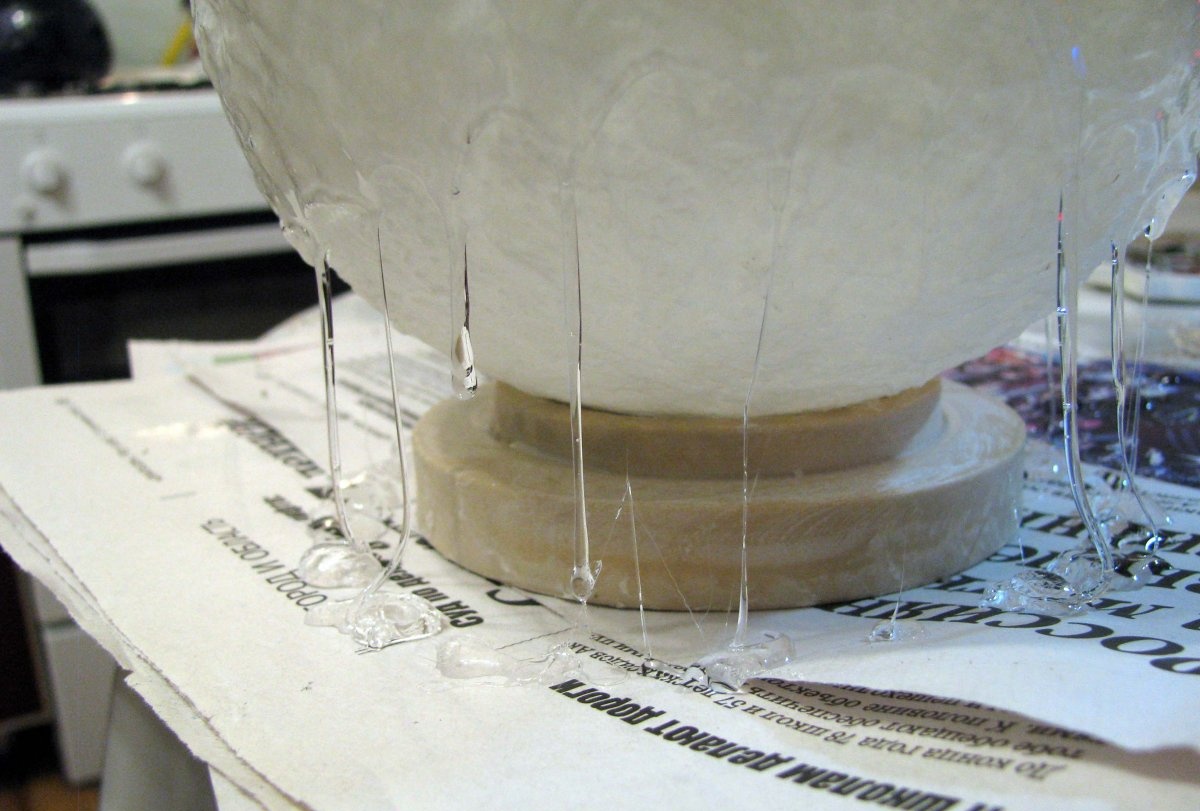
After half a day, use a razor blade to cut off the frozen sagging and drops. Flip the sphere 180 degrees, and apply glue to the previously clean top north pole of the sphere.
Allow the glue to fully cure for at least a day.
That's it, the lampshade is ready, let's move on to the stand.
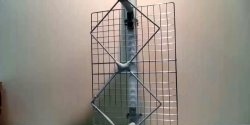
Stand
By chance, in my garage, there were four rings made of a material similar to synthetic “clay”, which hardens after heat treatment. But, as such a stand, any object similar to a donut will do. Cutting a thick branch of suitable diameter will also work. In addition, such a stand can be cast from epoxy resin or from gypsum mixed with the same PVA glue. Your choice.
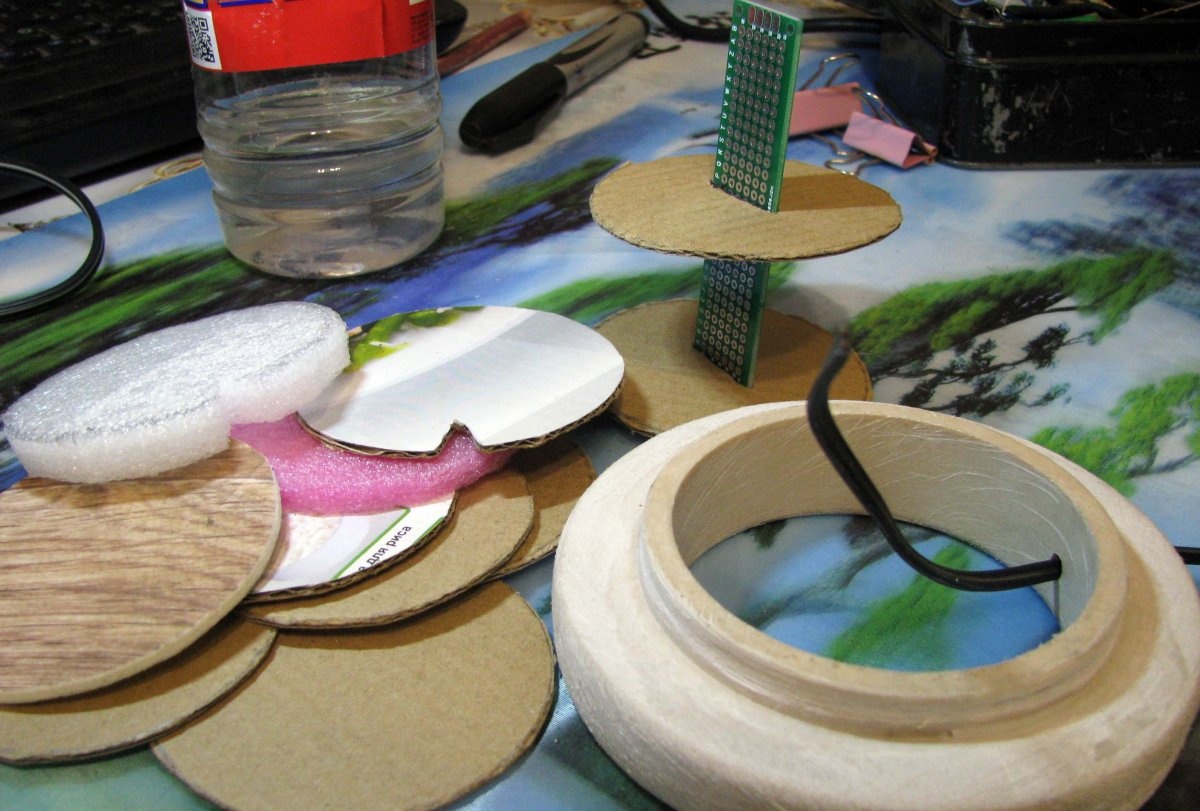
For the electrical cord, I drilled a through hole at the end of the stand, and sanded the stand itself.
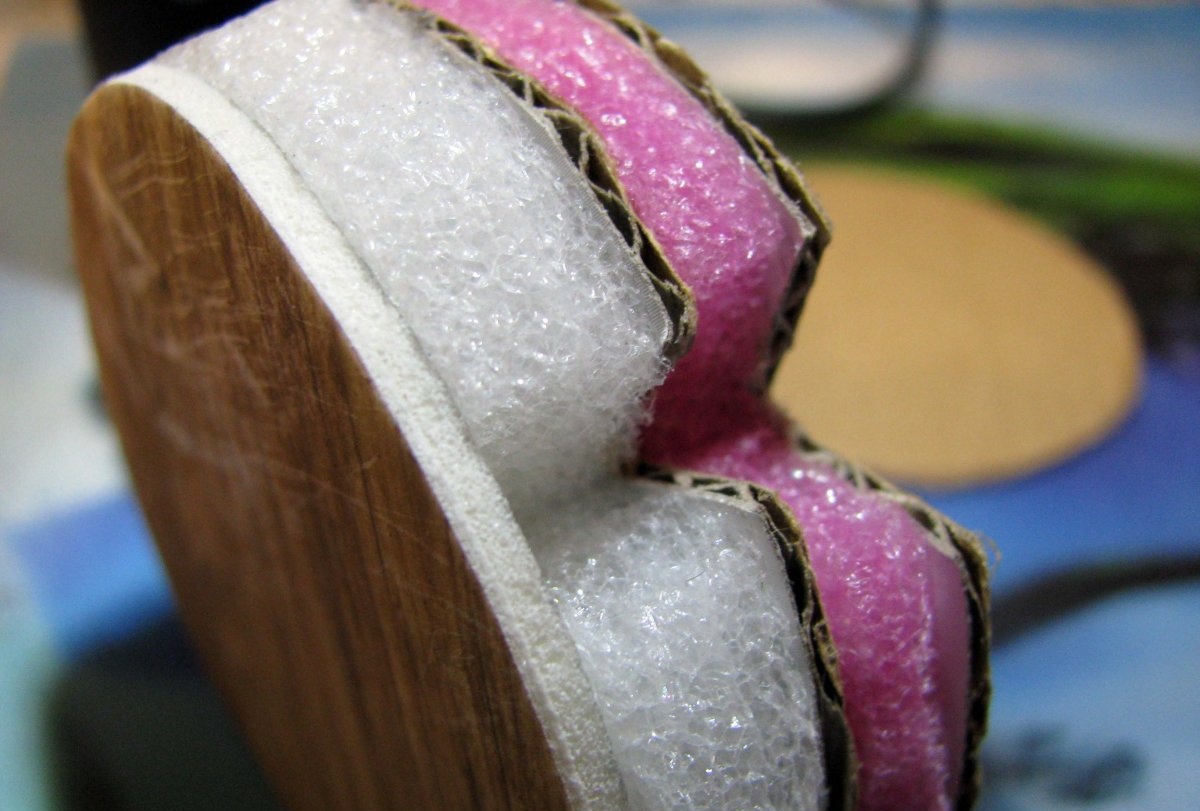
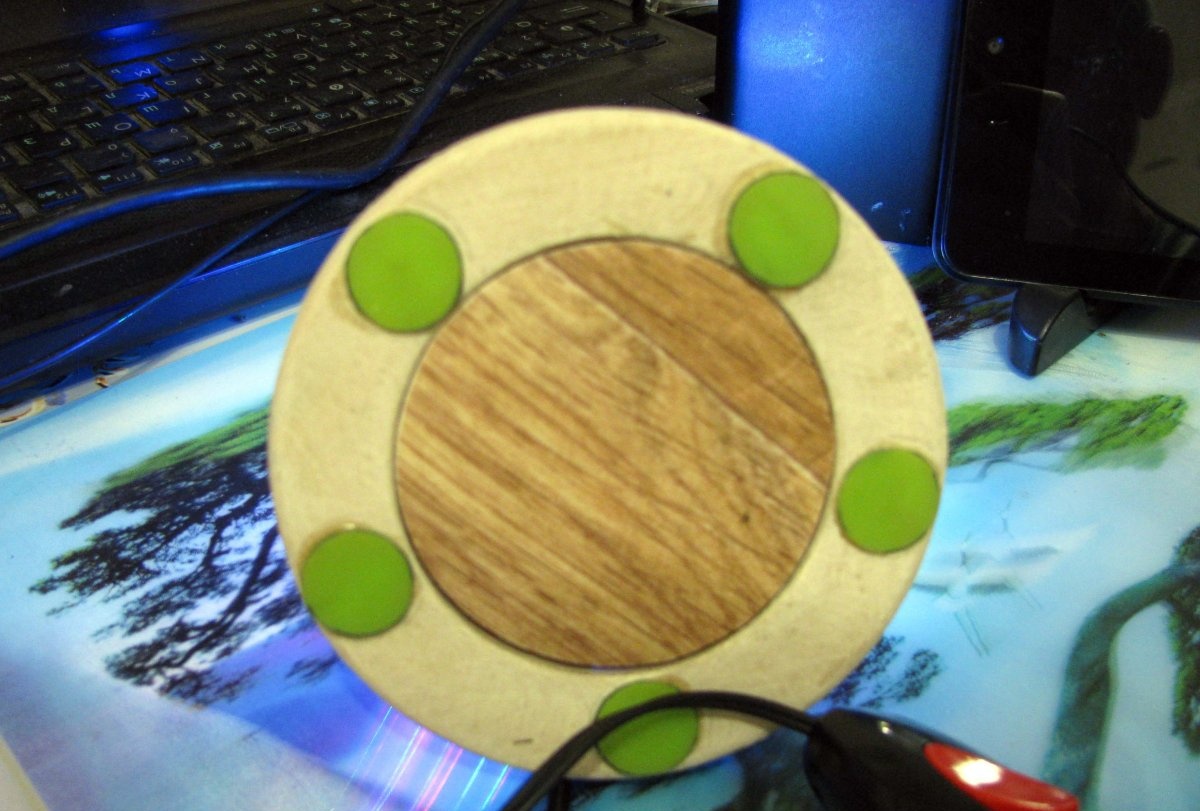
For inserts, I cut out several circles from cardboard.To save them, I cut the same mugs from foamed polyethylene. I didn't want to mess with the foam, but the cork can be cut from that too.
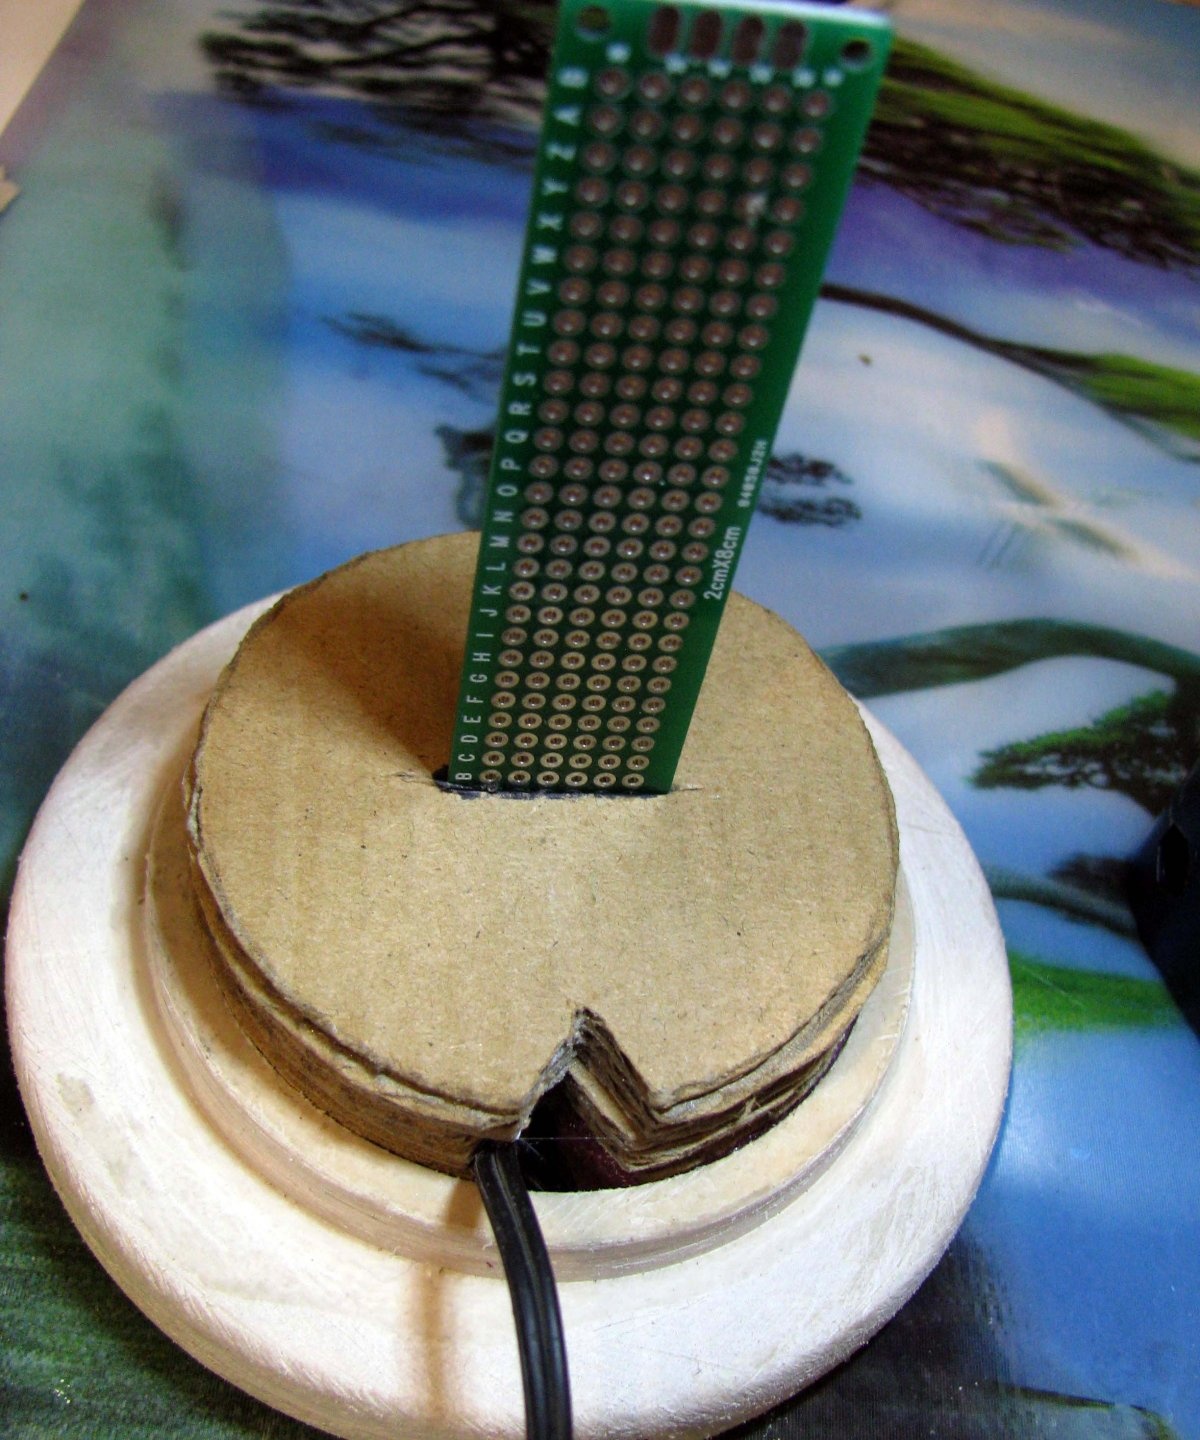
I cut a separate circle from a piece of linoleum, and in three cardboard circles, I cut vertical slits to fix the future circuit board.
In the glued “sandwich” I cut out triangular sectors for free passage of the power cable.
As can be seen from the photo below, the circuit board will protrude above the surface of the stand; this was done intentionally, for more uniform illumination of the lampshade from the inside.
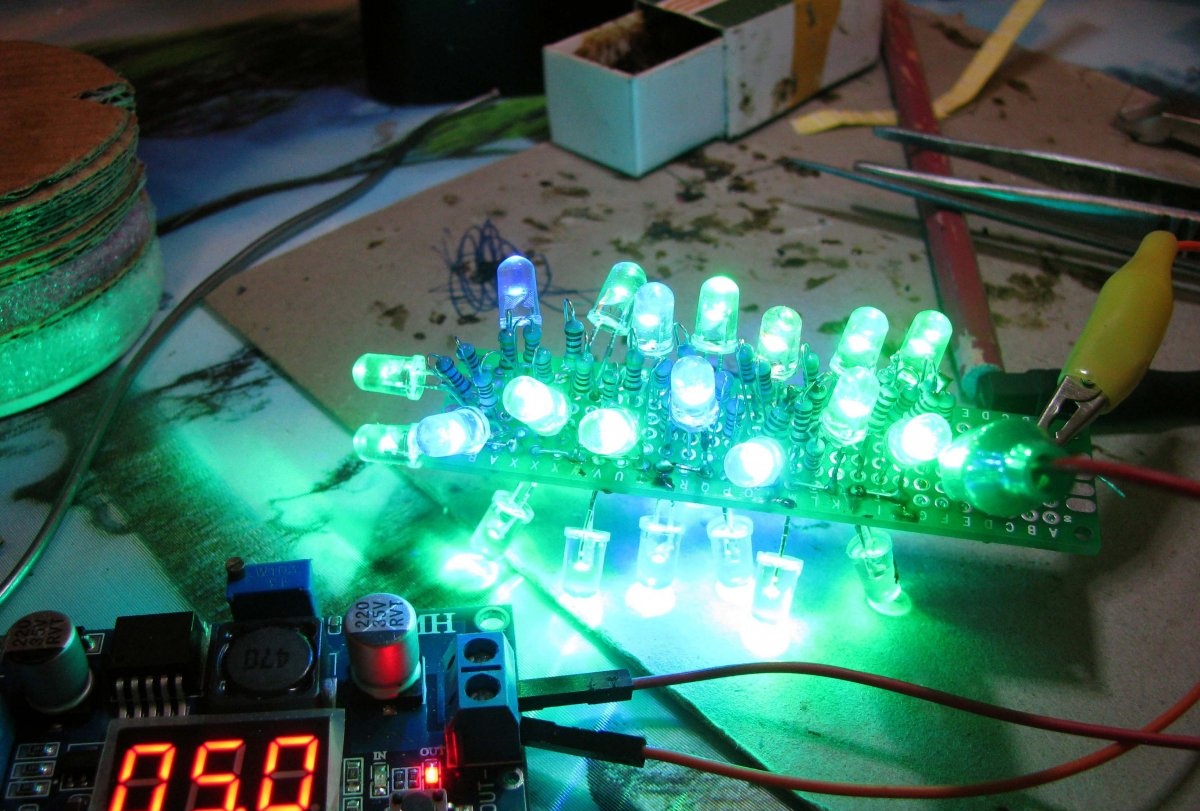
Electronic part of the lamp
In addition to the circuit board, I needed thirty pieces of so-called slow flash LEDs and thirty current-limiting resistors of 470 Ohms each.
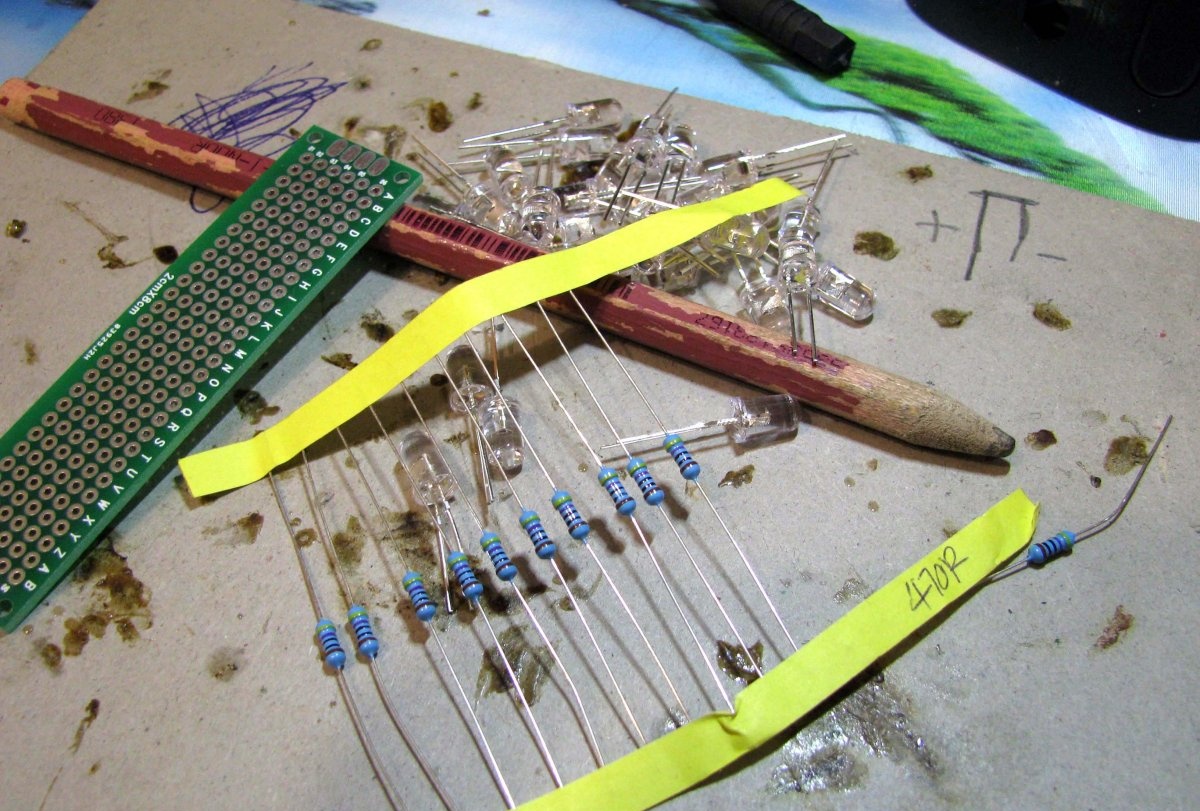
The assembly process is a bit monotonous. Fourteen diodes were placed on one edge of the circuit board, fourteen on the other, and two on the end.
Since we are not engaged in industrial production, but in piece production, try your best =)
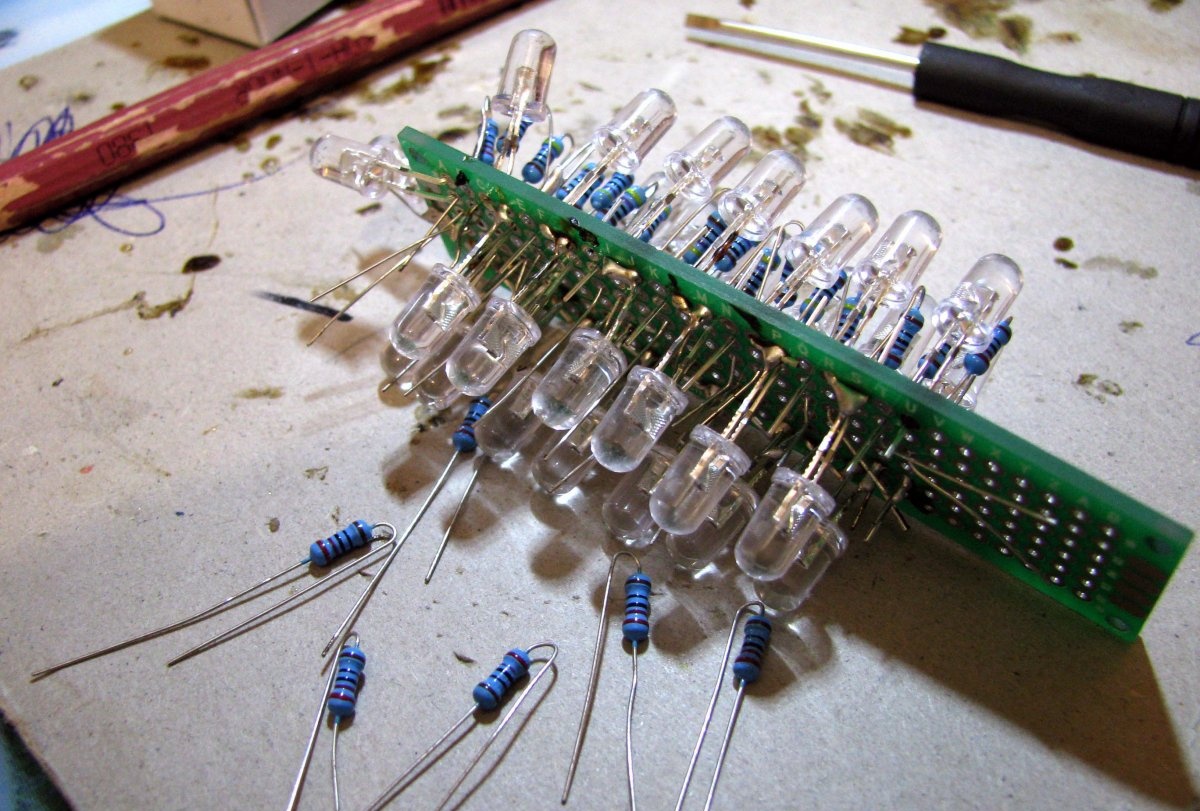
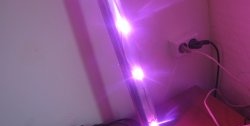
Although everything LEDs start simultaneously or differently, reach already in the fifteenth second.
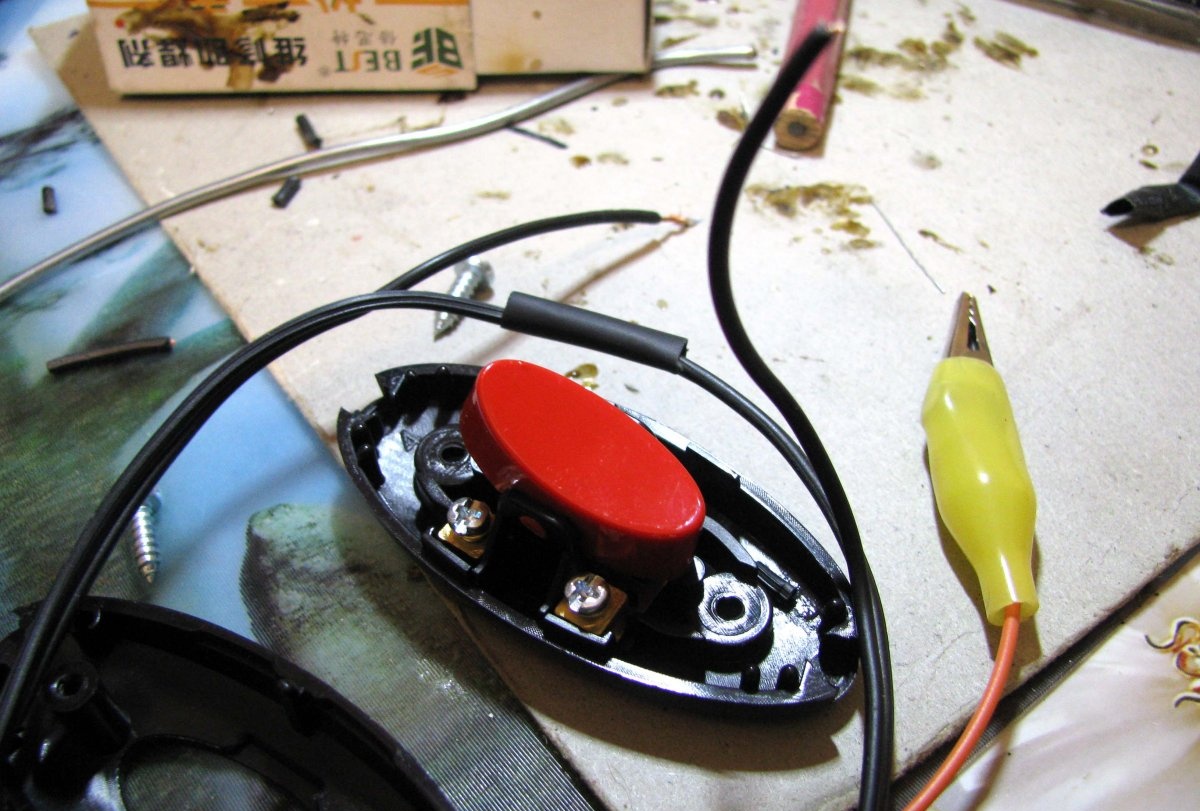
I embedded a regular switch into the power cord, and soldered a USB plug to the other end; the lamp can be powered by any device with a USB port.
On the back of the stand, I glued five anti-slip pads cut from a deflated ball.
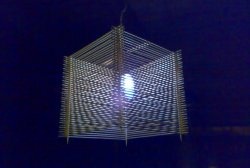
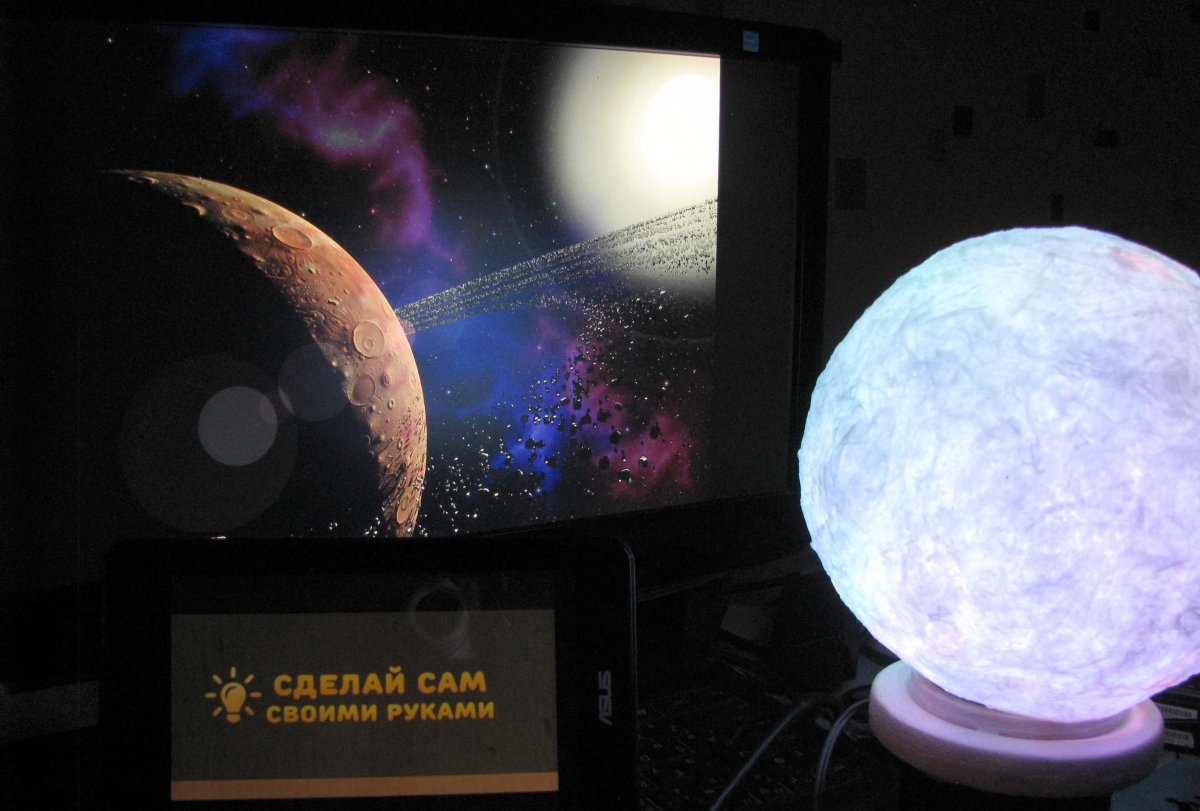
Having placed the lampshade in place, it’s time to admire the result.

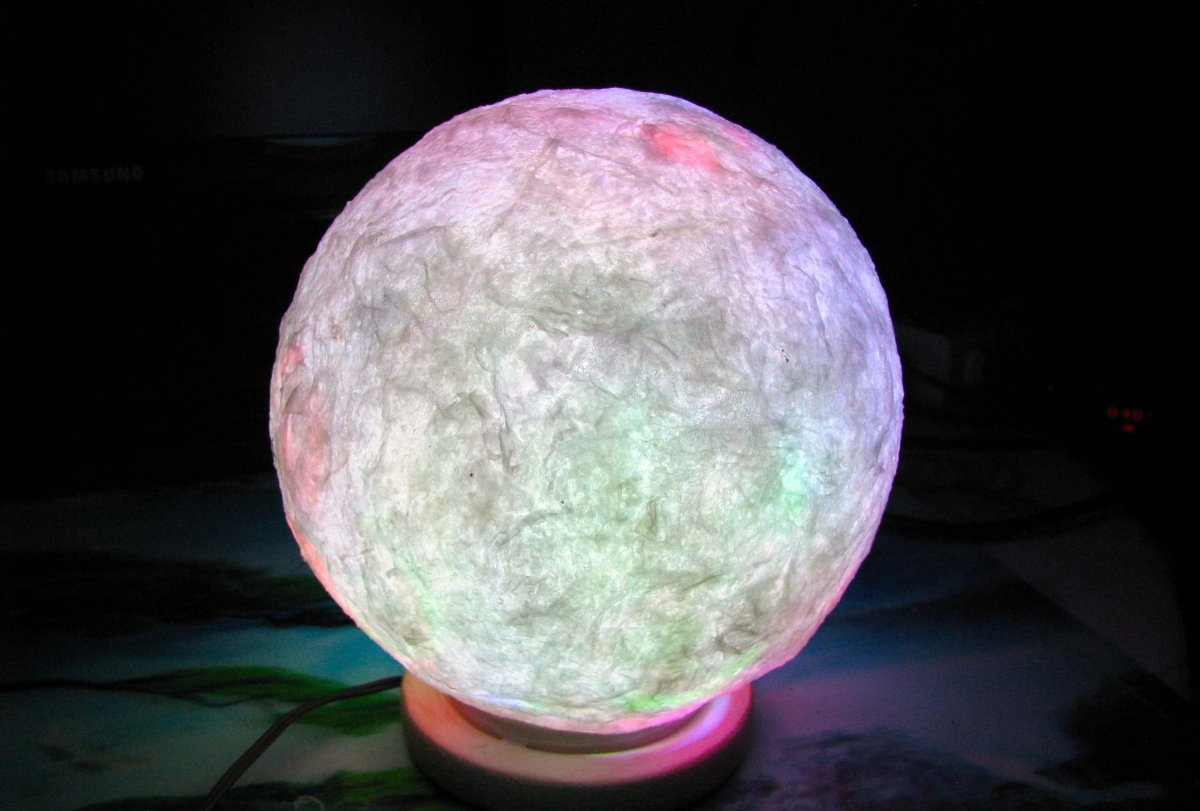
Most of all, the resulting Ambient light is similar to some of Saturn's moons.
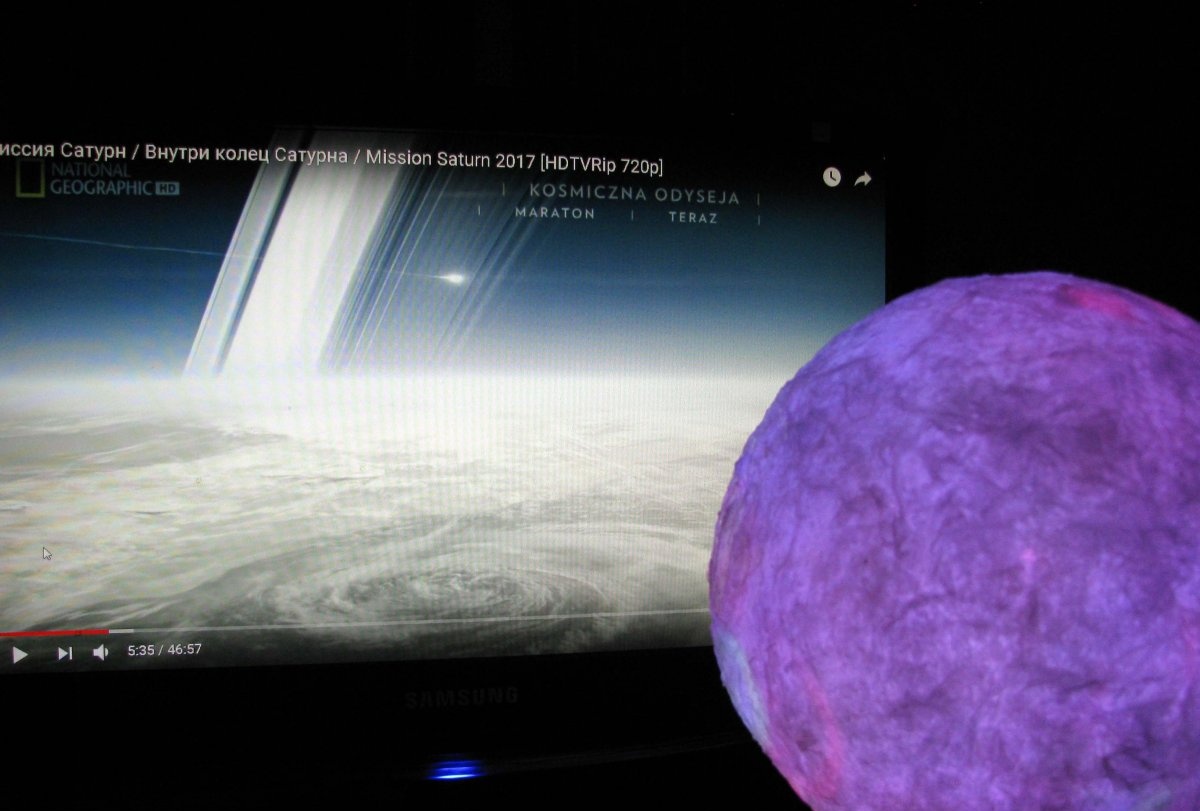
And sometimes, to the satellites of Jupiter.
Conclusion
The most important thing lies in the arrangement of the lampshade lighting.A purchased lamp uses (not counting just white) three sources of monochrome radiation of the optical range - in total, this is one RGB triad, in my version, there are thirty similar triads.
In a purchased lamp, there are several algorithms for controlling the LED triad and they are limited in options; in my version, each LED has its own random number generator built in, which guarantees the uniqueness of switching crystals for at least twenty minutes.
Although the finished projector uses separate monochrome LEDs, there are LEDs that technologically combine the three.
Each crystal can be controlled independently by its corresponding electrodes. And it seems to me that I have seen lamps assembled on such hybrid LEDs.
The LEDs that I used are self-controlled; it is not possible to change the crystal switching algorithm, but it is not necessary.
The color picture created by thirty independent random number generators is many times richer and more attractive than that of any commercial lamp.
And of course, this is satisfaction from the work done.
Watch the video
I sped up the video several times.