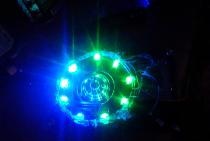
Phyto lamp LEDs, specially designed for lighting plants in greenhouses with a spectrum of 440-470 nm, and 630-670 nm. This is the same spectrum that is best absorbed by plants.
Of course, you can buy a lamp for growing plants, but the prices for them, frankly speaking, are unreasonably high. And therefore we will make it ourselves and at an affordable price.
First, let's stock up on materials for our future lamp.
We will need:
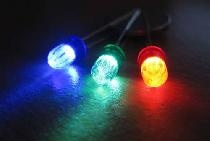
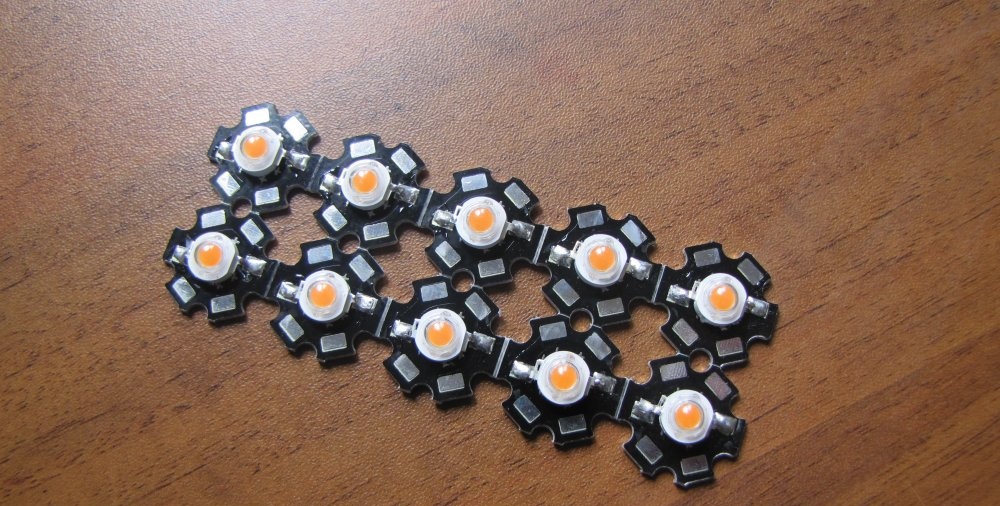
Special LEDs for plants.
Phyto LEDs, specially designed for lighting plants in industrial greenhouses, the emission spectrum of which is in the red and blue ranges of 440-470 nm, and 630-670 nm. Plants actually do not need white and green light and therefore use ordinary LEDs white glow, this is a waste of electricity.
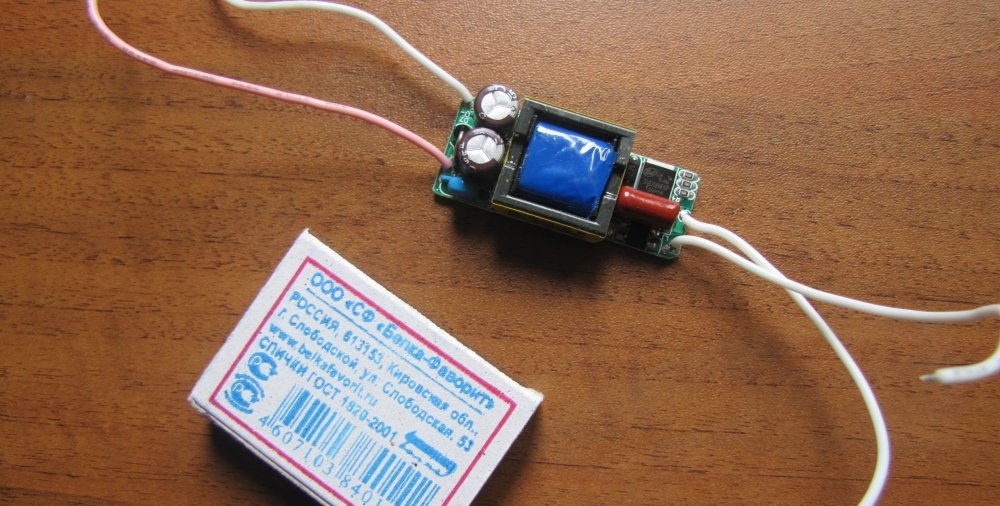
Driver for powering 30 Watt LEDs.
Special driver for food LEDs. You can solder it yourself if you are comfortable with a soldering iron, but the industrially manufactured driver has built-in protection against overload and short circuits, and therefore is safe to use.You can do the same, you’re great! Still, I think it will be cheaper to buy. You need to choose a driver based on quantity and power LEDs, which you are going to use in the lamp. The supply of drivers on the modern market is enormous.
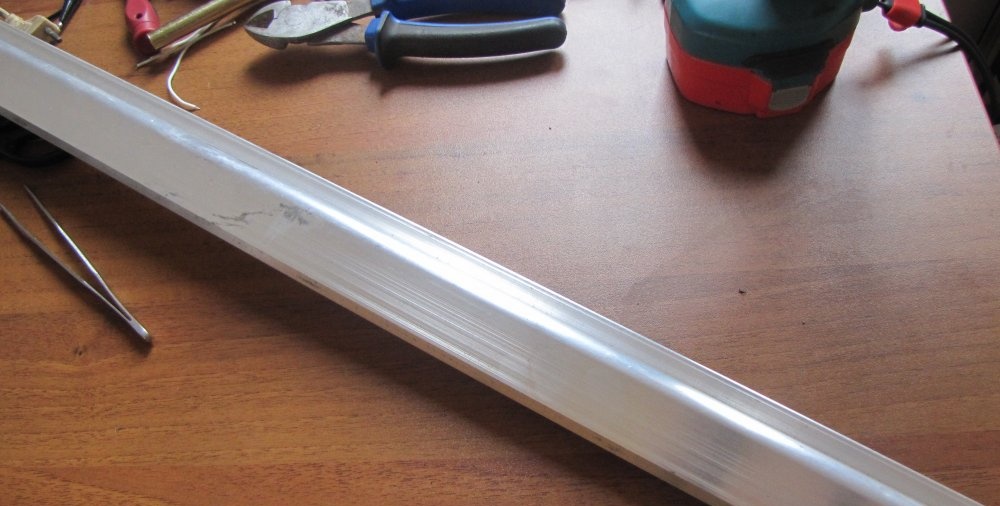
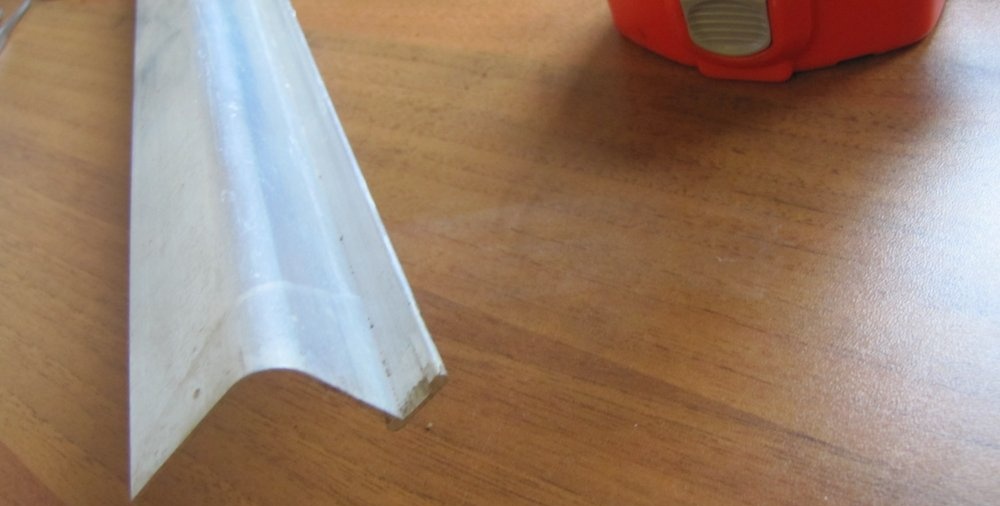
Aluminum profile.
Aluminum profile or some aluminum product suitable for our purposes. You can use a sheet or a tray. If you cut an old pan, then it can be adapted, but it is better, of course, to use a new product, not wrinkled, for a better fit of the LED substrate to the surface and more intense cooling. There are all kinds of profiles on sale now, so choose what is cheaper and best suits you. The only condition is that you need to select the required cooling surface area for each LED. To do this, you need to take into account that the suitable temperature for normal operation of the LED is 65 degrees, but the lower the temperature, the higher the efficiency of the LED and the longer its resource, and therefore the optimal temperature is considered to be 45 degrees and no higher. For every watt of LED power, a cooling area of an aluminum radiator of approximately 20 square centimeters is needed, but it’s better to have more if possible.
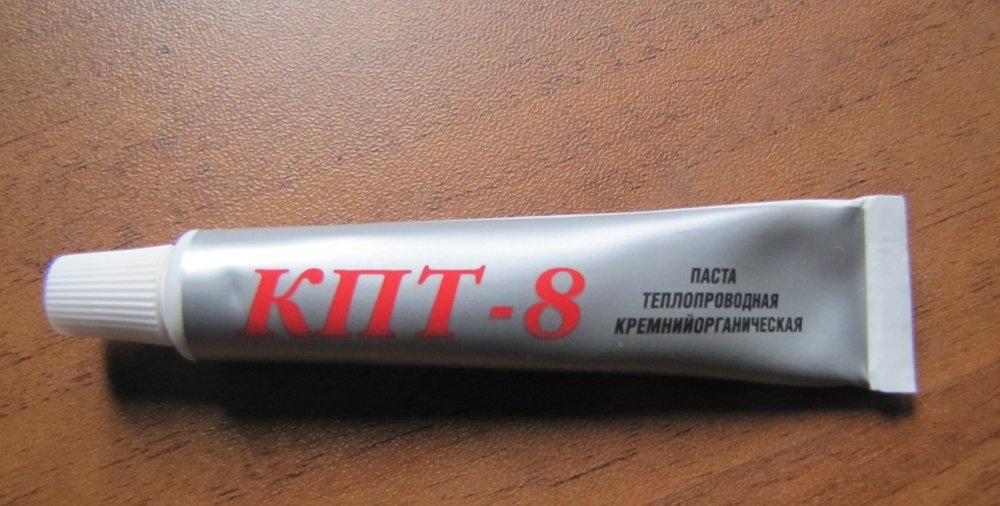
Thermal conductive paste.
Thermal conductive paste. Radio parts stores have a large selection and are not very expensive.
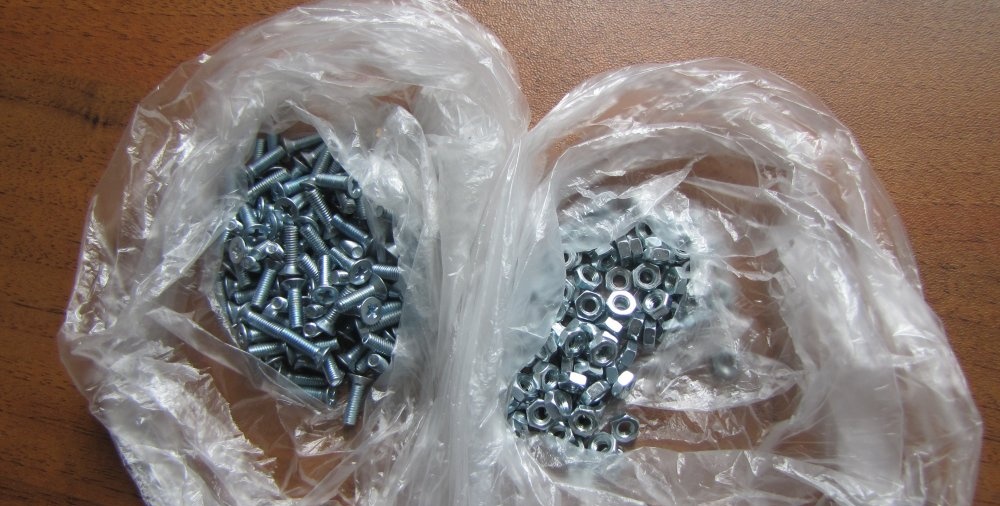
Bolts and nuts for 2.
Bolts and nuts 2 mm. The stores cost pennies. You need to choose a bolt with a countersunk head; then it does not close the contact plates of the LED. Select the length of the bolt taking into account the thickness of the profile and plus 6 mm.
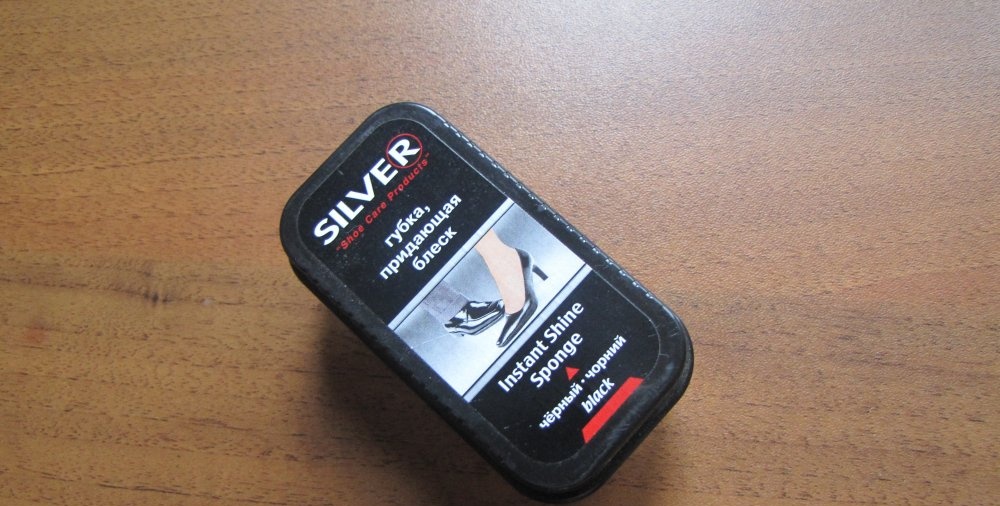
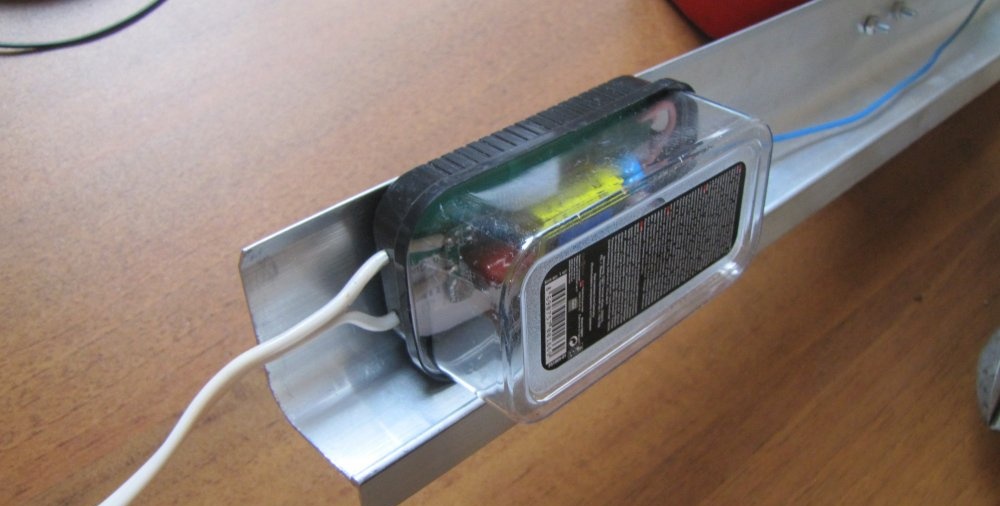
Driver box.
Wires for soldering to LEDs (can be from old equipment), a little tin, flux (whatever you have) for soldering, a soldering iron, a 2 mm drill bit with a drill, a plug with a wire for connecting the future lamp to the network, a small plastic box for the driver and you can get started for production. The box can even be used as a shoe cleaning sponge.
Making an LED plant light
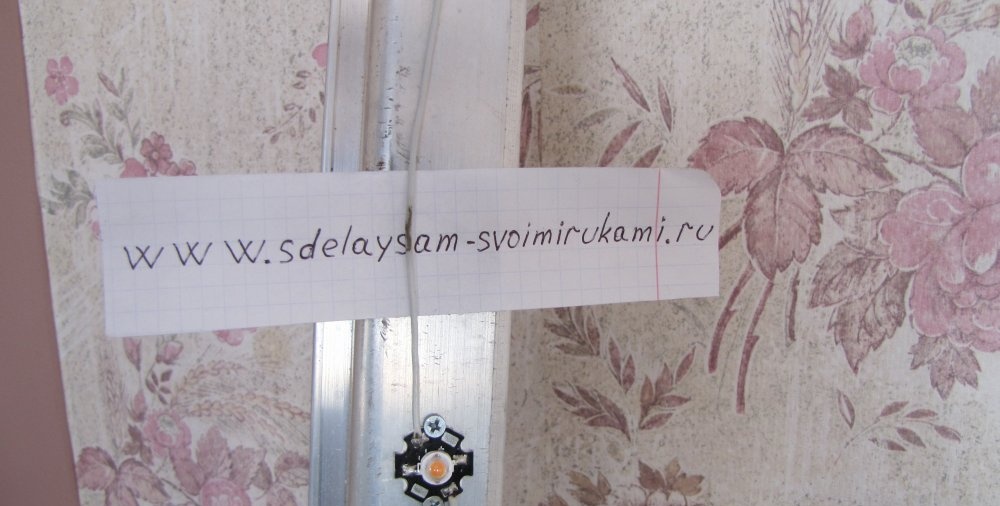
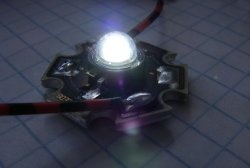
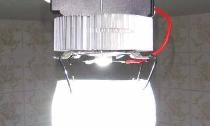
First, let's mark the profile for drilling holes for mounting. LEDs. Using a 2 mm drill, first drill 2 holes for one LED, try to screw it into place and, if everything fits well, drill the rest. Next, we spread a thin layer of heat-conducting paste on the LED substrate, with the expectation that when attaching the LED with bolts, not a lot of paste will come out under the LED substrate. It is necessary that there is no air left under the LED and there is good heat transfer. The better the cooling of the LED, the longer it will work.
Phyto lamp assembly.
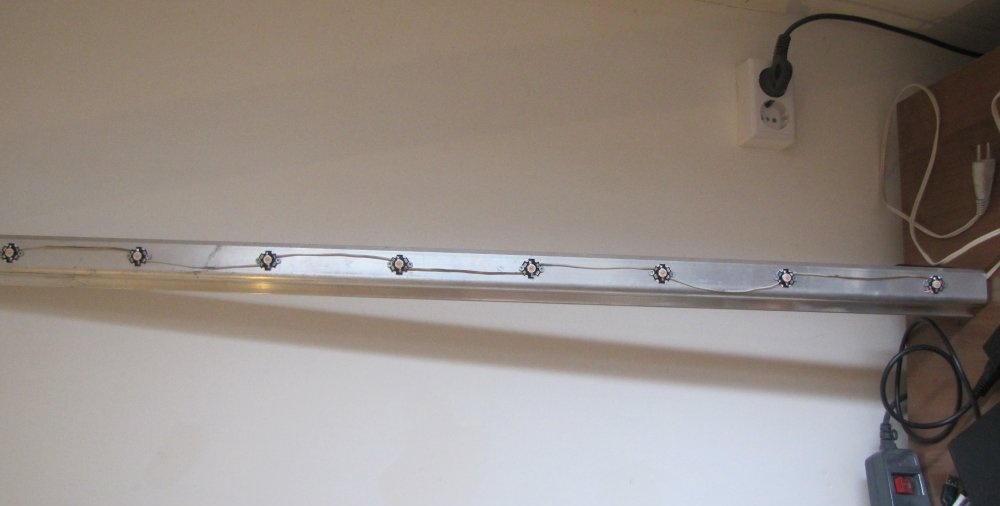
We fix the second LED so that its minus is opposite the plus of the first. And so does everyone else.
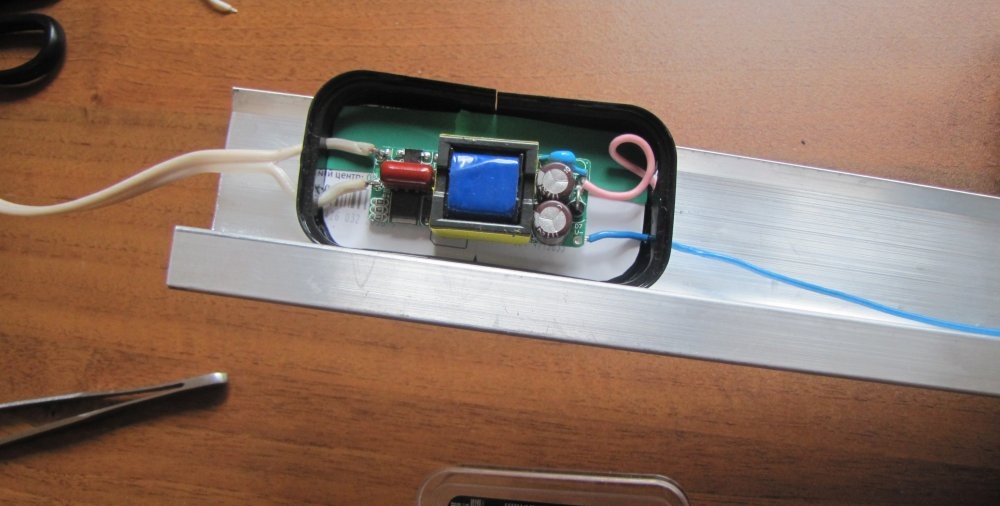
Soldering the driver.
When all the LEDs are fixed, you need to solder them in series, minus one to plus the other, and so on. We solder the soldered chain to the driver, placed in a box and fixed to the profile on the back side of the LEDs.
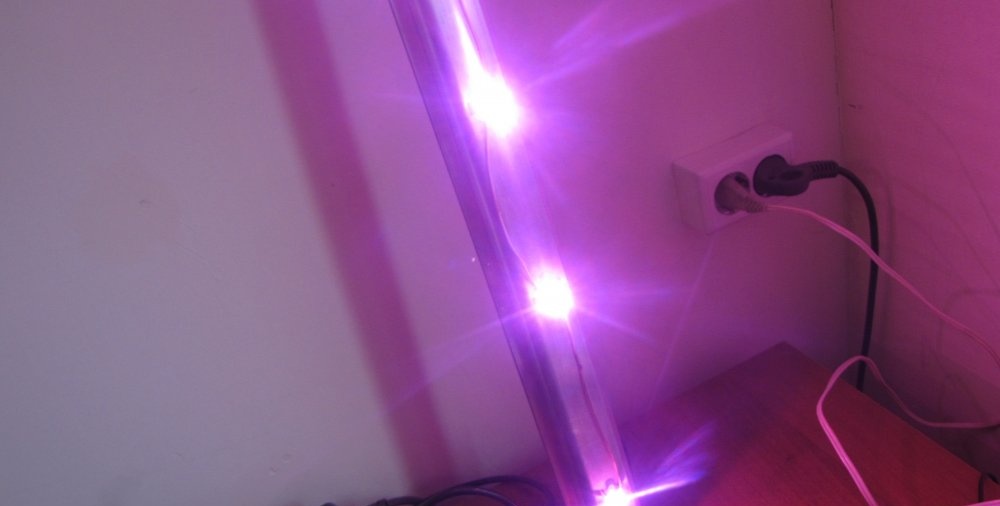
The driver has a “+” and “–” designation, plus usually a red or pink wire. Plus chains of LEDs to the driver's plus and minus, respectively, to the minus. On the other side of the driver, power is connected. It is better to buy a driver powered by 220 volts. If you have one, then solder the wire and plug and you're done.

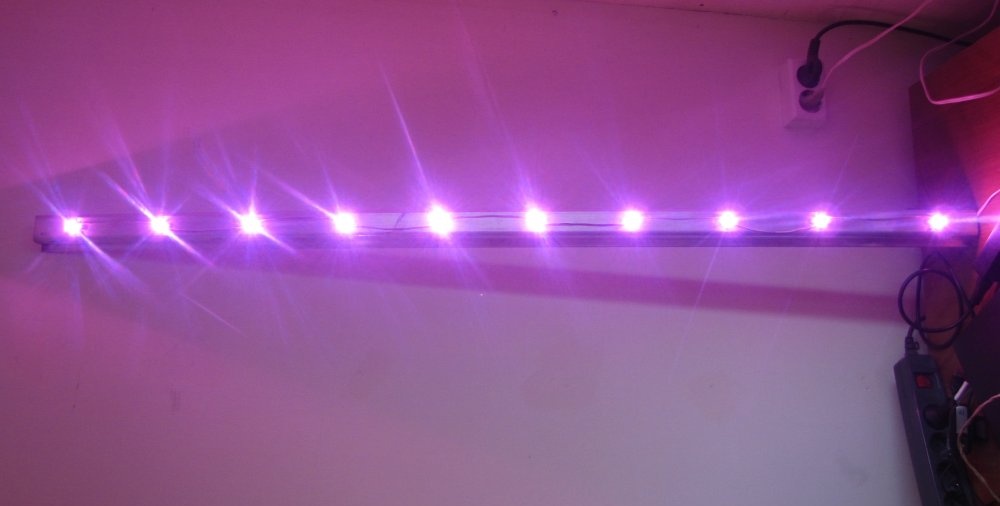
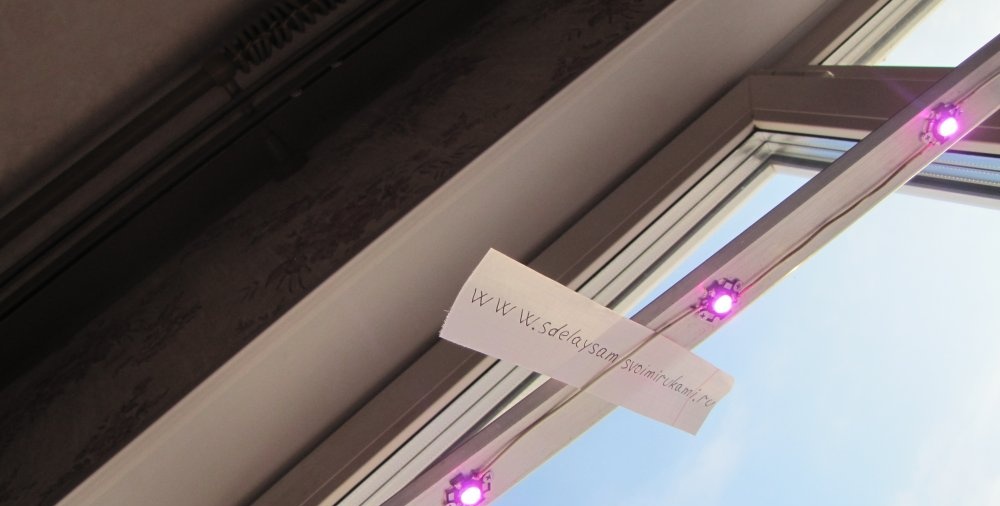
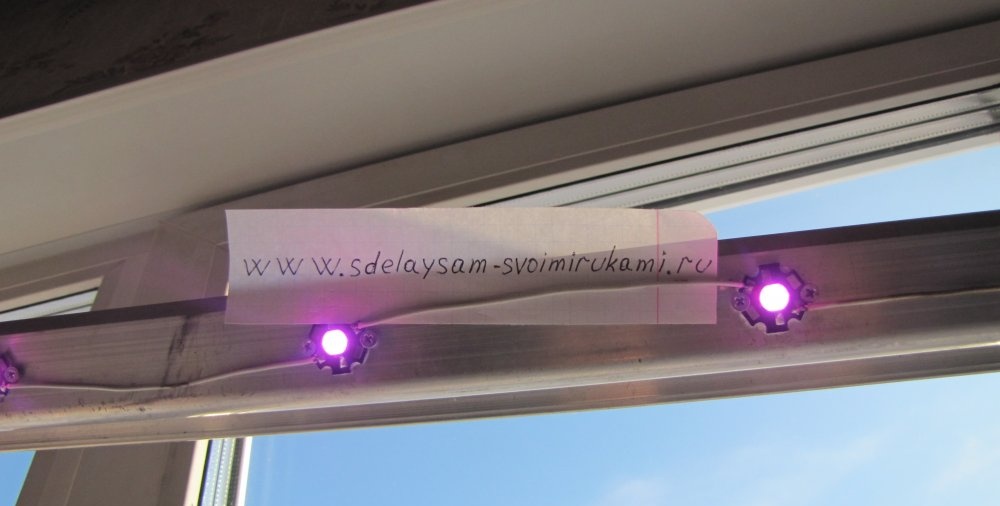
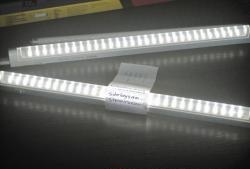
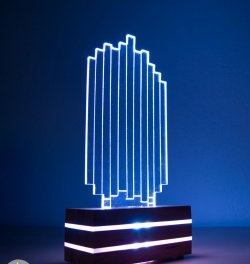
It shines well, but only for plants. For a person, such a spectrum quickly tires the eyesight. I hope that now you can make such a lamp yourself.