Every day, radio amateurs are increasingly using SMD parts and components in their work. Despite their size, they are easier to work with: you don’t need to drill holes in the board, bite off long pins, etc. It is imperative to master the soldering of SMD parts, as it will definitely come in handy.
This master class is not intended for beginners in soldering, but rather for amateurs who are good at soldering but have a little difficulty soldering multi-legged microcircuits or controllers.
Will need
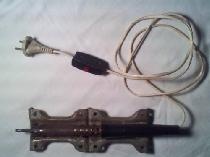
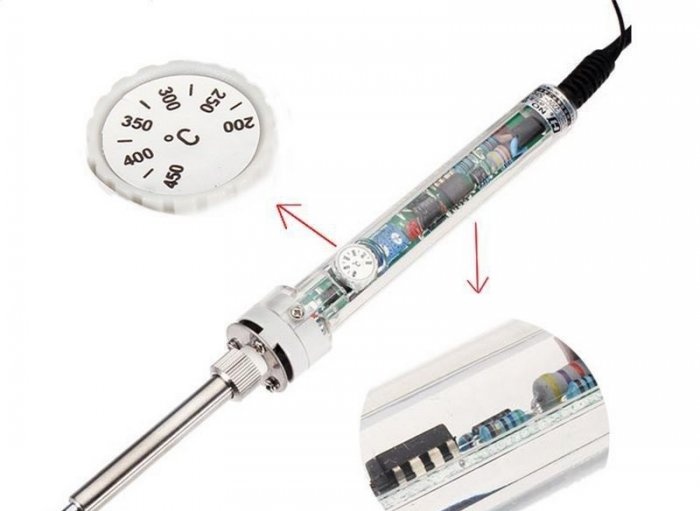
- Soldering iron with temperature regulator and tip thickness no more than 2 mm.
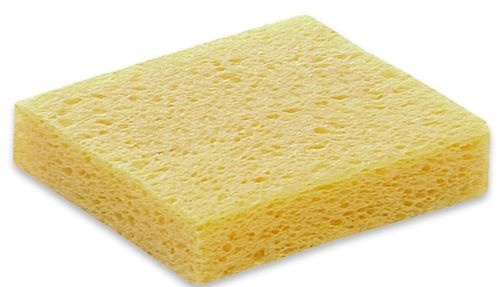
- Sponge for cleaning the tip.
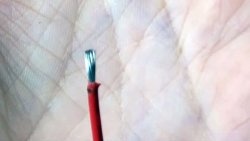
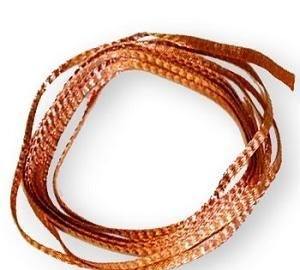
- PSH wire.
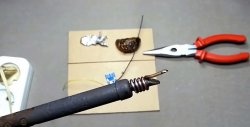
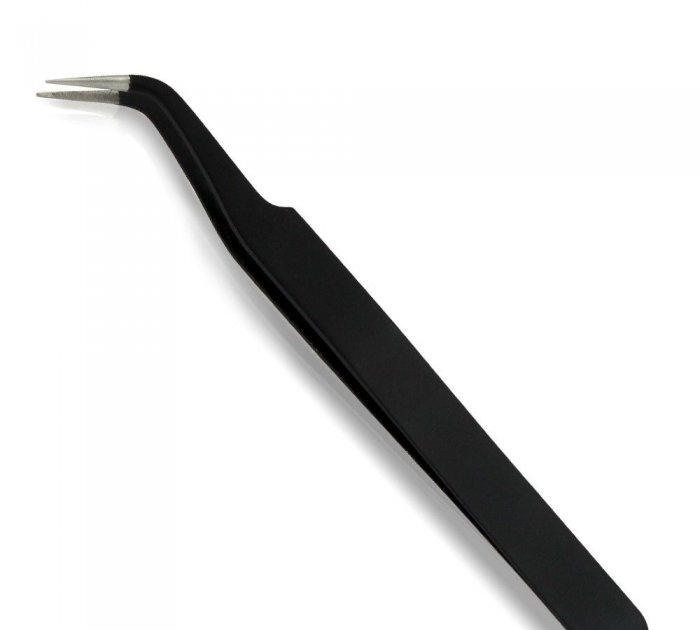
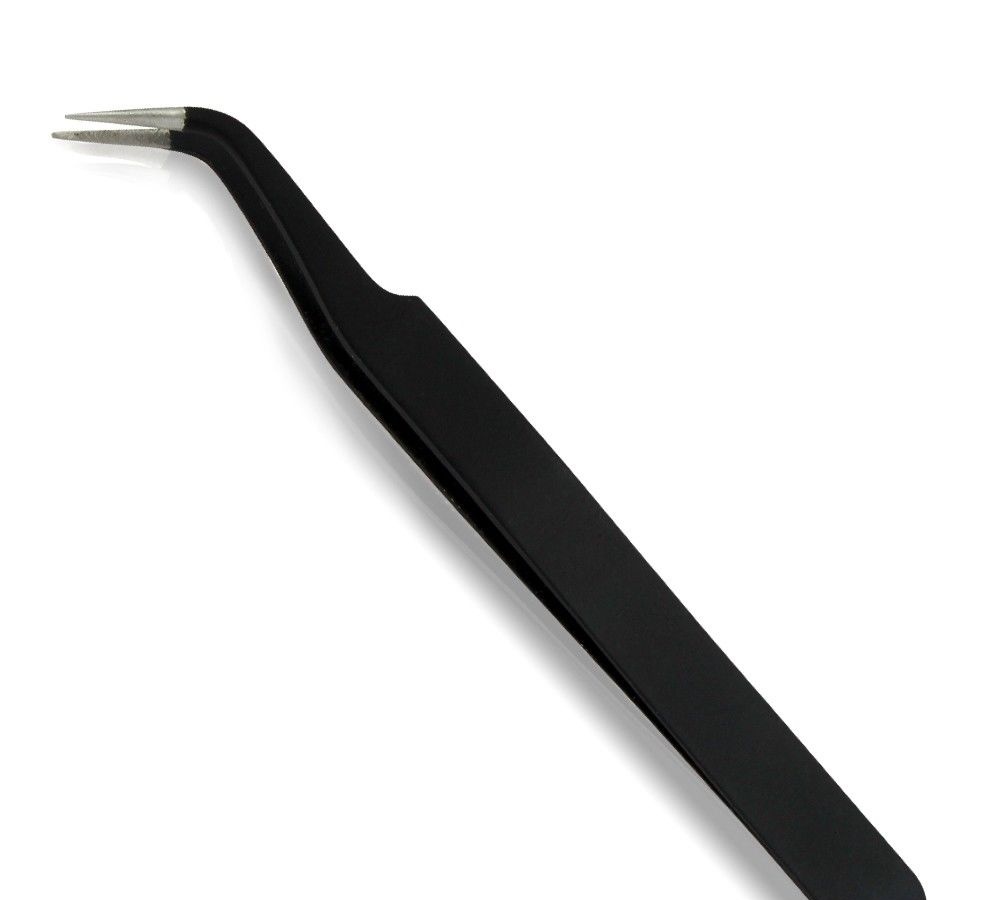
- Tweezers.
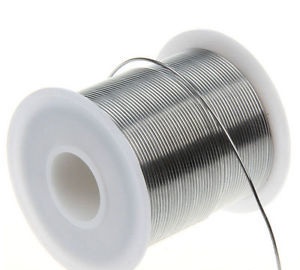
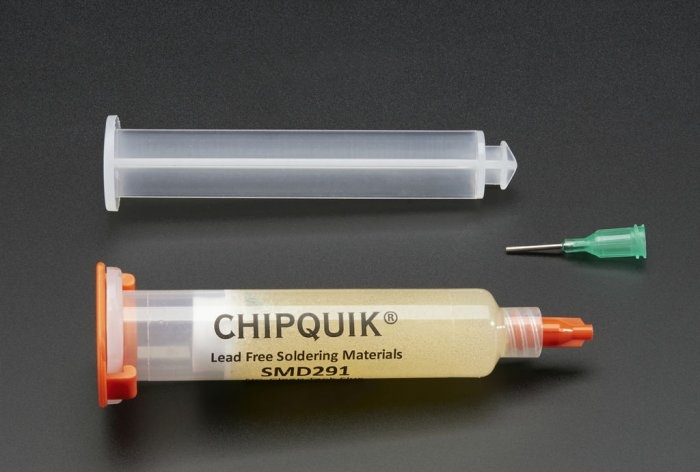
- Tubular solder or other.
- Flux paste.

- Flux is liquid.


This is a minimal set, without expensive soldering stations, hair dryers and desoldering pumps.
We solder SMD parts with our own hands
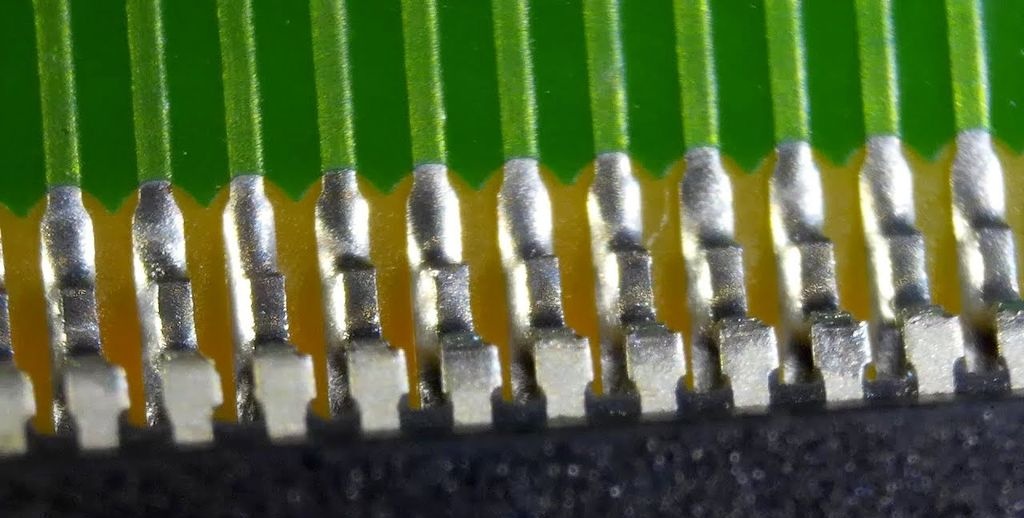
So, let's start with the most difficult thing - soldering the controller in the QFP100 case. With chip resistors and capacitors, I think everything is clear. The main rule here: there is no such thing as too much flux, or you won’t ruin the soldering with flux. Excessive application of flux prevents tin from spreading abundantly over the contacts and shorting them. There is also a second minor rule: even a little solder can be a lot.In general, you need to dose and apply it to the sting very carefully so as not to overdo it, otherwise it will flood everything at once.
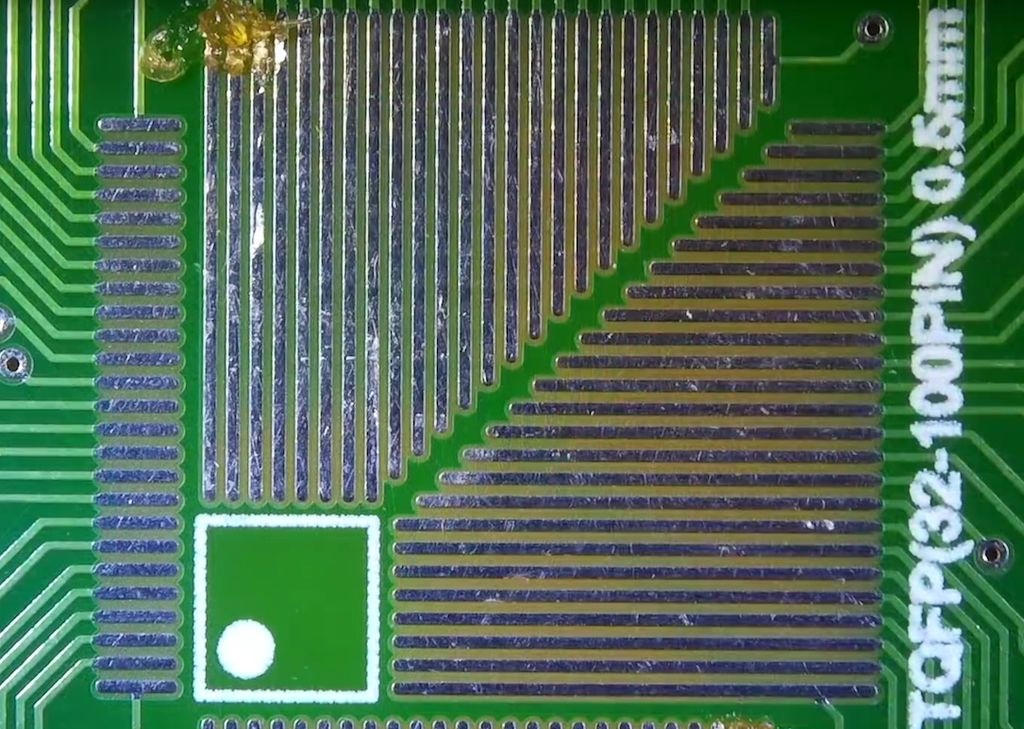
Tinning the site
Experienced electronics technicians don't always perform this step, but I recommend doing it in the first couple of days.
You need to tin the board, namely the place where the controller will be soldered. Of course, the site is most likely tinned, especially if the board was made in production. But over time, an oxide film appears on the contacts, which can hinder you.
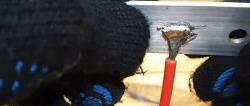
Heat the soldering iron to operating temperature. Lubricate the area generously with flux. We apply a little solder to the tip and tin the tracks.
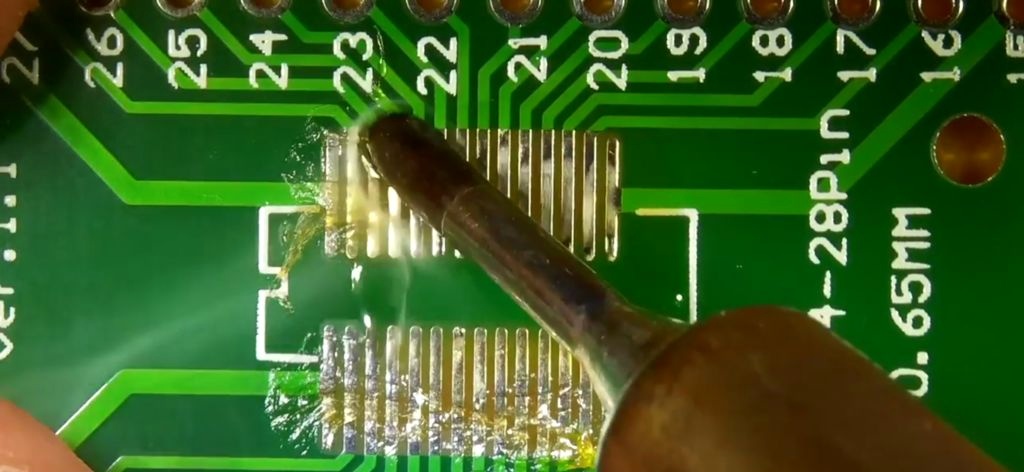
We remove excess solder using the PSH wire. It absorbs solder perfectly due to the capillarity effect.
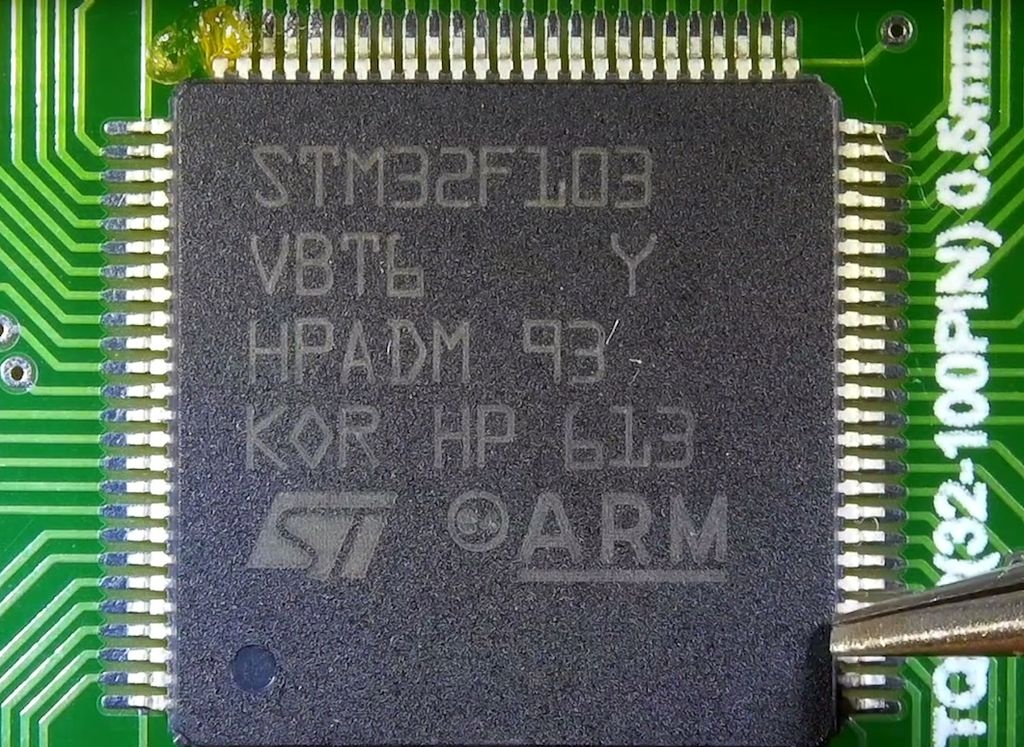
Installing and aligning the controller
Once the site is prepared, it's time to install the controller. There is a trick here; most solders install the microcircuit and use tweezers to align its contacts along the tracks. But this is very difficult to do, since even a slight twitch of the hand throws the controller a considerable distance.
It will be much easier to do this if you grease the corners diagonally with flux paste.
Now we install the controller and adjust it with tweezers.
As soon as the microcircuit is installed, we solder the contacts diagonally.
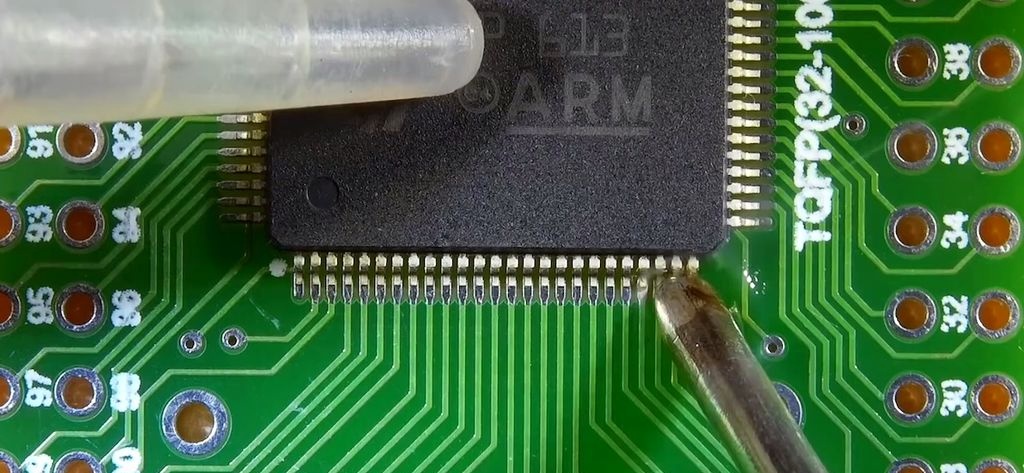
We check that all contacts are in the right place.
Soldering microcircuit contacts
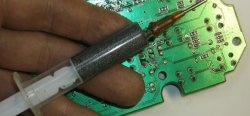
Here you can already use both liquid and viscous flux. We apply it very liberally to the contacts.
We wet the tip with a drop of solder. We clean off excess with a sponge.
And, carefully move along the lubricated contacts.
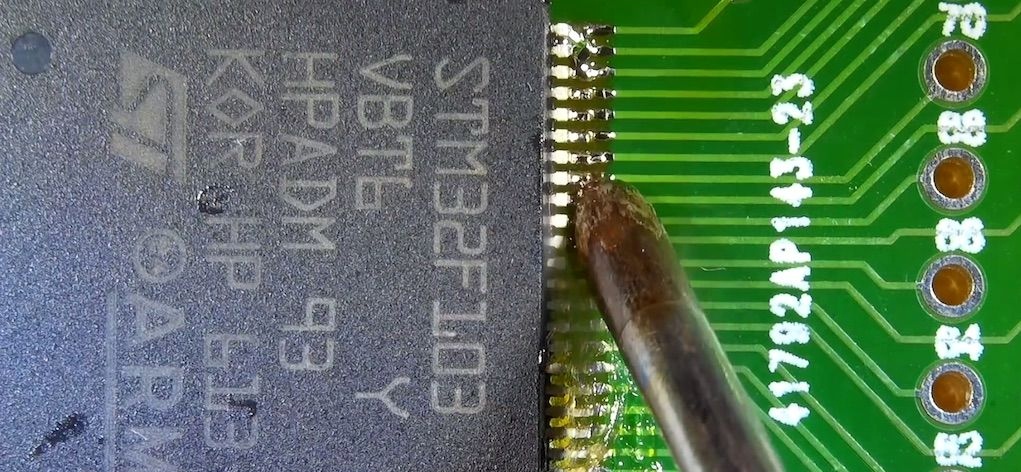
There's no need to rush.
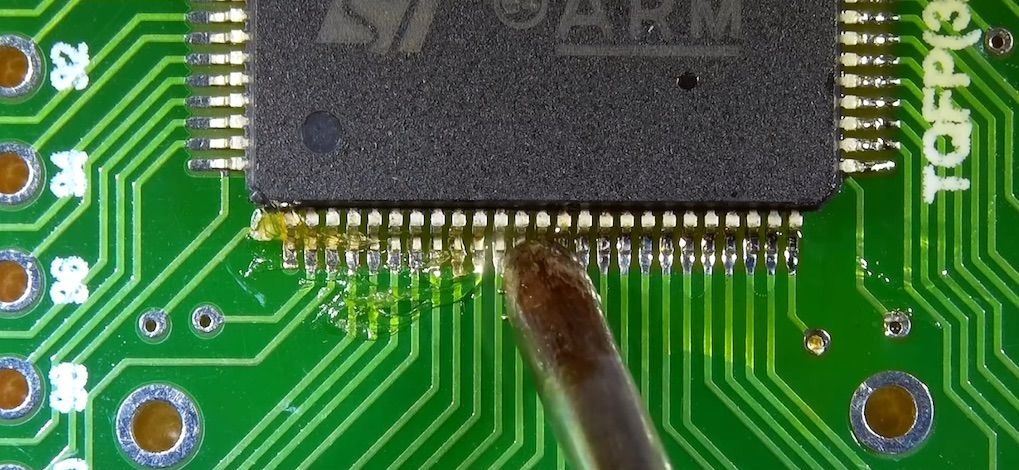
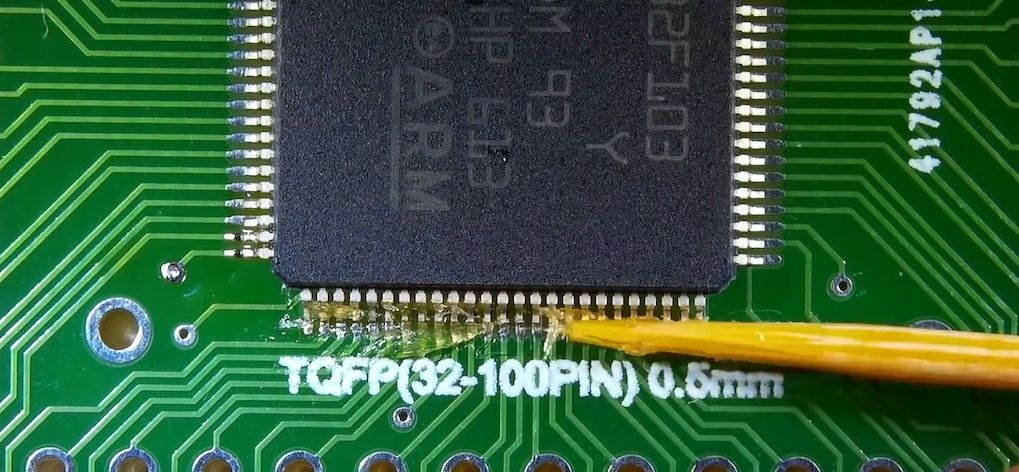
Removing excess flux and solder
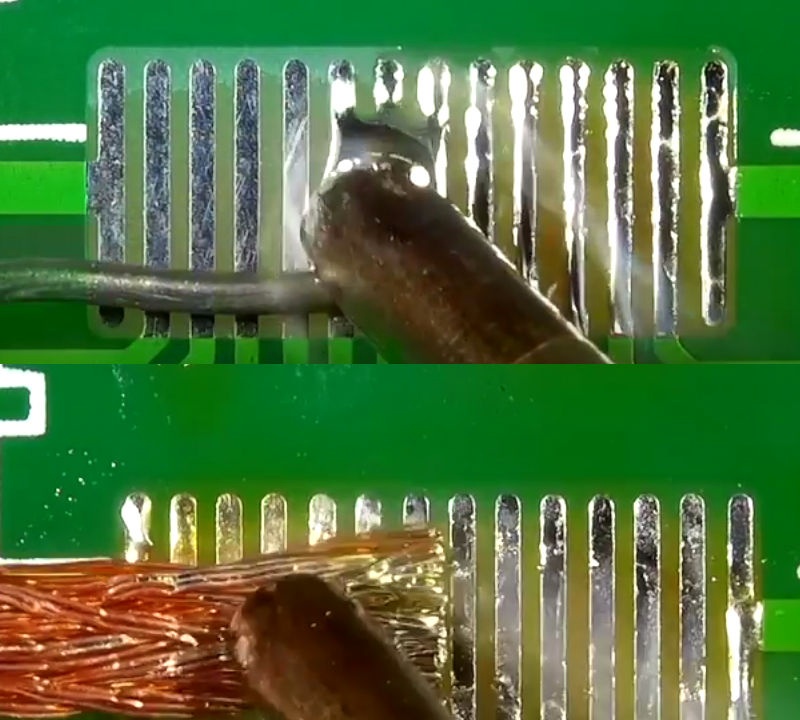
After soldering all the contacts, it's time to remove excess solder. Probably several contacts stuck together.
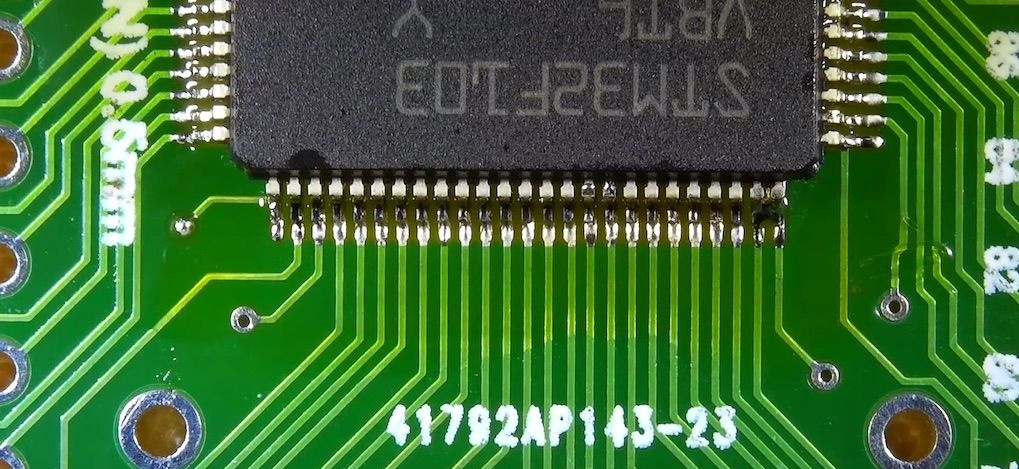
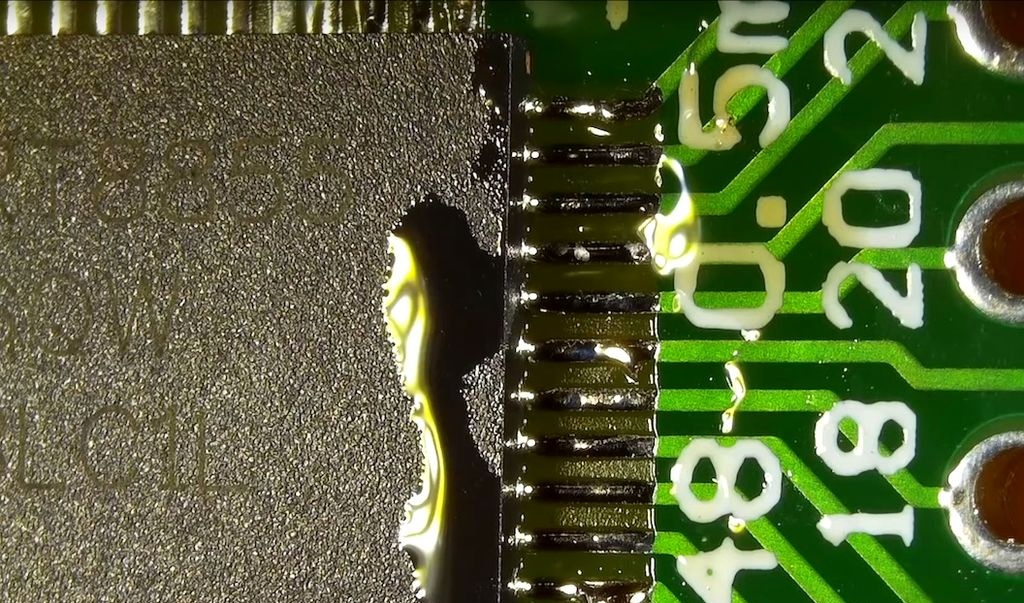
We wet the contacts very generously with liquid flux. We completely clean the soldering iron tip from solder with a sponge and go over the sticky contacts. Excess solder should be drawn onto the tip.
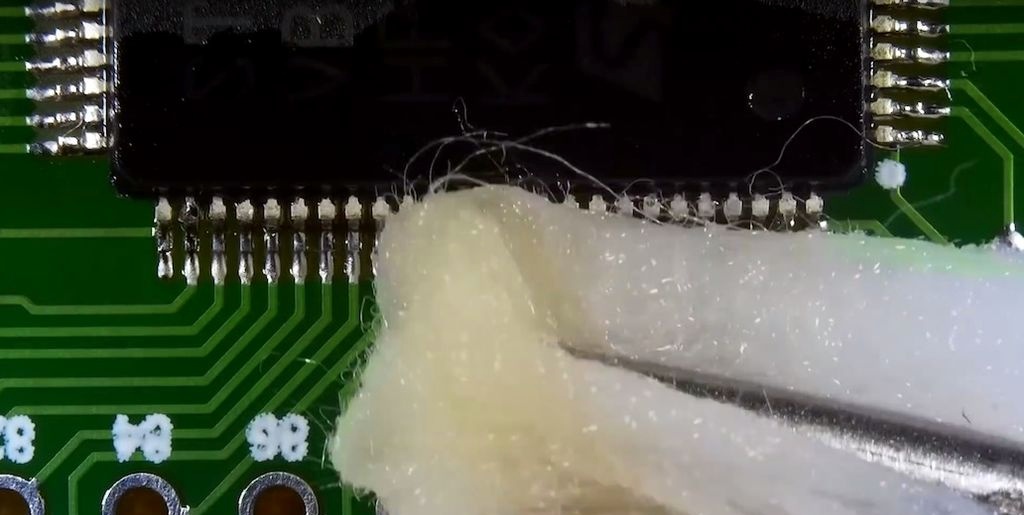
To remove excess flux, use SBS - an alcohol-gasoline mixture mixed 1:1.
We wet it generously.

And we wipe it.
Watch the video
Be sure to watch the video, where you can clearly see the movement of the soldering iron and all the manipulations.