Required tools and materials
The tools you will need are a small brush, a spatula and a screwdriver. Materials you will need:
- PVA glue;
- wood dust;
- sawdust.
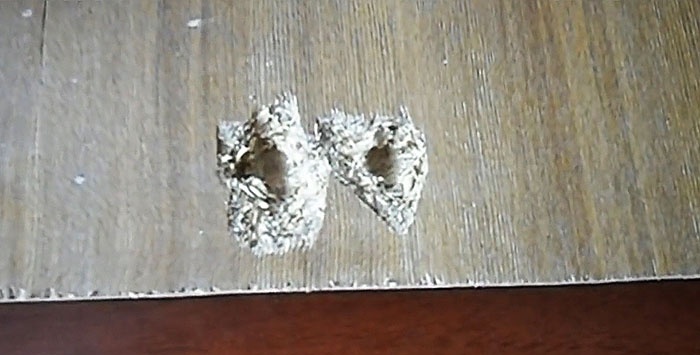
Recovery process
First you need to lubricate the door at the damaged area with a brush with PVA glue. This is a kind of primer that increases the adhesion of the restoration layer. Afterwards you need to prepare the putty. It is made by mixing PVA, wood dust and sawdust.

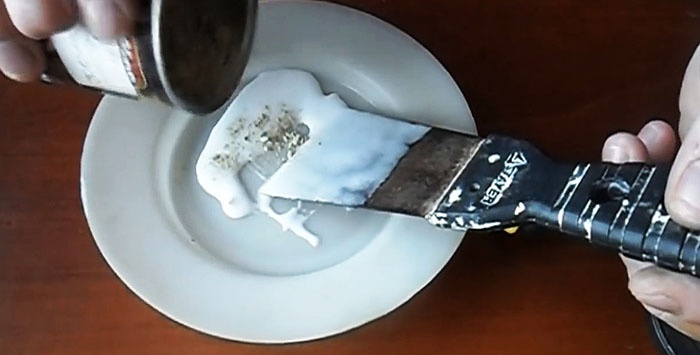

In the absence of the last two components, they can be easily made in a couple of minutes. To do this you will need to take any dry wooden plank. When cutting it with a hand hacksaw, you will get sawdust of the required fraction.If you sand the wood with sandpaper or a file, you can create wood dust. The ratio of sawdust and dust should be approximately the same; glue is added in such an amount that a paste-like thick mass is obtained.
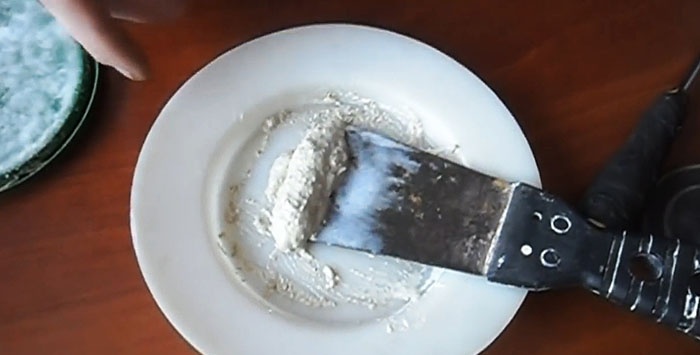
Well-mixed putty is applied with a spatula to the torn surface of the door. You need to try to press it in to ensure good adhesion. After puttying you need to wait for it to dry.
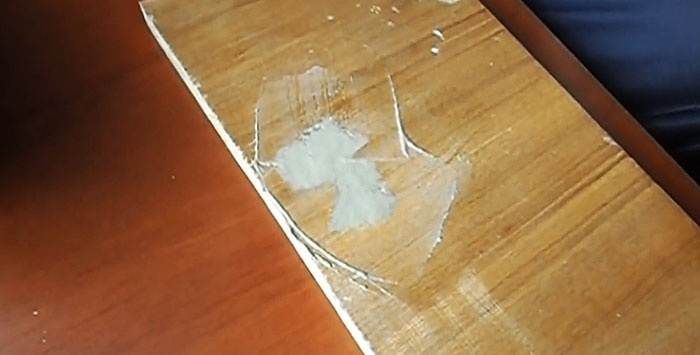
After about a day or more, depending on the characteristics of the glue and the ambient temperature, the surface will completely harden. In this case, the putty will shrink strongly, so a depression will appear. To remove it you will need to putty again. It is made only from a mixture of PVA and wood dust. This will be the finishing layer, so you need to be more careful. The mass is also pressed with a spatula. This putty is made of small particles, so it will not shrink as much.
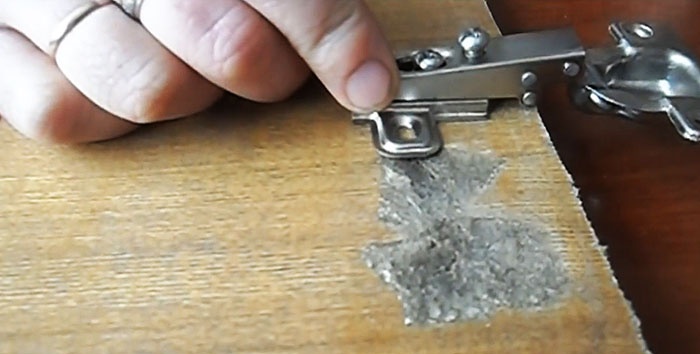
After final drying, a loop is placed. The new surface allows you to tighten the self-tapping screw without pre-drilling. Of course, you shouldn’t tighten the fasteners too much to avoid tearing them out.
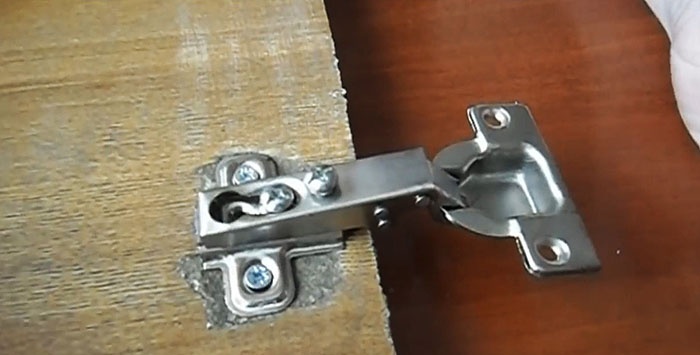
This method of repairing a torn door allows you to do everything very reliably. As for the unsightliness of the restored surface, this is not so critical, because it is hidden inside the cabinet. If you wish, you can always paint over the putty stain with a matching wax paint pencil to improve the appearance a little.