Do it yourself
Life hacks, master classes, useful tips, recipes.
home » Useful and interesting » Lifehacks and useful tips » How to keep your remote control buttons in perfect condition

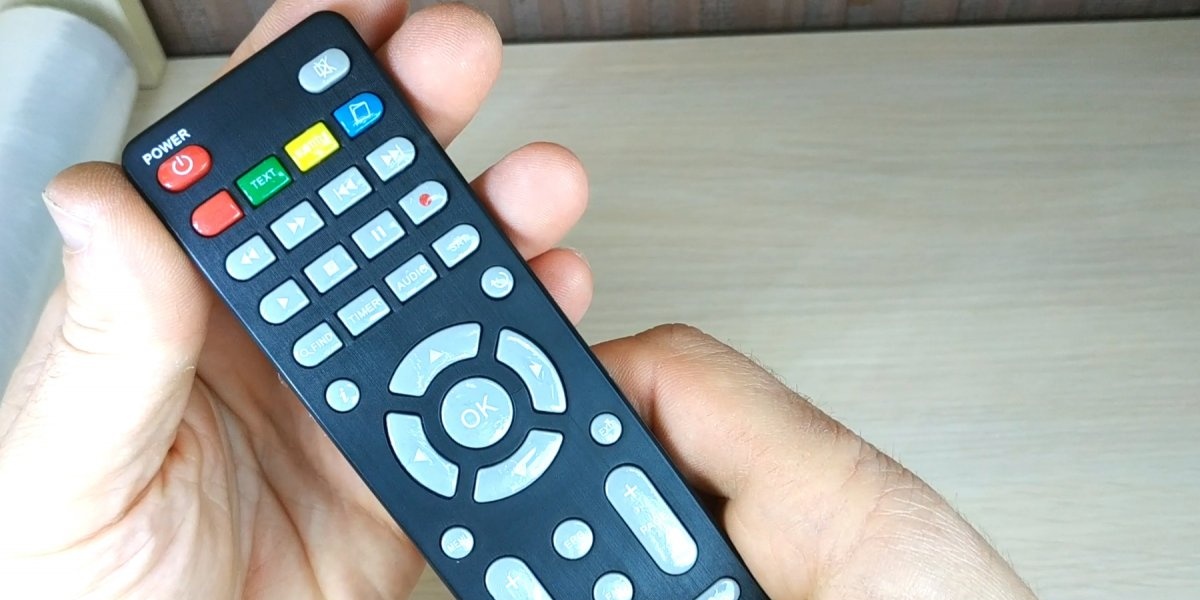
Nowadays, almost everyone in the house has electronic equipment that needs to be controlled using a remote control. With frequent use of the remote control, the symbols printed on the buttons are erased over time, introducing some discomfort during further use of the remote control.

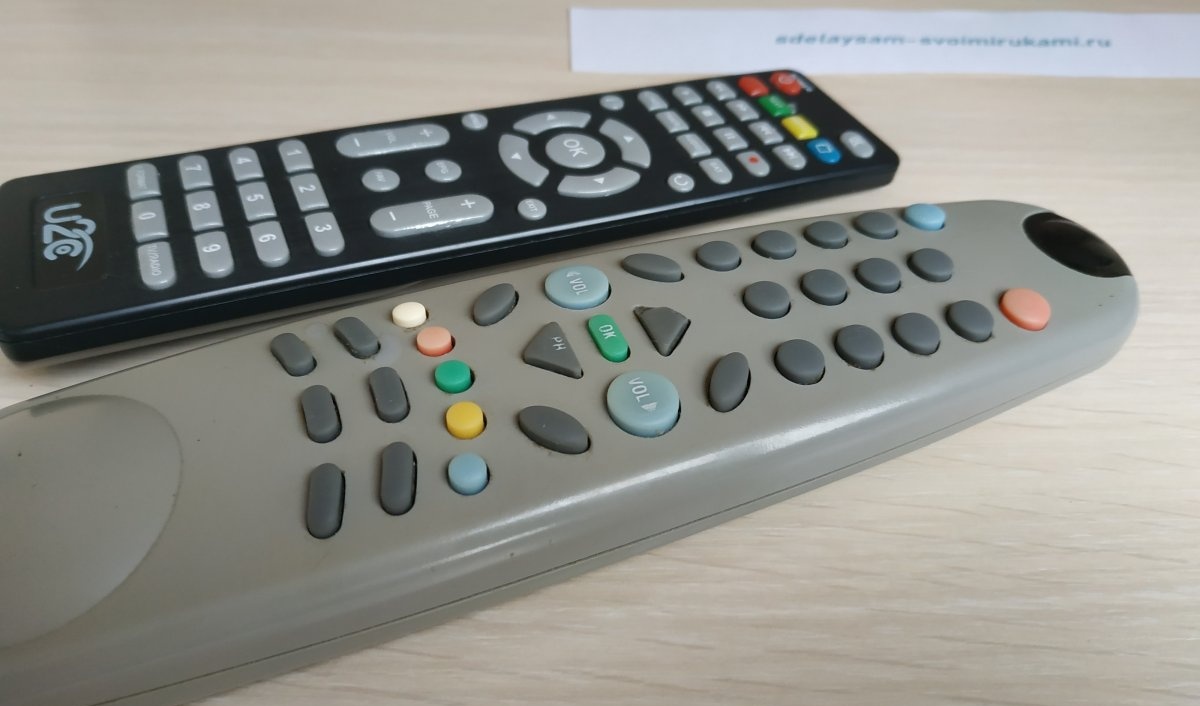
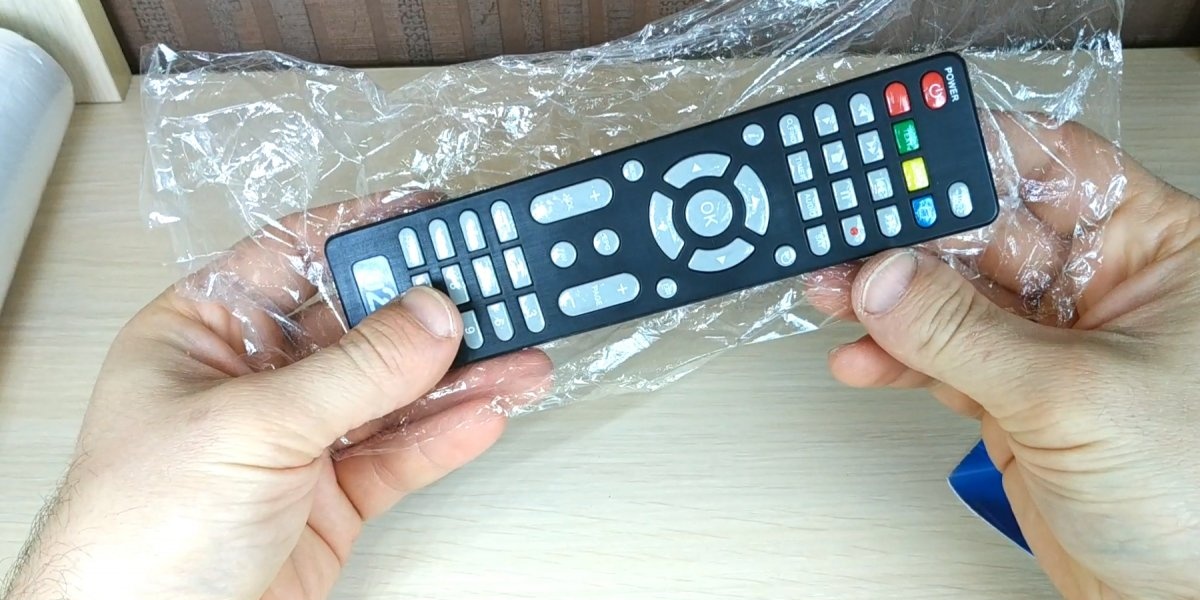
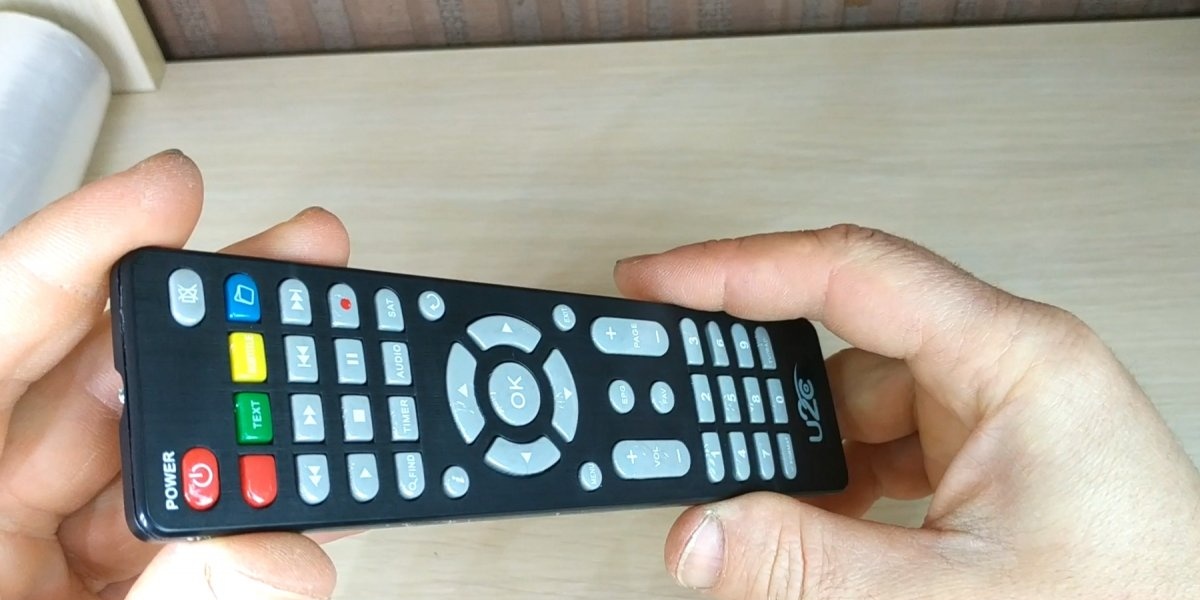
Well, for example, look at this old man, what do you think? Almost all the buttons were left without paint. And if you somehow manage to switch channels, then in order to enter the menu or, for example, switch the input of a device, you can make a mistake more than once before you find the right button. Of course, it’s unlikely to be possible to save this remote control, but you can protect the buttons of the new remote control from such a fate.

There are several ways to protect the remote control, for example, you can simply wrap it in a bag, you can buy a special silicone or heat-shrinkable case, you can simply buy a new remote control when the old one becomes unusable. Each method has its own advantages and disadvantages. I offer you my own way of protecting buttons.Anyone can use it, because its implementation does not require anything complicated or expensive.

Will need

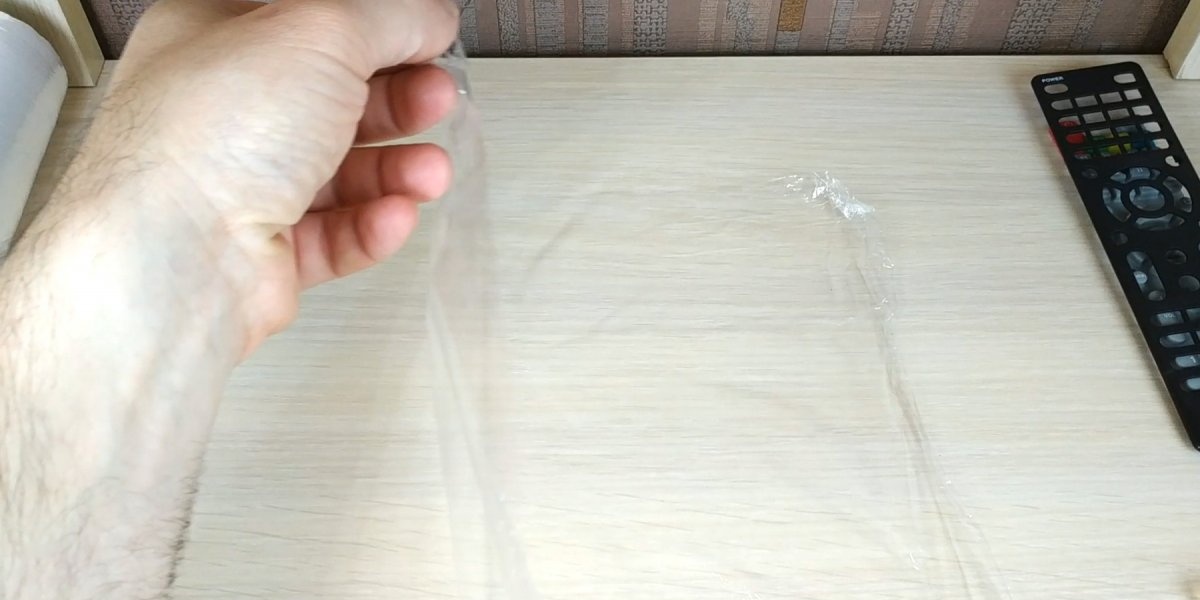
To finalize, we will only need a small piece of cling film, which is now found in almost every home. The tools you will need are a stationery knife or scalpel, and any plastic card will also be useful, preferably not needed. Someone might need a screwdriver.

The process of simple modification of the remote control

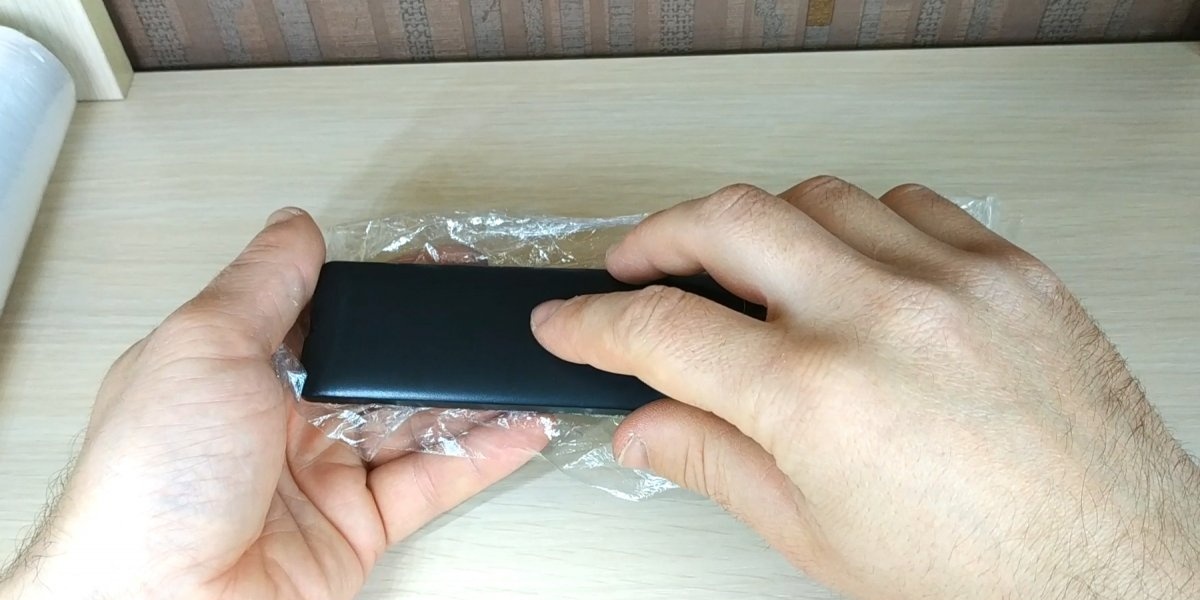
My method involves covering the buttons with cling film, to do this you need to disassemble the remote control, this is of course a disadvantage of this method, but what can you do.

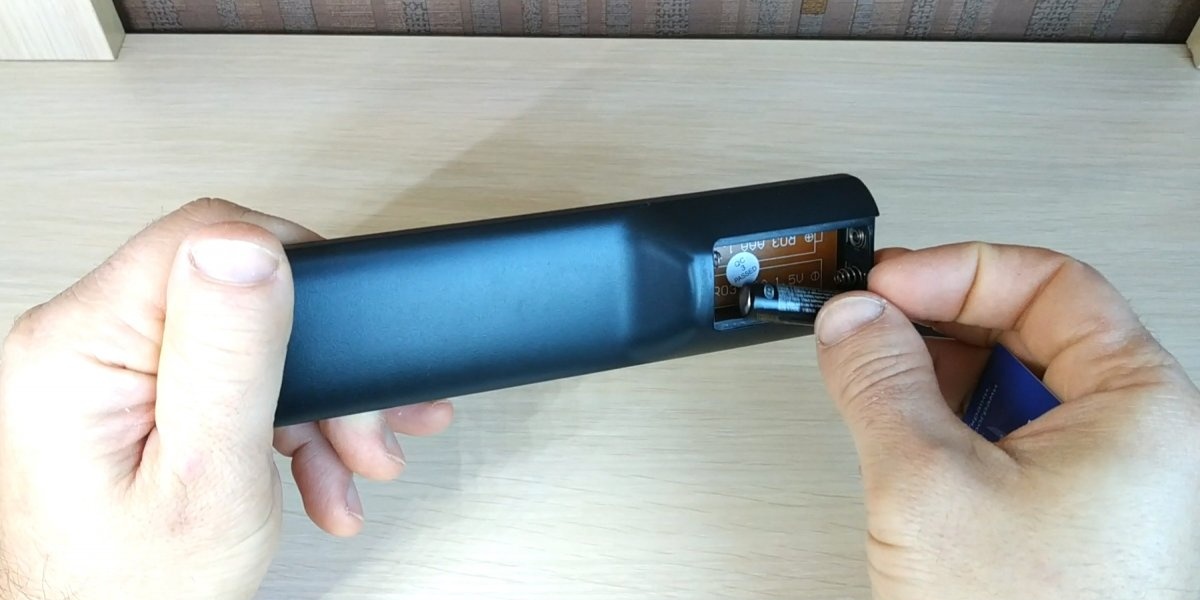
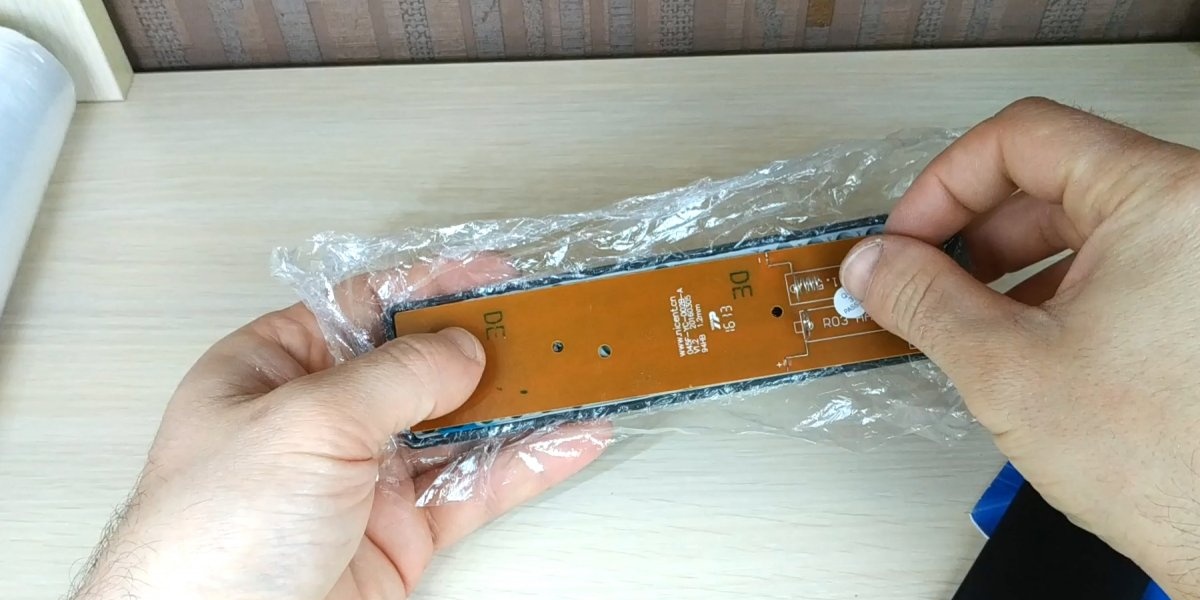
So, we take out the batteries and disassemble the remote control, pay attention to your remote control model, perhaps there are screws in the battery compartment that need to be unscrewed, sometimes the screws can be hidden under stickers.

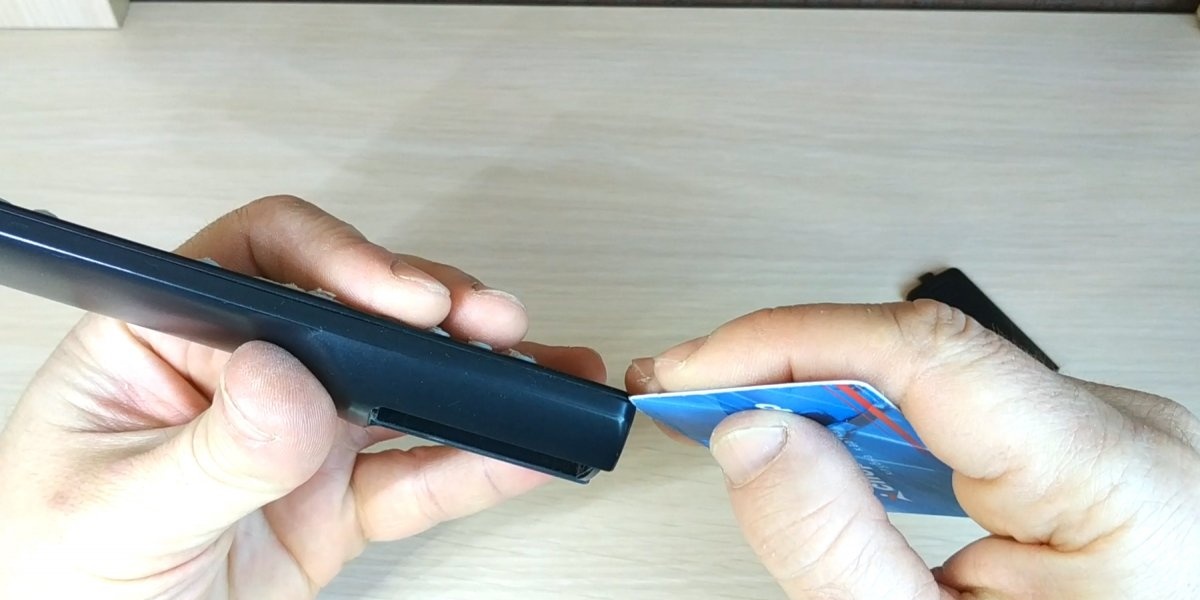
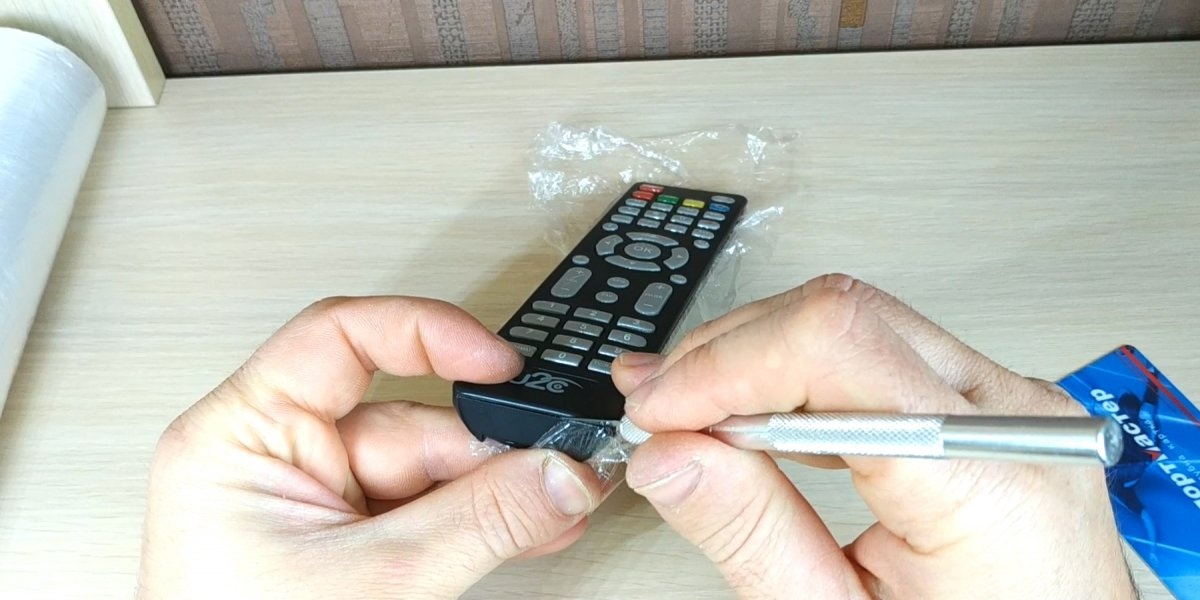
To easily disassemble the remote control without damaging its fasteners, you need to lightly sharpen the edge of the plastic card, insert it into the groove between the two halves and move it from edge to edge, slightly swinging the card. At this stage you need to act carefully so as not to break the fragile fasteners. You need to do the same on the other side of the remote control.

After disassembling the remote control, you need to cut off a piece of cling film. The dimensions of the film must be generous. To create a more reliable protective layer, I fold the film in half.

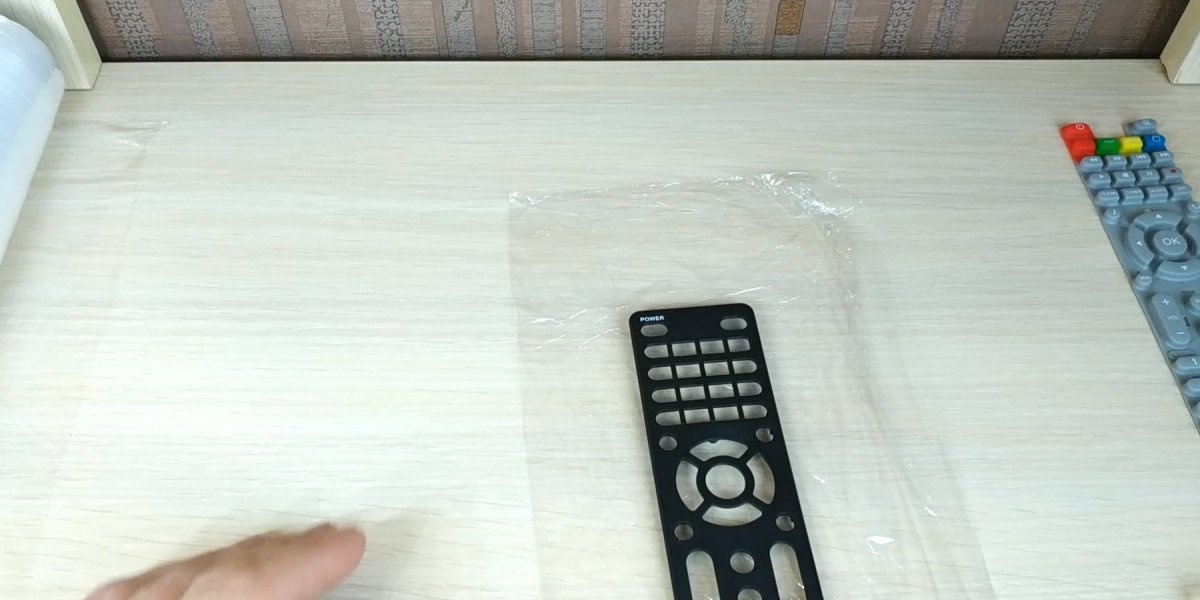
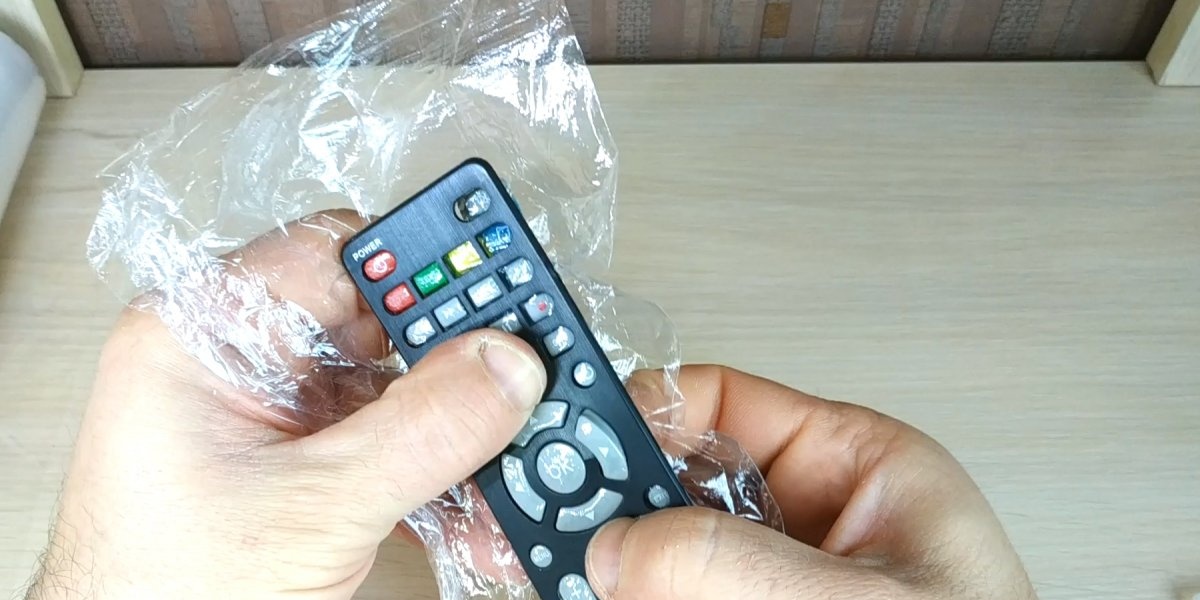
Now our goal is to give the cling film the shape of buttons. To do this, you need to place it between the front of the remote control and the buttons.

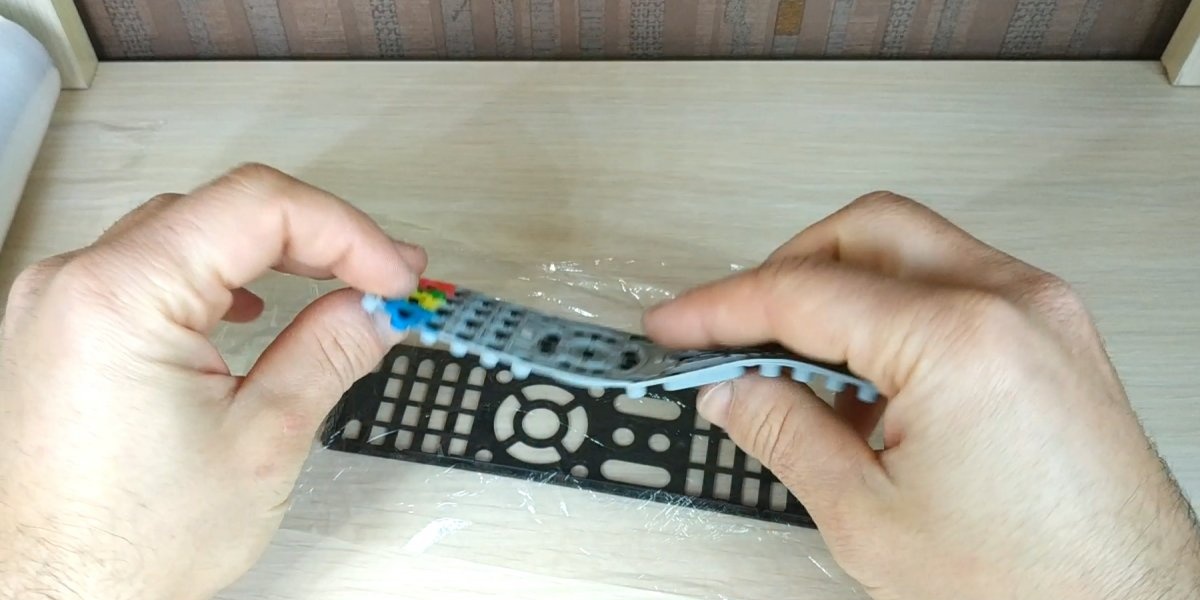
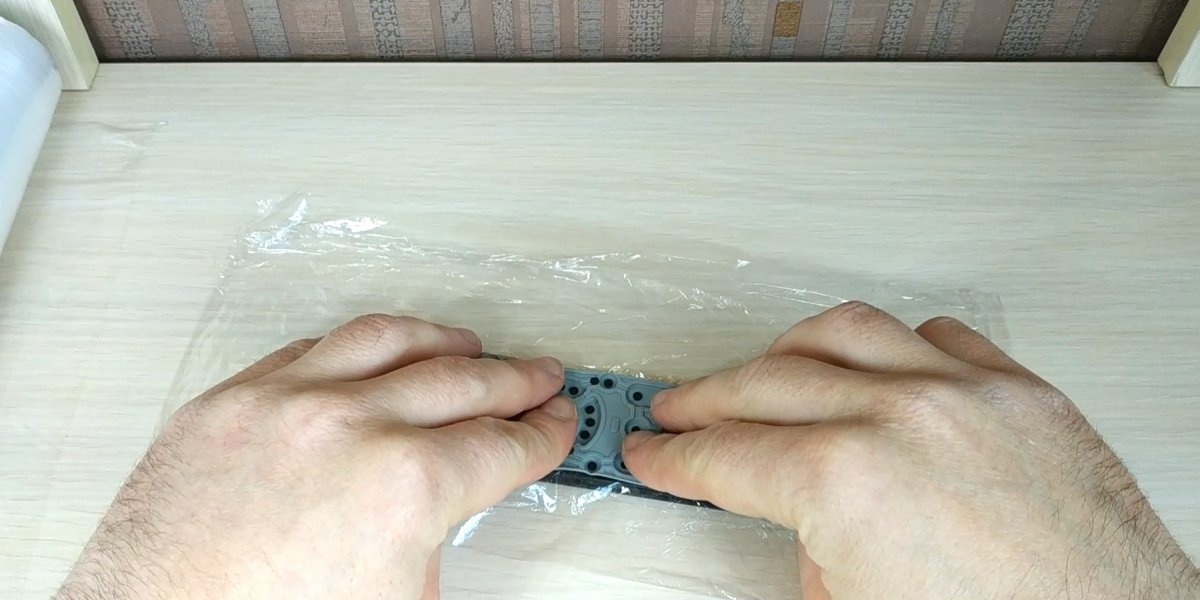
Now you need to carefully press each button, thereby giving the film its shape. You will need to go through each button 2-3 times. At this stage, you need to act so that the film does not move during the process. Otherwise you will have to start all over again.

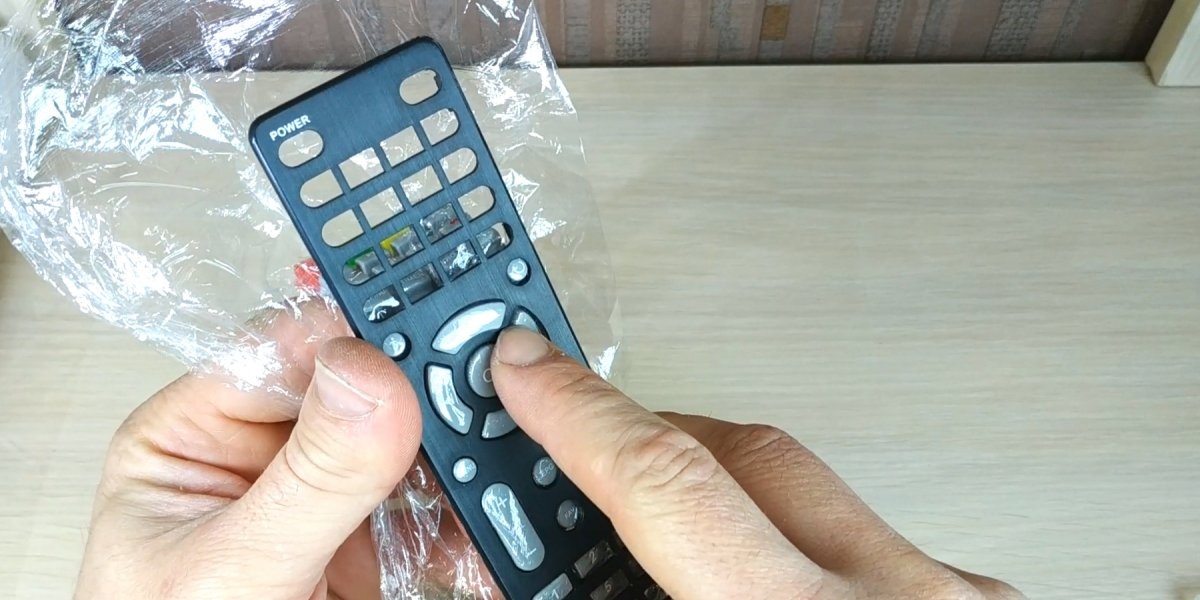
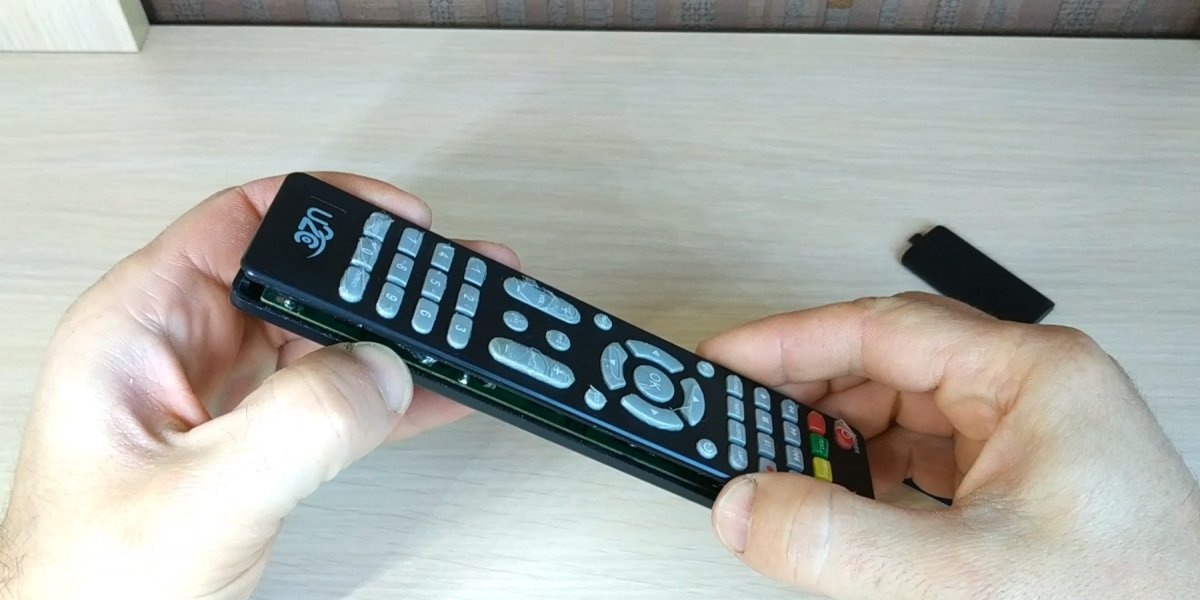
All the buttons are pressed in, great.Now you can put the board and the second part of the remote control in place, press it down, but do not snap it into place. You should check whether all the buttons are pressed. If one or more buttons are poorly molded, the button contacts may touch the circuit board, causing false responses from the remote. If everything is in order, you can latch it.

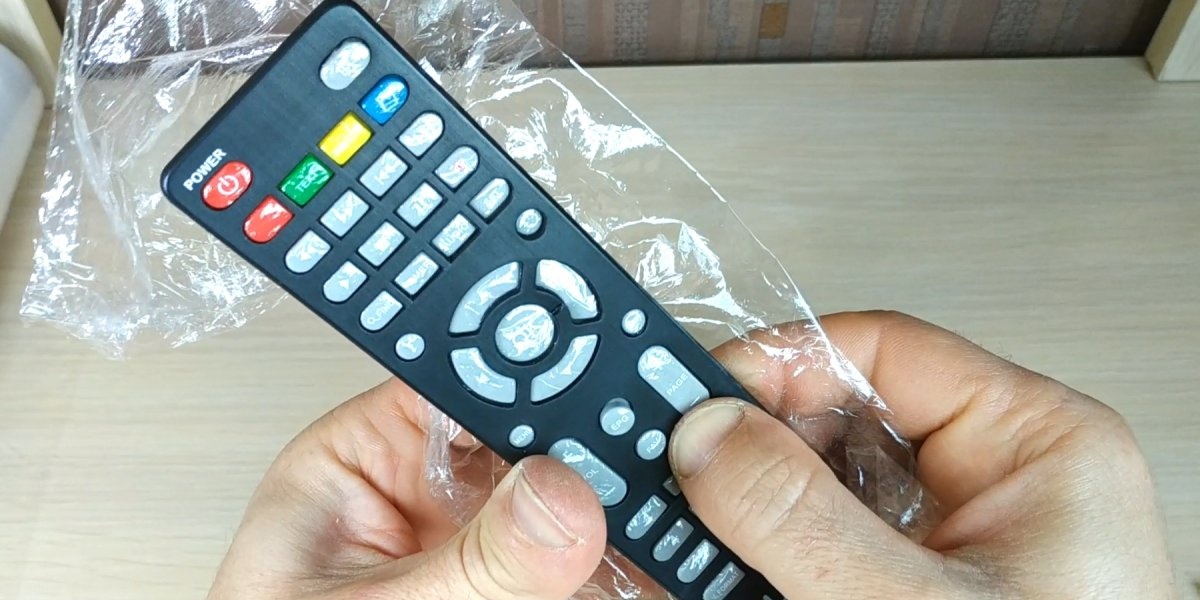
Now all that remains is to remove the excess film; for this I used a stationery scalpel. The remote control is now ready for use.

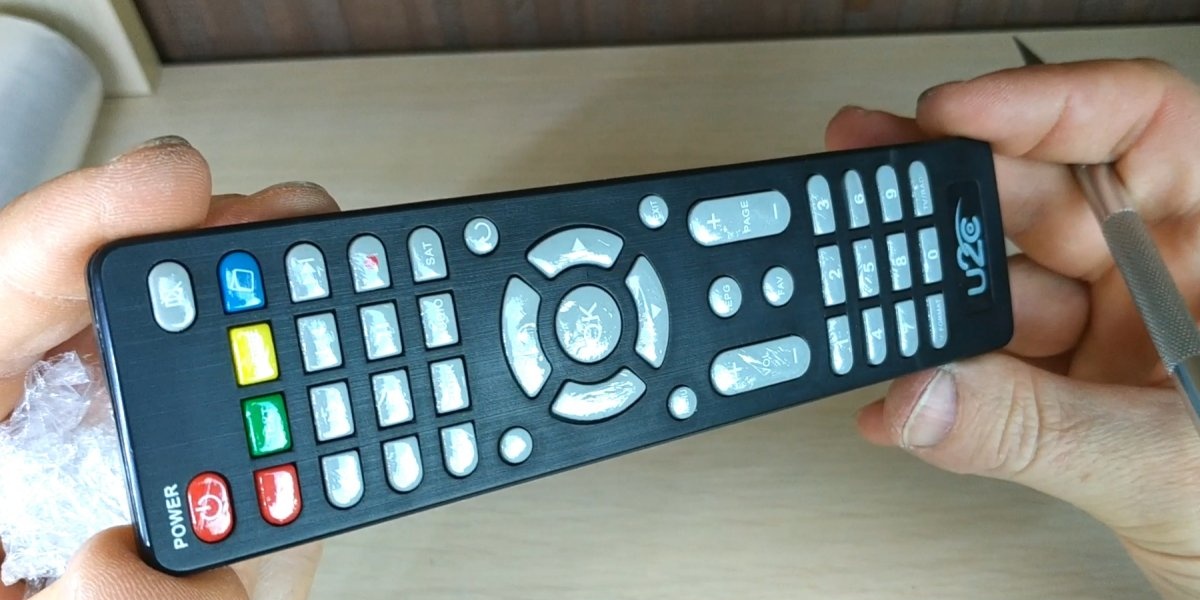
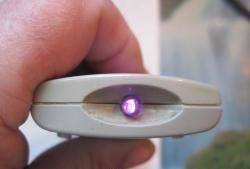
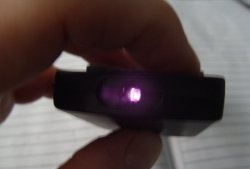
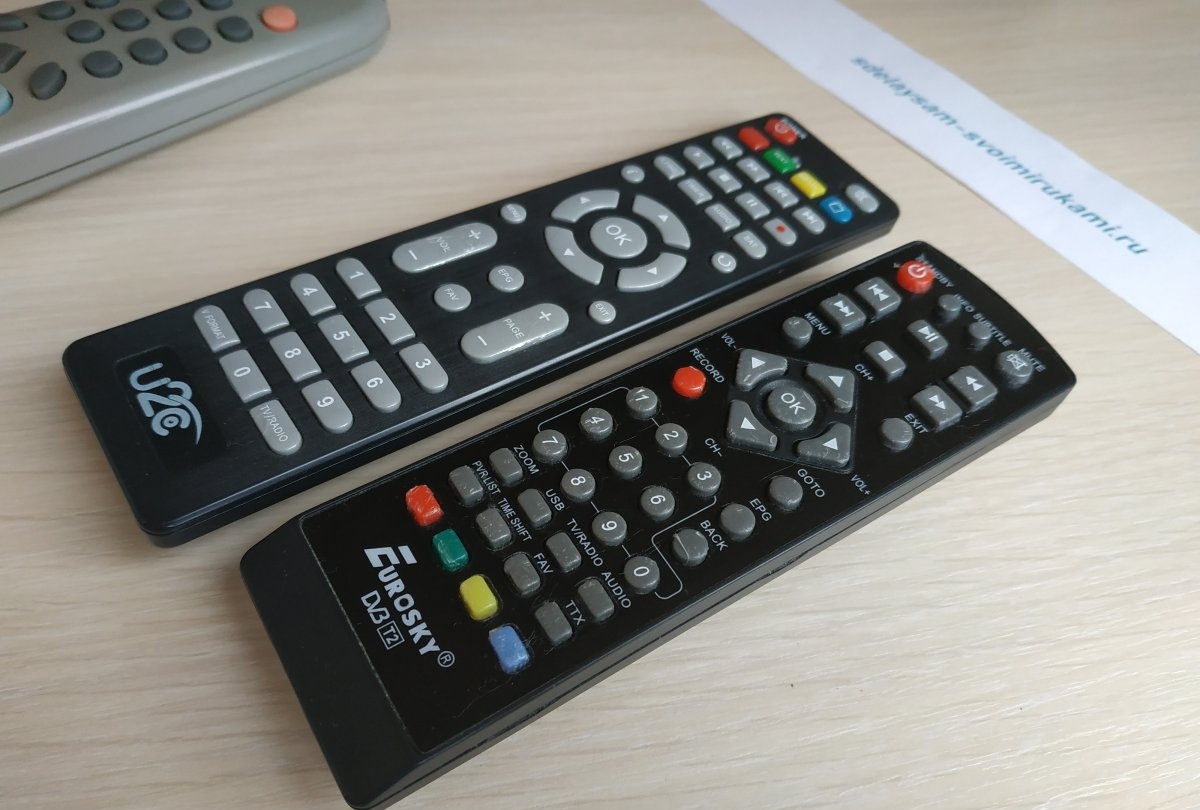
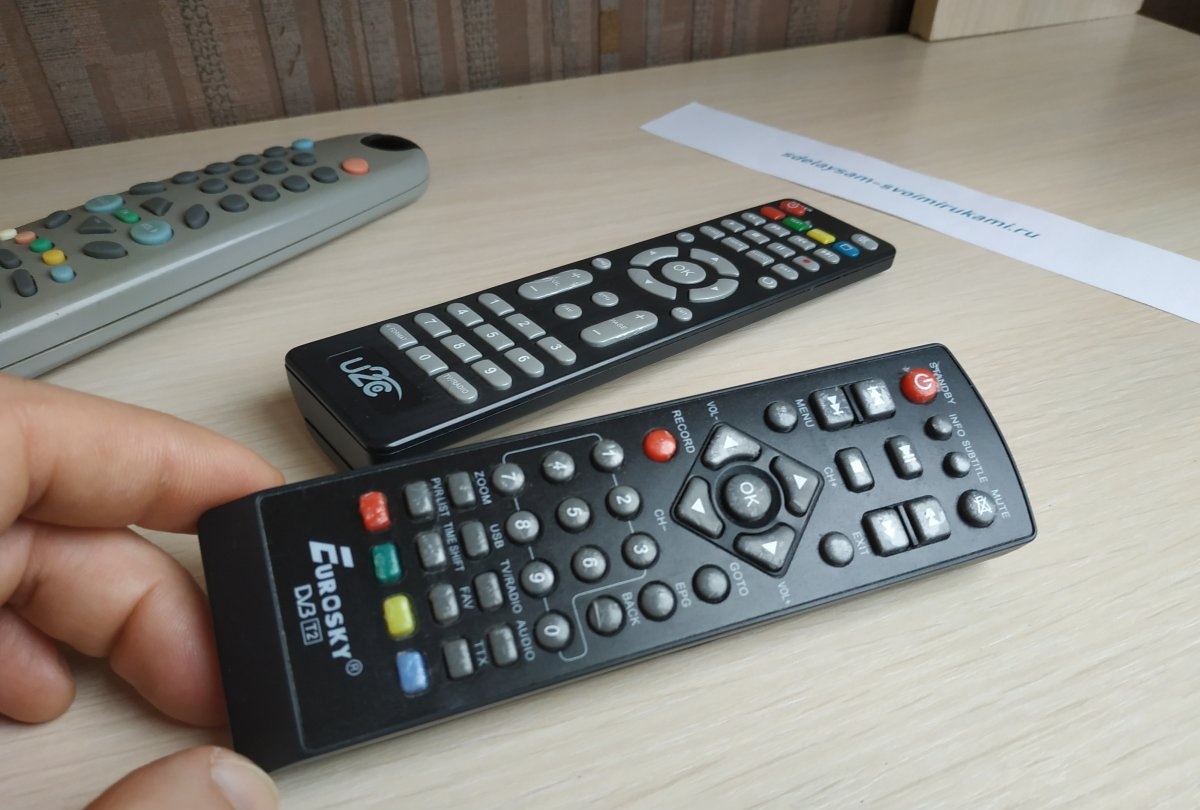
This is not my first remote control that I have improved in this way. I covered the bottom control panel in the photo with film about 1.5 years ago, as you can see the film is already worn out. There is no longer any film on the power button, but then I only used one layer of film.

Of course, such a modification will not last forever and the film will tear over time, but the replacement procedure only takes 15-20 minutes.

Watch the video

come back
Comment
  • bowtiesmilelaughingblushsmileyrelaxed relaxedsmirk
    heart_eyeskissing_heartkissing_closed_eyesflushedrelievedsatisfiedgrin
    winkstuck_out_tongue_winking_eyestuck_out_tongue_closed_eyesgrinningkissingstuck_out_tonguesleeping
    worriedfrowninganguishedopen_mouthgrimacingconfusedhushed
    expressionlessunamusedsweat_smilesweatdisappointed_relievedwearypassive
    disappointedconfoundedfearfulcold_sweatperseverecrysob
    joyastonishedscreamtired_faceangryragetriumph
    sleepyyummasksunglassesdizzy_faceimpsmiling_imp
    neutral_faceno_mouthinnocent
3+three=
Comments (20)
  1. spiridon
    #1 spiridon Guests 21 January 2019 13:37
    6
    I do it much simpler - I wrap the remote control in a plastic bag, secure the edges with tape and that’s it! You can easily replace the bags as they wear out
    1. Valery Ratnikov
      #2 Valery Ratnikov Guests January 23, 2019 10:20
      0
      You can just take a photo of a new one and don’t worry about it being erased.
  2. Evgeny Lisovsky
    #3 Evgeny Lisovsky Guests 21 January 2019 13:53
    3
    I’ll just say - don’t talk nonsense. I also understand if there was an article on how to keep the buttons inside working properly, which are crumbling, and which is better - shit but varnish or contact nickels and silicone glue for them.....but how to preserve the beauty of the remote control.... just don’t take it out out of the package - and everything will be intact.
  3. Guest Victor
    #4 Guest Victor Guests 21 January 2019 14:51
    3
    This is shitty advice, even in two more layers, CALMLY DISASSEMBLY, WIPE WITH ALCOHOL, ASSEMBLED AND FOR HALF A YEAR WITHOUT ANY FILMS AND SHAGS IN THE NEXT.
    1. Guest Andrey
      #5 Guest Andrey Guests 27 February 2019 10:26
      3
      Never wipe with alcohol! You will erase the conductive varnish on the buttons, and most importantly, the rubber will begin to break down and dissolve. You will not notice this immediately, but gradually. Also, don’t be surprised that the buttons don’t respond well to pressing. The easiest way that I regret not knowing about before. Take an unnecessary toothbrush and wash the rubber of the remote control under a tap with soap. Dry it and use it as if it were new. In addition, it is so easy to clean the remote control body from dirt. All! The rest is delusional fantasy. Unfortunately, I didn’t know this before and rubbed everything with alcohol.
  4. น♣
    #6 น♣ Guests 21 January 2019 17:35
    0
    This advice is suitable for Old Men. I also wrapped the bag. I tied the end and no problem. But this method will not work for me. I smoke, the remote control is on the chair. Sometimes I’m sleepy, I’ll put it out on the remote control. There’s a scribe to both the body and the buttons.
    1. Guest
      #7 Guest Guests January 23, 2019 02:49
      0
      Ahaha! You are a dangerous person! ))))
  5. Vitaly
    #8 Vitaly Guests 21 January 2019 18:14
    8
    People, what kind of nonsense are you talking about here in the comments? One is not happy with it because he smokes and extinguishes bulls on the remote control, the second suggests taking it apart and wiping it with alcohol (alcohol? seriously? To make the paint come off the buttons more quickly? Let’s just use acetone right away).
    I understand why people are so noisy - the advice is good. The durability of such a solution, of course, needs to be checked; perhaps it is not very long, but if it lasts for six months, then everything is fine.
    The remote control in the bag looks ugly, like a collective farm. But here, normal adherence to aesthetics and time is quite acceptable. I tried it on the receiver's remote control - 15 minutes for everything, including searching for material and tools.
    1. Alexander Kizimov
      #9 Alexander Kizimov Guests 22 January 2019 15:31
      0
      You sound like you're admiring the remote control all day, all the time...
    2. tarsan099
      #10 tarsan099 Guests 22 January 2019 20:41
      3
      Thank you for your support, my film lasted about a year, then I changed it. Everything, of course, depends on the frequency of clicking the buttons and the accuracy of the user))
    3. Sector
      #11 Sector Guests 25 January 2019 17:14
      0
      You can do it much easier and faster. Cover the buttons with varnish and take no more steam. This is a much more efficient way than having to assemble the remote control later. It can be disassembled very easily, but then assembling all the buttons takes a lot of time.
  6. Peter
    #12 Peter Guests 22 January 2019 13:20
    3
    Good advice. True, not all remote controls have such a need. Nowadays there are remote controls with buttons in which the inscriptions and icons are either embossed or inlaid with plastic of a different color and all the inscriptions are visible almost until the end of the century of these remote controls.
  7. Alexander Kizimov
    #13 Alexander Kizimov Guests 22 January 2019 15:27
    3
    Why get to Moscow through Vladivostok?! Place the remote control in plastic. bag and all...
  8. Nurik
    #14 Nurik Guests 23 January 2019 14:36
    1
    let's make it even more complicated) I take the remote control to the sewing workshop. there they sew a case for me (on the front side there is a thick transparent film, on the back side there is leather or leatherette and a valve in order to pull out the remote control and clean it and the case)
  9. Vitaly
    #15 Vitaly Guests 23 January 2019 18:49
    2
    Alexander, of course, no one admires the remote control all day, but usually it lies in a visible place, and anyone who comes in even for five minutes will see the “collective farm” in the form of a remote control in a bag. And it’s unpleasant to pick up a remote control wrapped in a bag.
  10. VaDiMV
    #16 VaDiMV Guests January 24, 2019 12:29
    0
    When I was young, I had a bag on my computer keyboard (like, so that it wouldn’t get dirty and dusty), then I got tired of the bag, I took it off.. scribe! The keyboard was all slimy, disgusting to the touch, I was too tired to clean it anymore, I don’t wear bags. When heated, the bag melts and remains on the device.

How to make leather shoes waterproof with your own hands

Vacuuming without smelling dust | Do it yourself

Knitted envelope | Do it yourself

Decorating a bottle with colored salt | Do it yourself

«Do it yourself - with your own hands» - a site of interesting homemade products made from scrap materials and items at home. Step-by-step master classes with photos and descriptions, technologies, life hacks - everything a real master or just a craftsman needs for needlework. Crafts of any complexity, a large selection of directions and ideas for creativity.

We recommend reading

Washing machine error codes